All users can use sales-i to access a list of your top spending accounts via the Enquiries tab. Power Users also have the ability to narrow this down to the top 50 (or custom number) accounts companywide via Campaigns.
Desktop
Download a PDF version
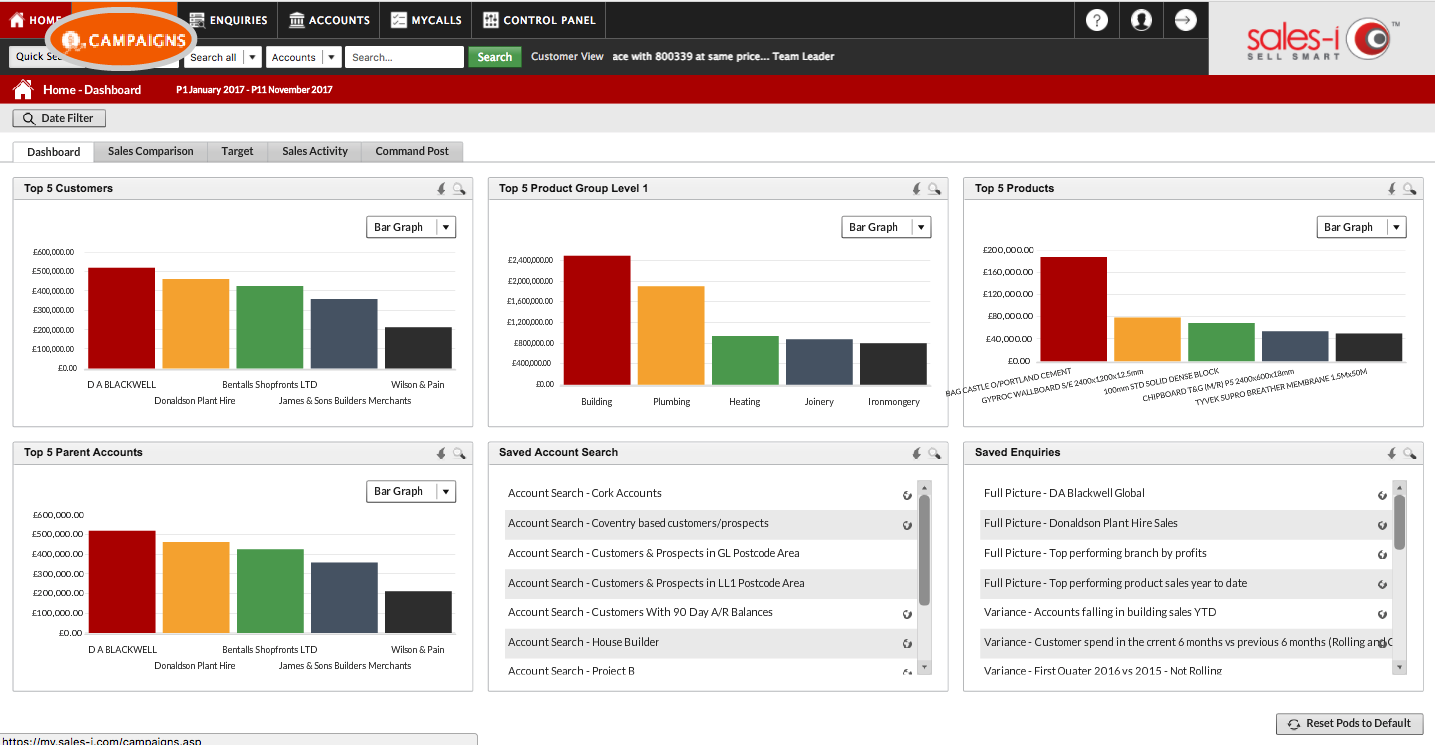
Step 1: Click Campaigns
Click Campaigns from the menu at the top of the screen.
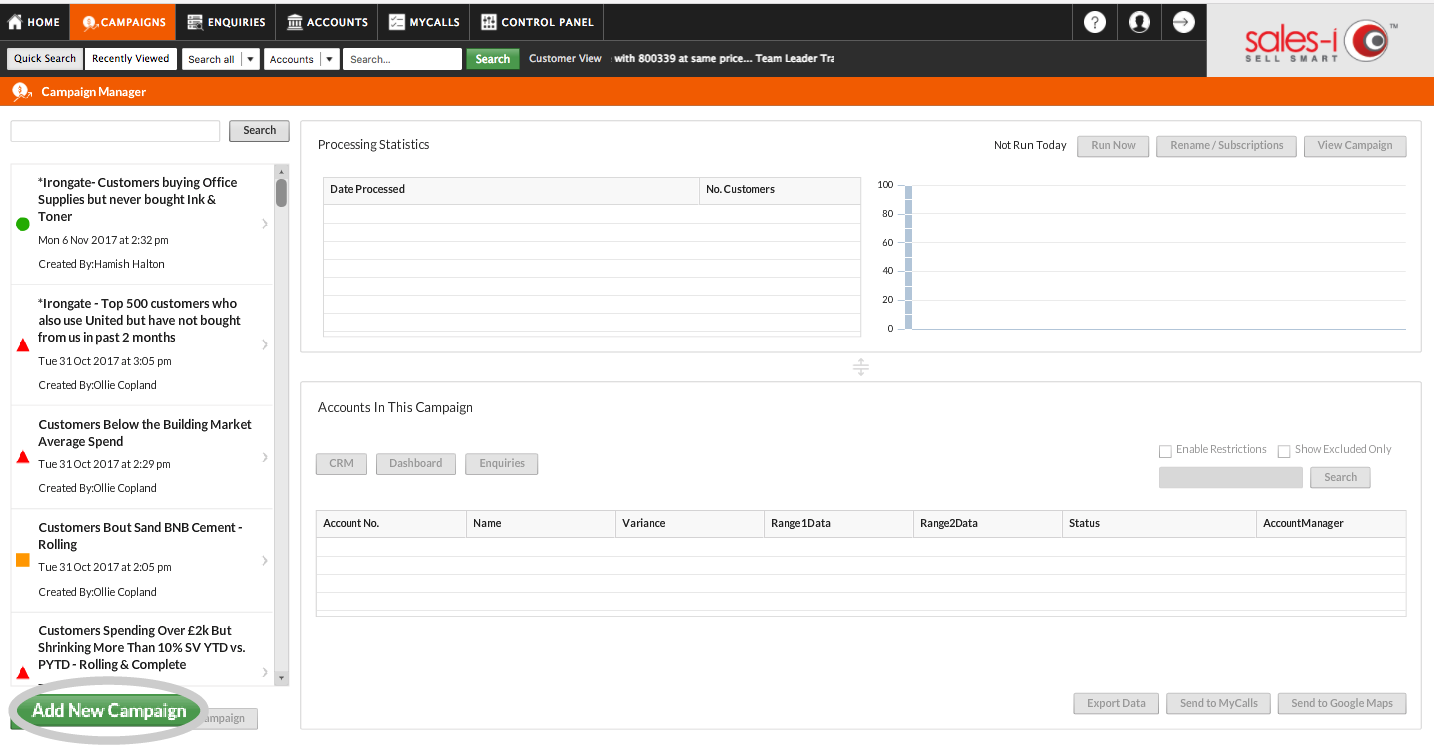
Step 2: Click Add New Campaign
Click Add New Campaign in the bottom left of the screen.
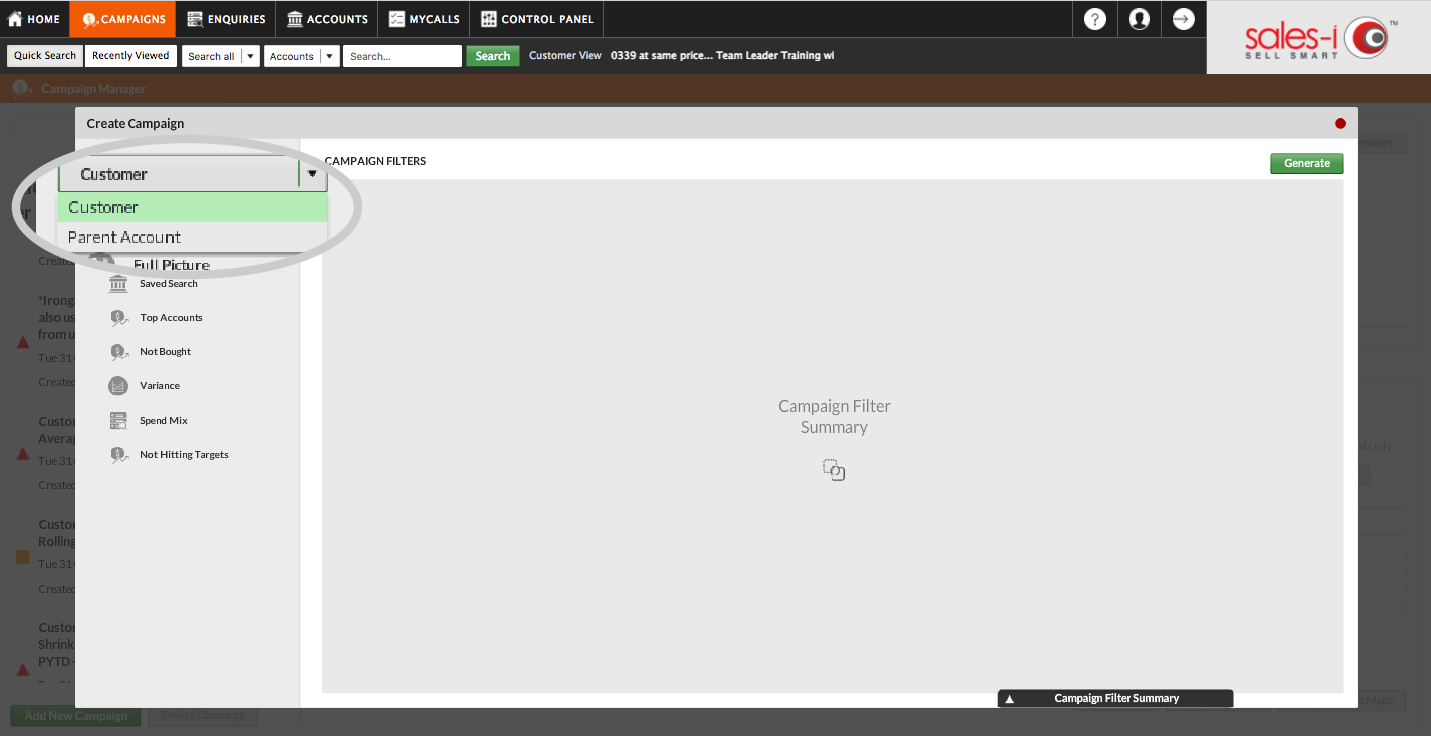
Step 3: Filter
Firstly, you will need to decide if you want to filter the results to show either Parent Accounts (head office locations) or Customers (delivery addresses/sub accounts).
For this example, we will choose Customers.
Step 4: Drag and drop
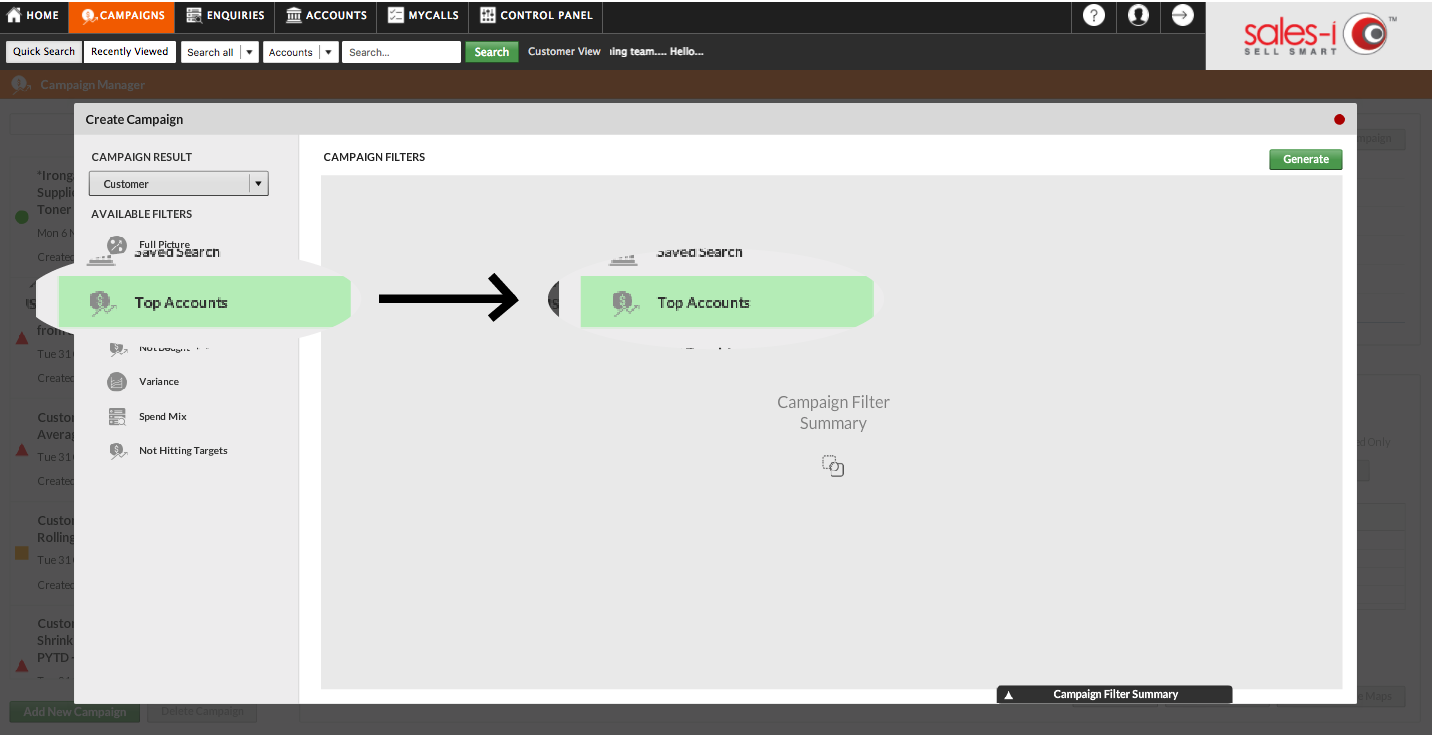
Drag and drop the Top Accounts campaign filter from left to right.
Step 5: Select date range
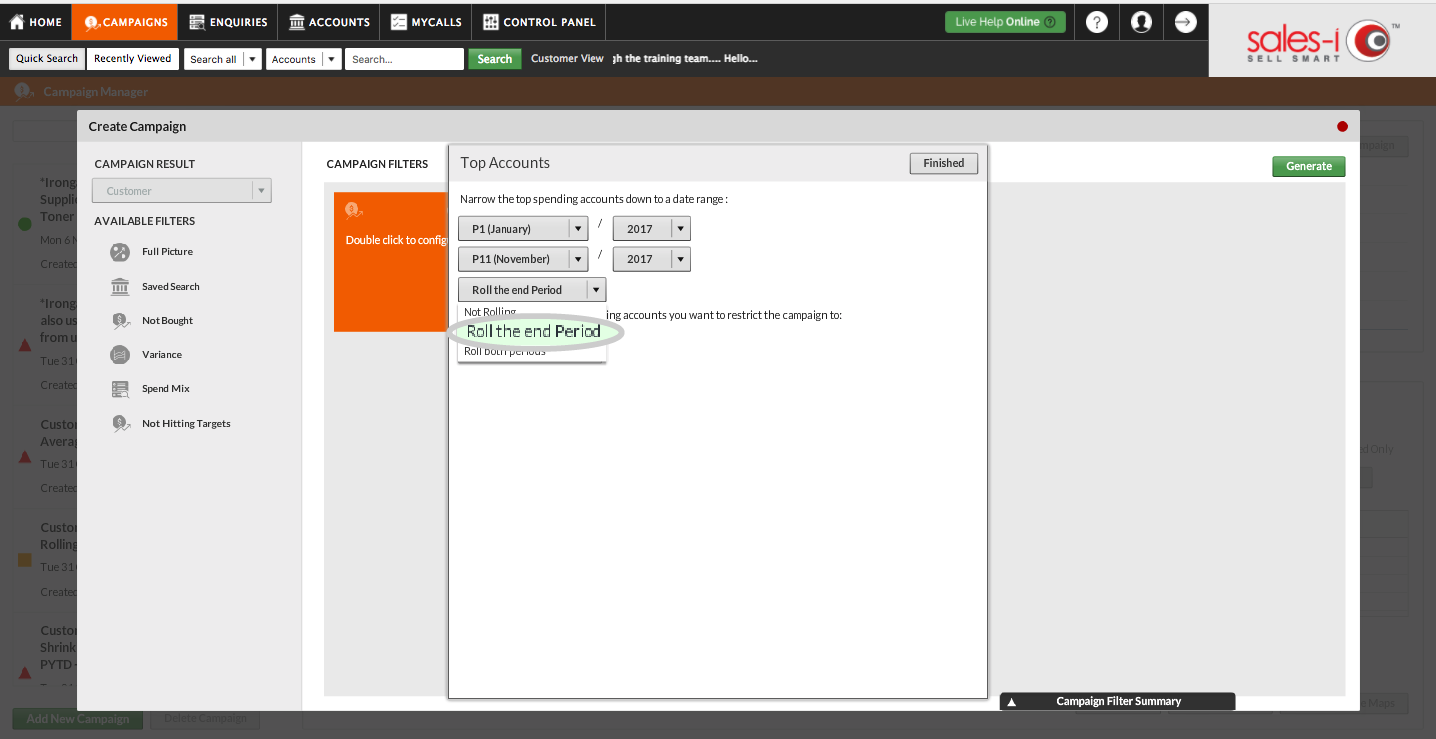
Select the date range you want to search within – this could be as broad as 'all time' or as narrow as 'the current 2 months'. A commonly used date range is YTD – to do this, ensure the month and year fields are correct, and select 'Roll the End Period' from the drop down.
Step 6: Select the number of accounts
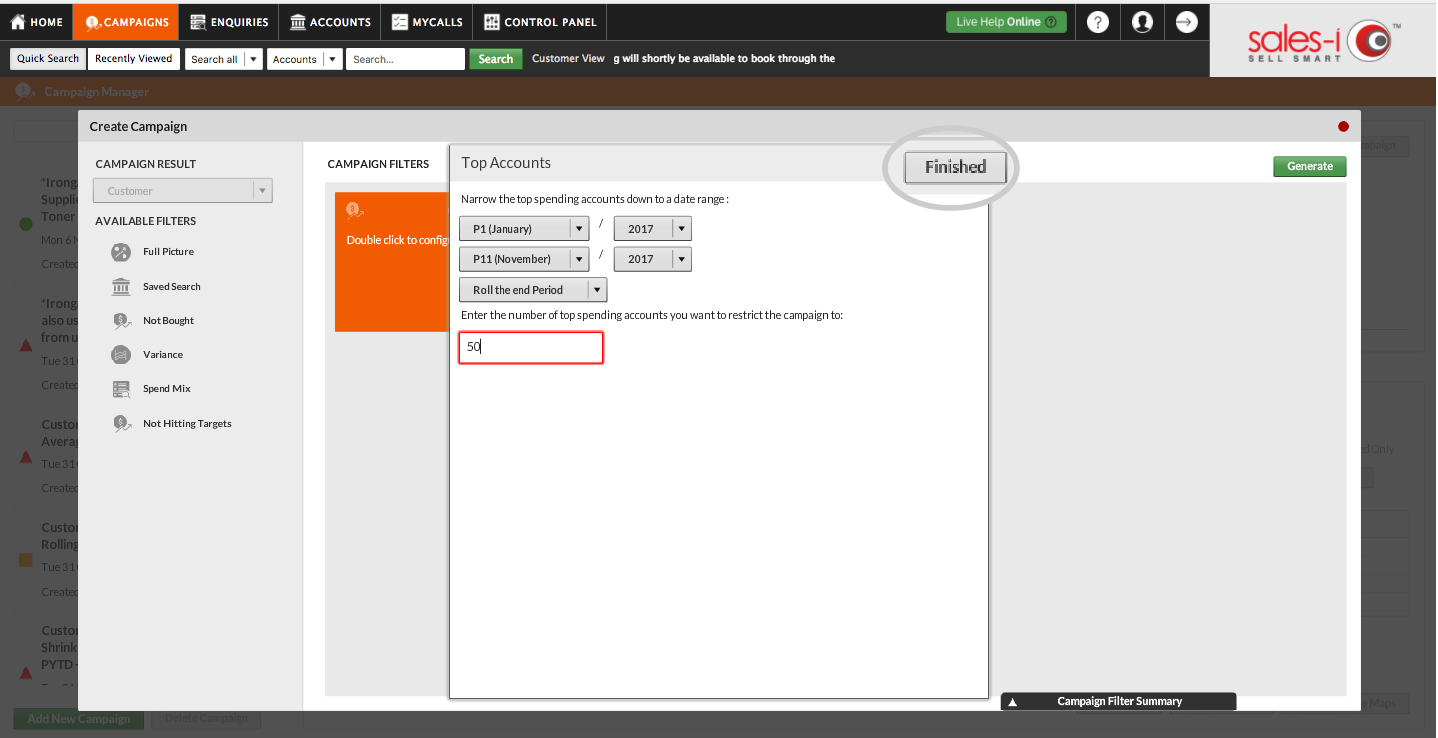
Next, type in the number of top accounts you want to restrict to – in this case 50 – and click Finished.
Step 7: Click Generate
To generate the campaign, click the green Generate button in the top right hand corner of the pop up window.
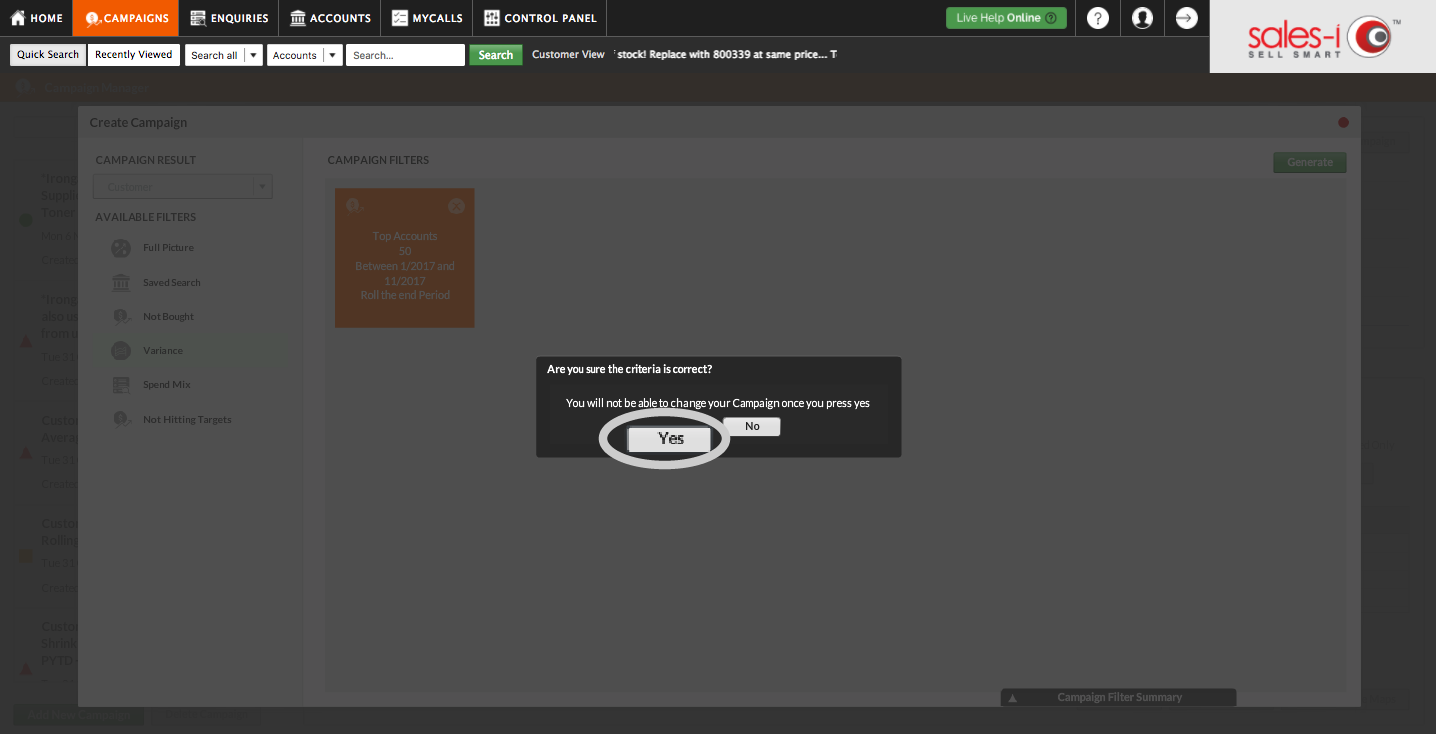
Please Note: A pop-up window will appear asking 'Are you sure the criteria is correct?' - click Yes.
Step 8: Further options
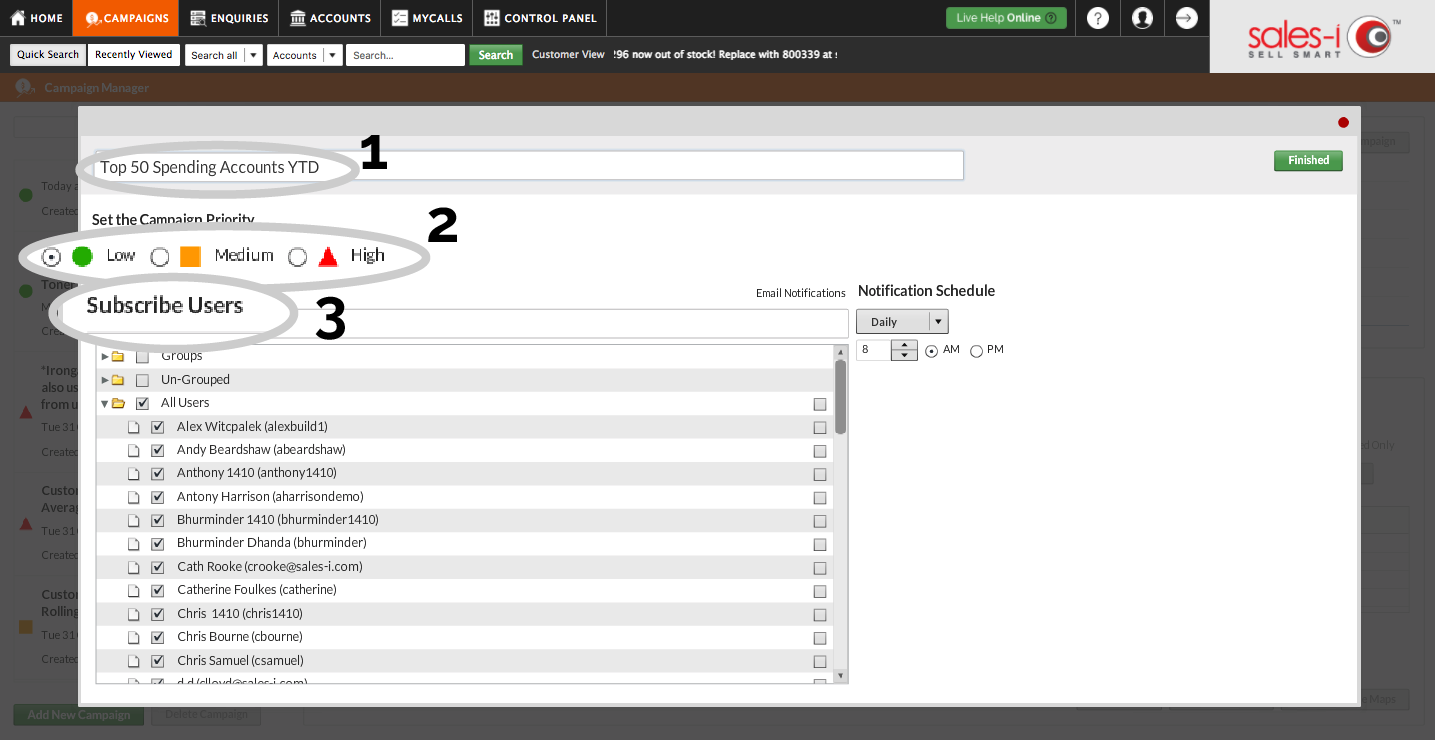
On this screen you can:
• Give the Campaign a name: i.e. 'Top 50 Spending Accounts YTD'
• Set the Campaign Priority by selecting from the traffic-light system, and
• Subscribe any/all users to the campaign.
Step 9: Click Finished
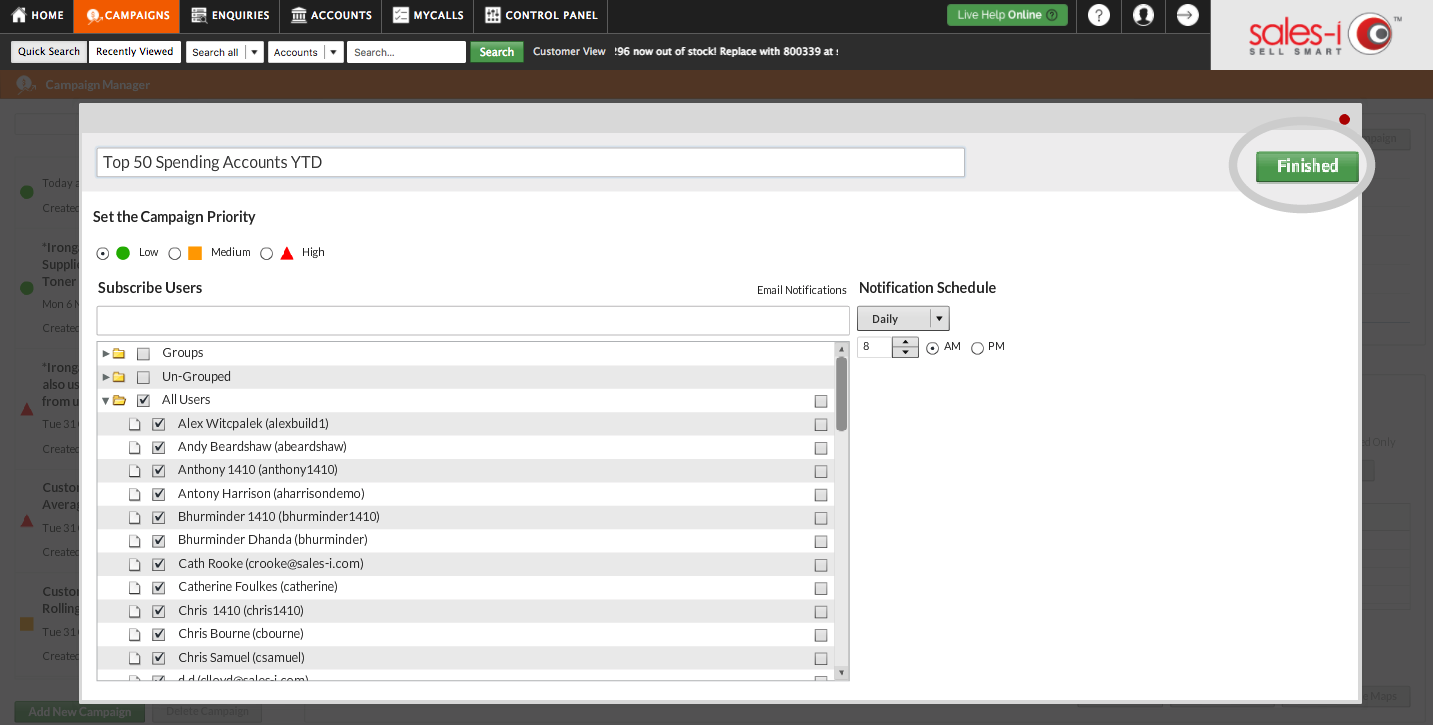
Click the green Finished button in the top right hand corner to view your Campaign results.
Step 10: View results
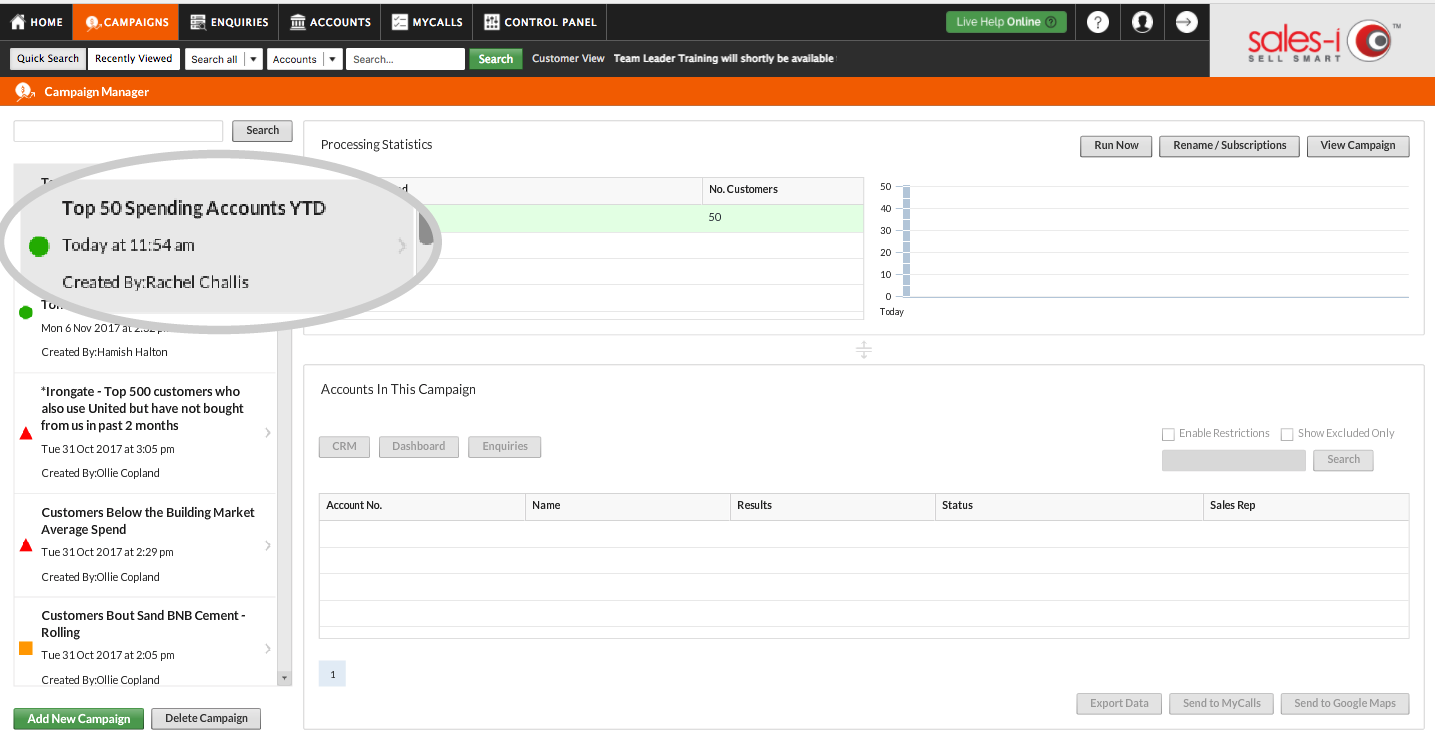
Click on the Campaign name from the list on the left-hand-side to view the results.
A Power User will have the option to view the most recently run version of the campaign by selecting from the list under Processing Statistics in the top centre of the screen.
Please Note: Campaigns can only be generated by a Power User, however the results can be accessed, run, and actioned by all users. The result may differ depending on user restrictions (e.g. if a user is restricted to only see their customers, they will see the number of their customers that fall into the top 50 companywide.
Step 11: Optional - Export data
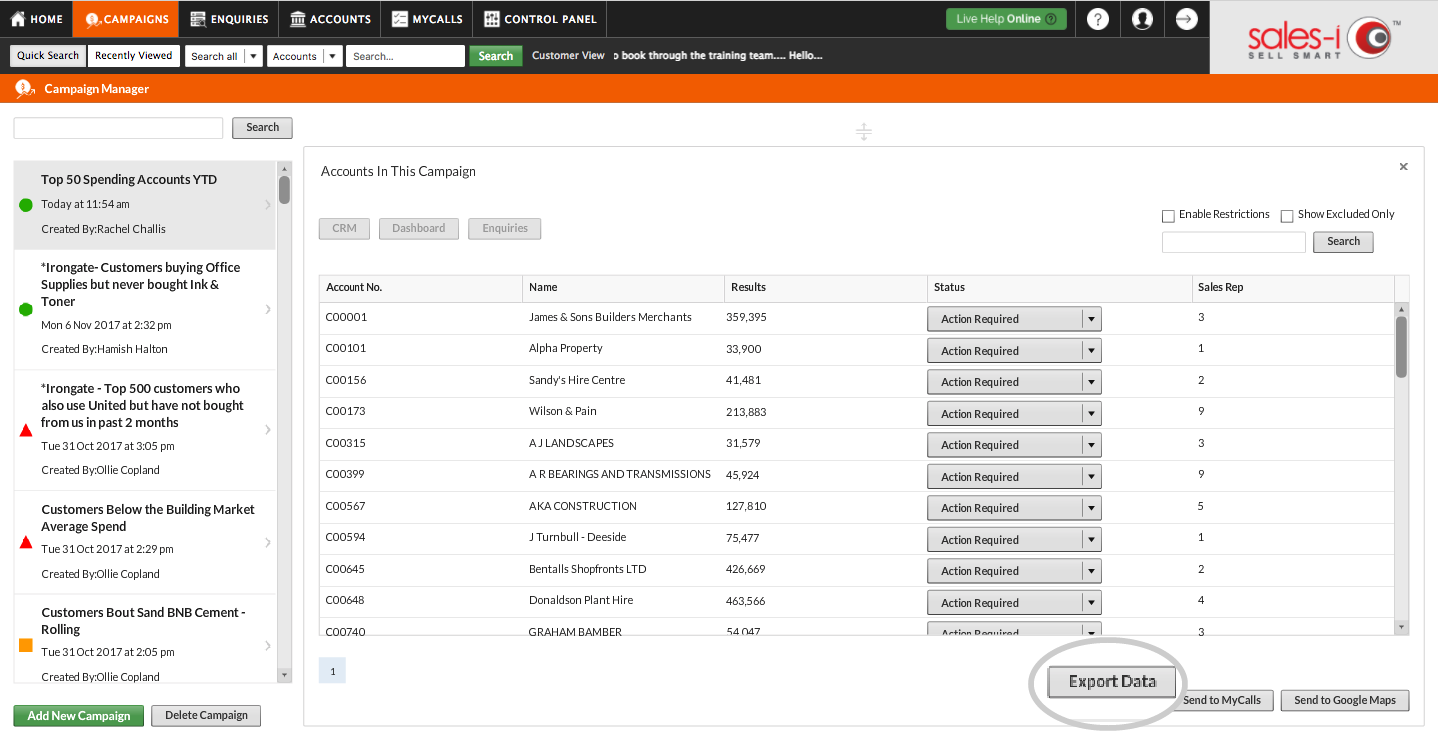
If needed, there is also an option to export this data to a CSV file.
For example, to send to your marketing team for reference.
To export this list click Export Data in the bottom right of the screen.
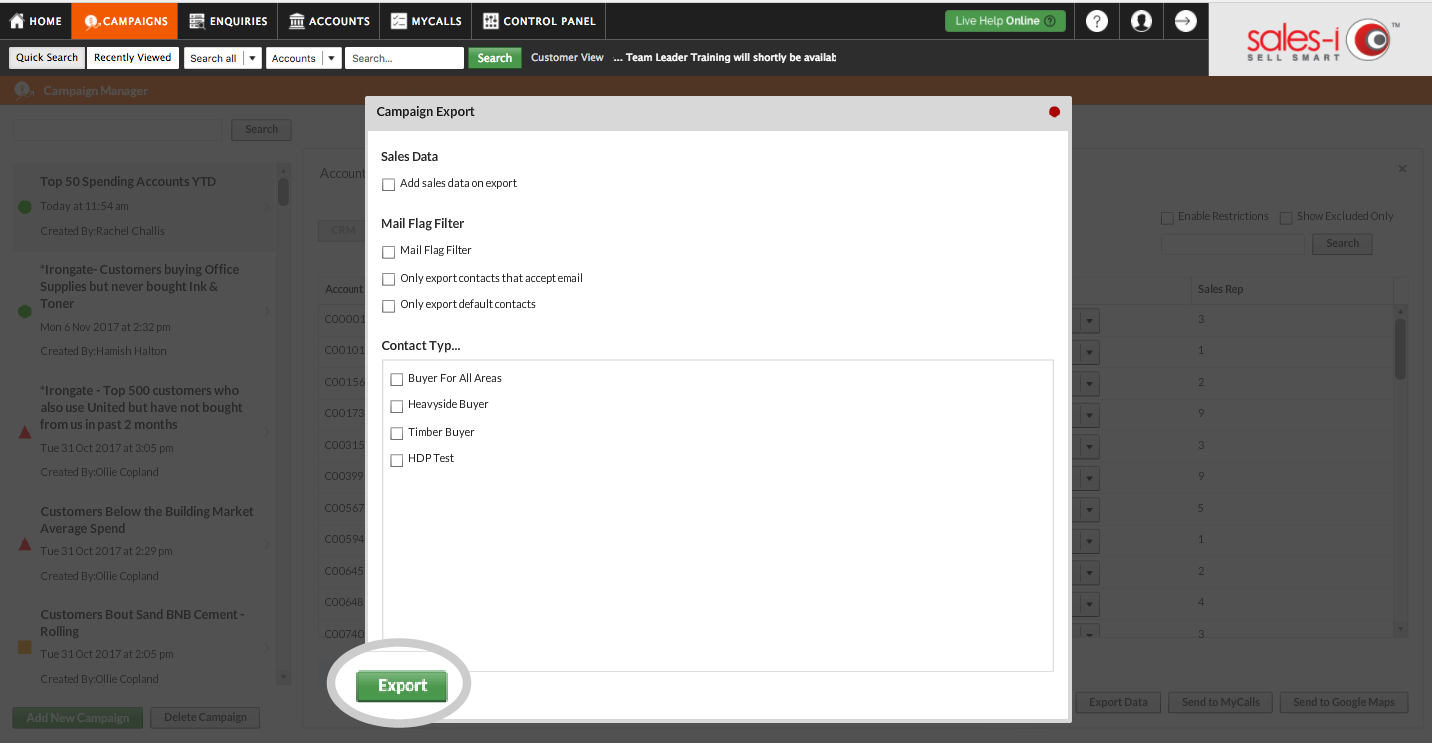
Step 12: Click Export
Now, you can select any additional criteria that you want to include on the export or alternatively, just click Export.
