This guide will show you how to add and set up a new sales-i user. Please note: You will need to email support@sales-i.com once set up is complete to activate the user.
Desktop
Download a PDF version
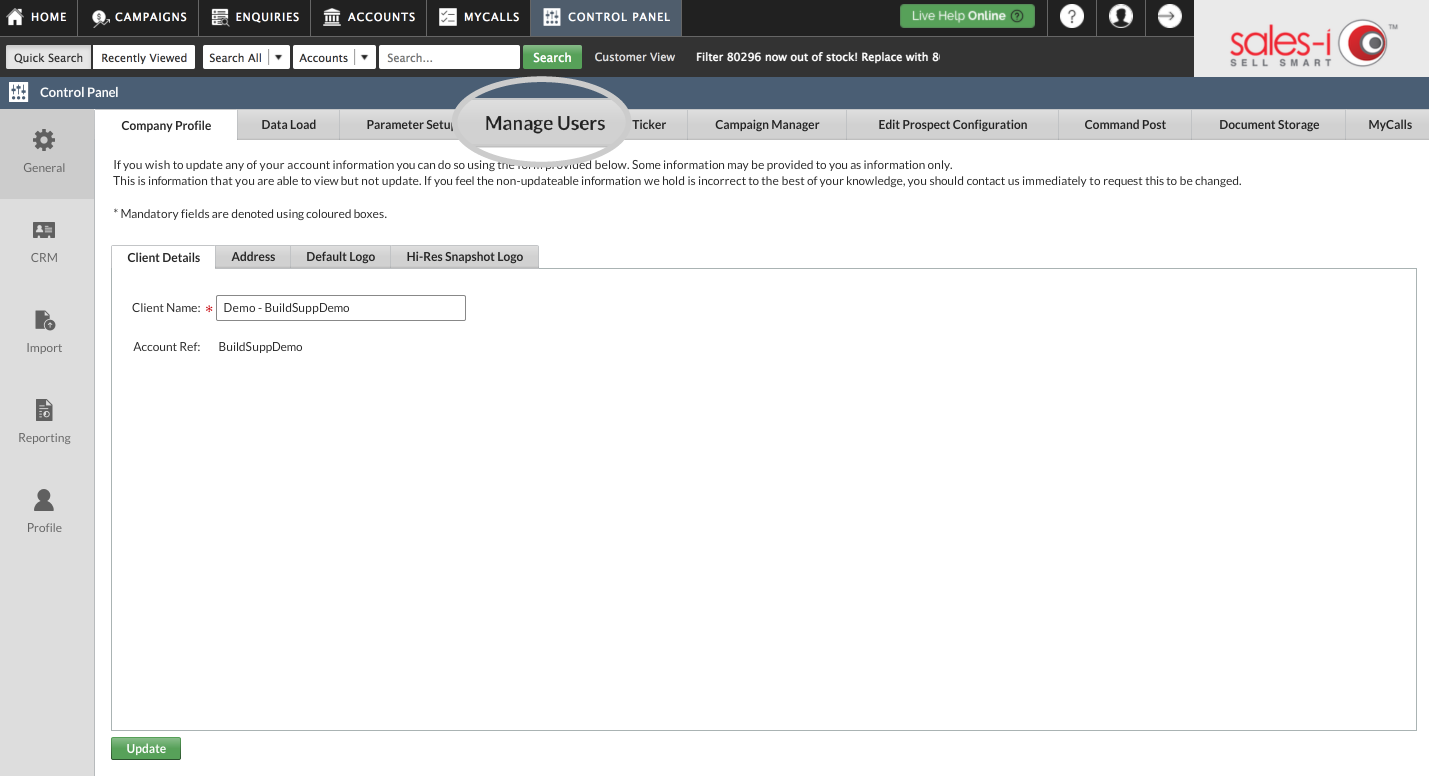
Step 1: Go to Control Panel
From the black navigation bar at the top of the screen, click Control Panel.

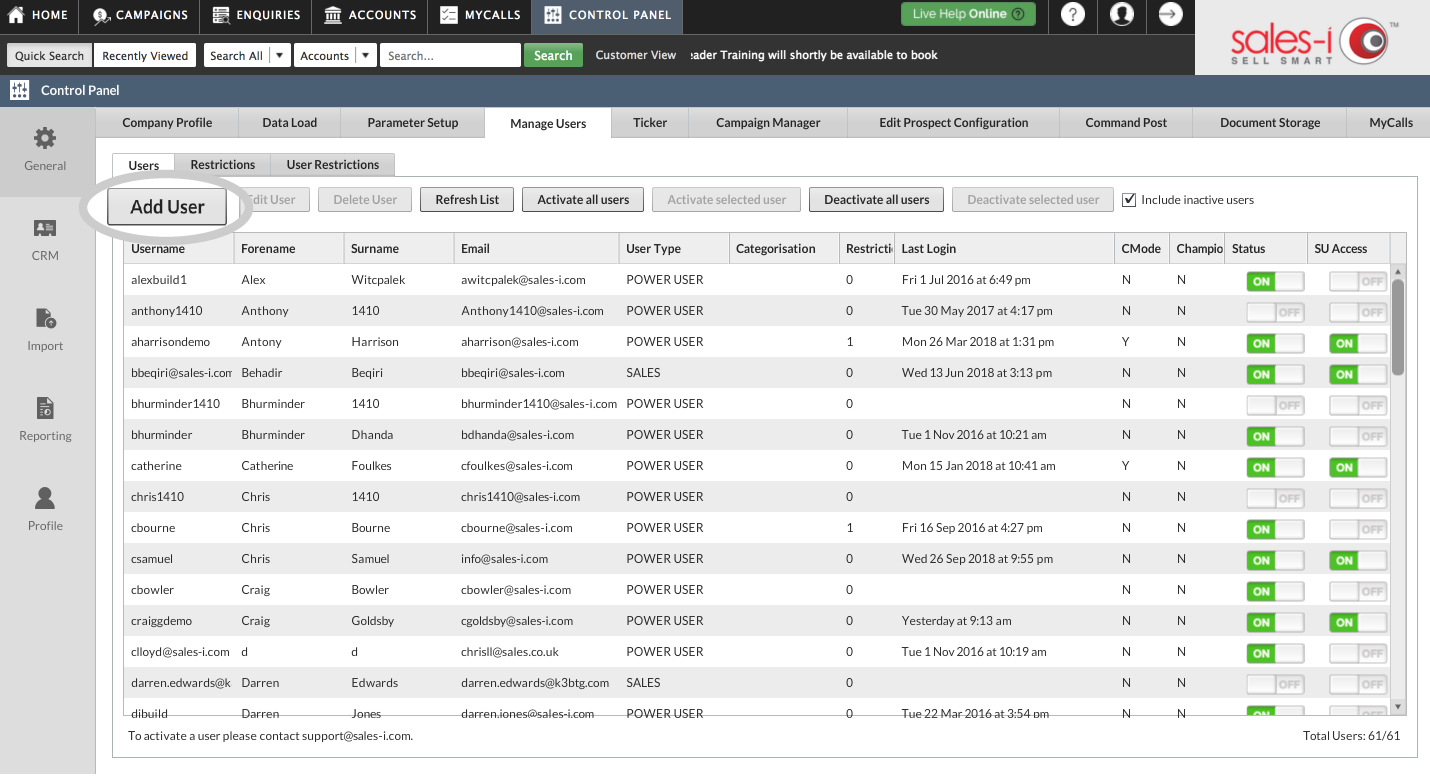
Step 2: Go To Manage Users
Click Manage Users. It’s the fourth tab from the left.
Step 3: Add Users
Click Add User on the left of the screen.
Please note: You now to need to email support@sales-i.com to activate the user.
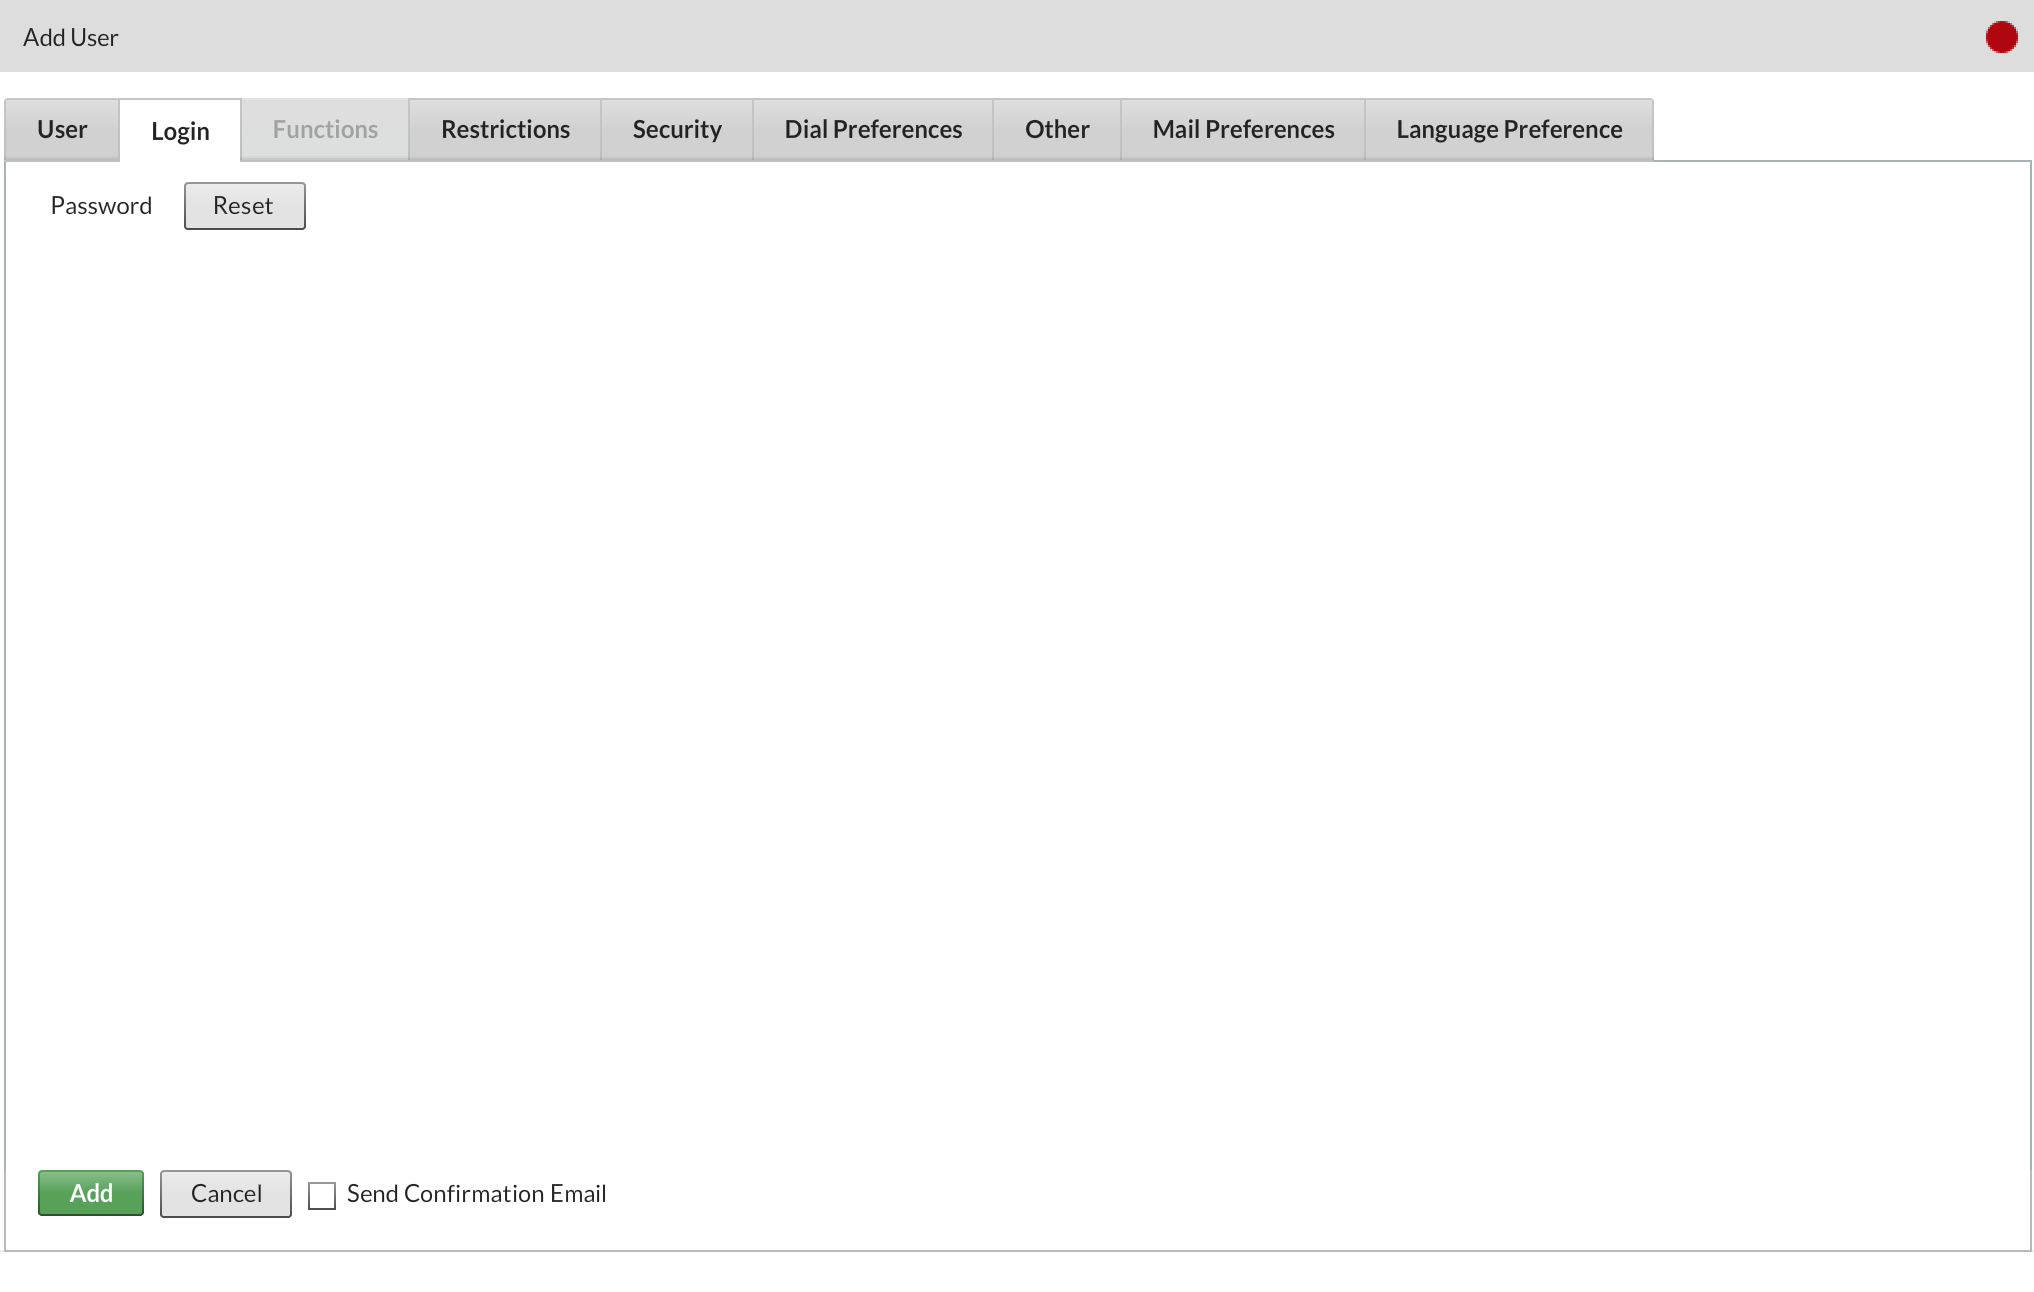
Step 4: User Tabs
A box will now appear with the following tabs:
Step 4.1: User
Fill in all of the mandatory fields.
Please Note: The user name must be completely unique and easy to remember. We recommend using an email address.

Step 4.2: Login
Use this tab if password Reset is required in the future.
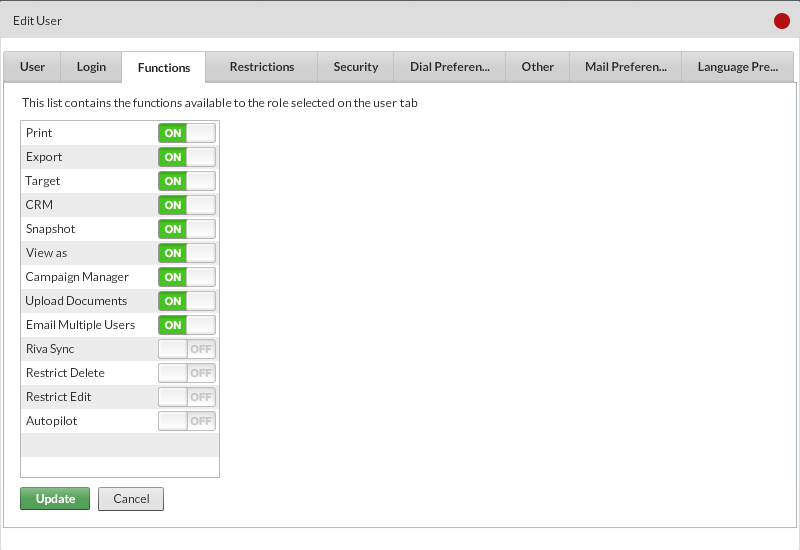
Step 4.3: Functions
This tab will be greyed out for now. As soon as you’ve saved and created the new user however, this tab will become available. This is simply because, until you tell sales-i which type of user you’ll need, it doesn’t know which options to show you under this tab. Use this tab as and when you need it, but this will allow you to add/remove the following options to someone’s account: Print, Export, Target, CRM, Snapshot, Campaign Manager, Upload Documents, Email Multiple Users, Autopilot.
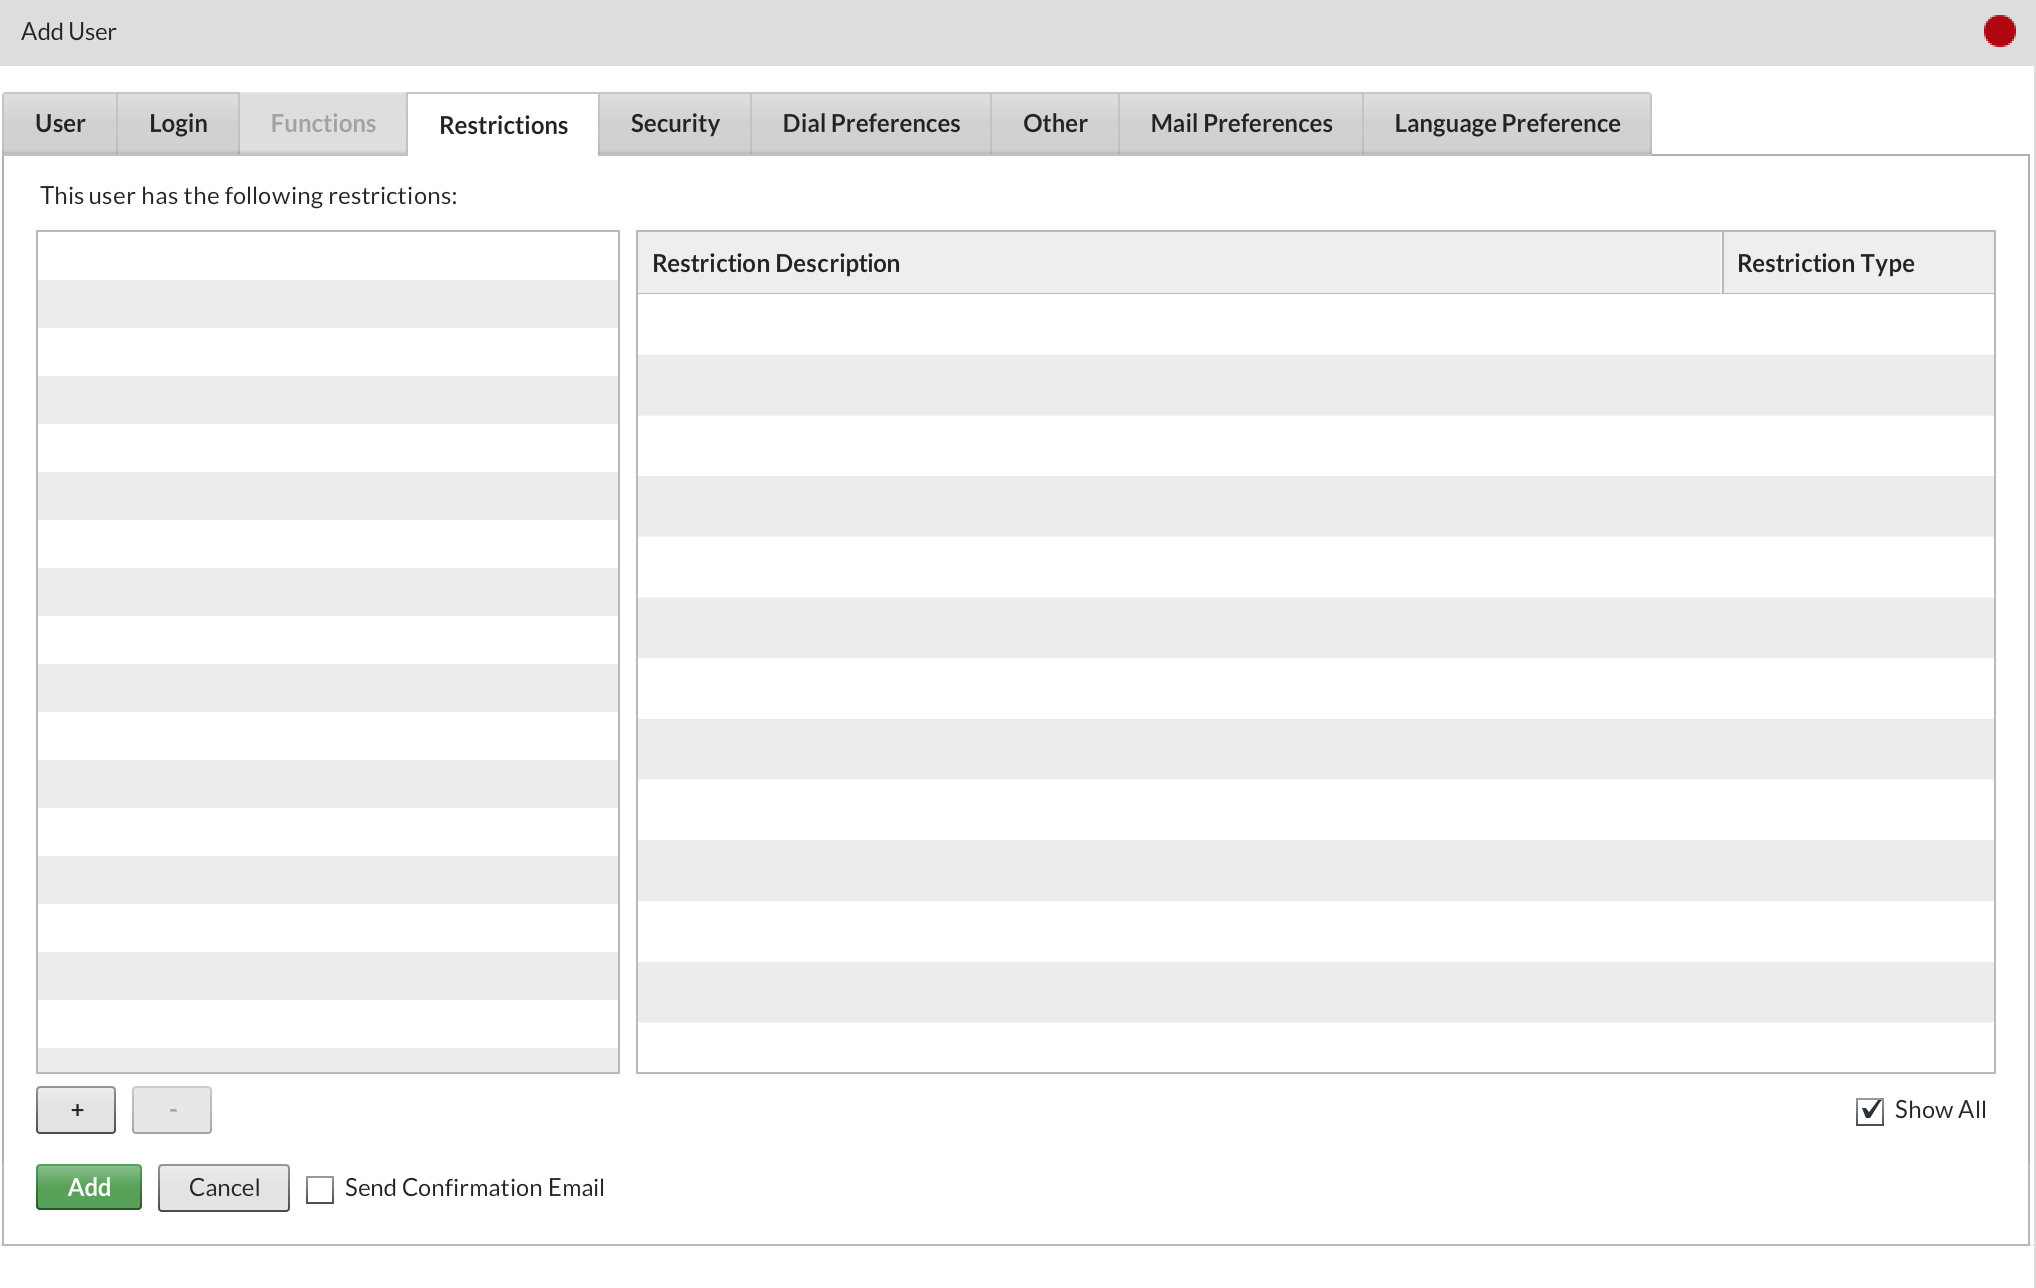
Step 4.4: Restrictions
Adding a user to a restriction will restrict their view to those accounts only. Simply click the + button in the bottom left-hand corner of the window, choose the restriction/s you wish to place against the user, then select Add Restriction when you’re done. Return to this tab whenever you want to see which restrictions a user has against them or to add/remove them from restrictions.
Want to learn how to create a user group? Click here for the how to.
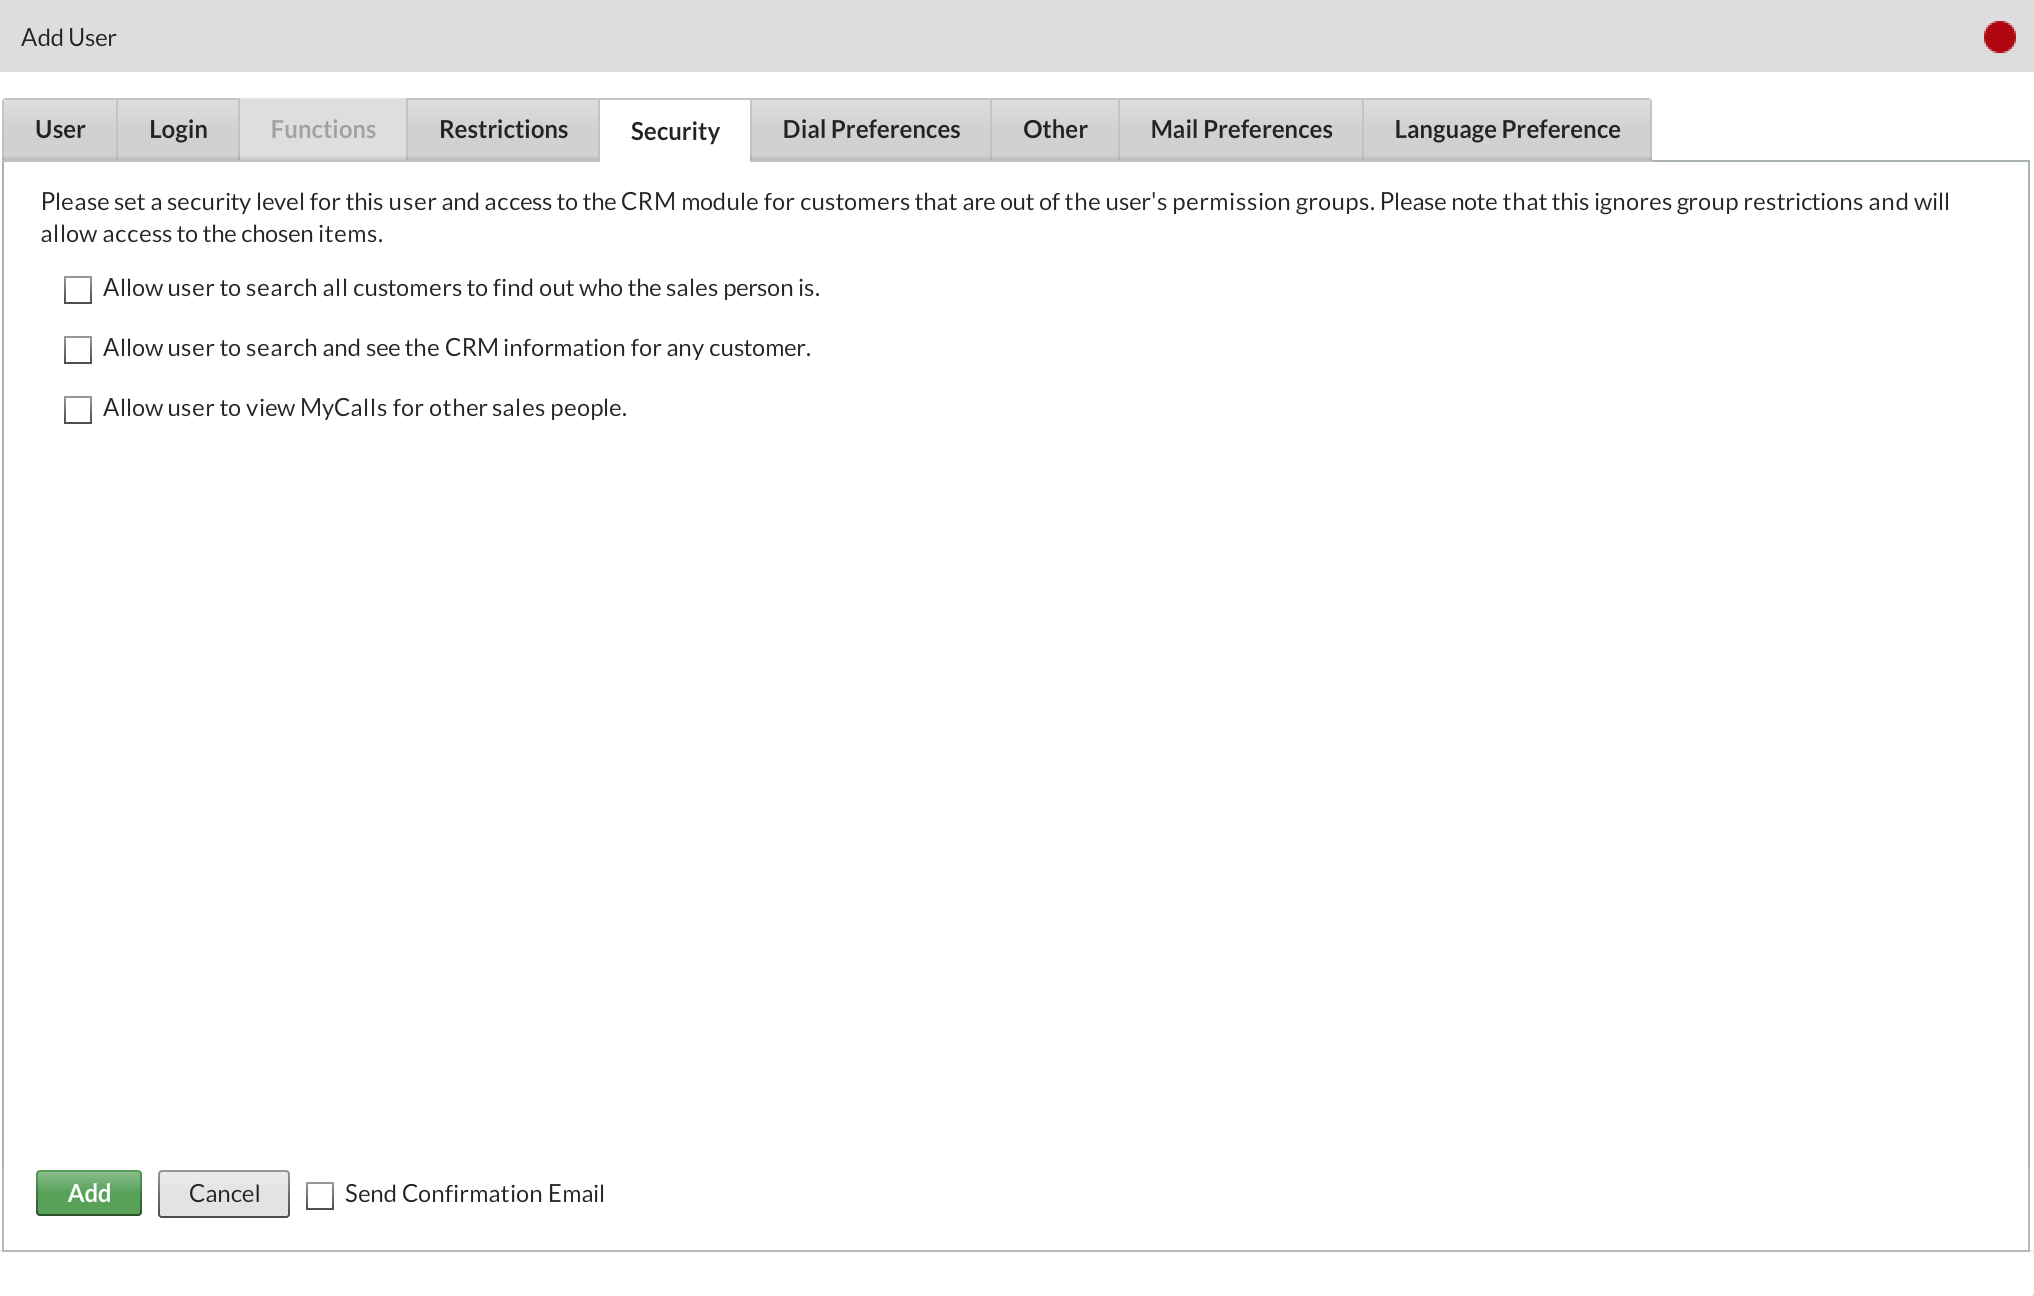
Step 4.5: Security
Options relating to CRM access: Select as required and click Add to apply.
Although you may restrict a user to see specific sales information you may wish to allow them to see Record Card information for other accounts.
Step 4.6: Dial Preferences
For VOIP users only. Use as required to set up dialling preferences.

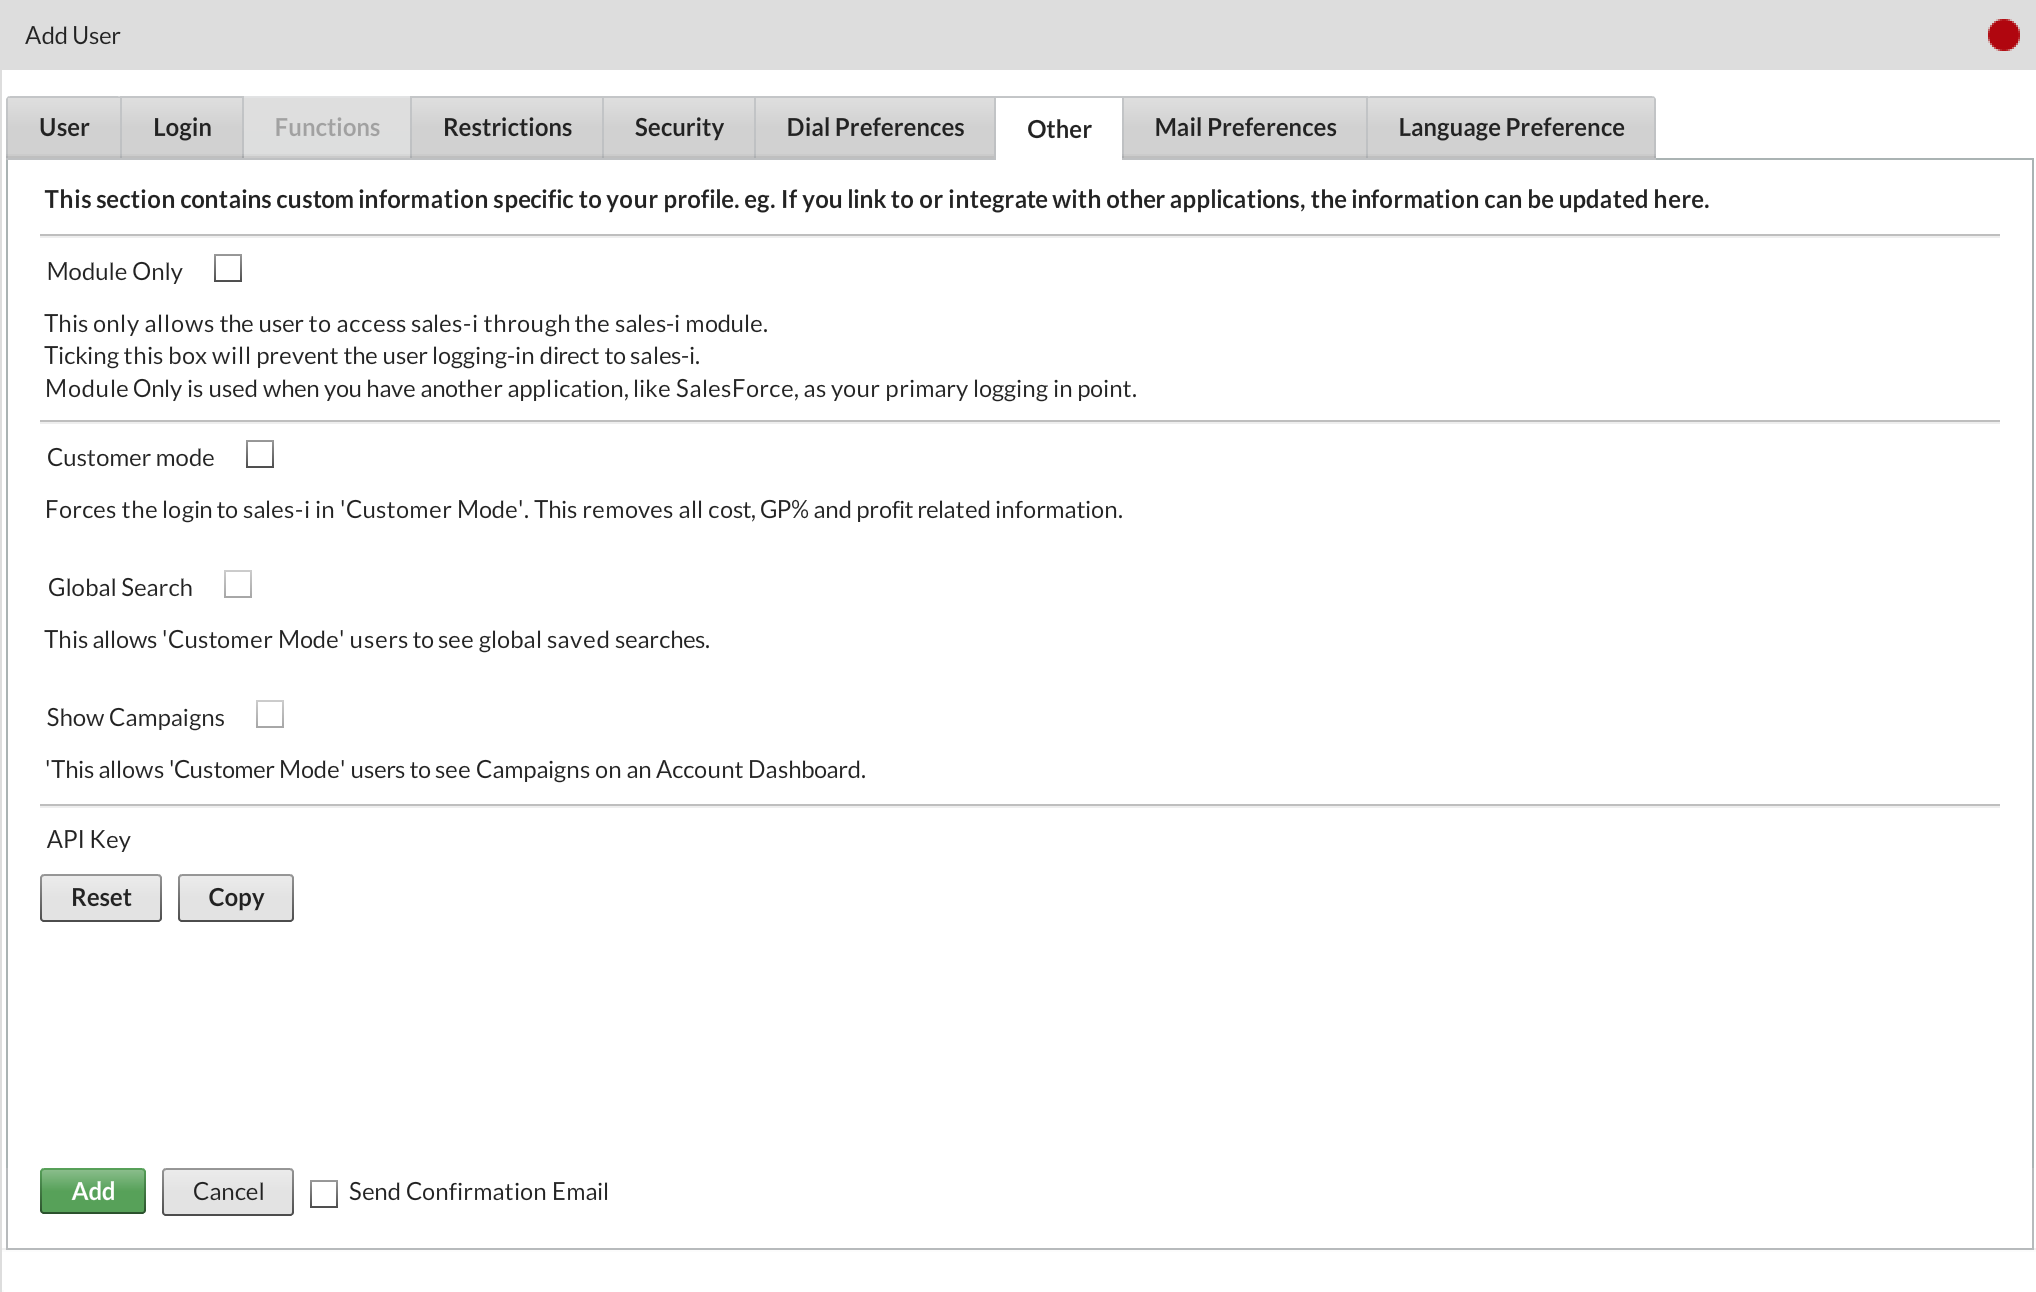
Step 4.7: Other
Select options as required.
If you wish to remove GP, Profit and Cost for a user then check Customer Mode.
However, you may want a user with Customer Mode enabled to view Customer Level Campaigns and/or Global Saved Enquiries. If so, check as appropriate.
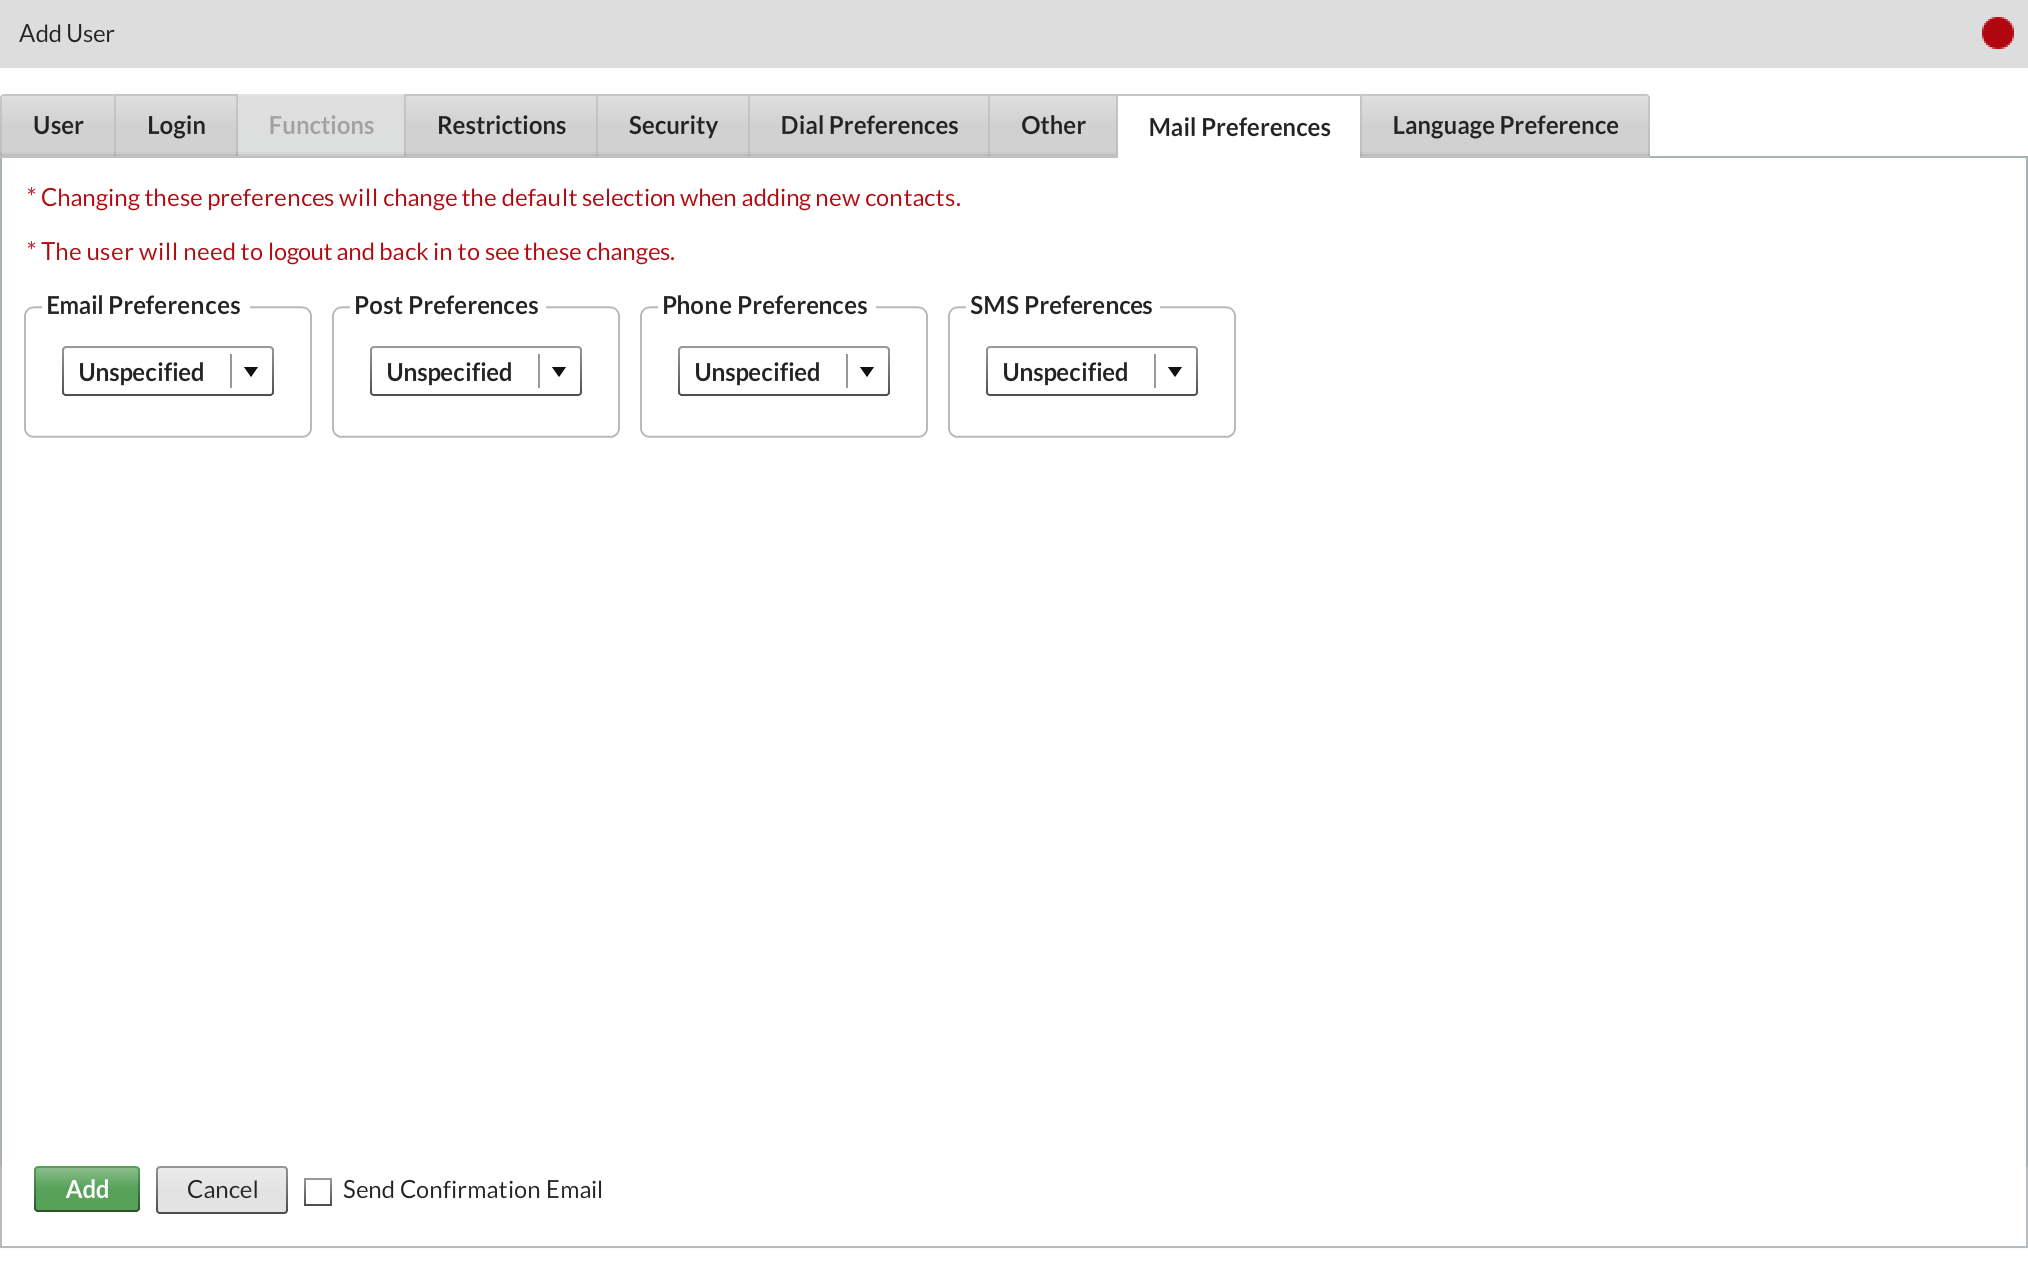
Step 4.8: Mail Preferences
Select Email, Post, Phone and SMS preferences as required.
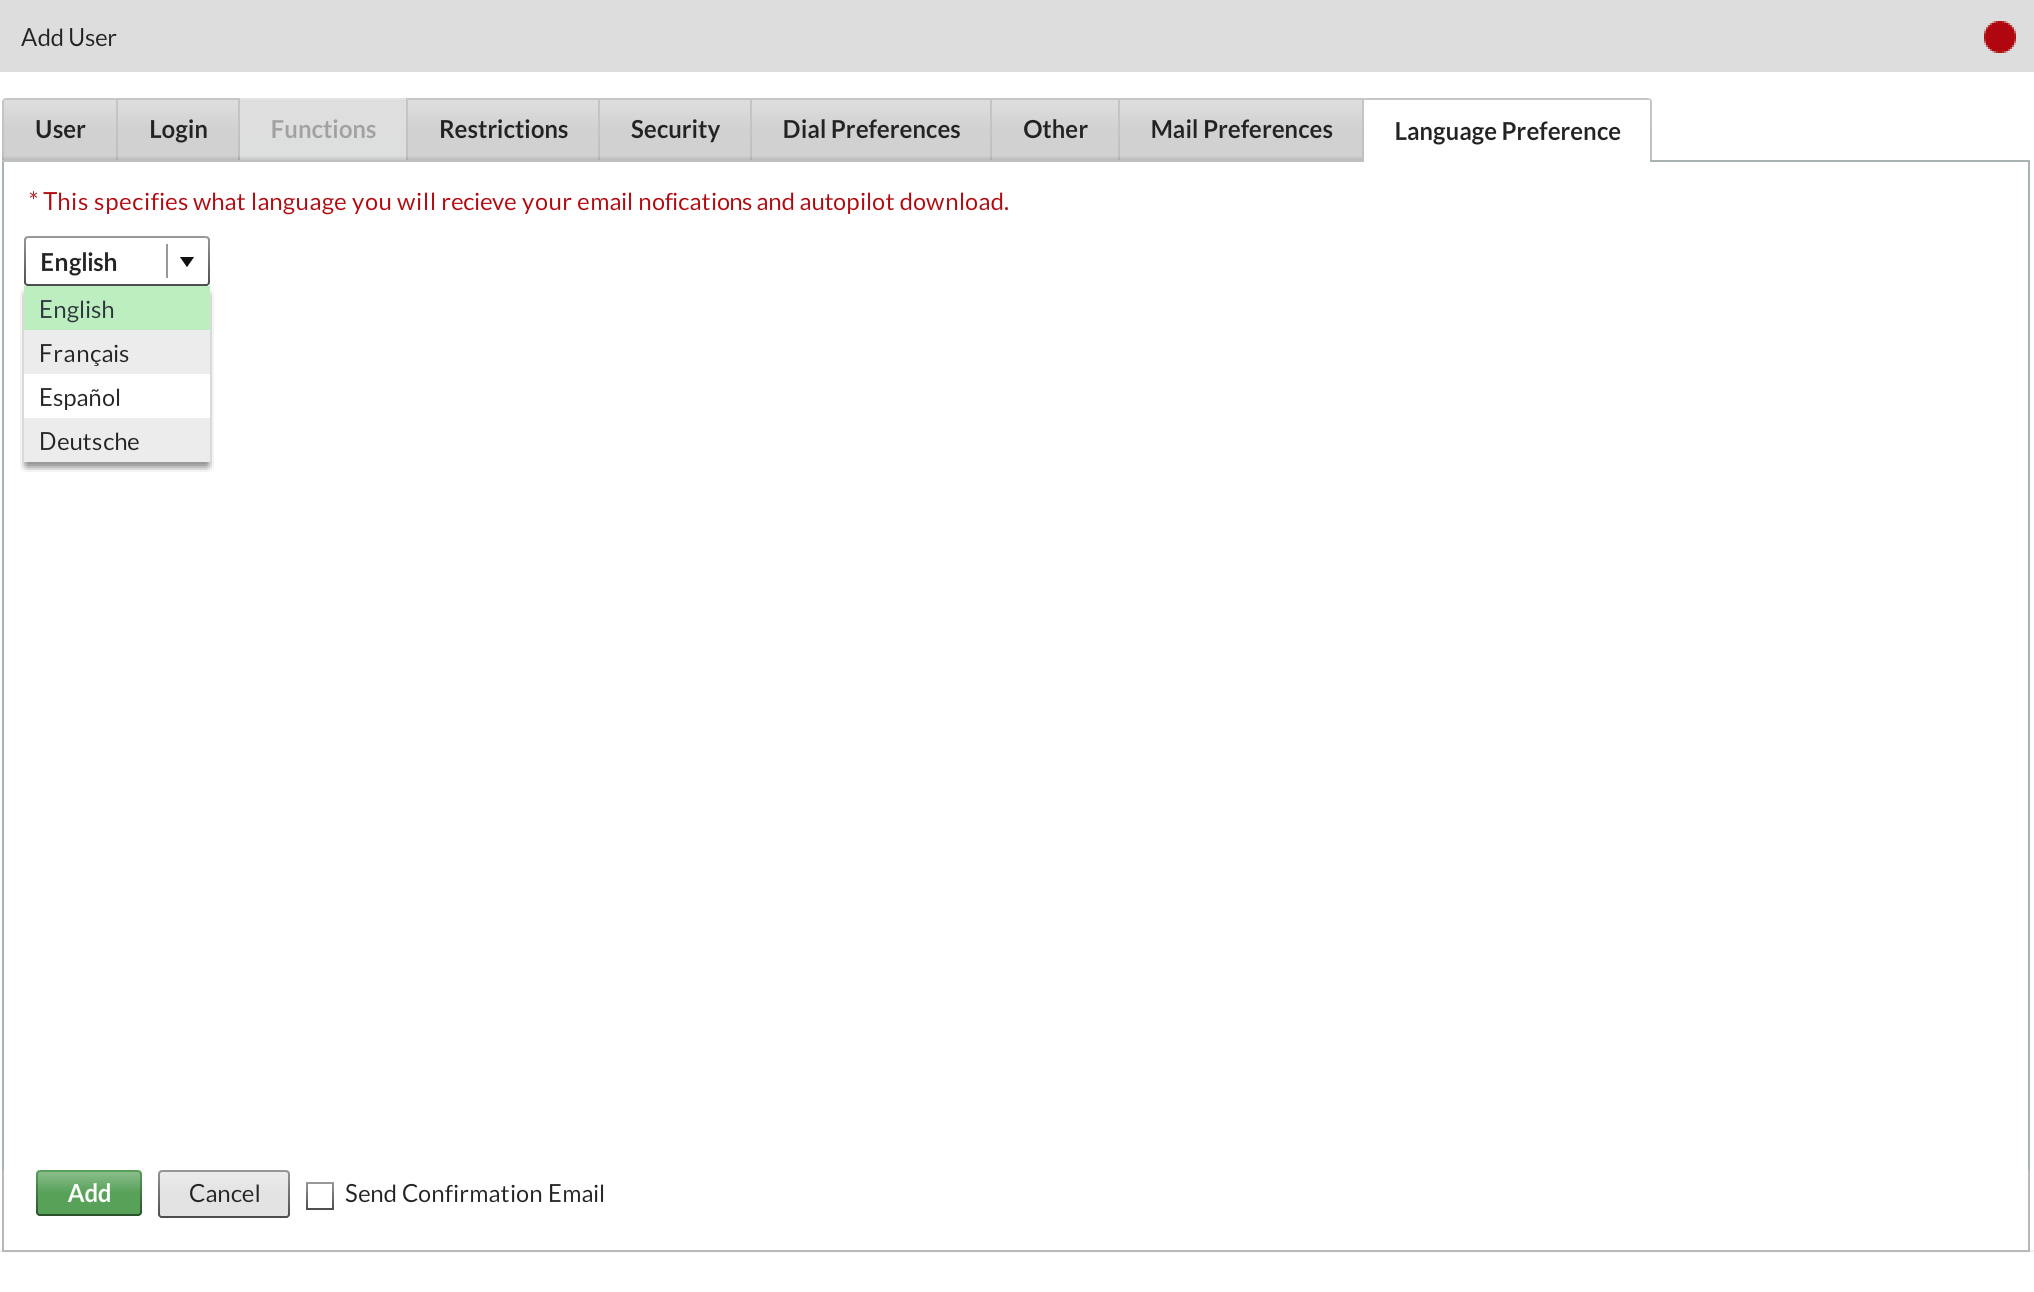
Step 4.9: Language Preferences
Select which language you would like the user to receive email notifications and autopilot downloads in.
When you’re done, hit Add in the bottom left-hand corner of the screen.
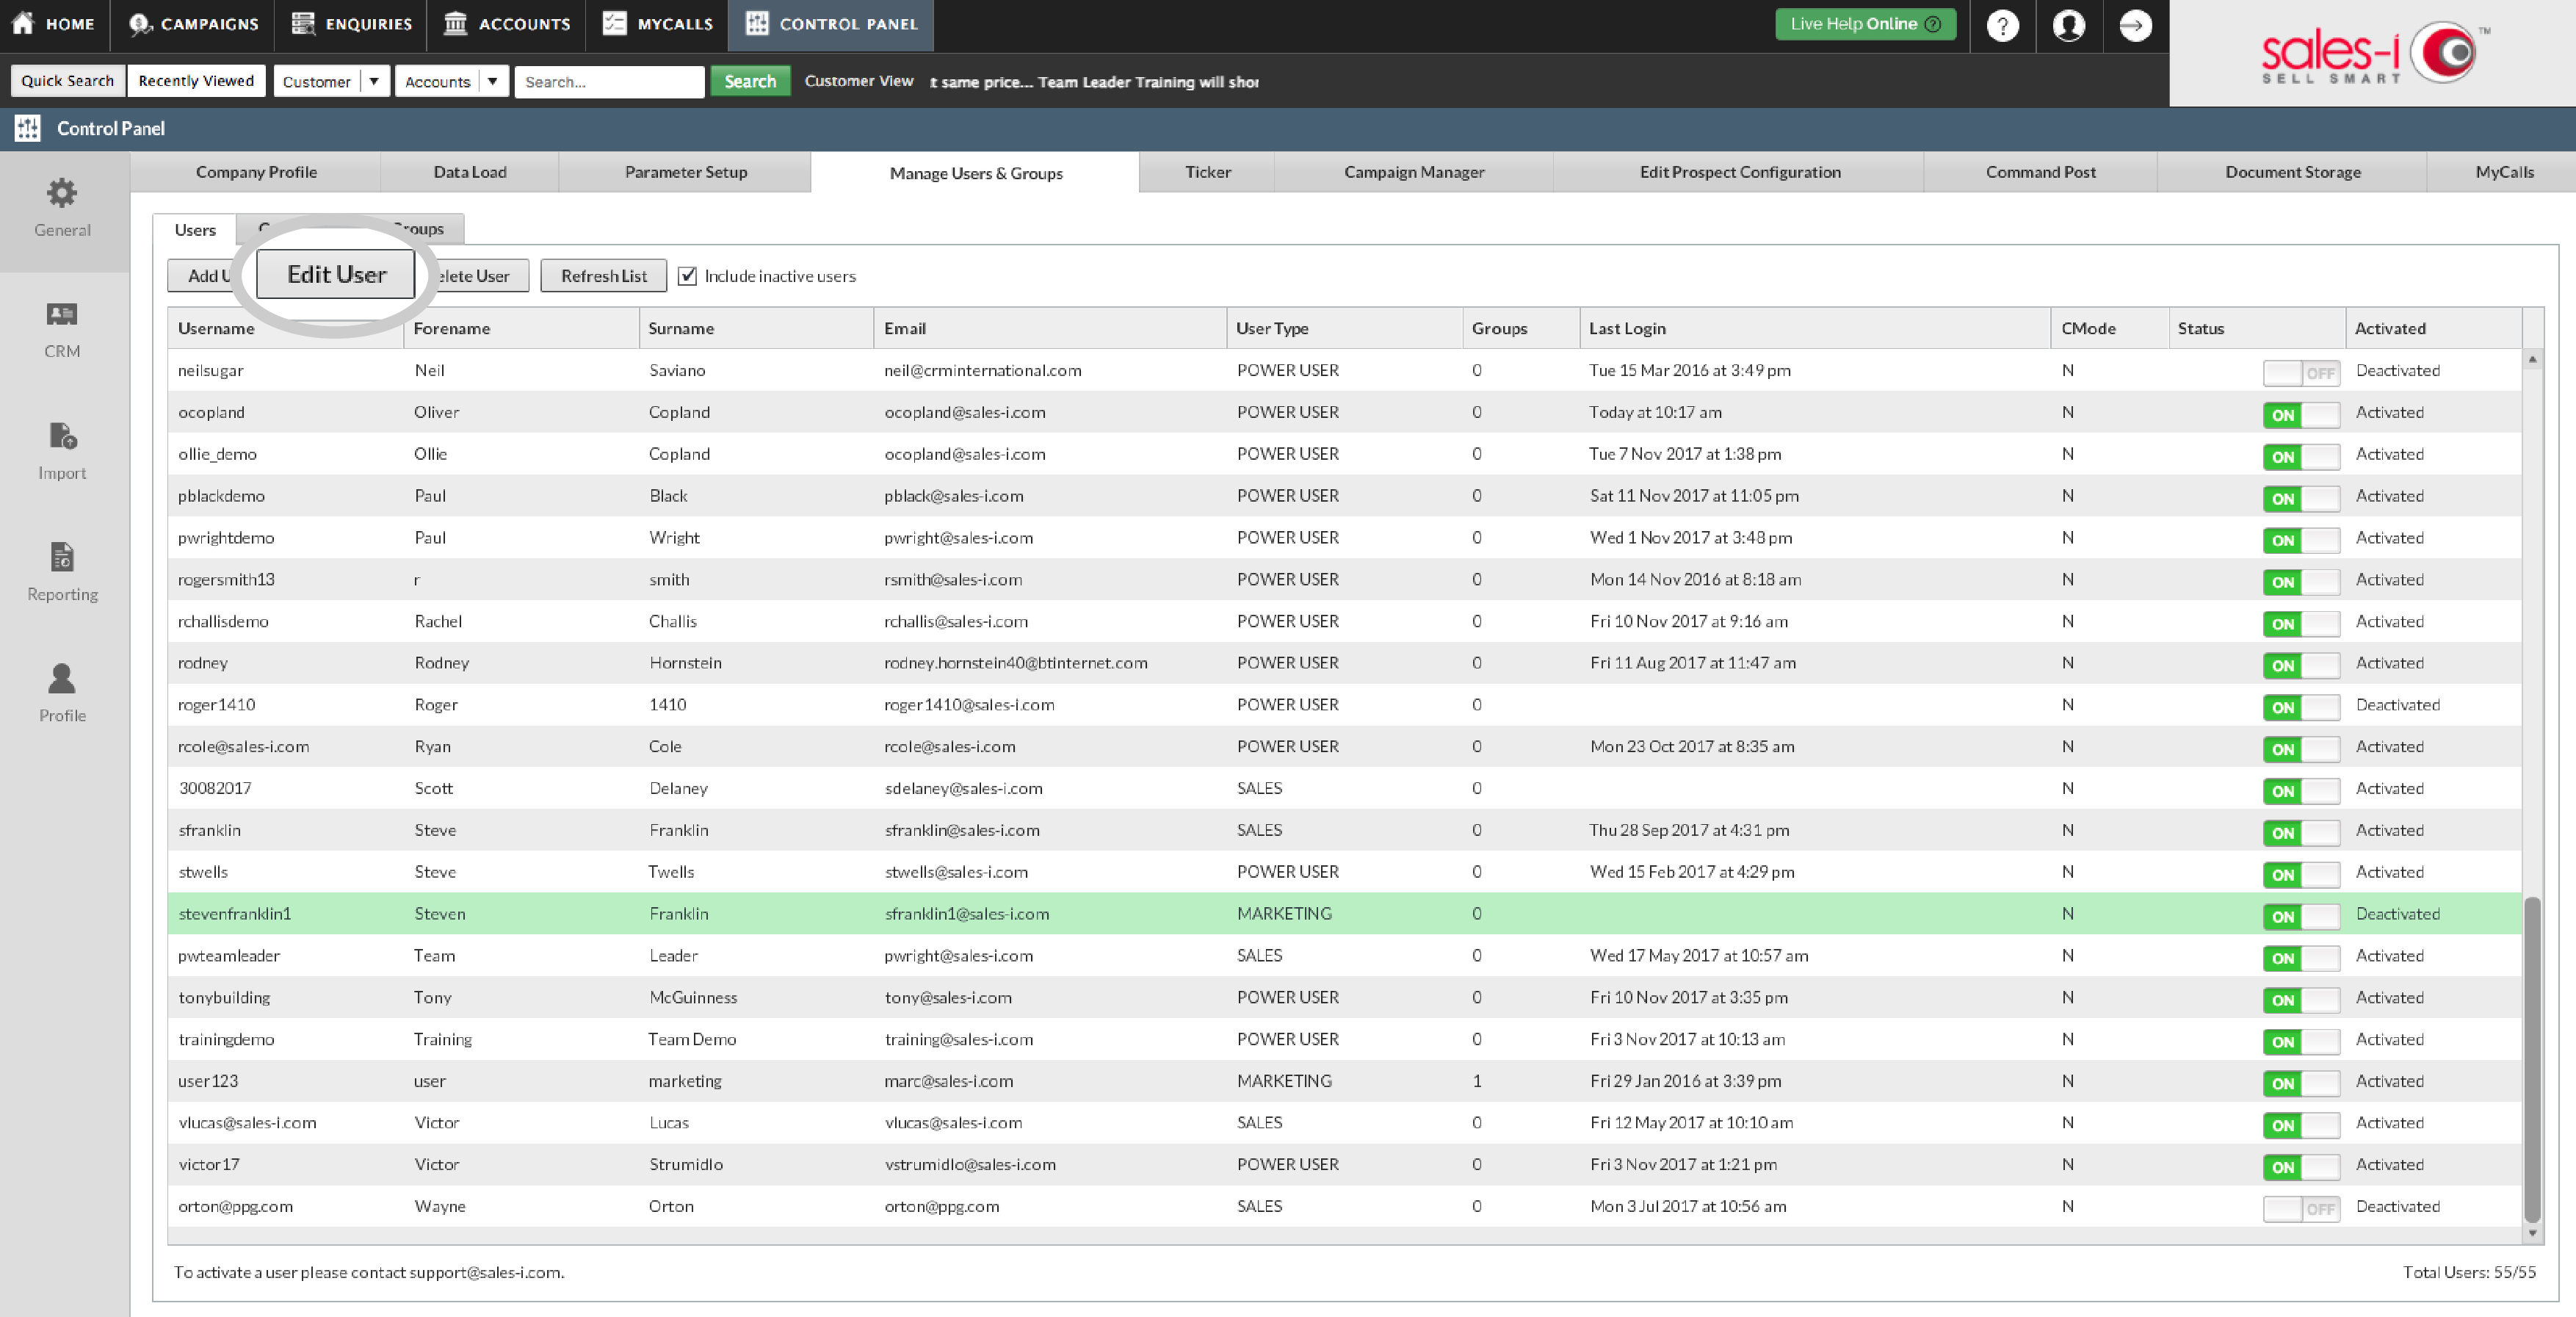
Step 5: Edit User
Simply find and select the user in the users list and click Edit User. The user will need to log out and then back in again for the changes to take effect.
You should also click on Refresh List to ensure any recent changes have been applied.