This guide will show you how to prepare and export a (weekly) call outcome report within sales-i, using various filters, such as; user, date ranges and types of call made.
Desktop
Step 1: Go to Control Panel
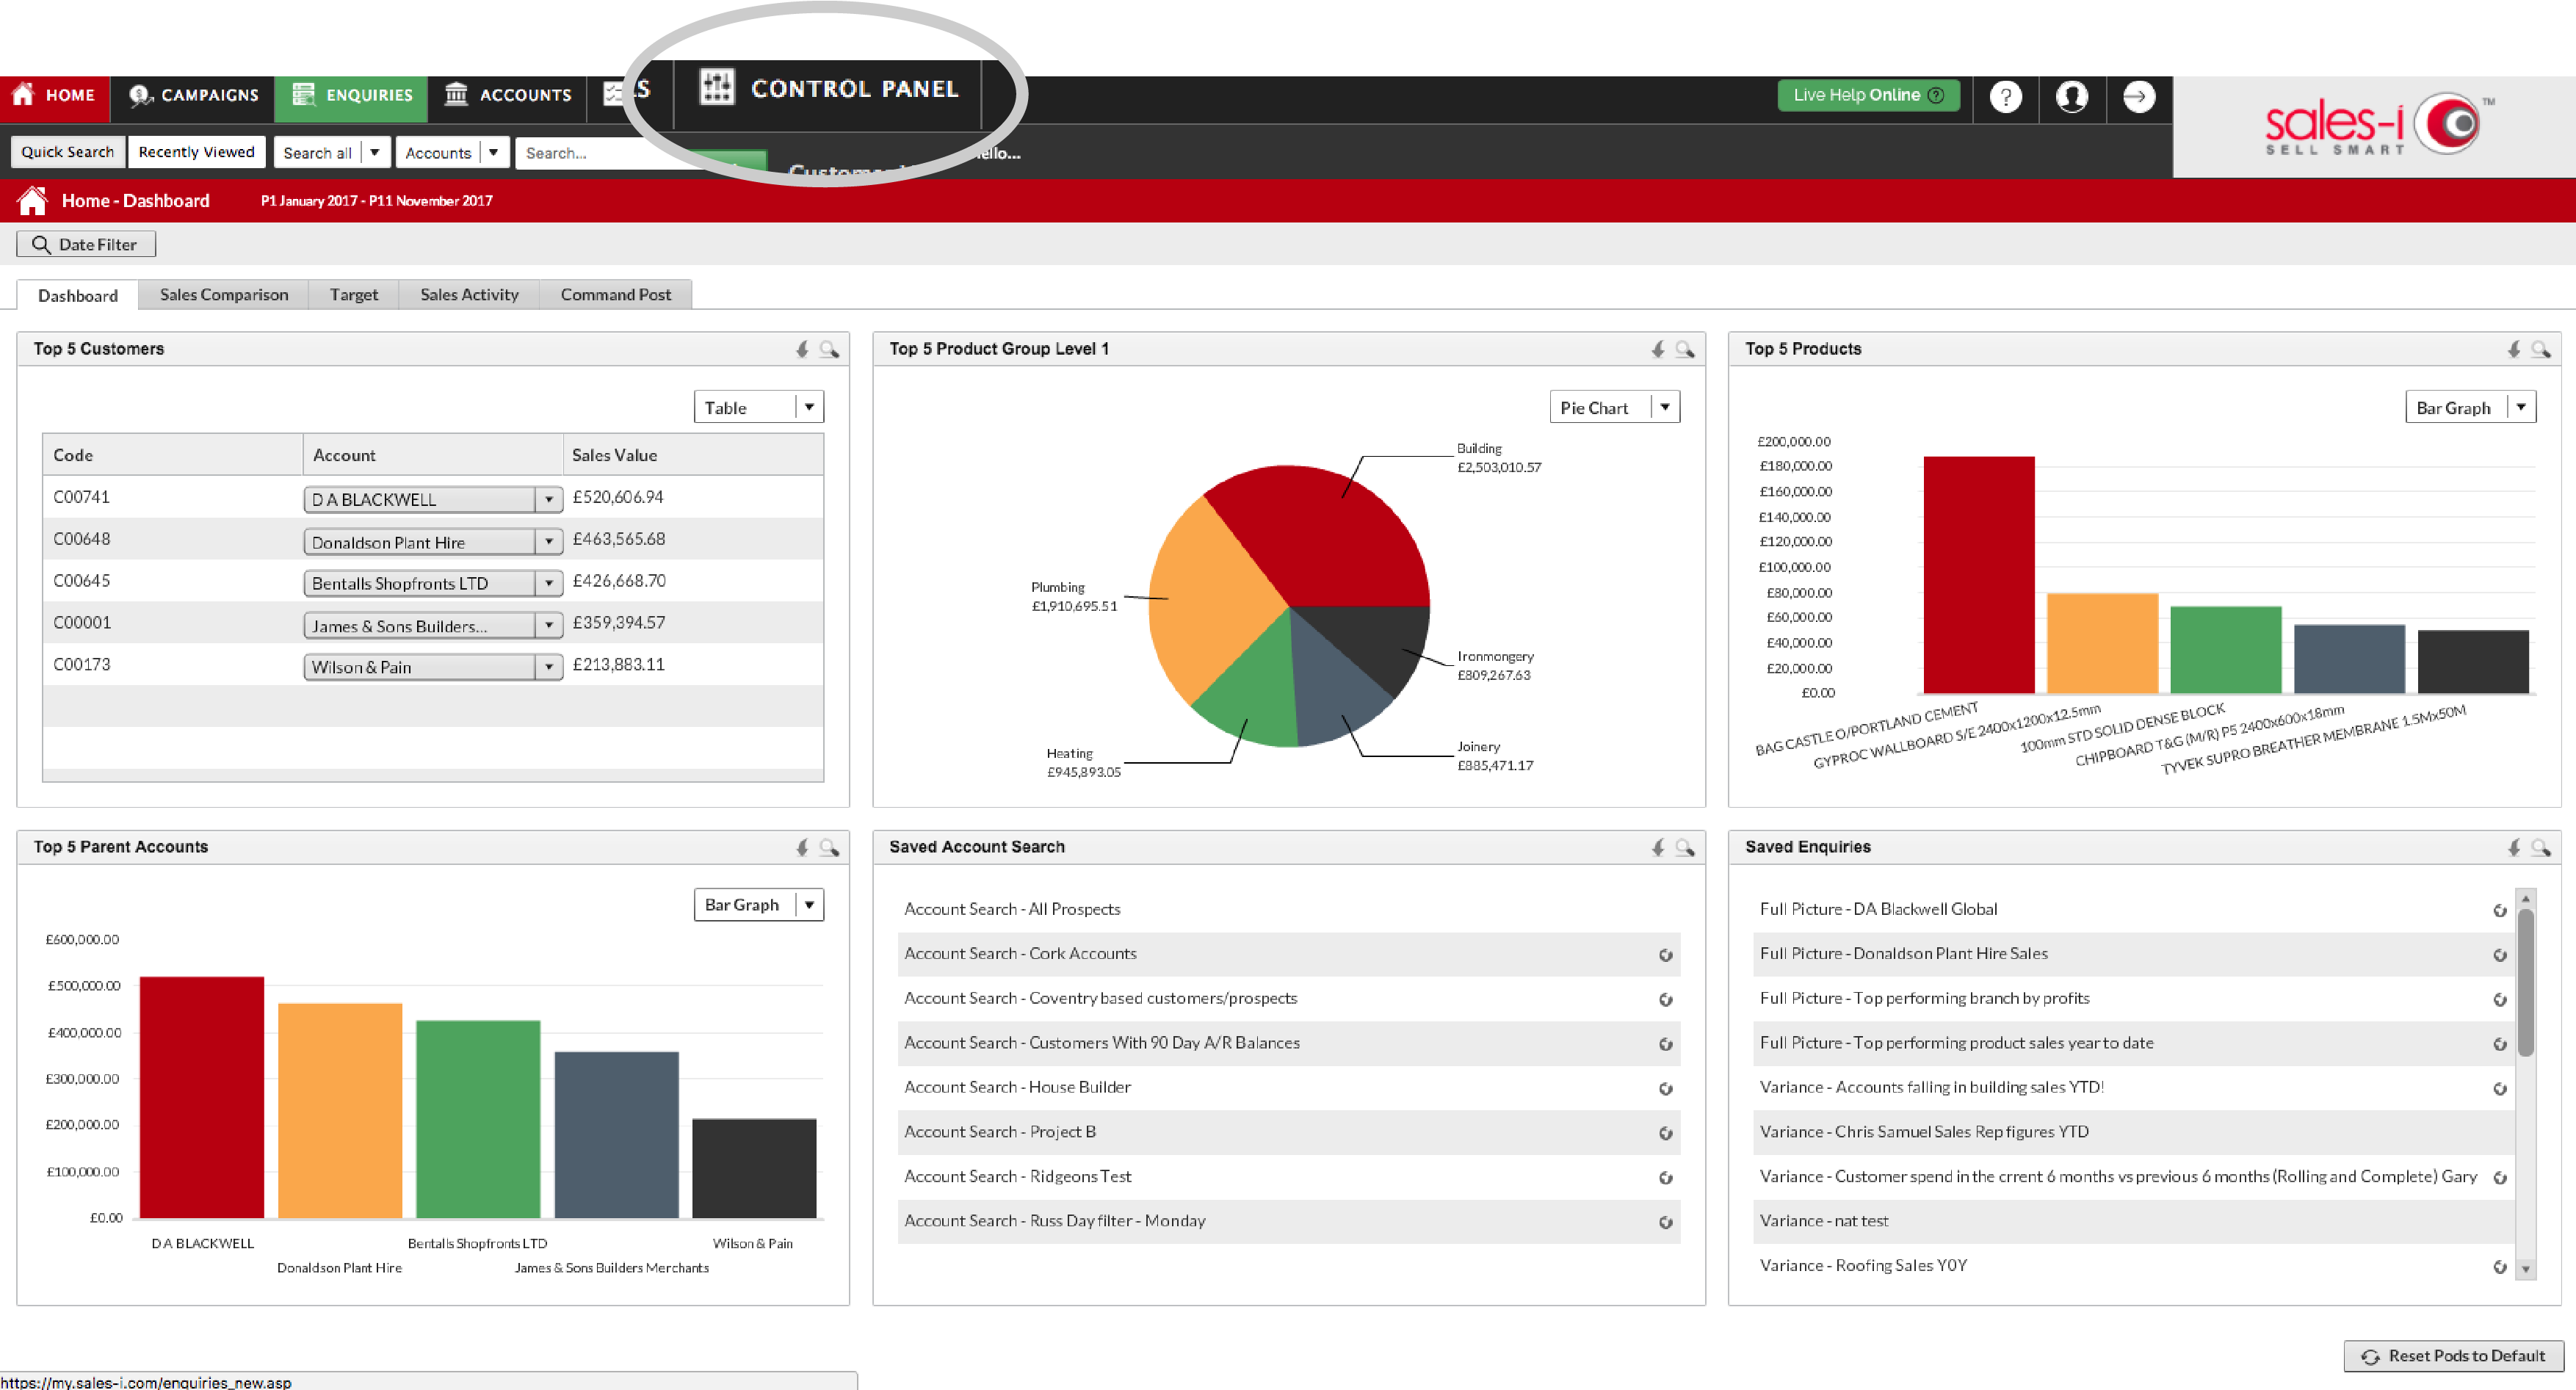
From the black navigation bar at the top of the screen, click Control Panel.
Step 2: Go To Reporting
From the available options on the left hand side, click Reporting*.
*Different user types will have different options within the control panel.

Step 3: Go To CRM Reporting
Click CRM Reporting.

Step 4: Choose Your Report
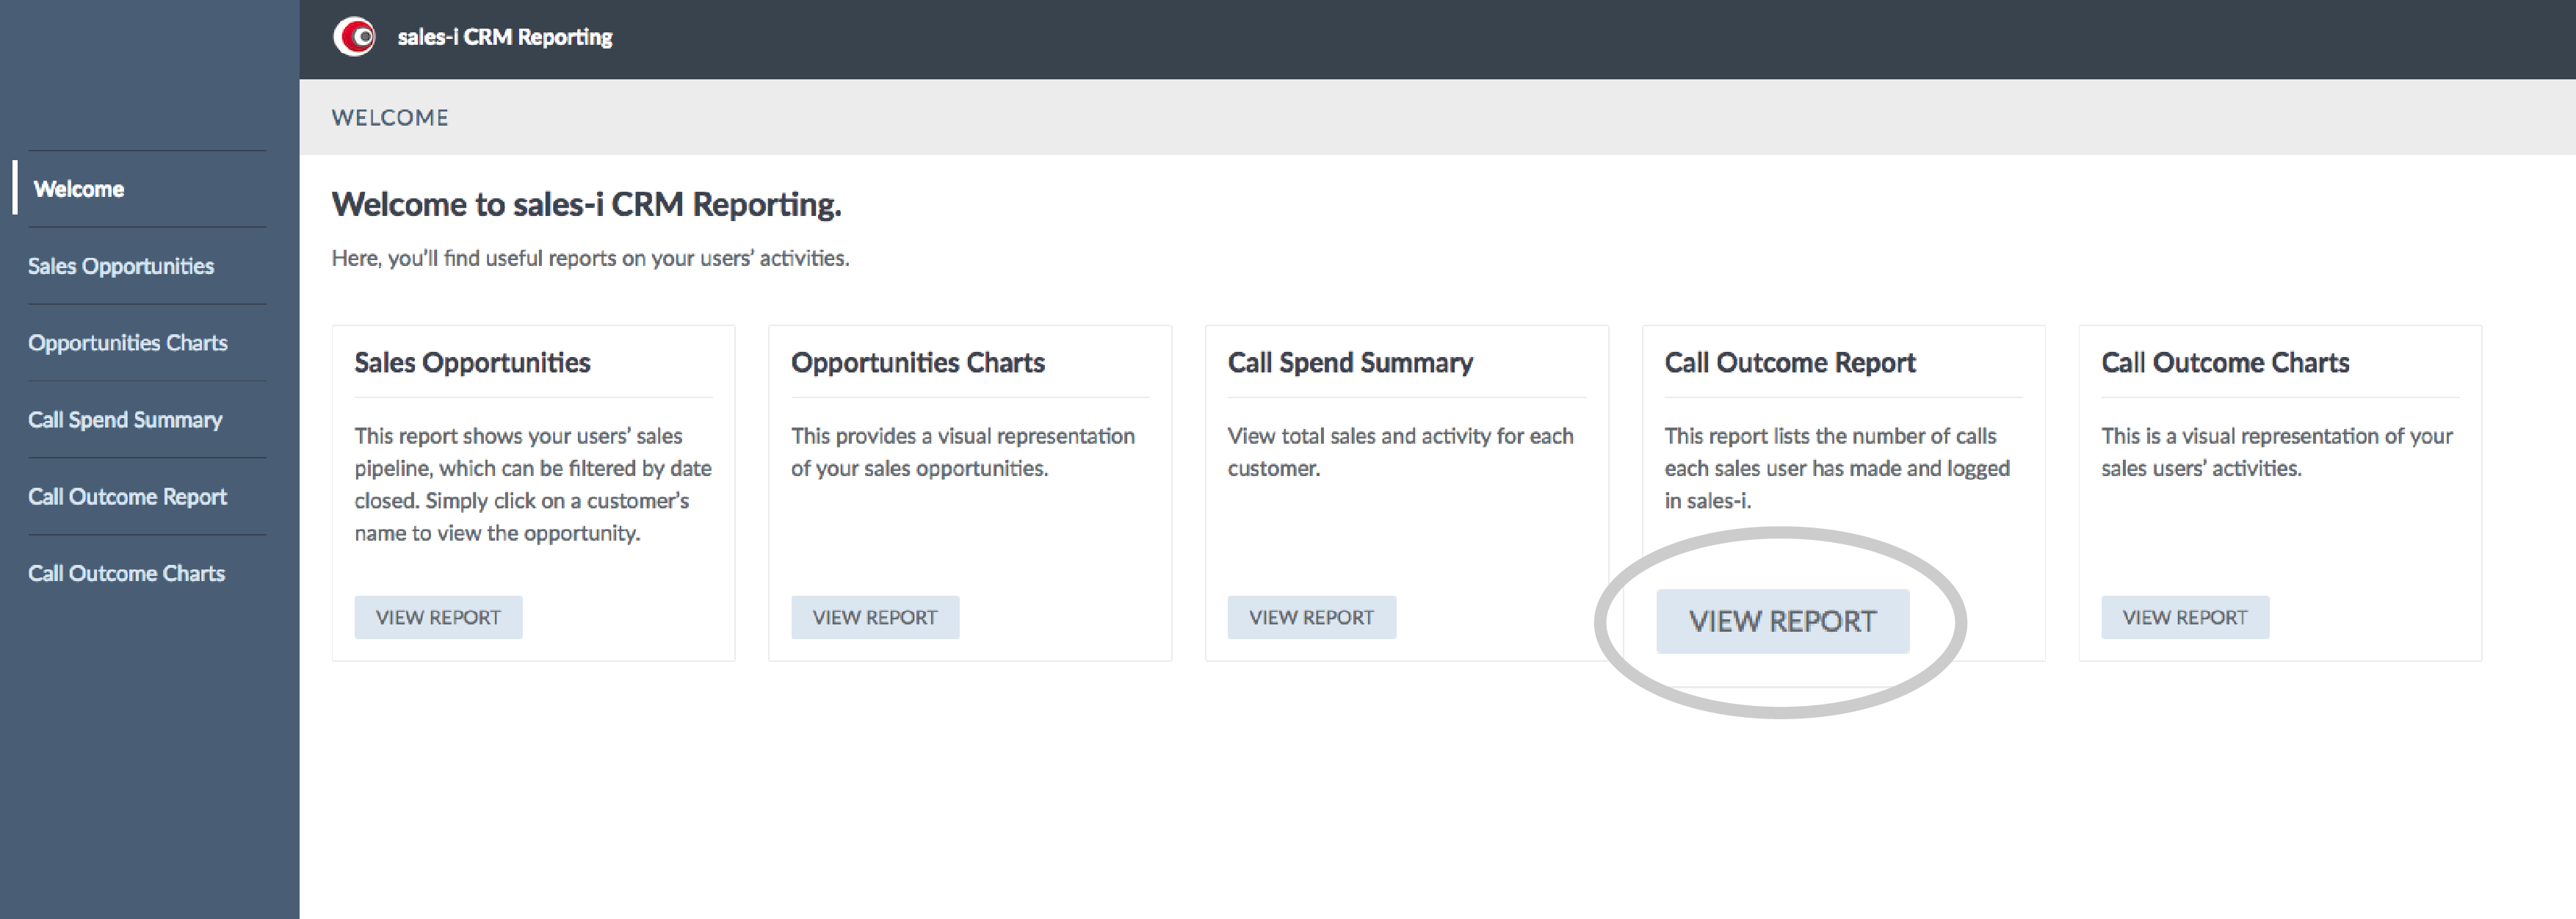
There are various reporting options available. Select the VIEW REPORT button under the Call Outcome Report option or via the left hand navigation.
Step 5: Filter Options
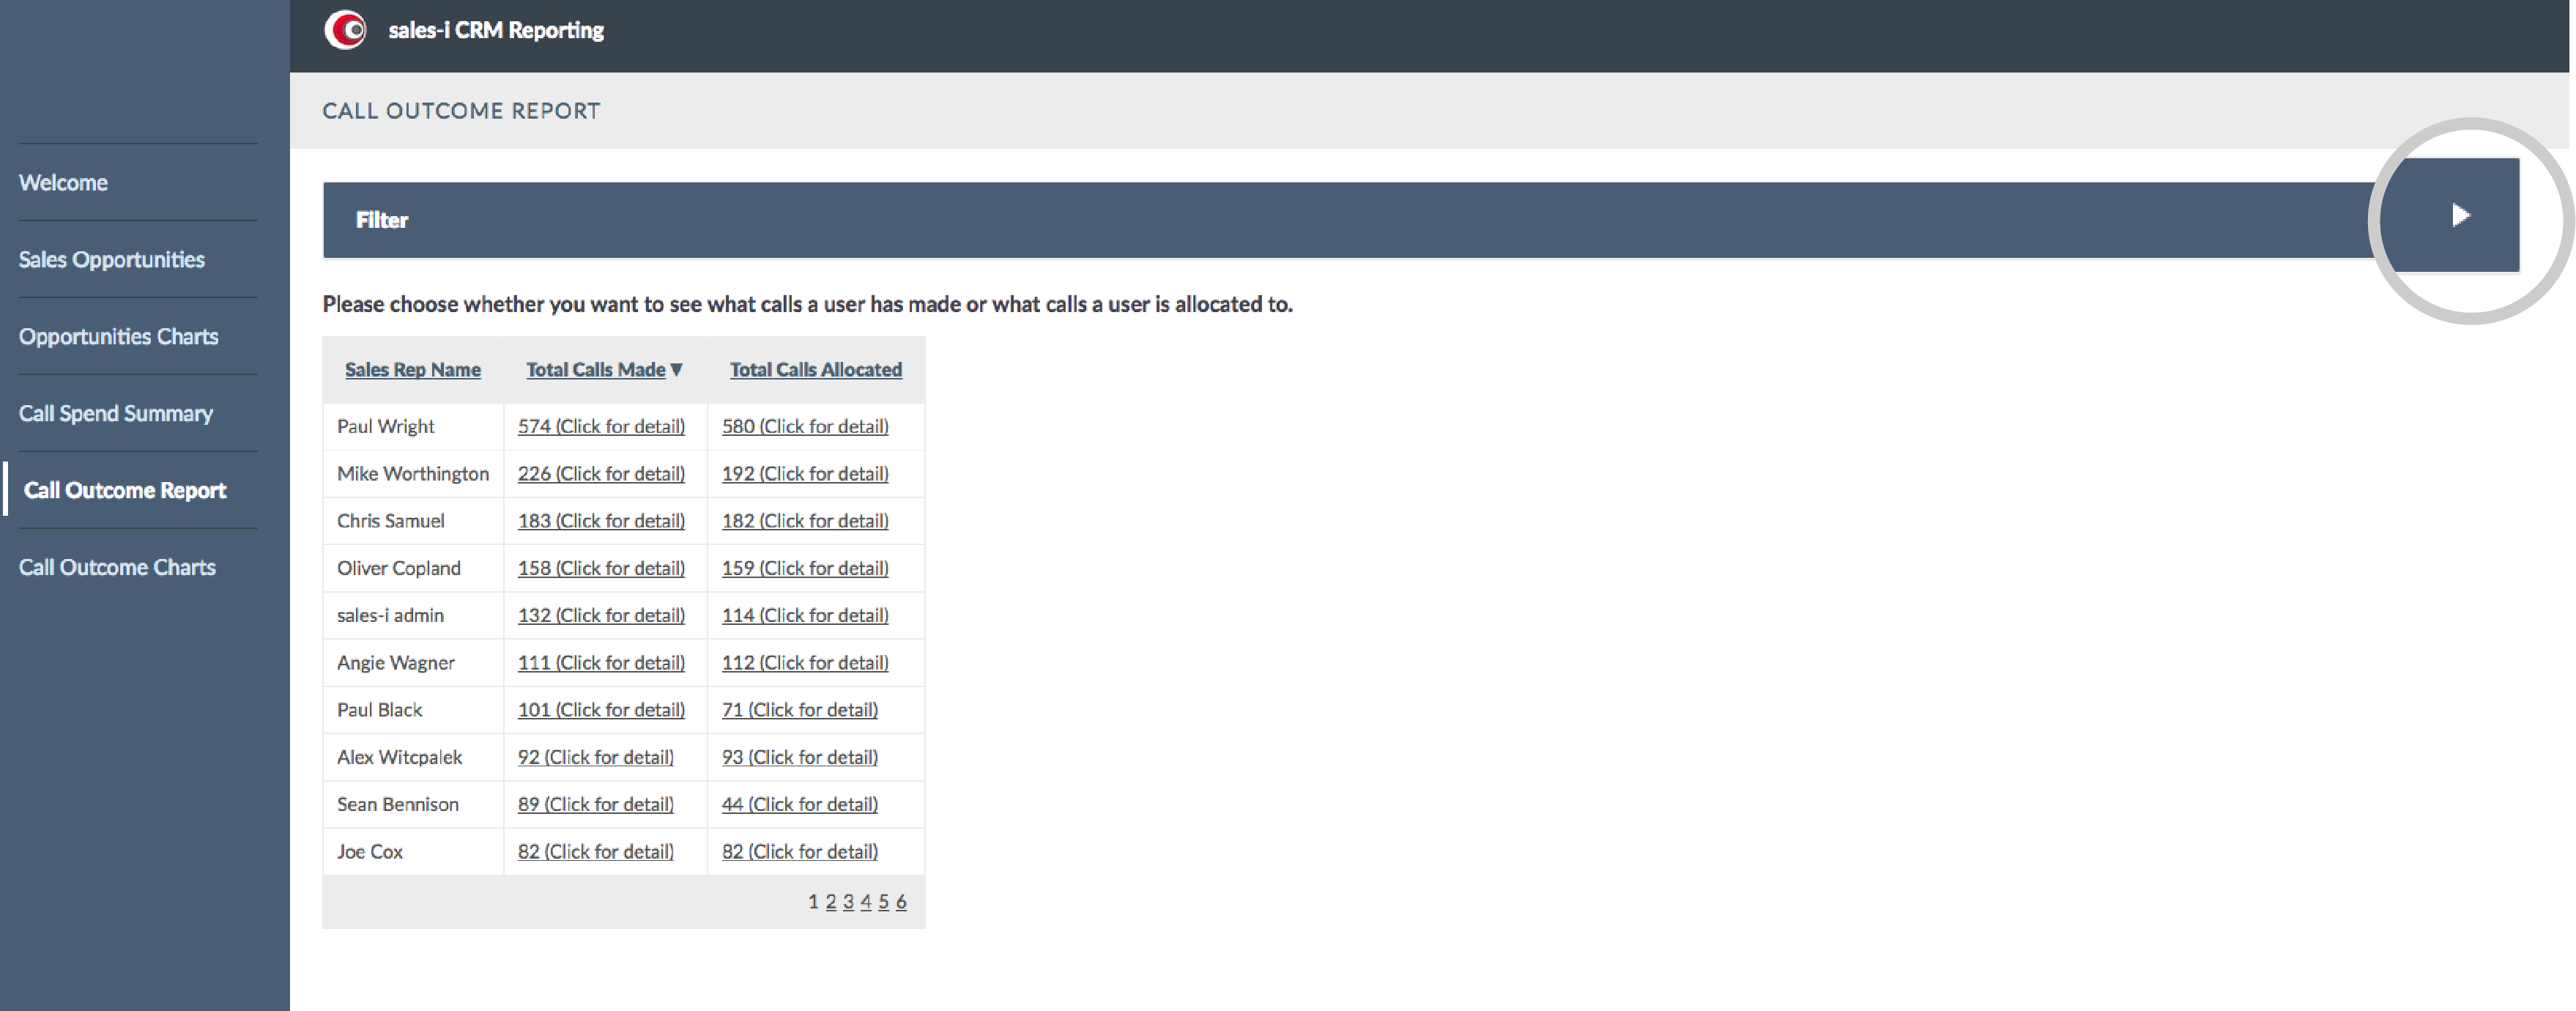
Click the expand arrow on the right hand side to show filter options allowing you to customise your report*.
*Depending on your setup, you may see only your own details or multiple users.
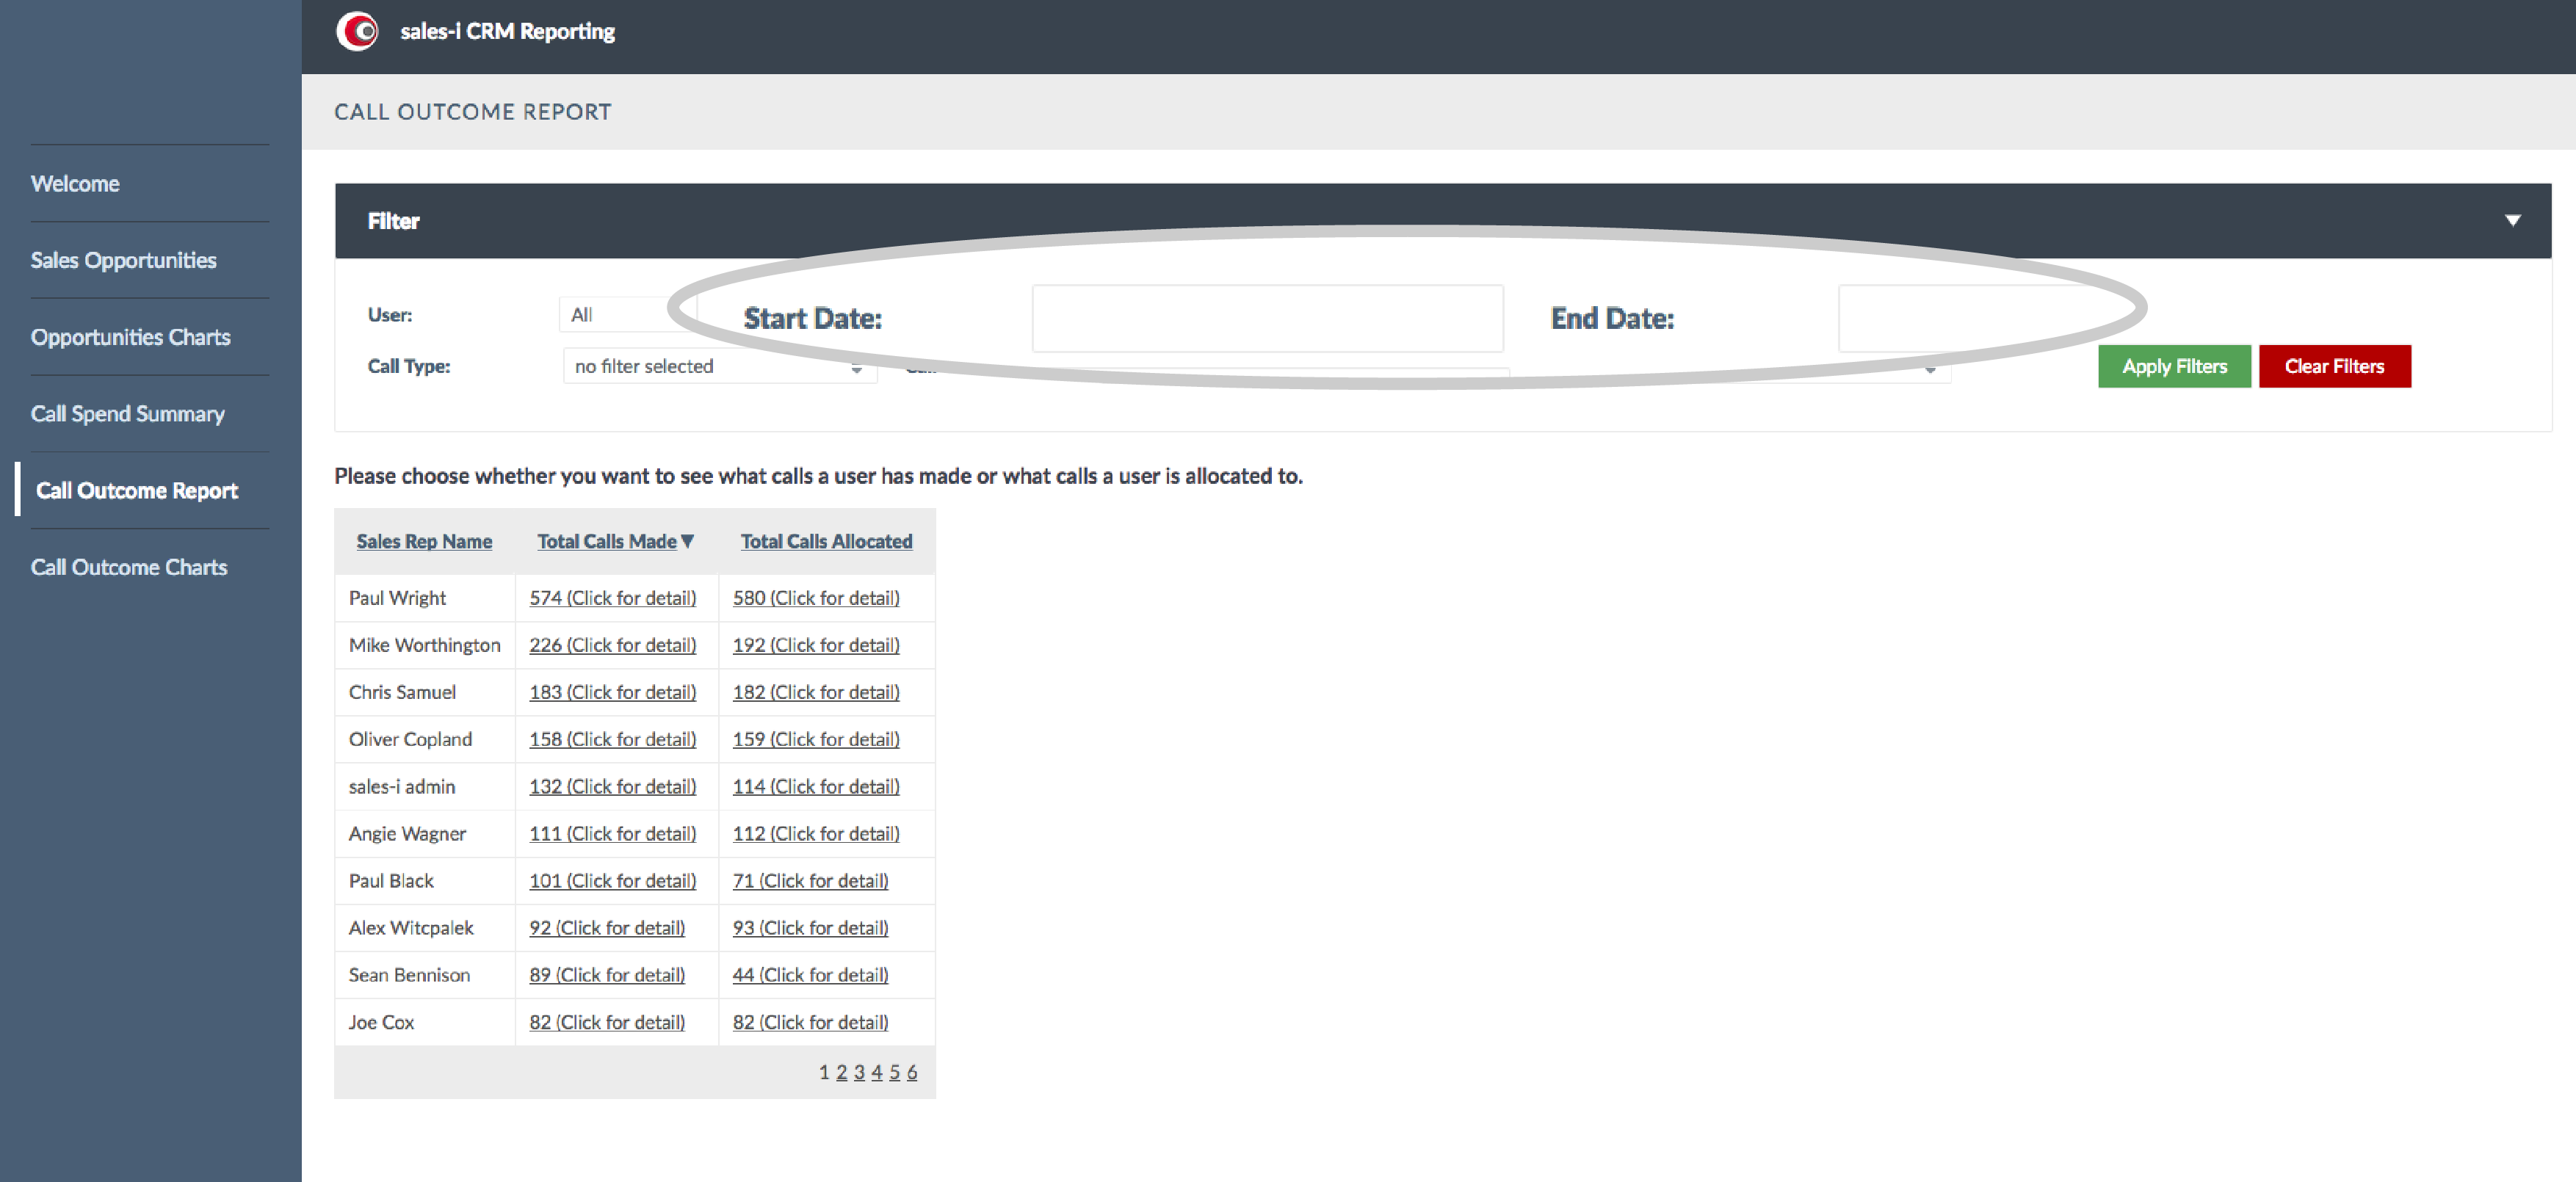
Step 6: Set Report Dates
Select the Start Date and End Date that you wish to see data for.
Step 7: Set Filters
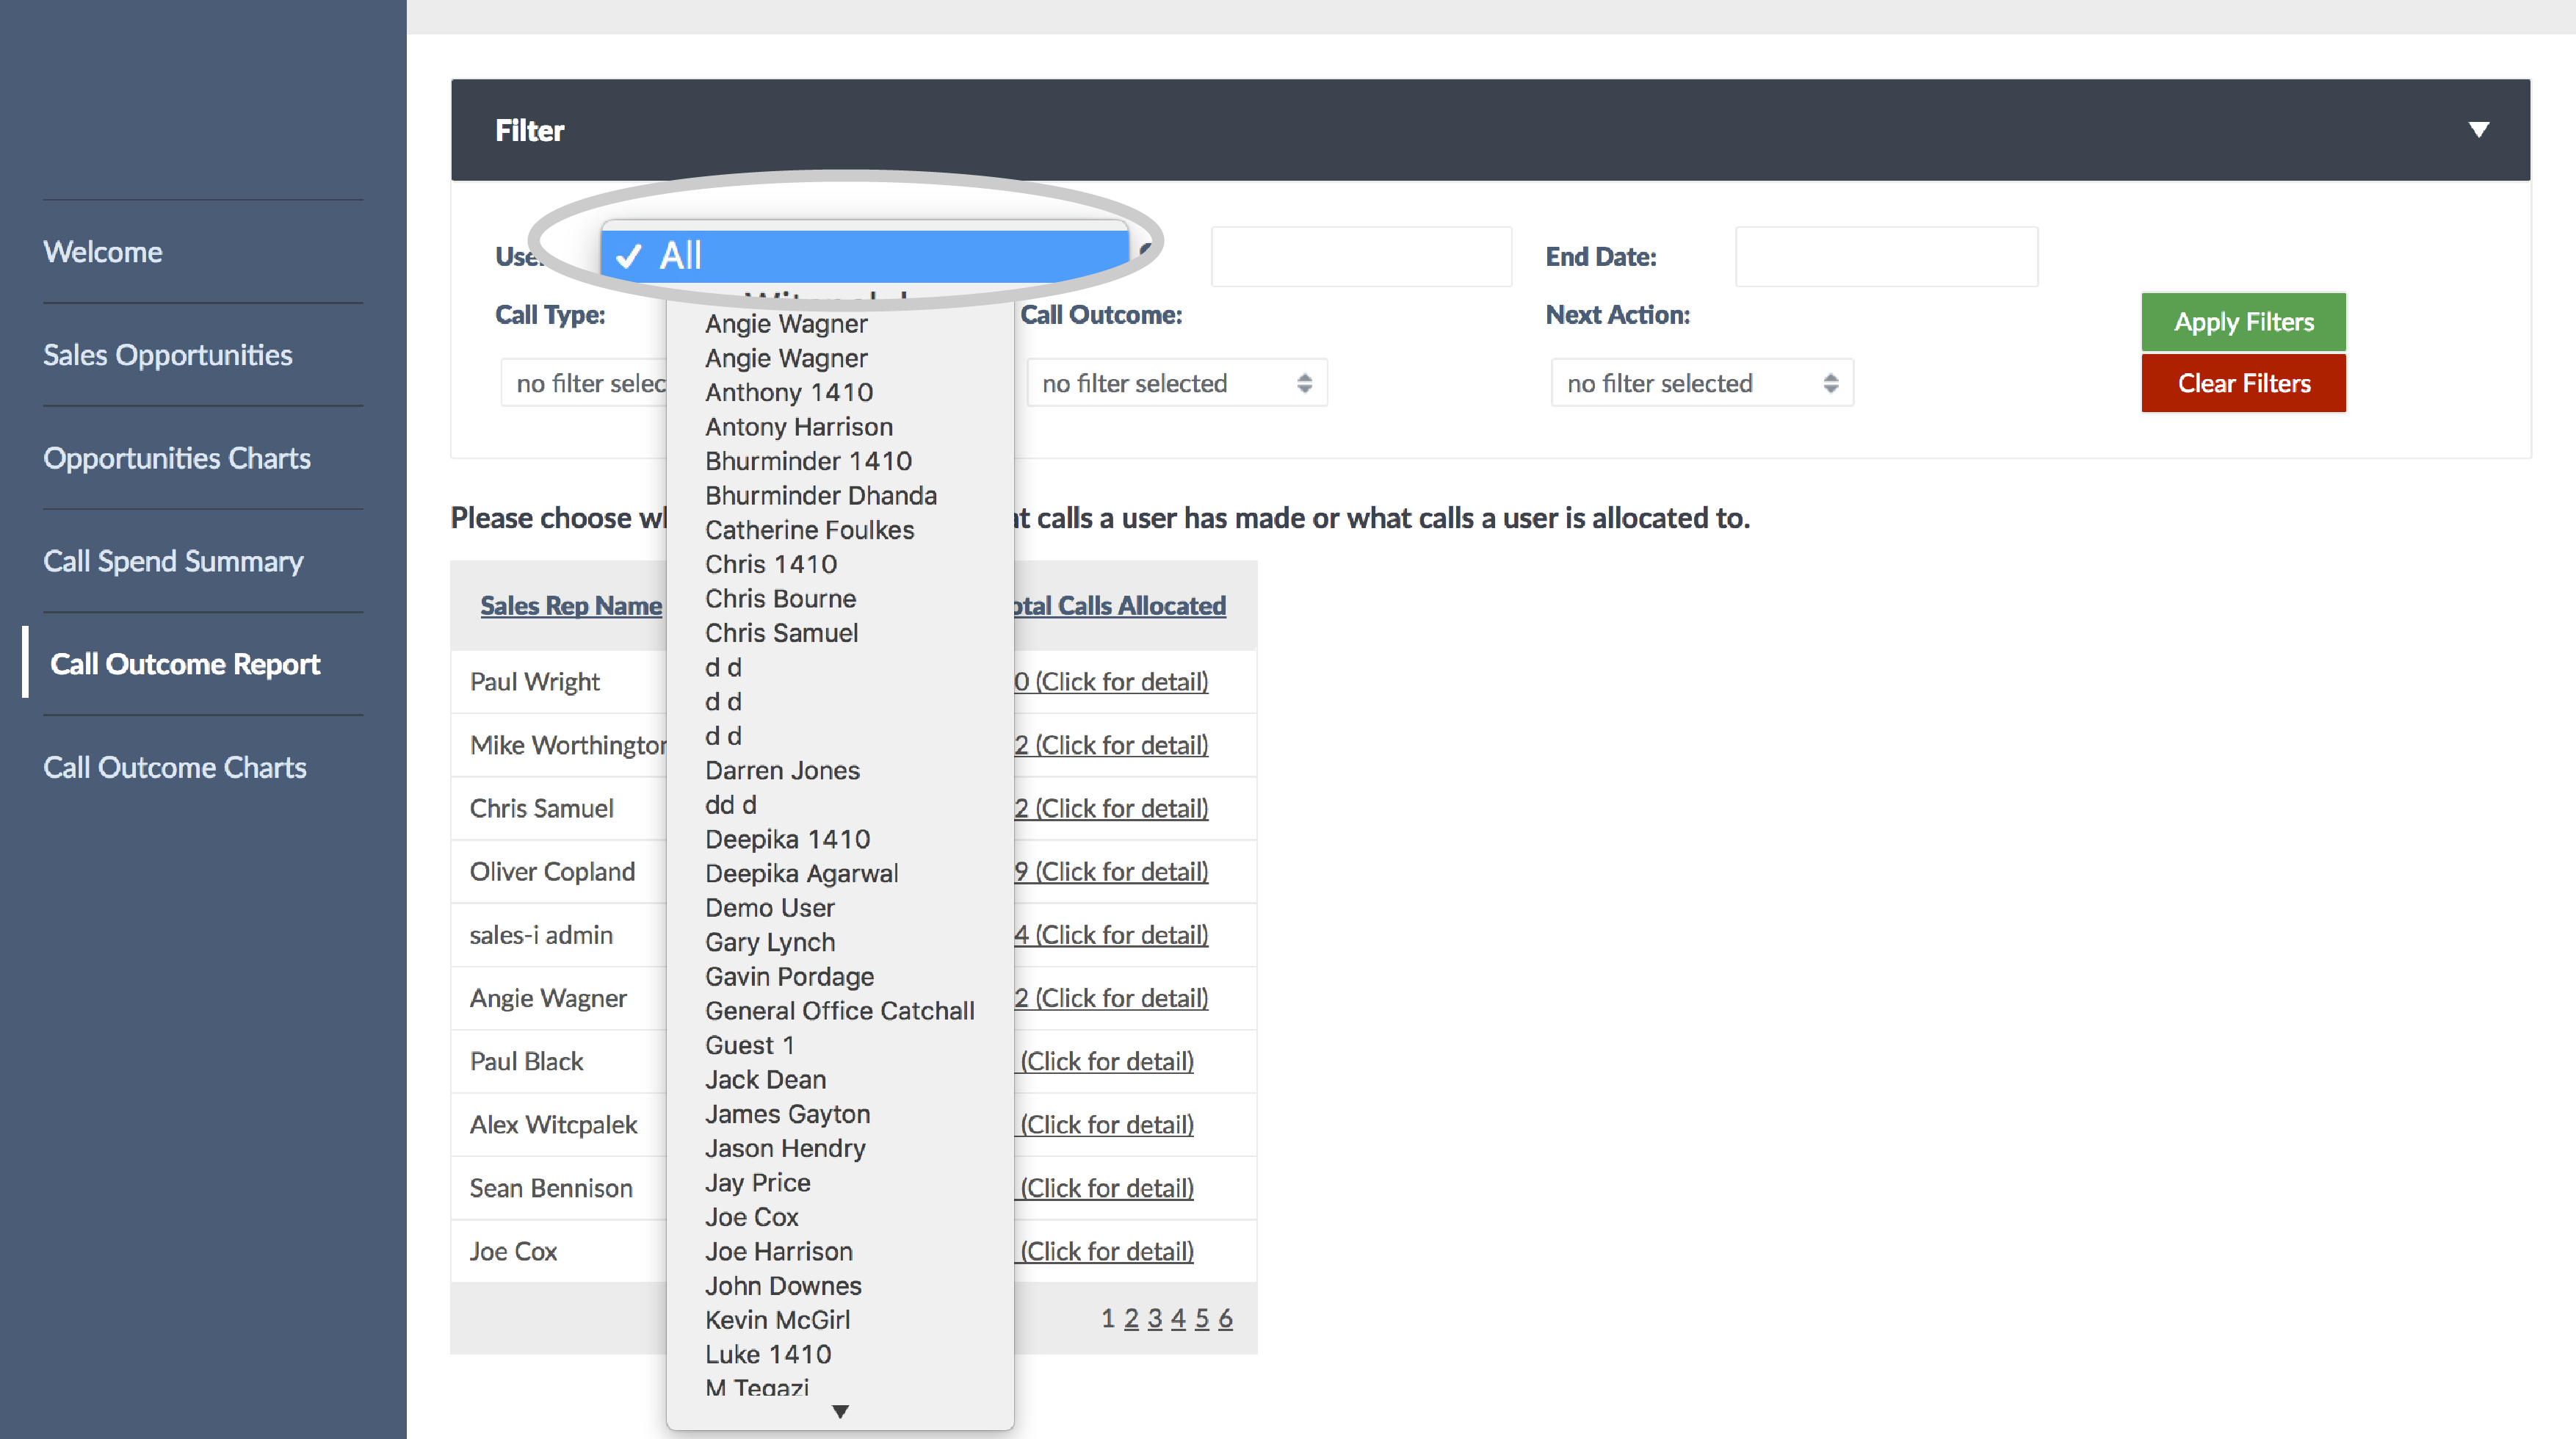
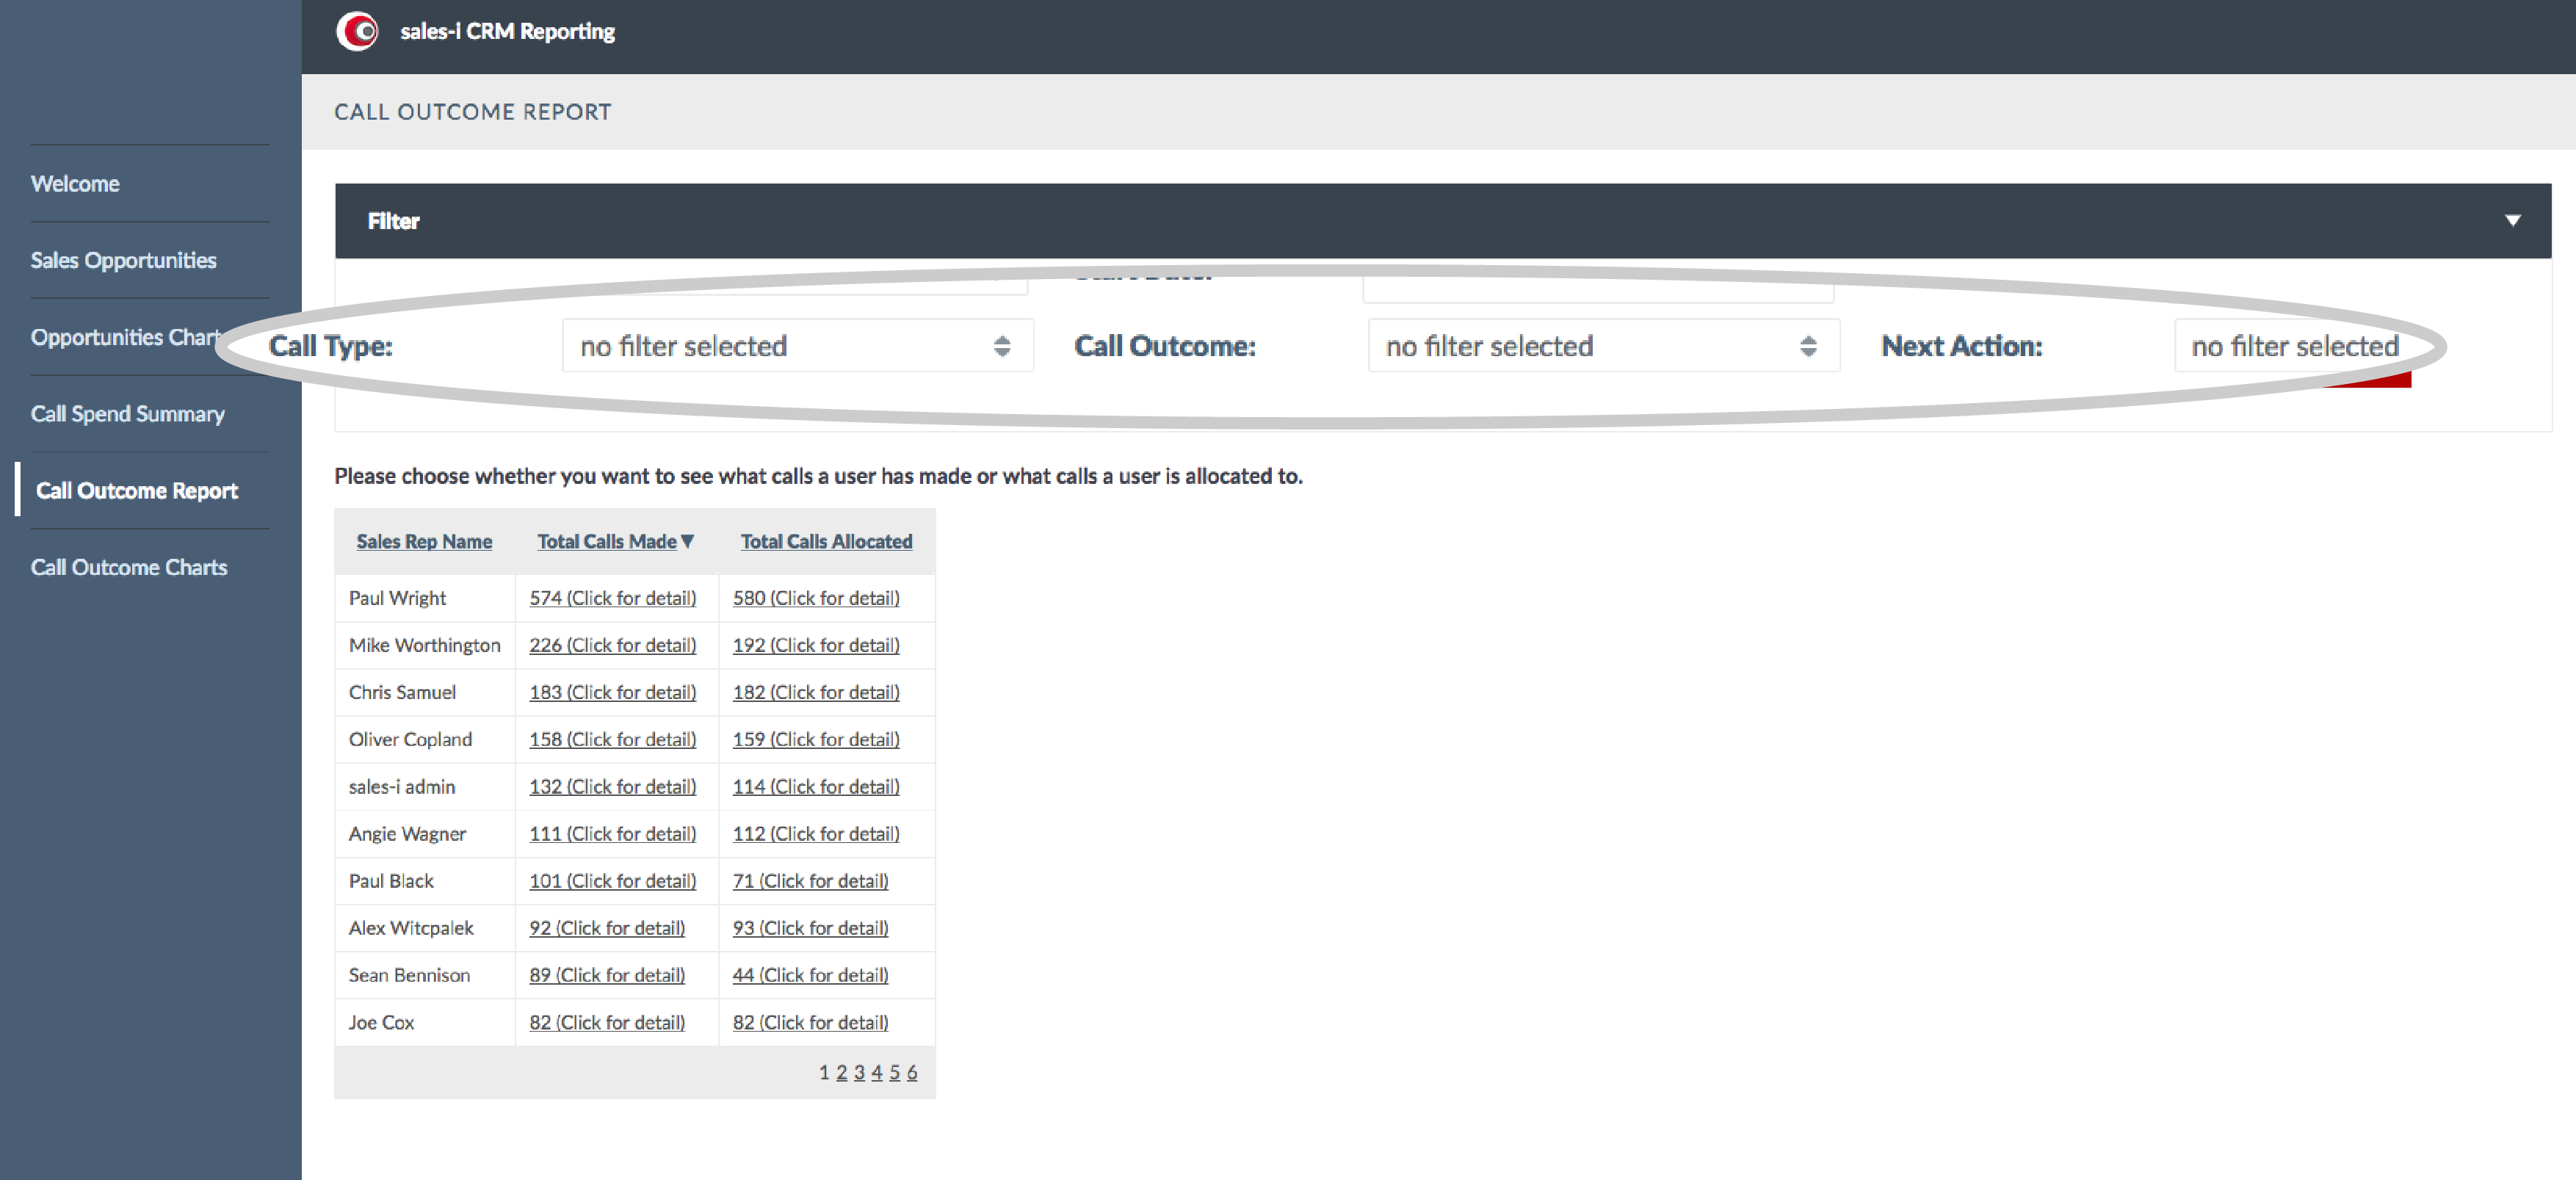
You can filter by User, or simply leave the settings as default to view all users for your account.
You can also change the Call Type, Call Outcome and Next Action to suit your needs.
Step 8: Refresh List
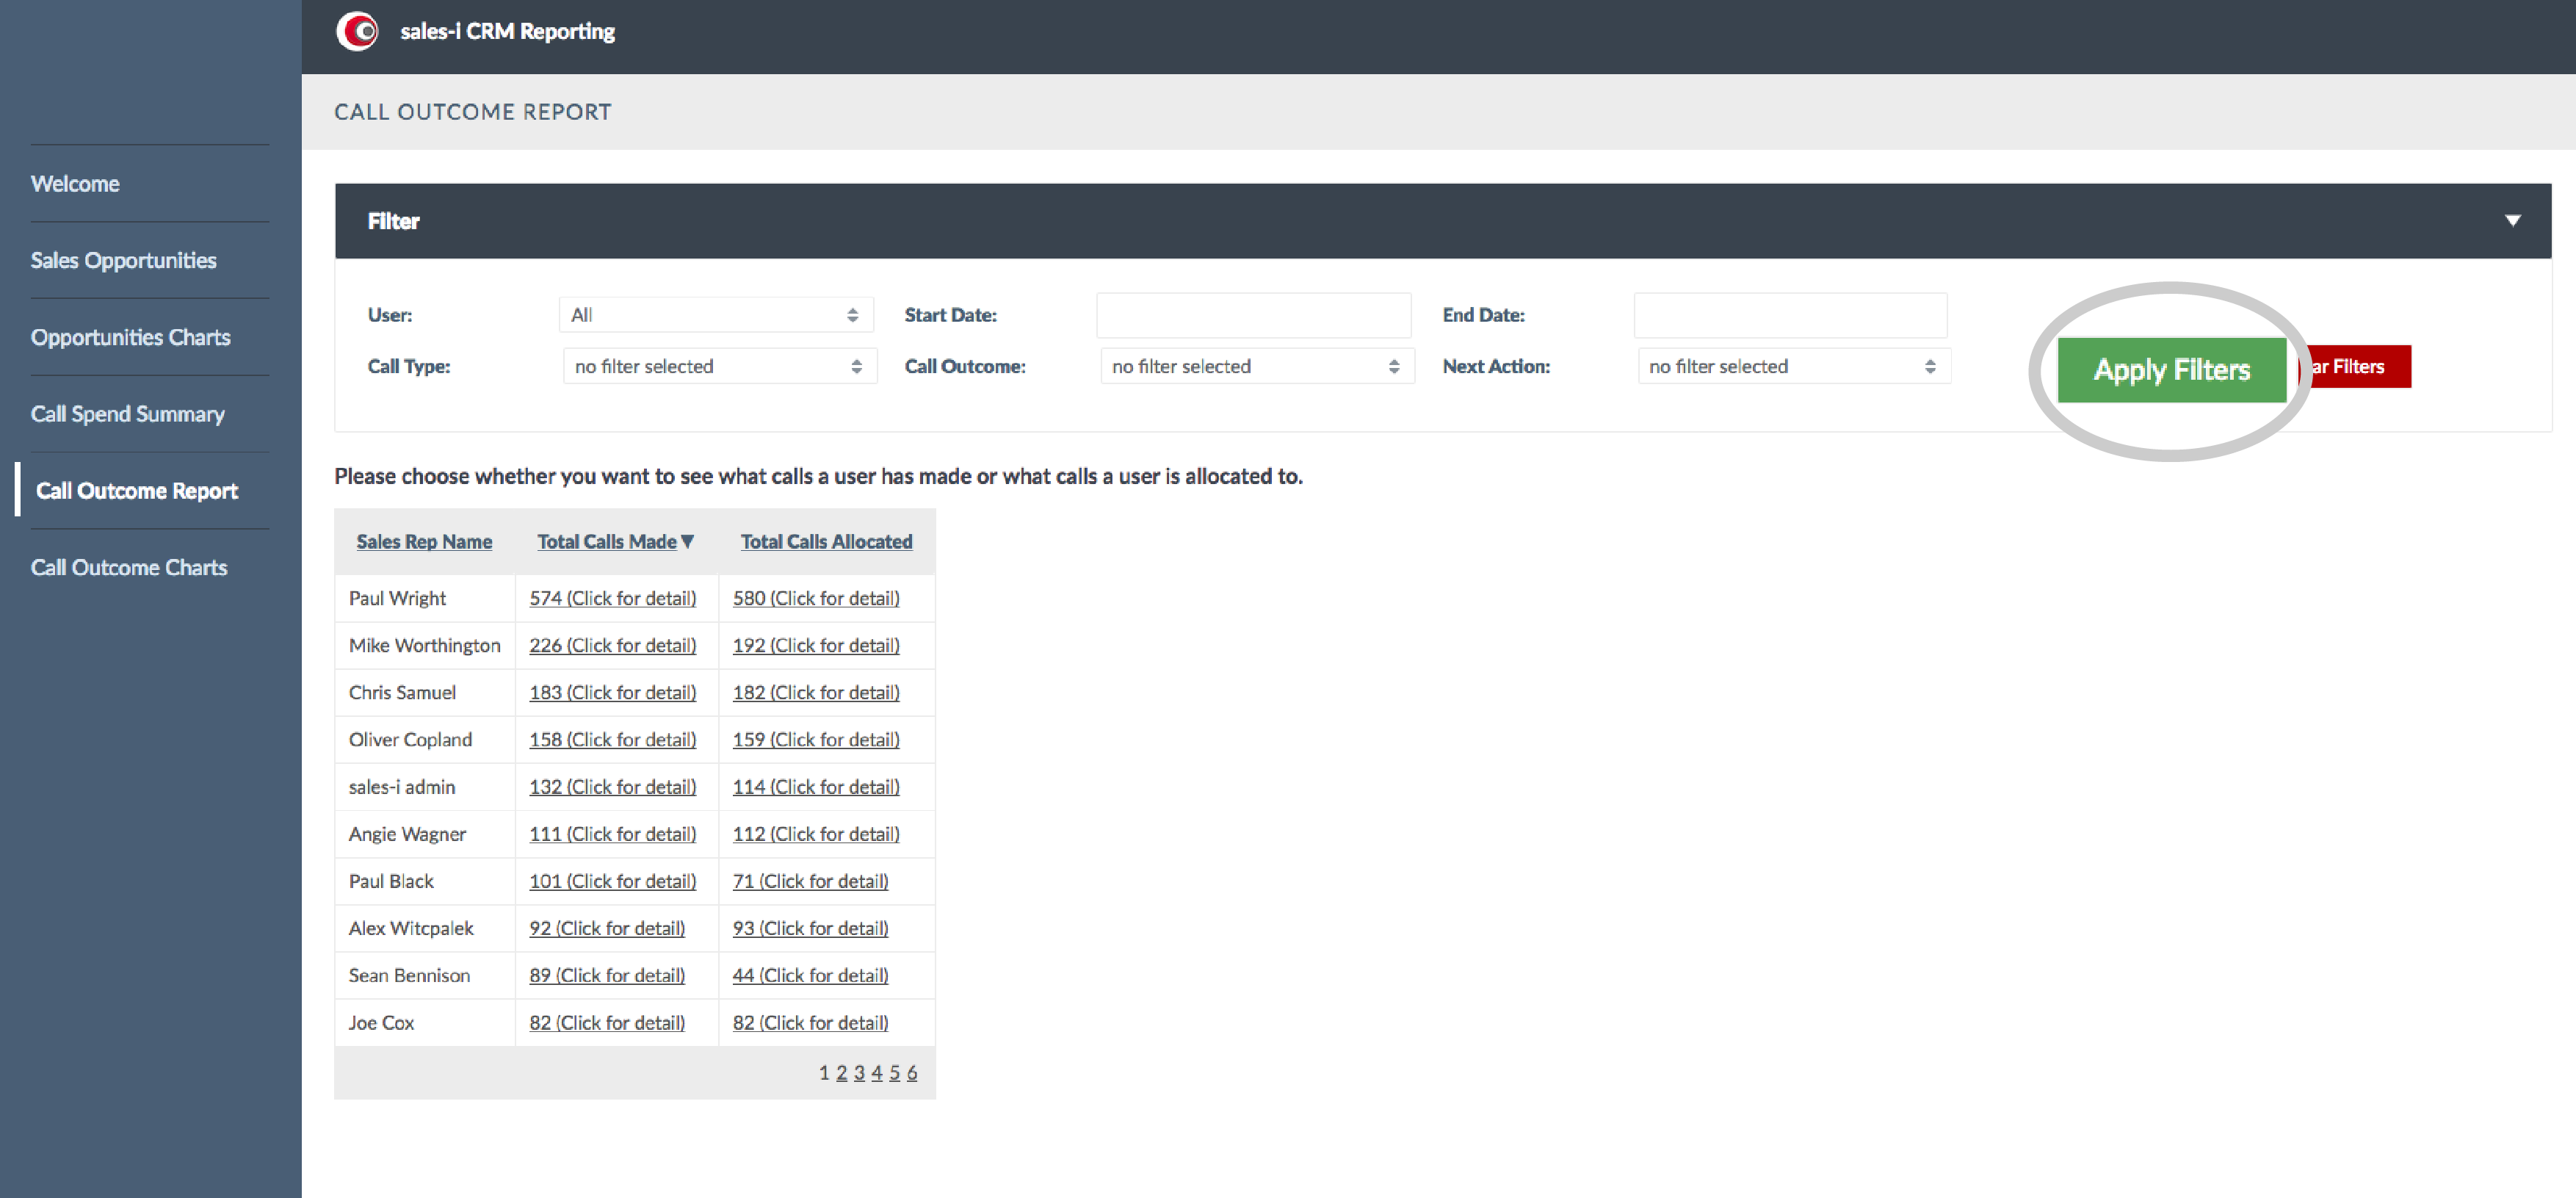
When you’re done, click the green Apply Filters button.
Step 9: Check File History
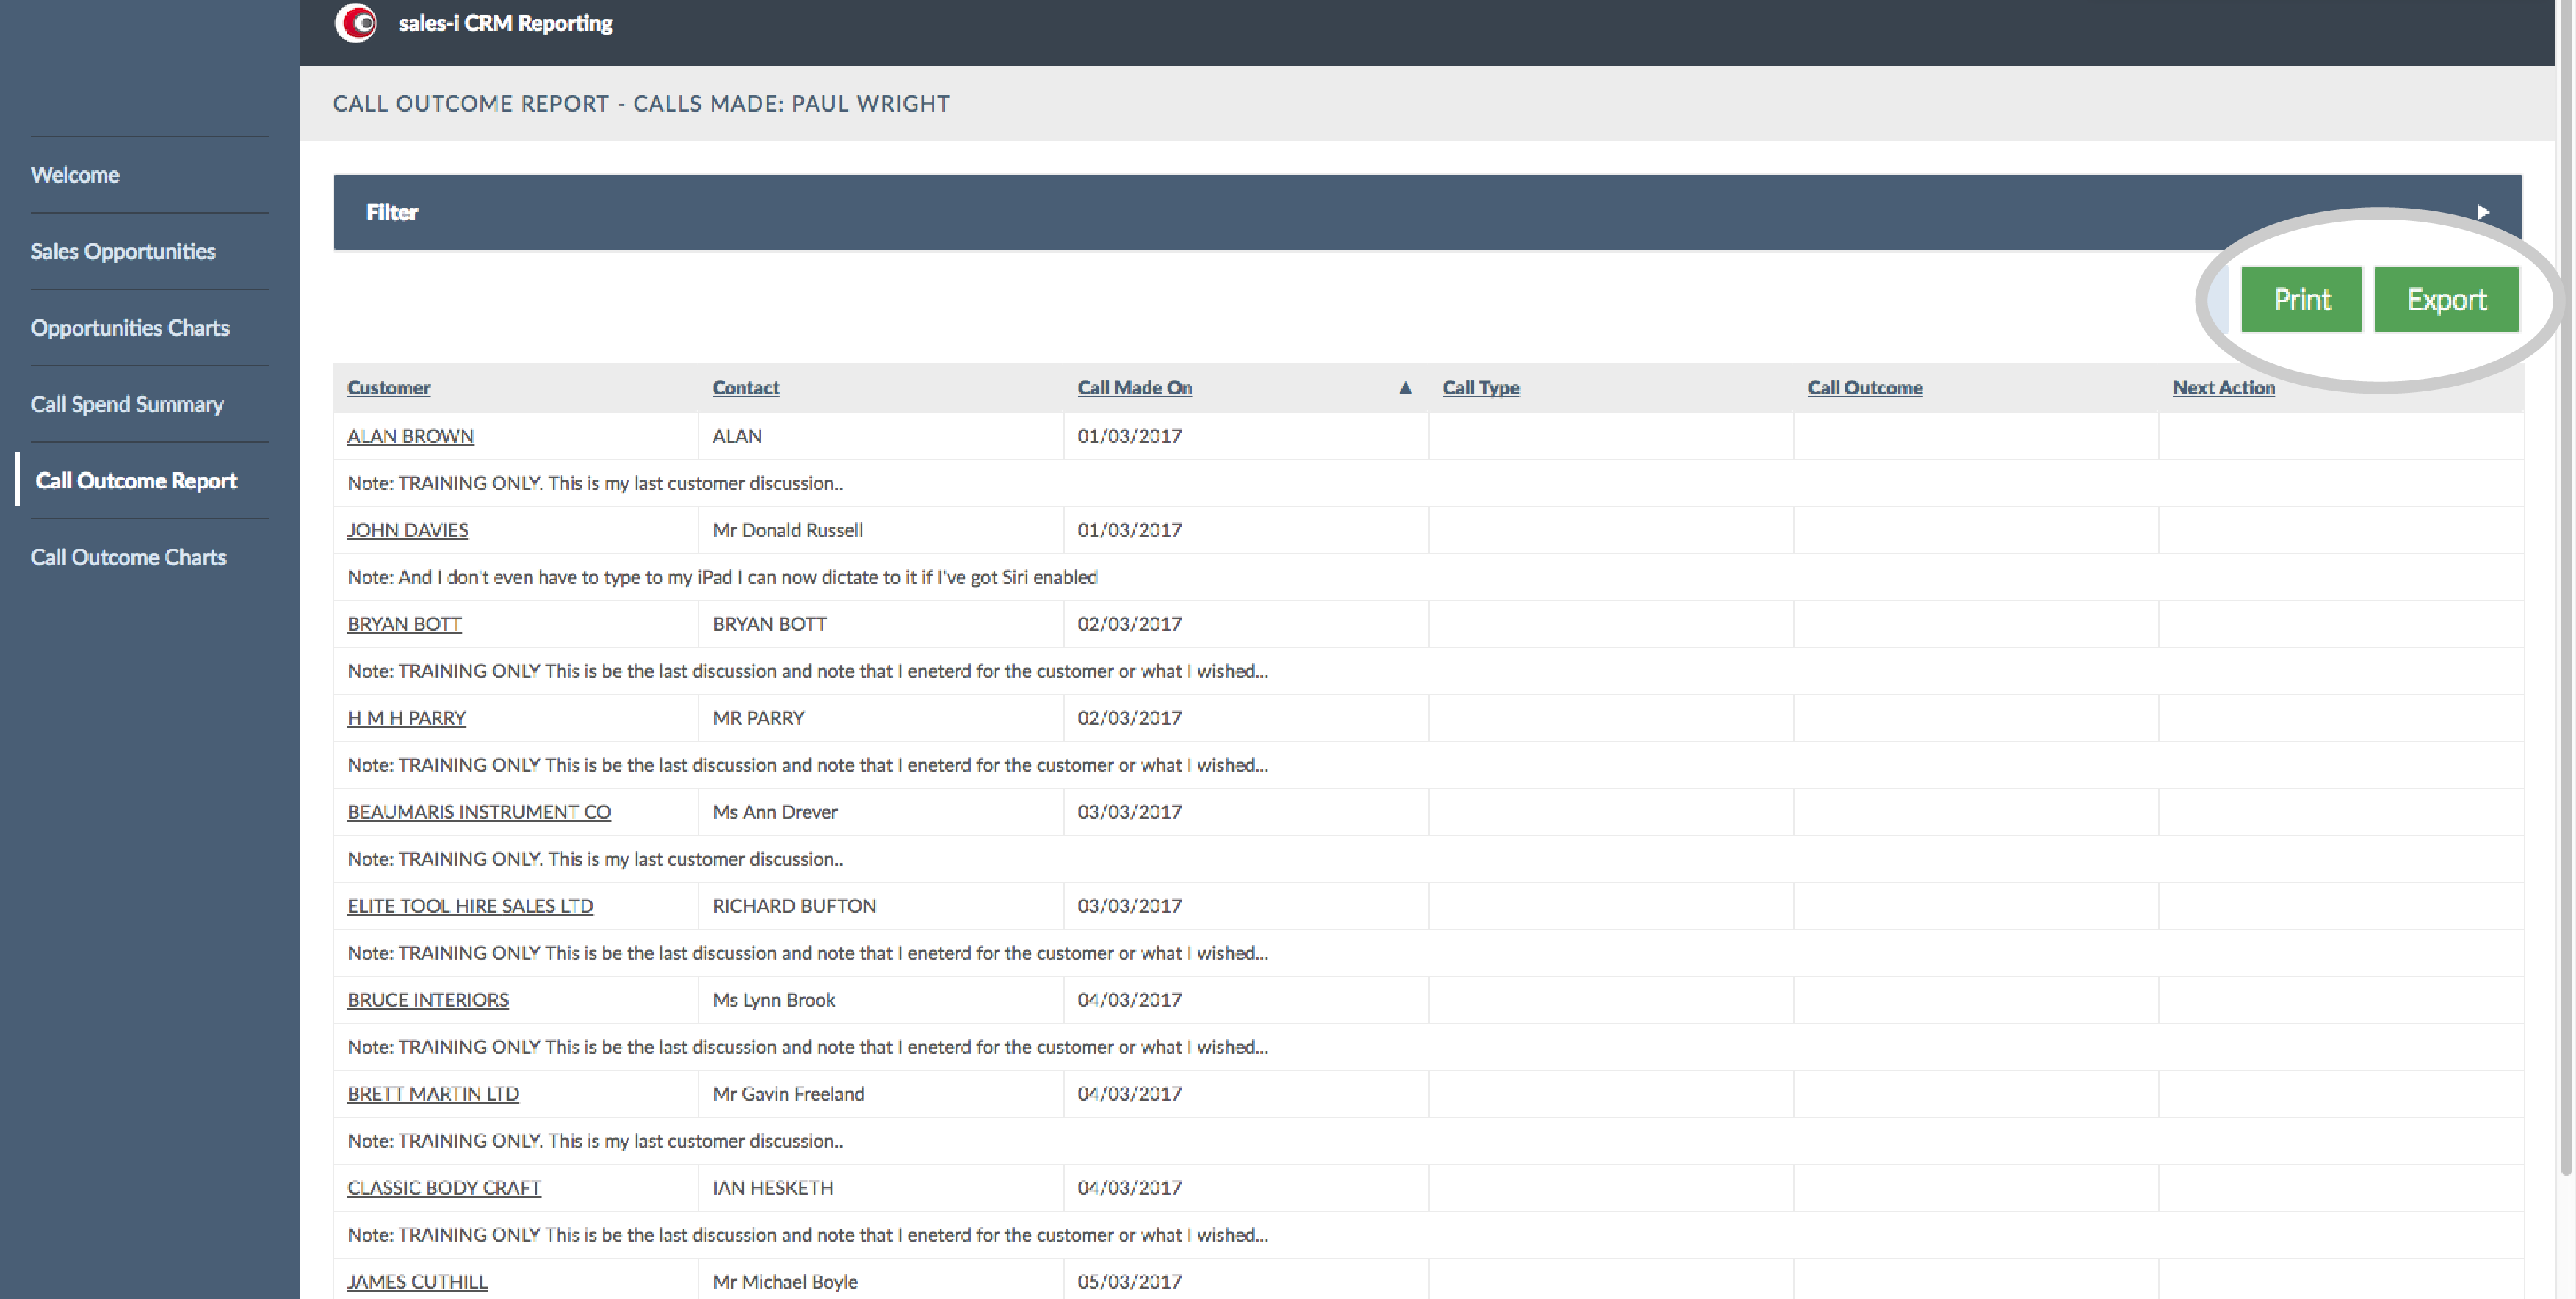
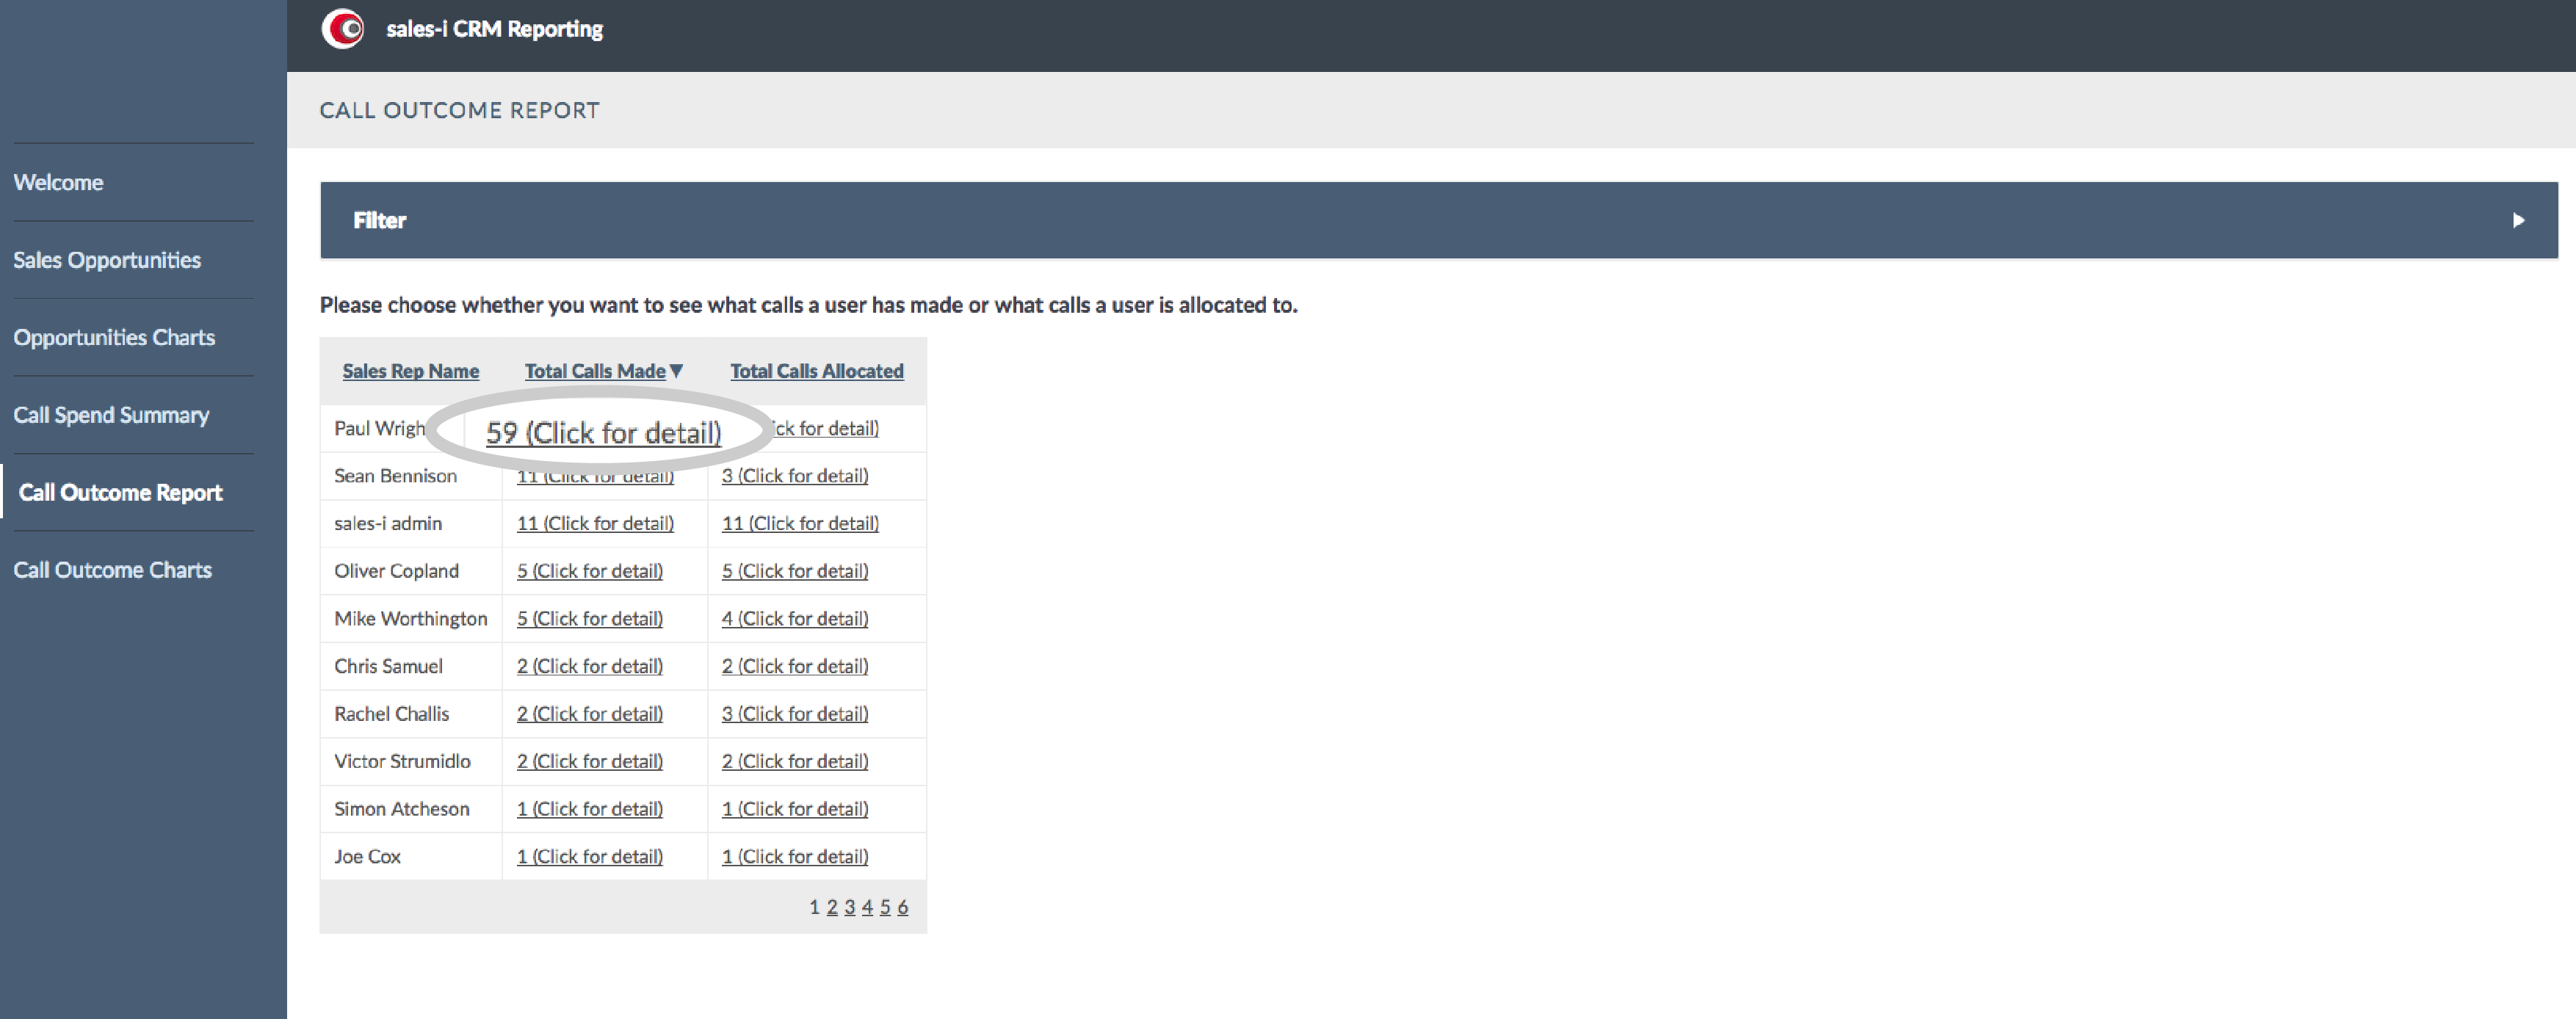
To view someone’s historic activity, click the number under the Total Calls Made column.
Step 10: Order Results
The results you’ll see are ordered alphabetically. If you want to view them chronologically, select the column header Call Made On to rearrange them.
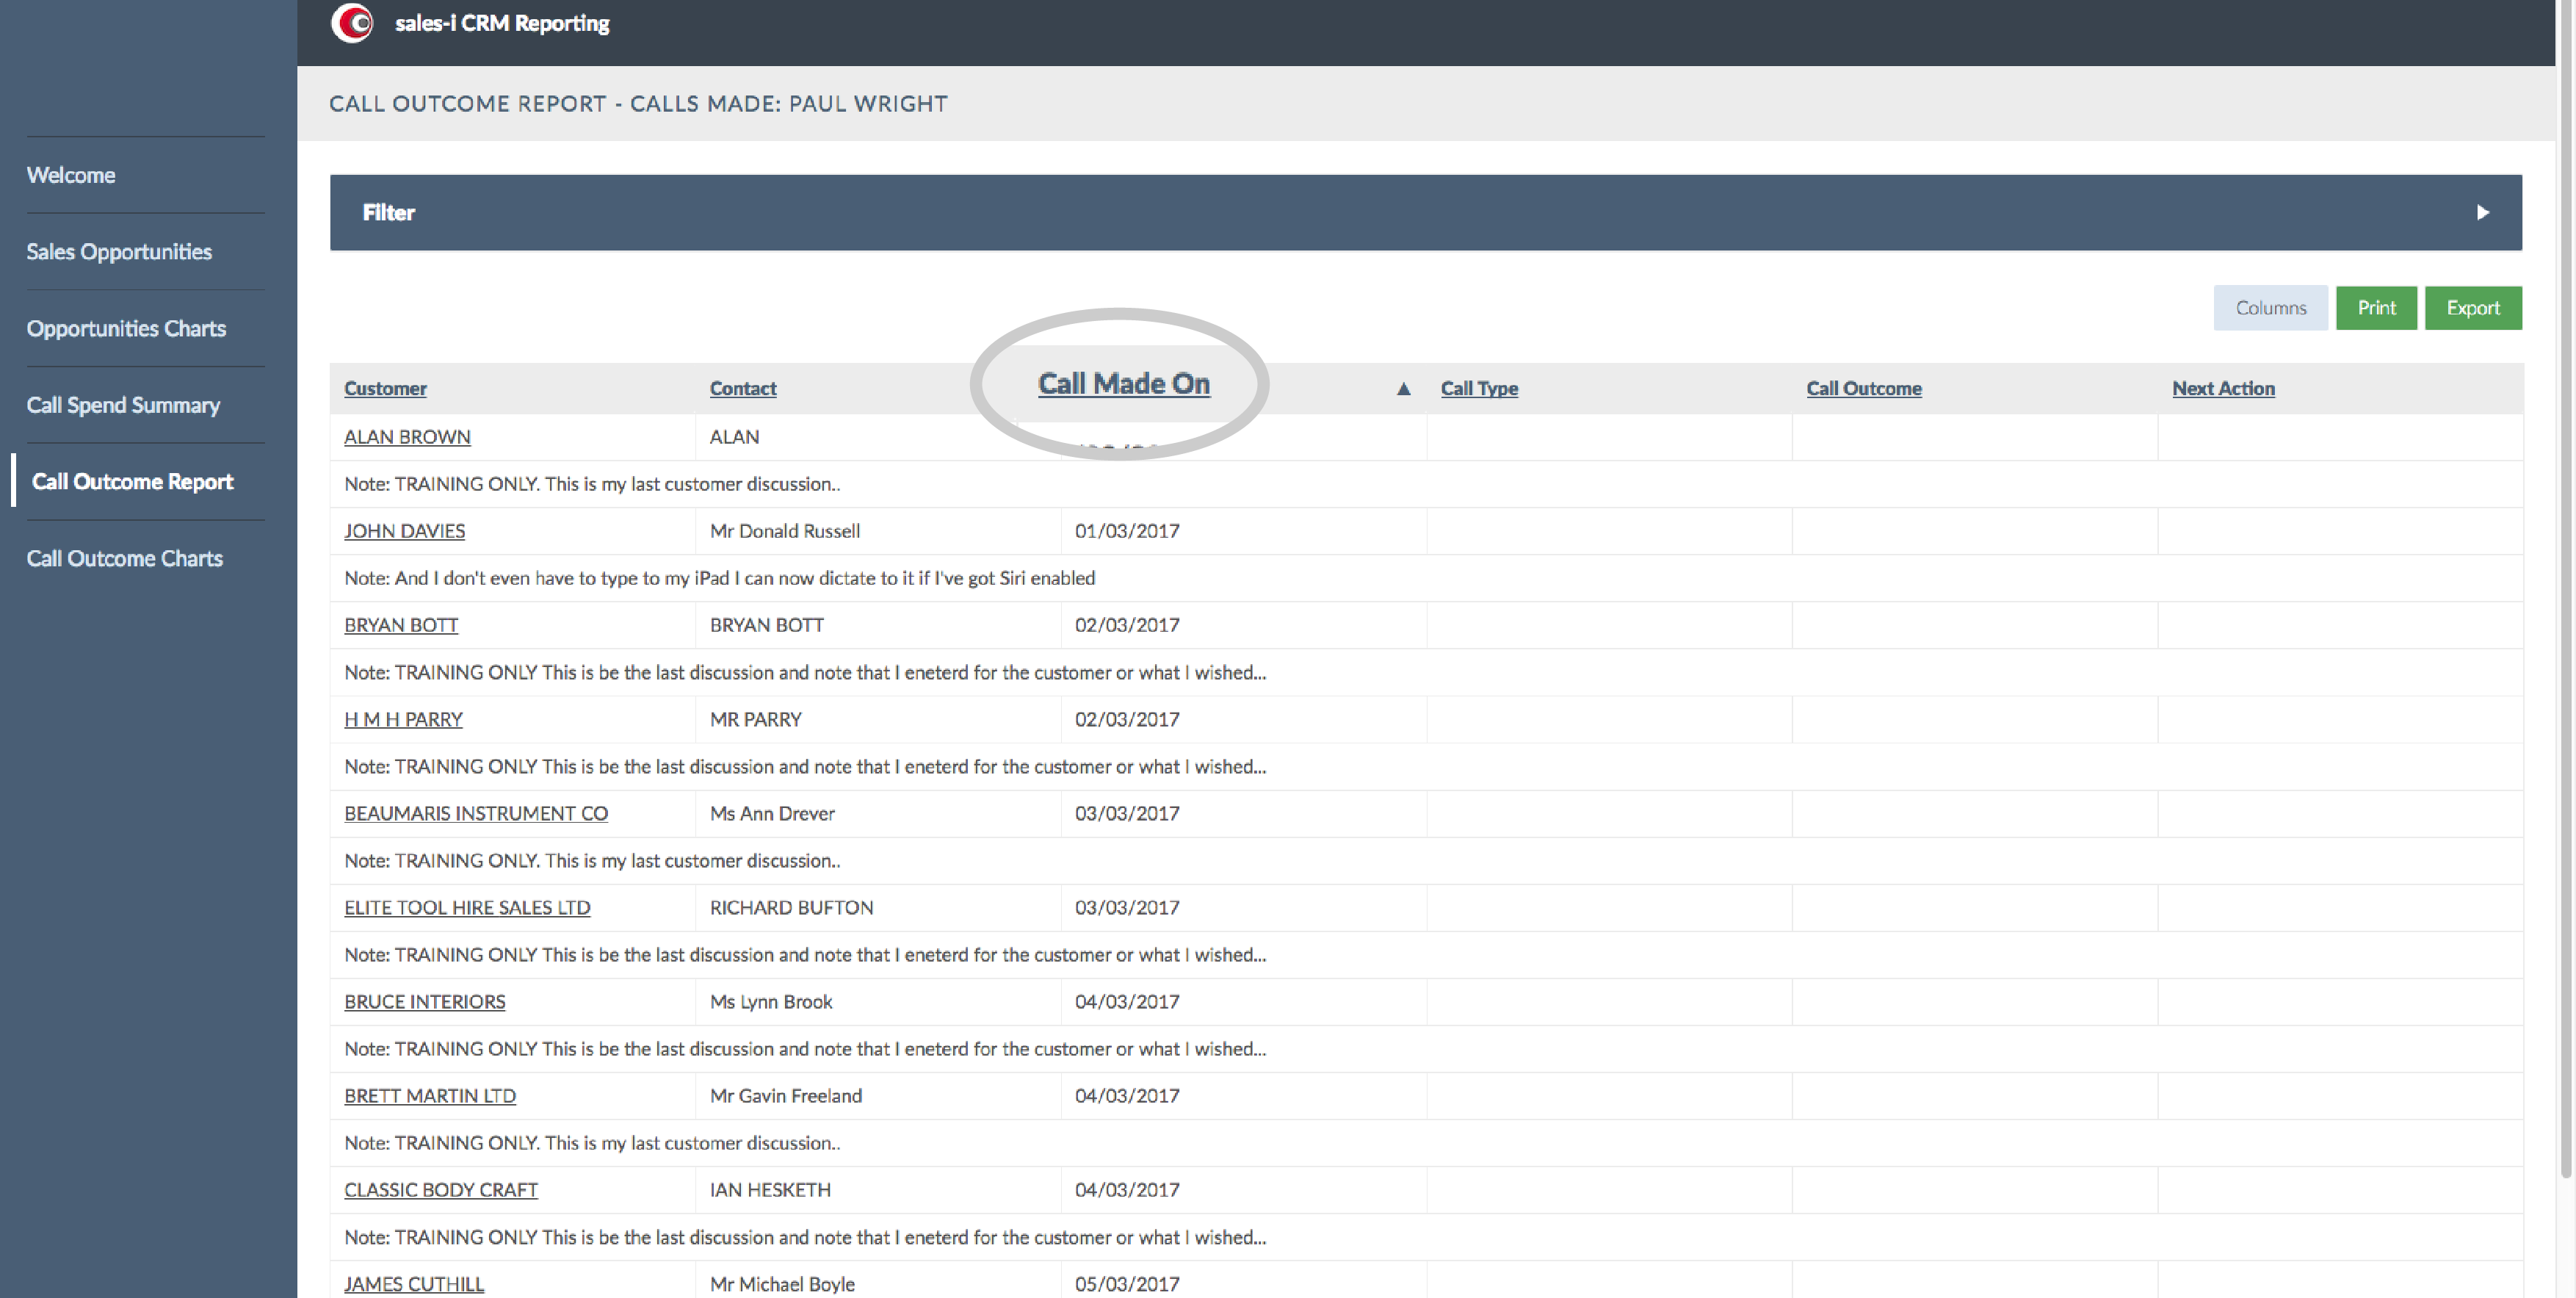
Step 11: Customise Report
The grey Columns button will allow you to customise the report using options captured at note creation.
Step 12: Refresh List
You can either Export the info into Excel or, alternatively, Print the document using the two green buttons in the top right hand corner.
