Tagging allows you to group together record card information for different areas of sales-i. This guide will show you how to tag certain things that are involved in the same project together and then generate a report of everything with the same tag.
Desktop
Download a PDF version
Step 1: Add Tag
Find the opportunity, note, document, contact or customer details you want to add a tag next to. Somewhere on the page, you will see an Add Tag button against each unique entity click it.
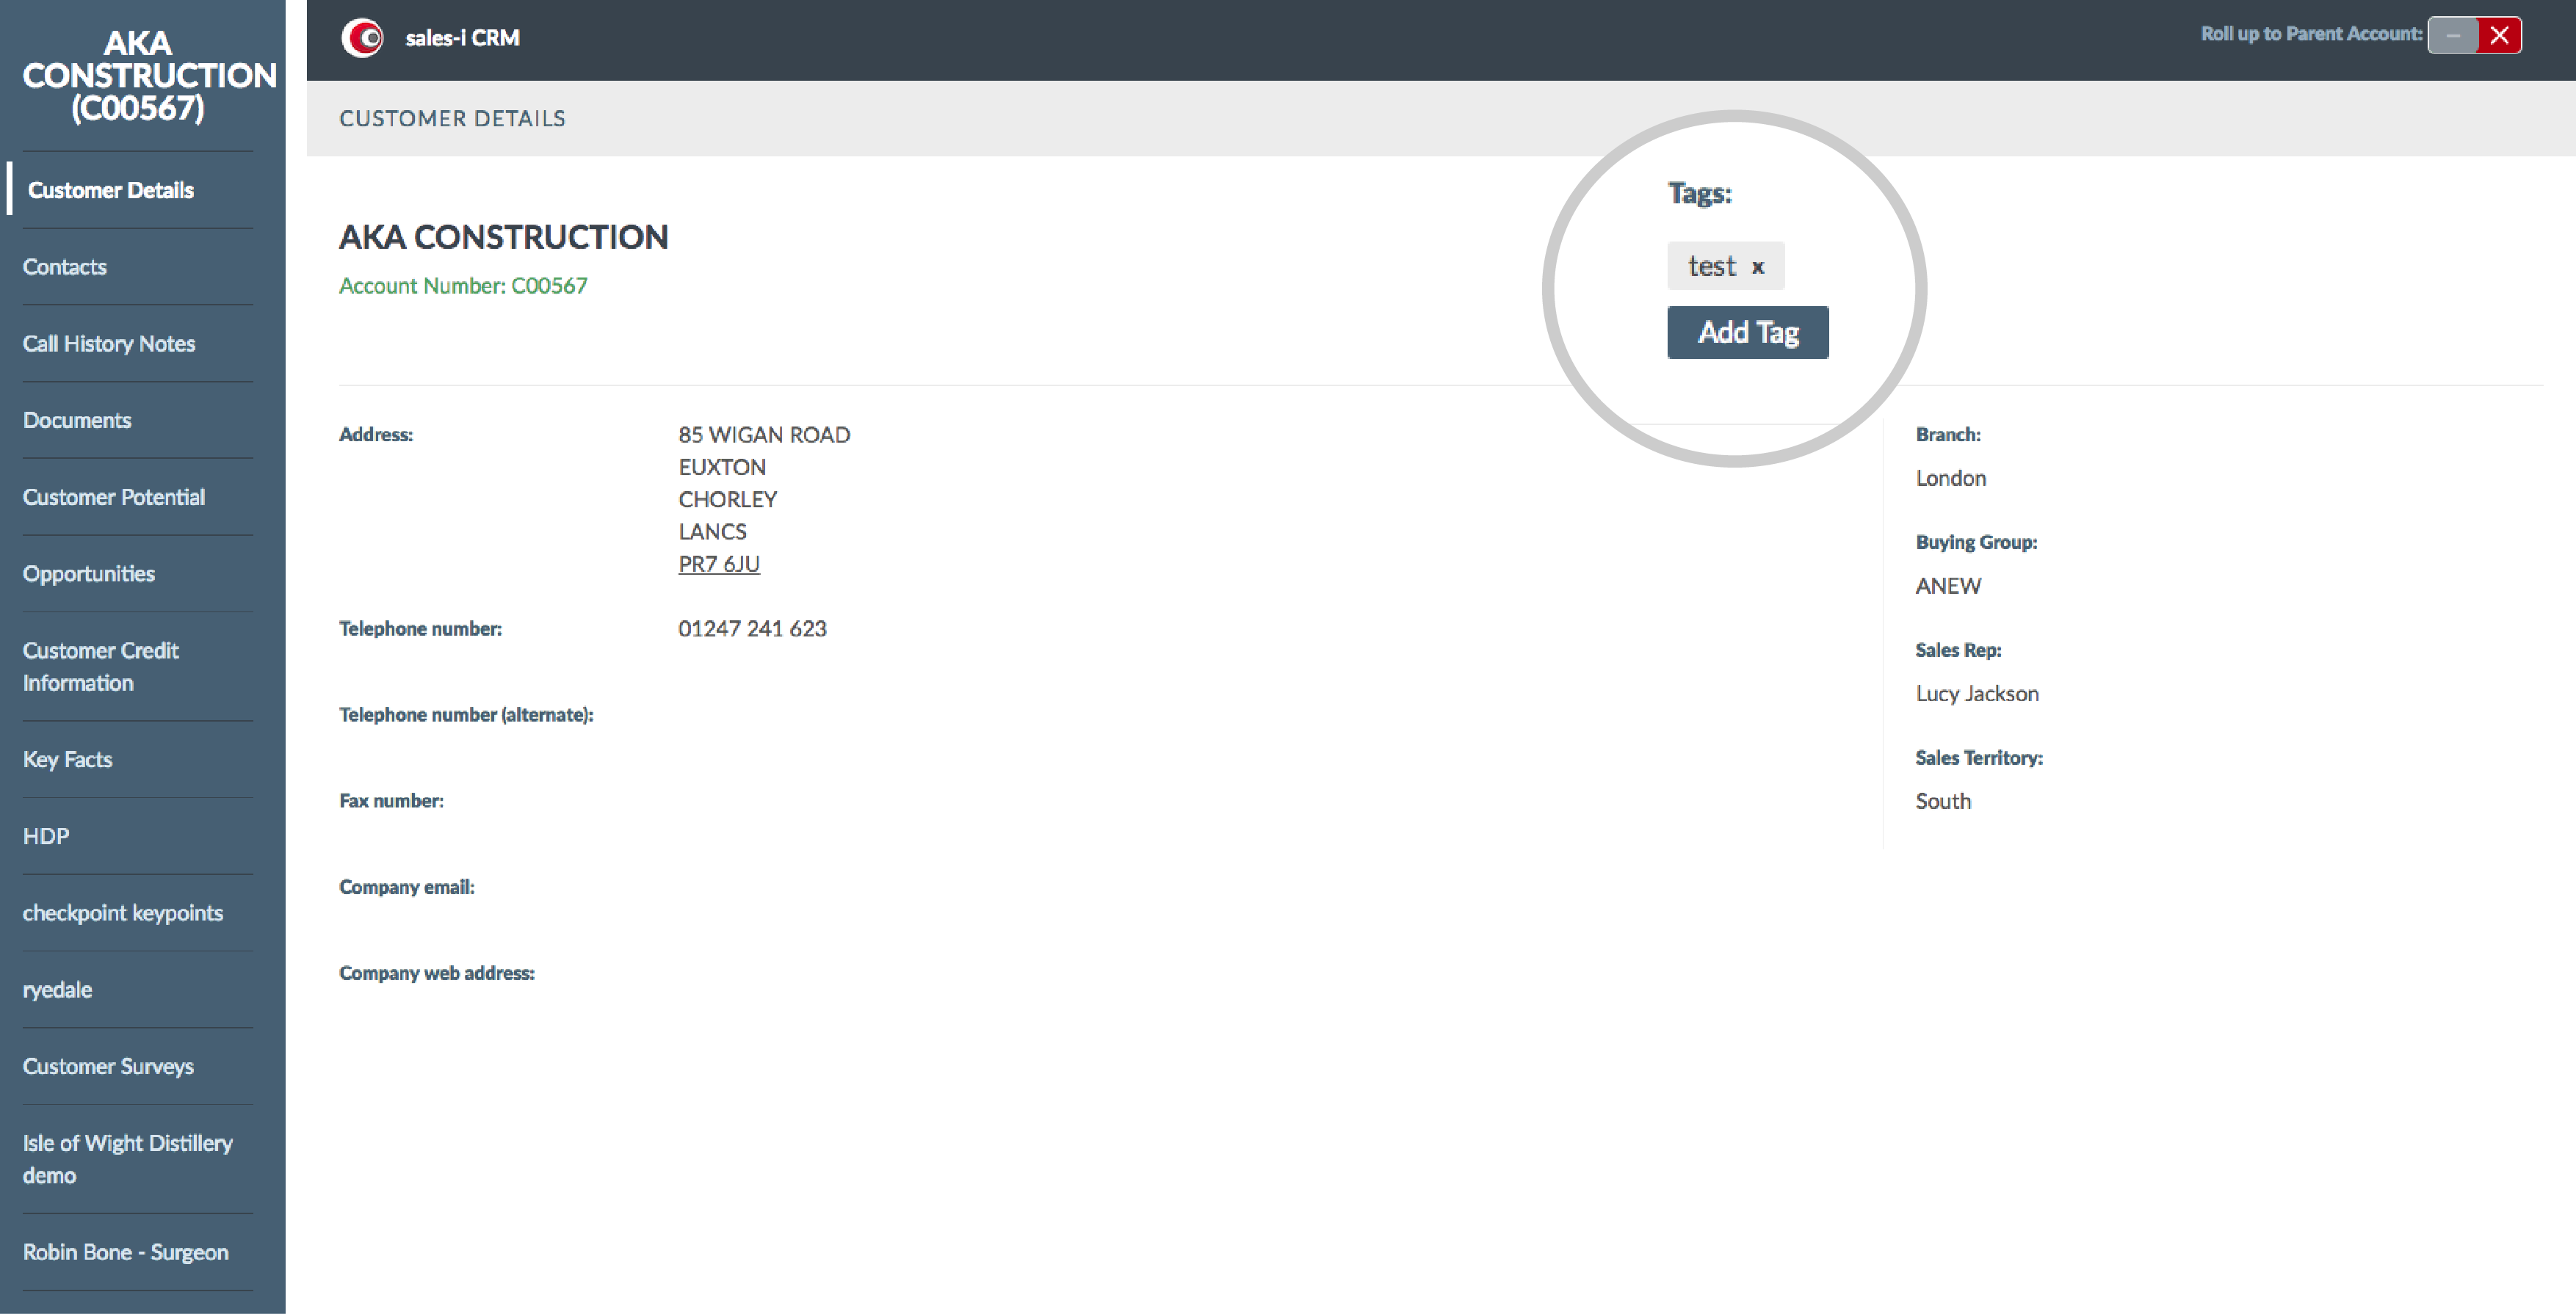
Step 2: Access Tag
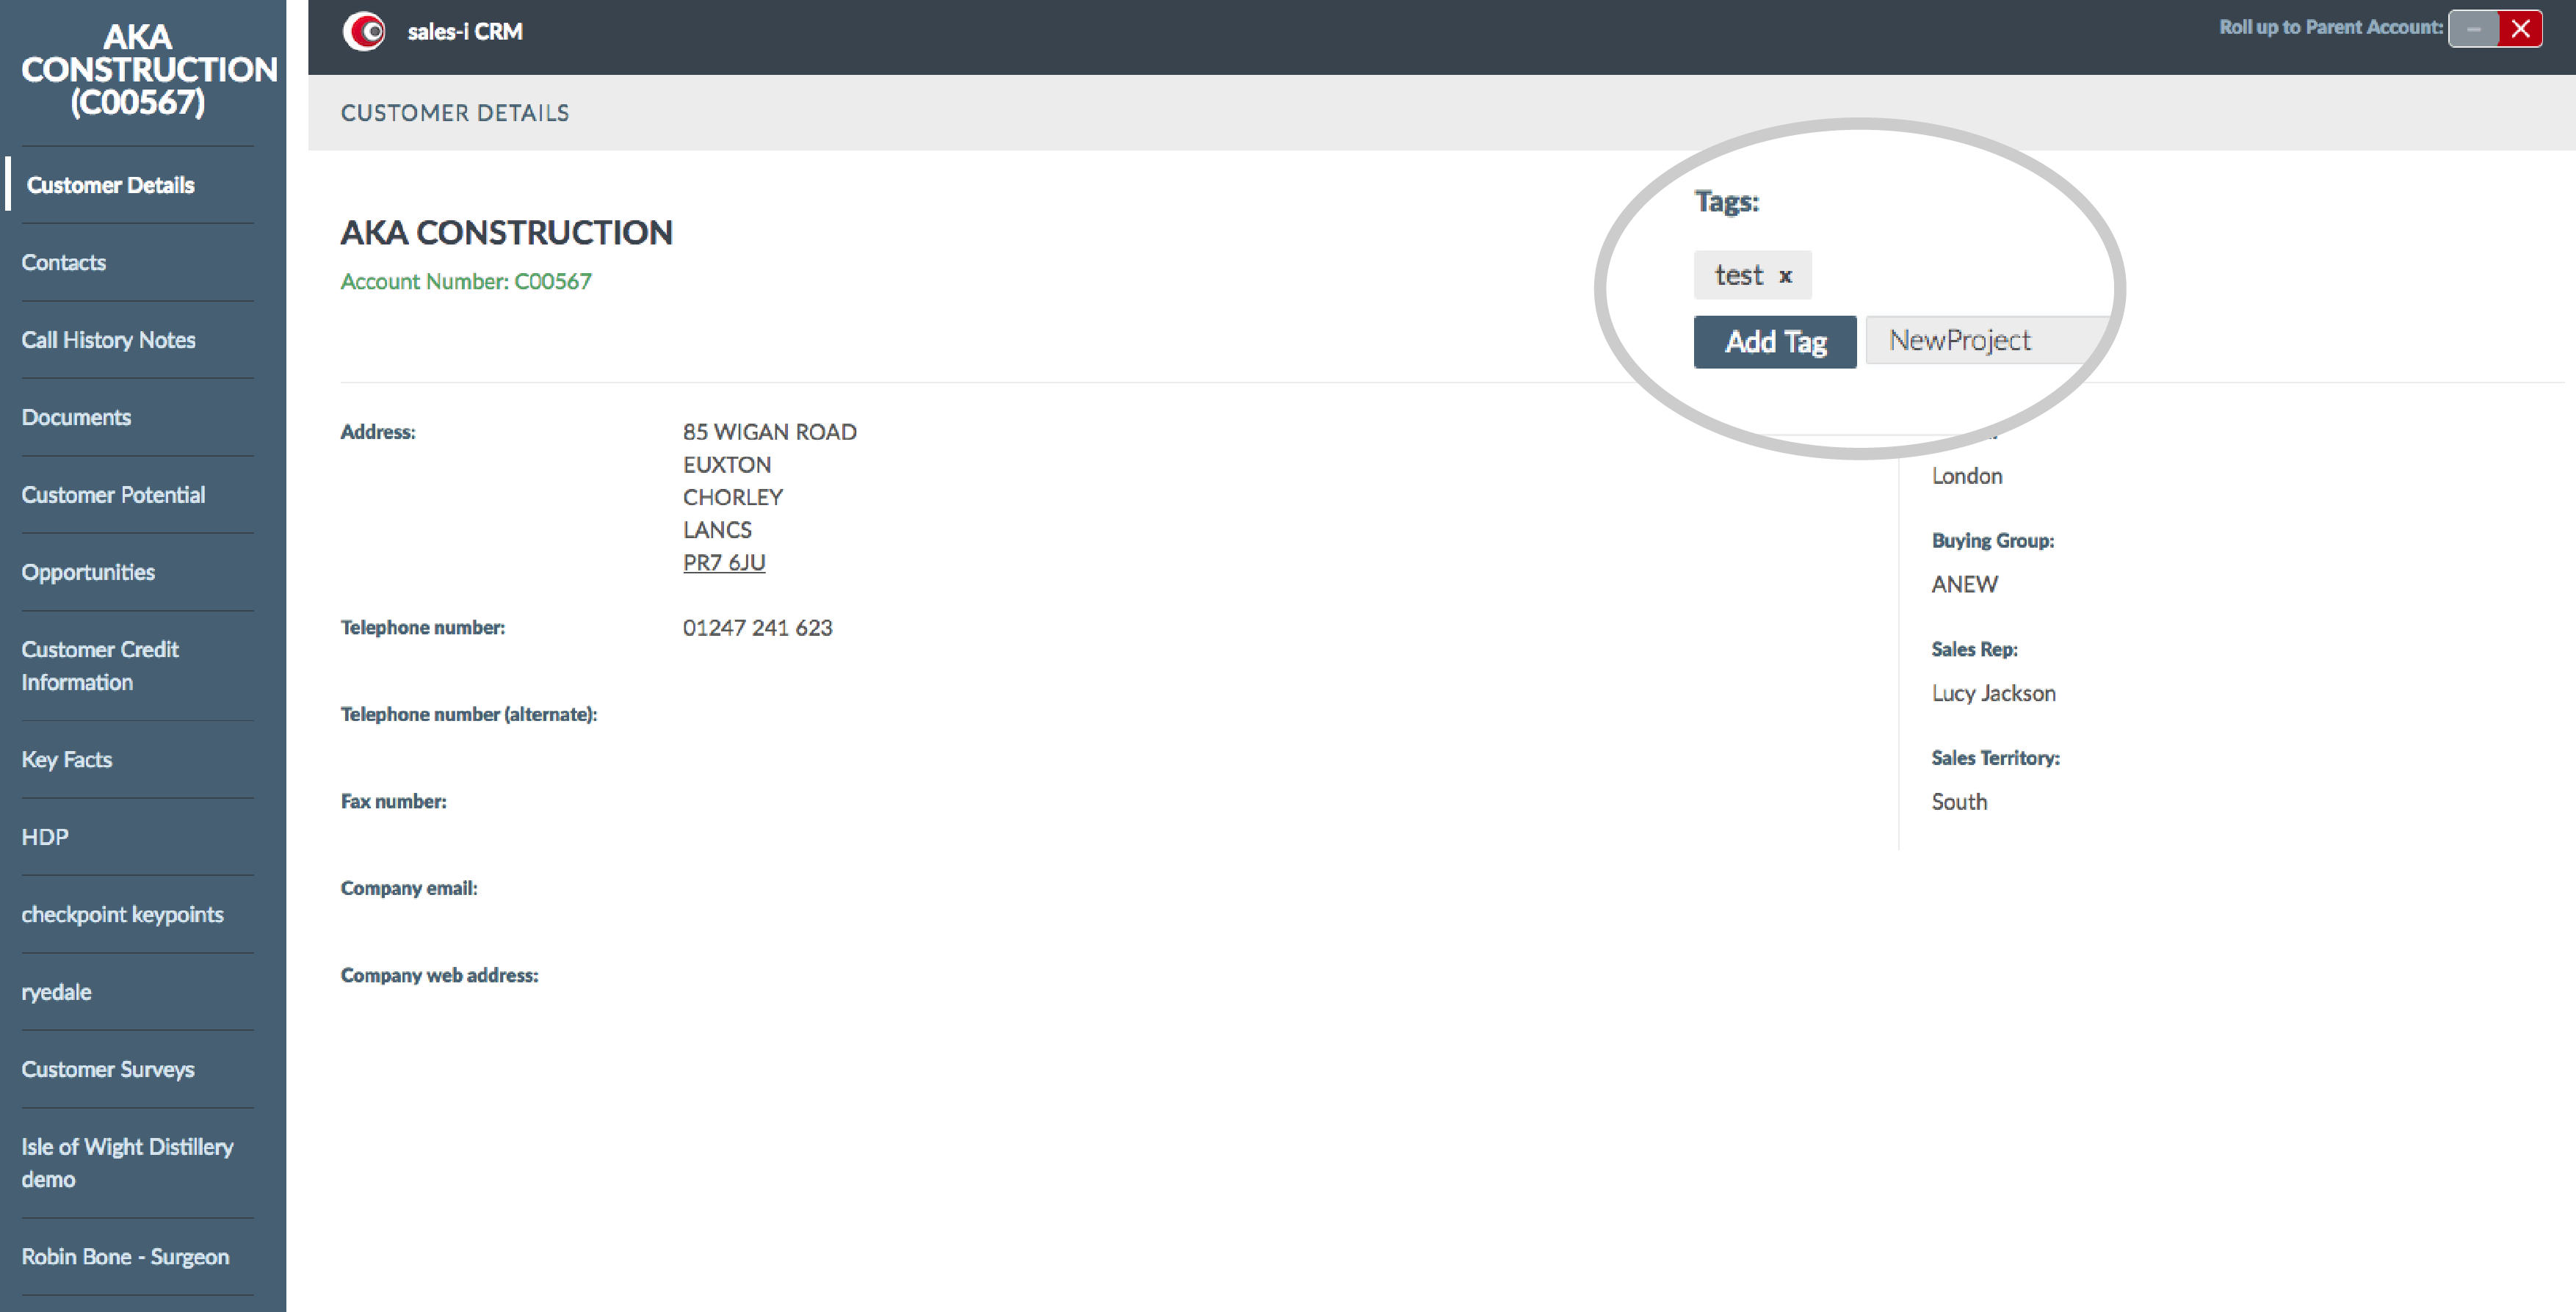
A text box will open next to the button.
You can either:
A. Create your own tag (a one-word description) and hit enter once you’re satisfied with the tag name.
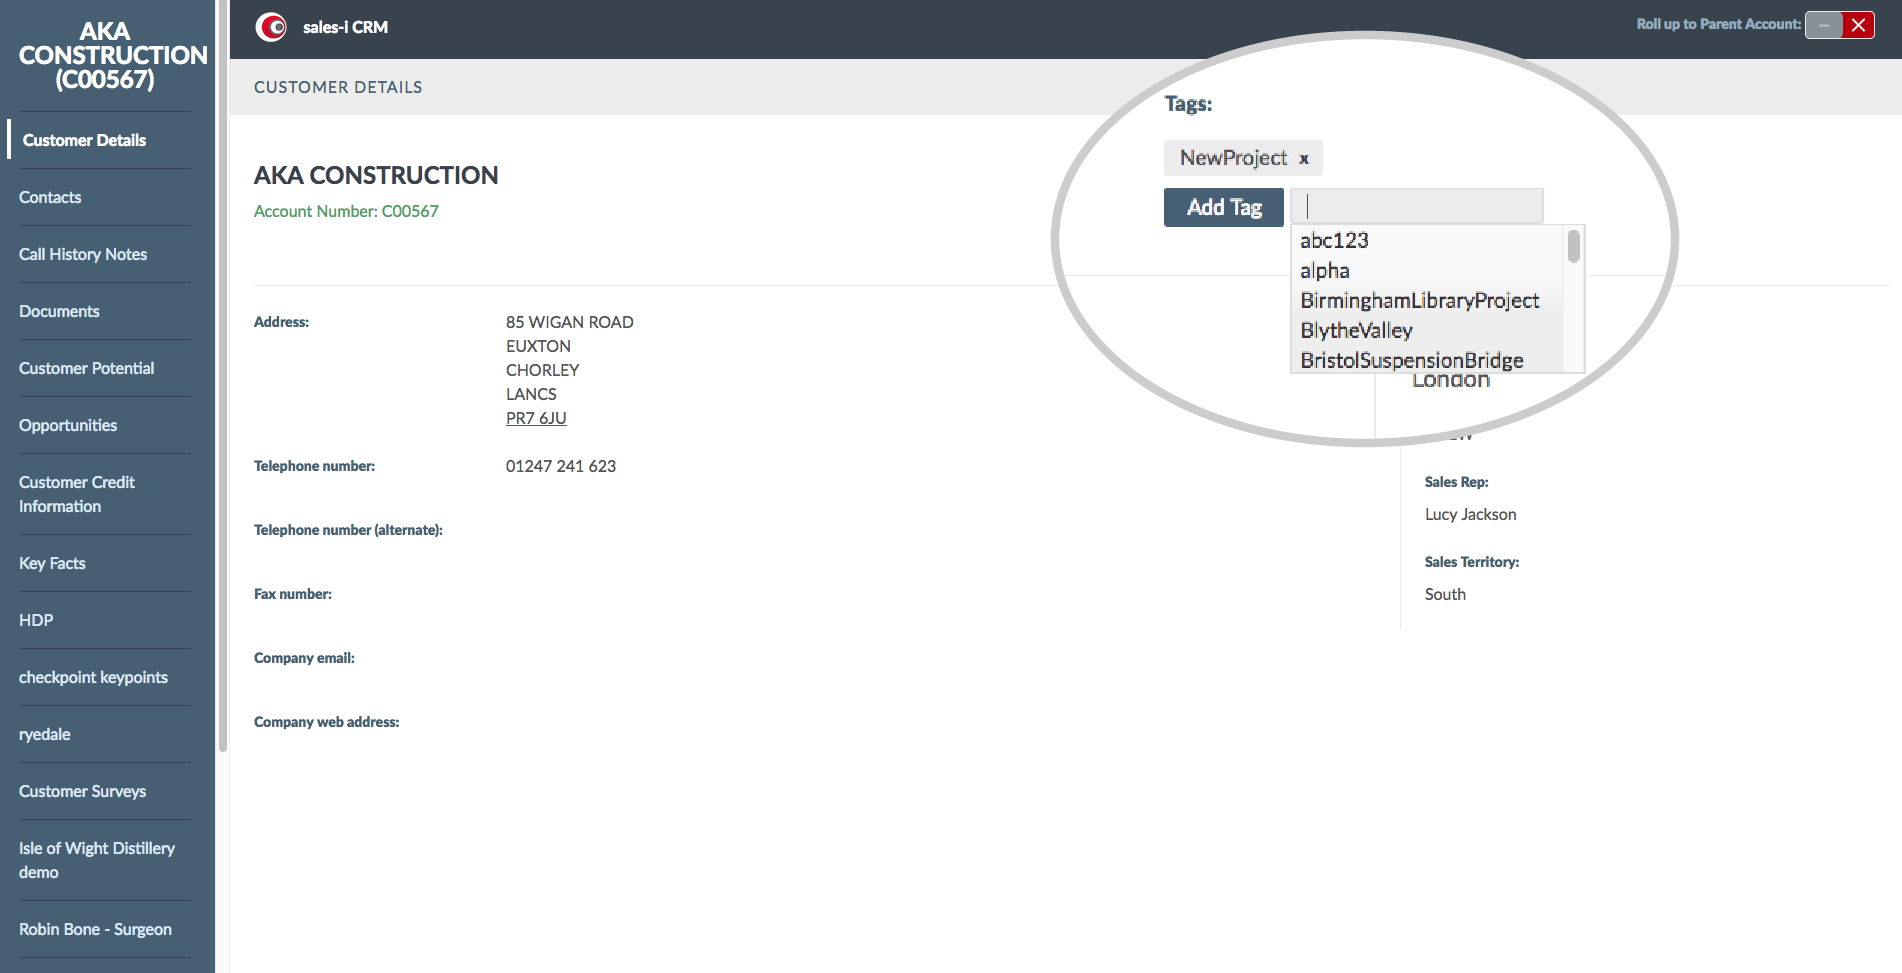
B. Press the downward arrow on your keyboard to see all existing tags.
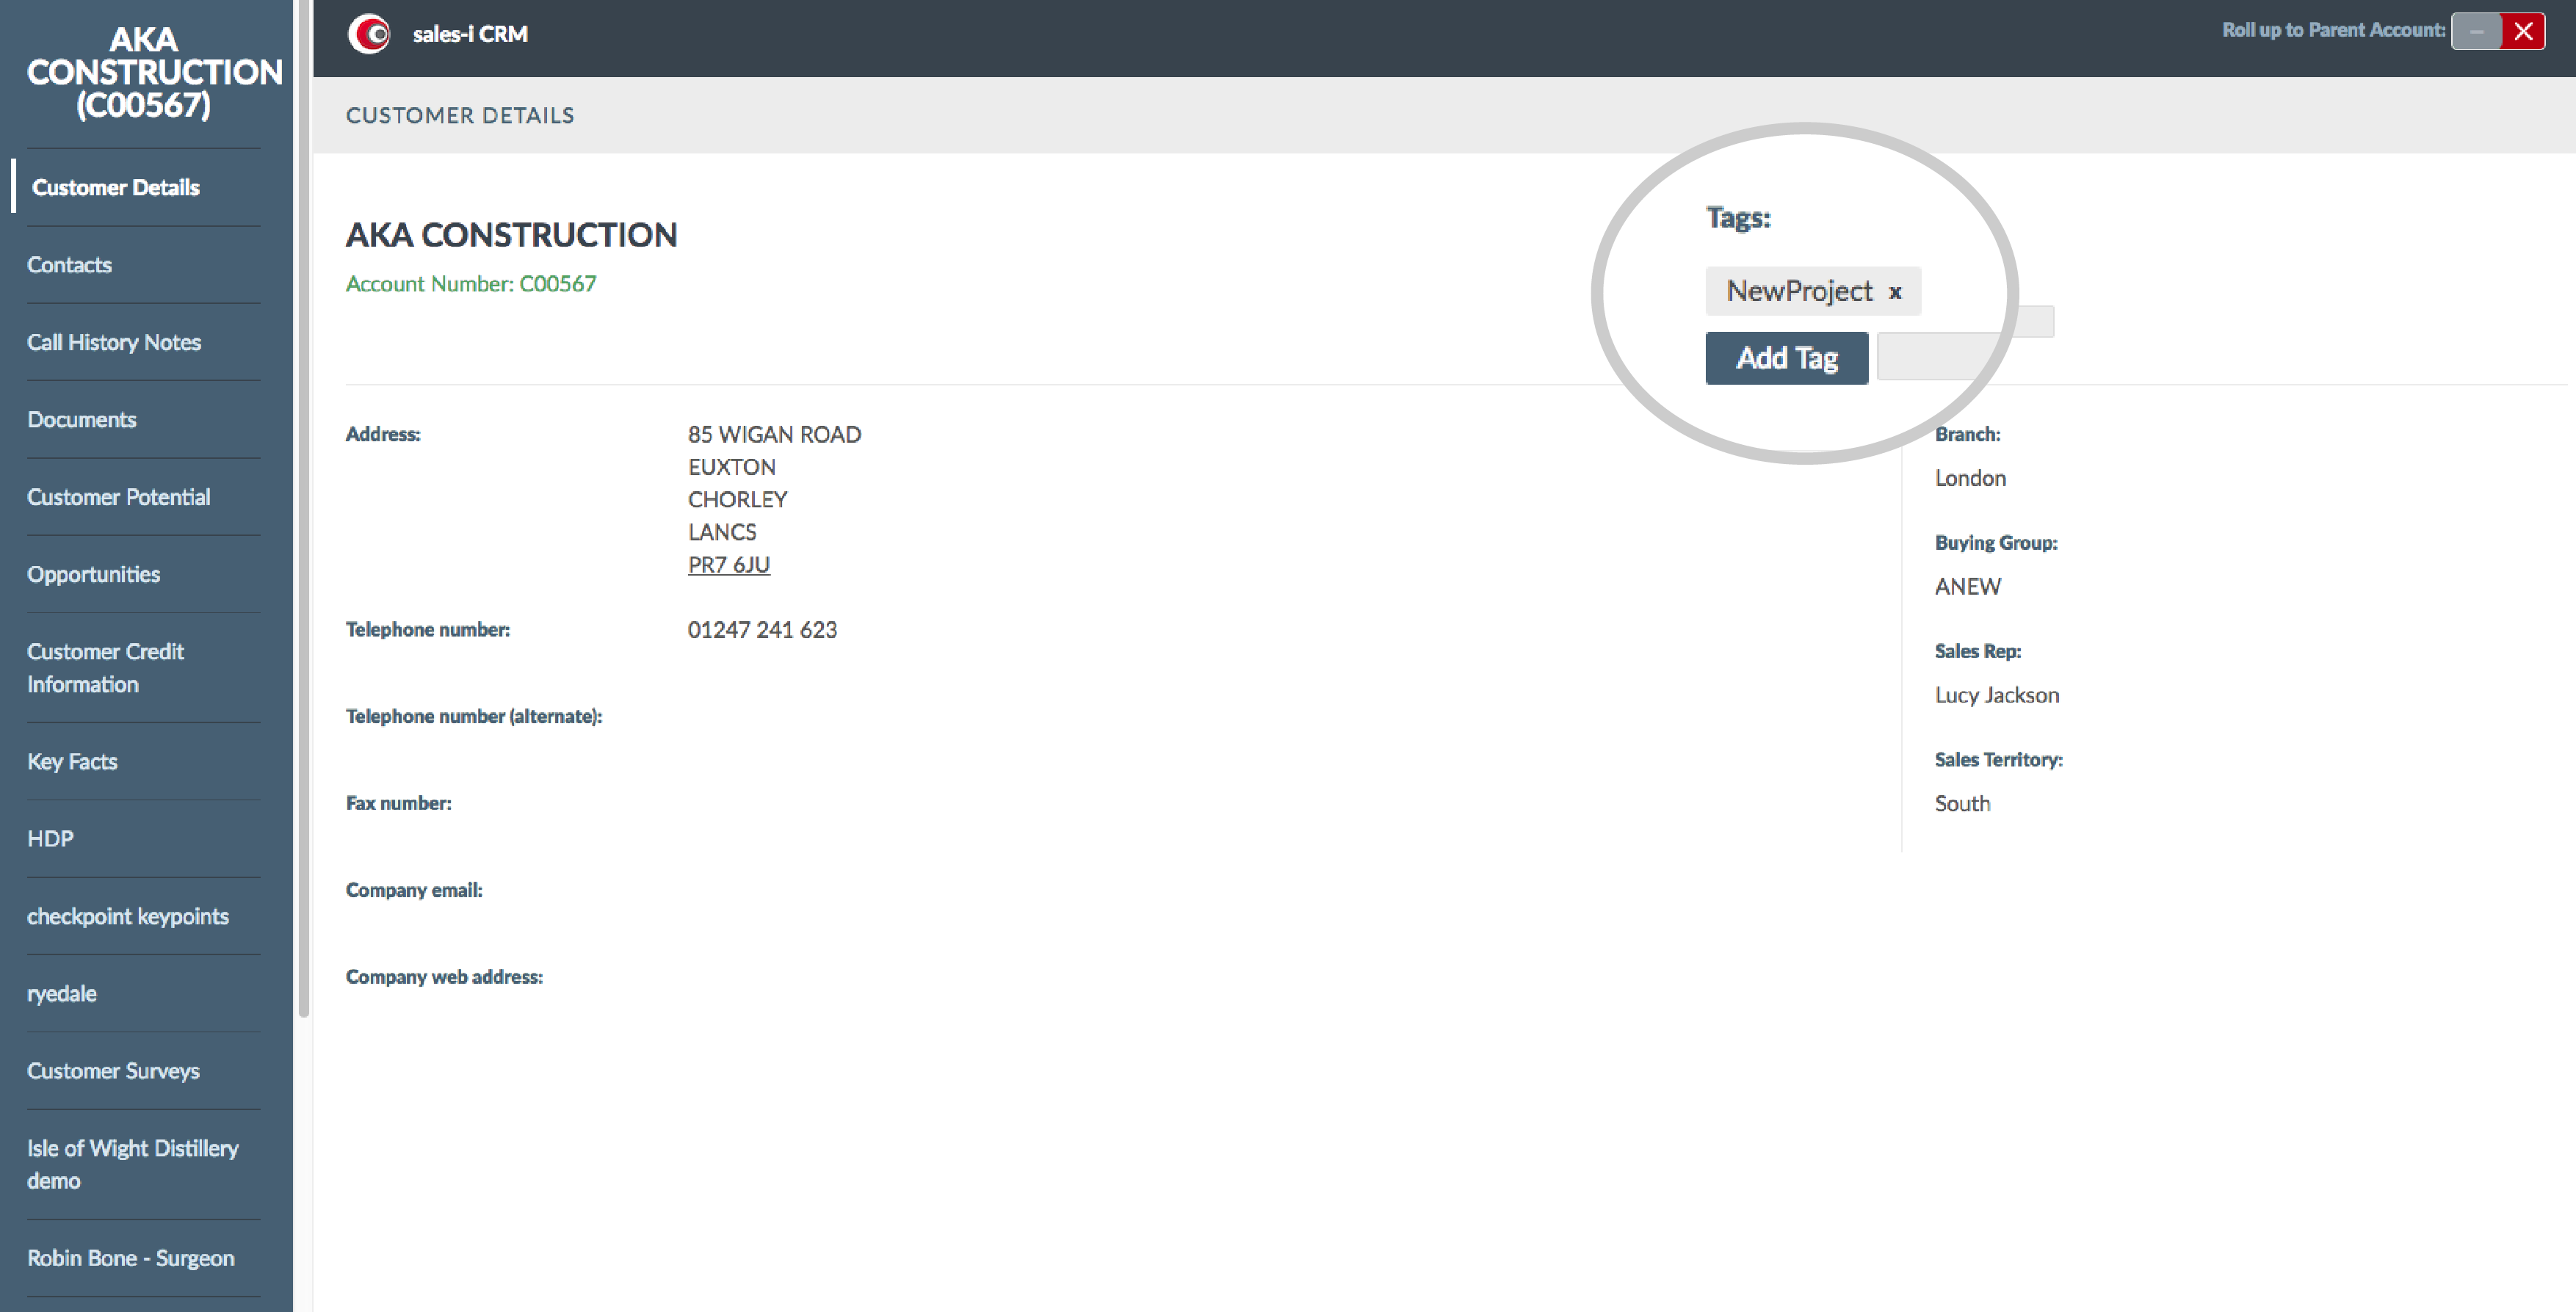
Step 3: Edit Tag
The tag is now added, as you can see above the Add Tag button. To remove a tag, simply click the small black x in the grey box in which the tag is displayed.
Things to note
– You can add the same tag against as many different things as you like.
– Each entity (document, contact, customer detail etc.) can be tagged many times.
Step 4: Create Report
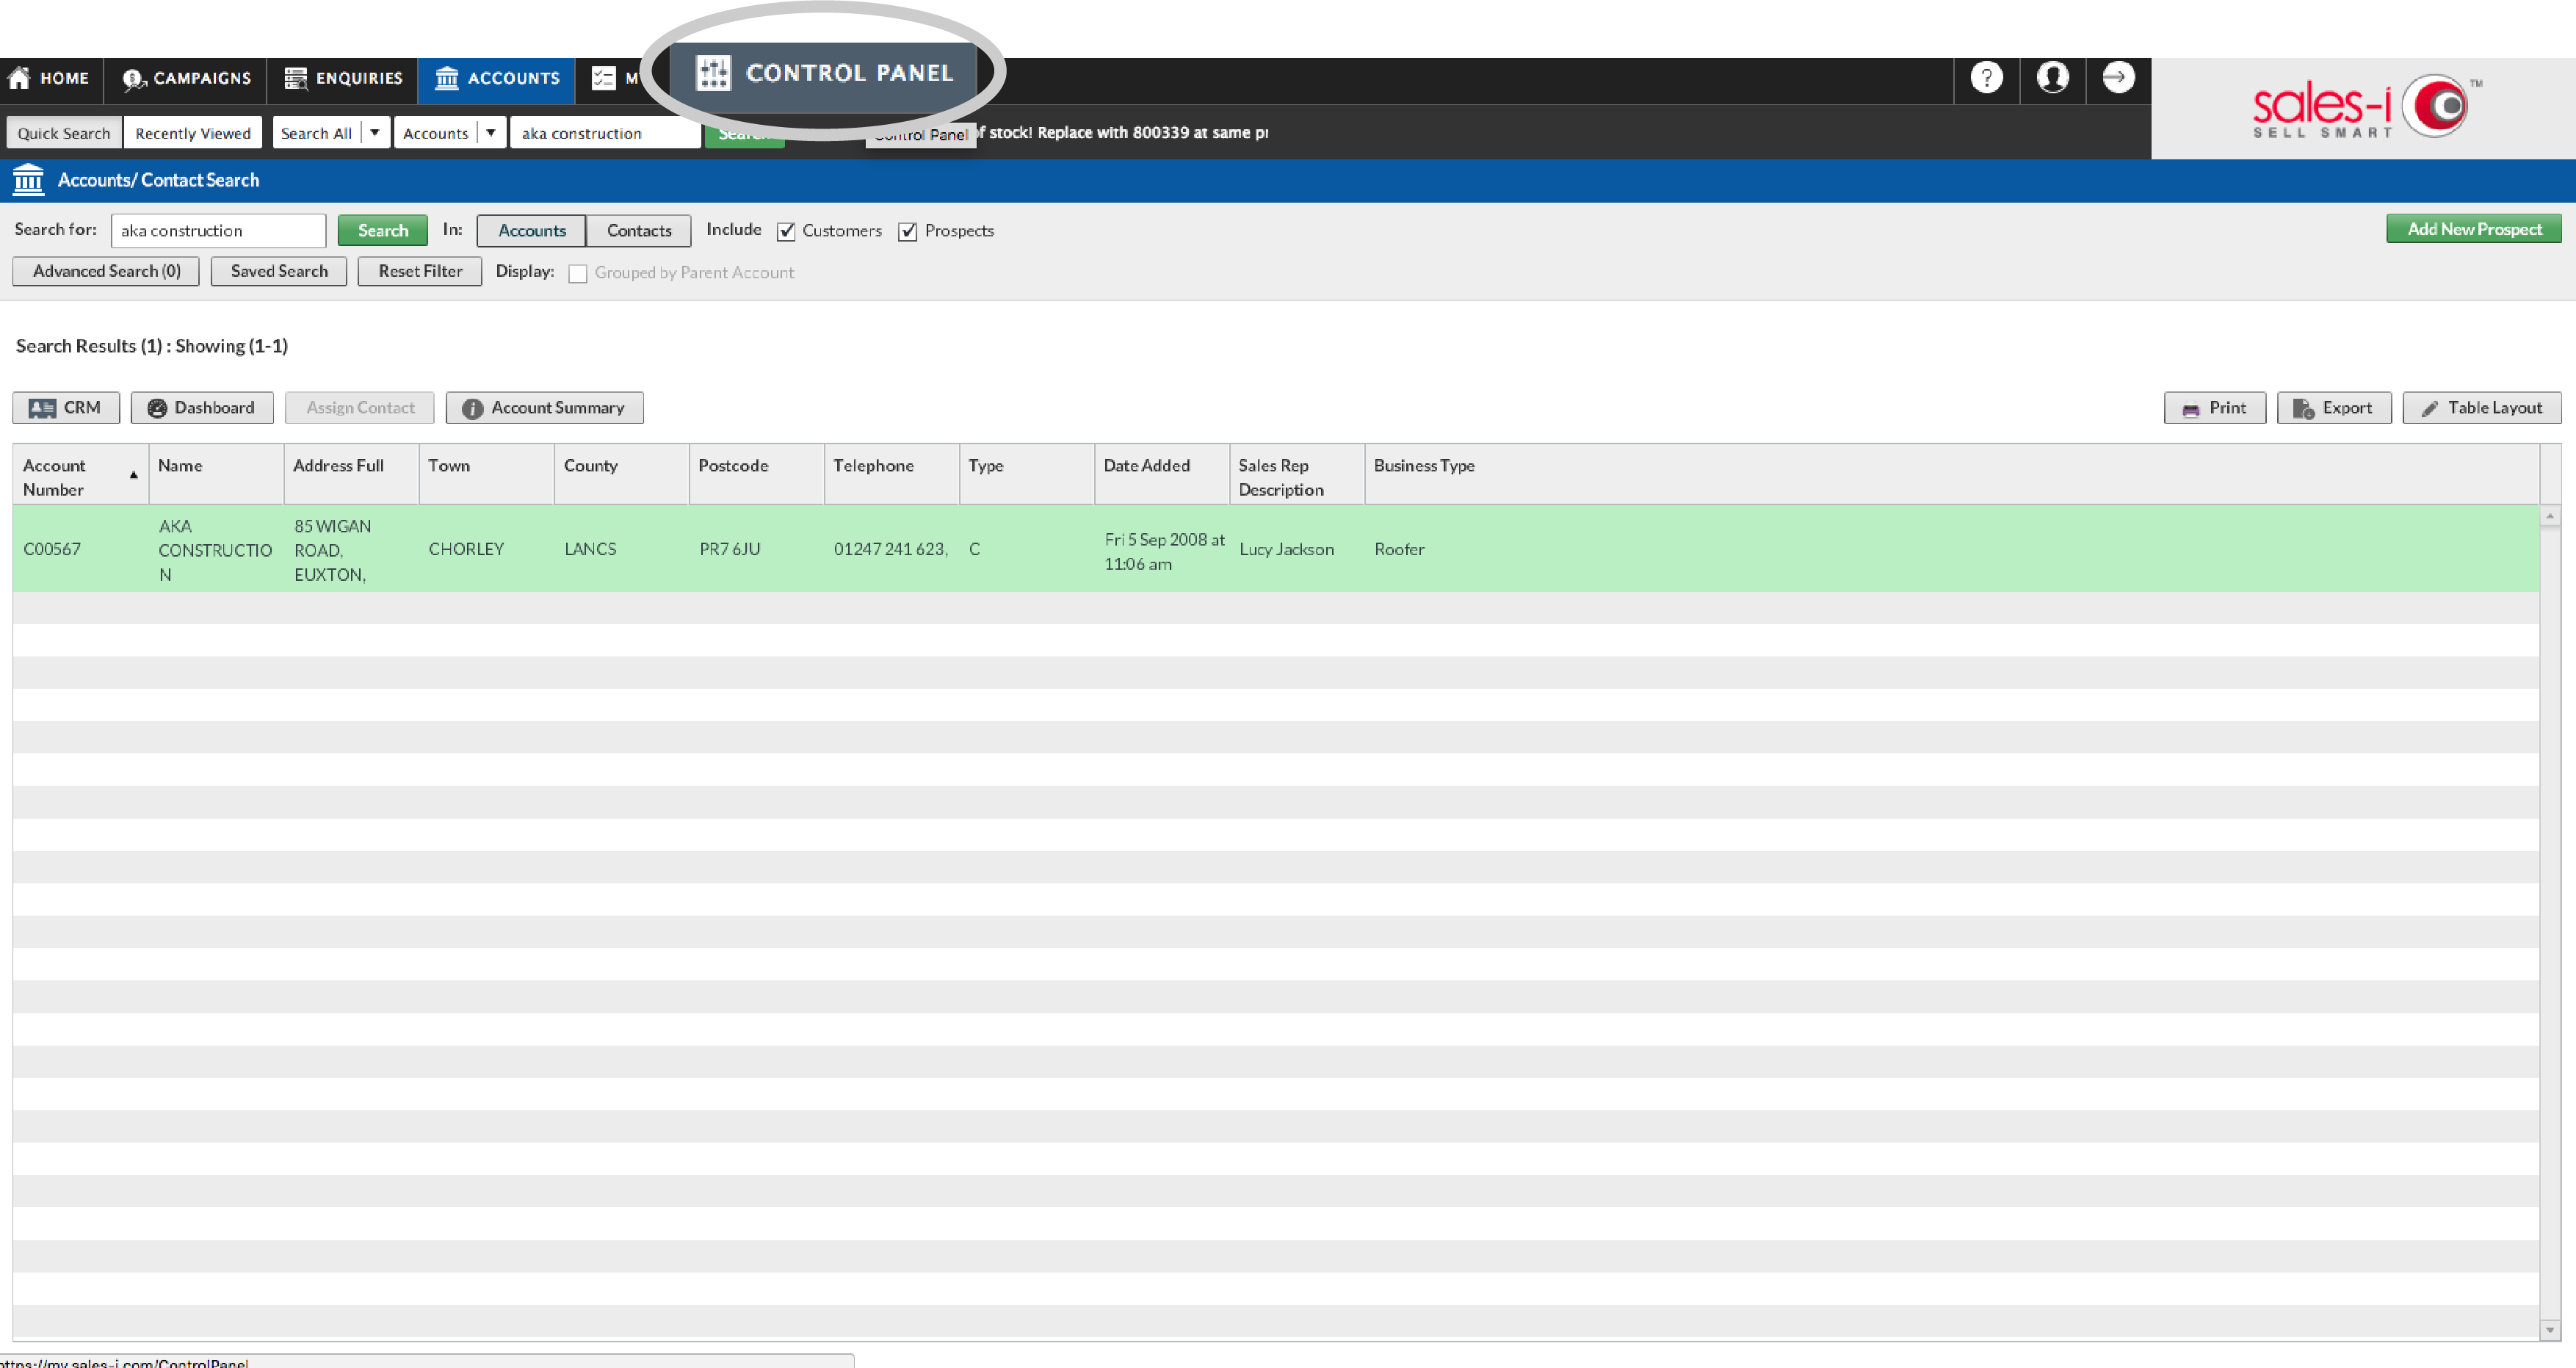
Once you’re done tagging things, you’ll want to create a report, so go into Control Panel.
Step 5: Go To Reporting
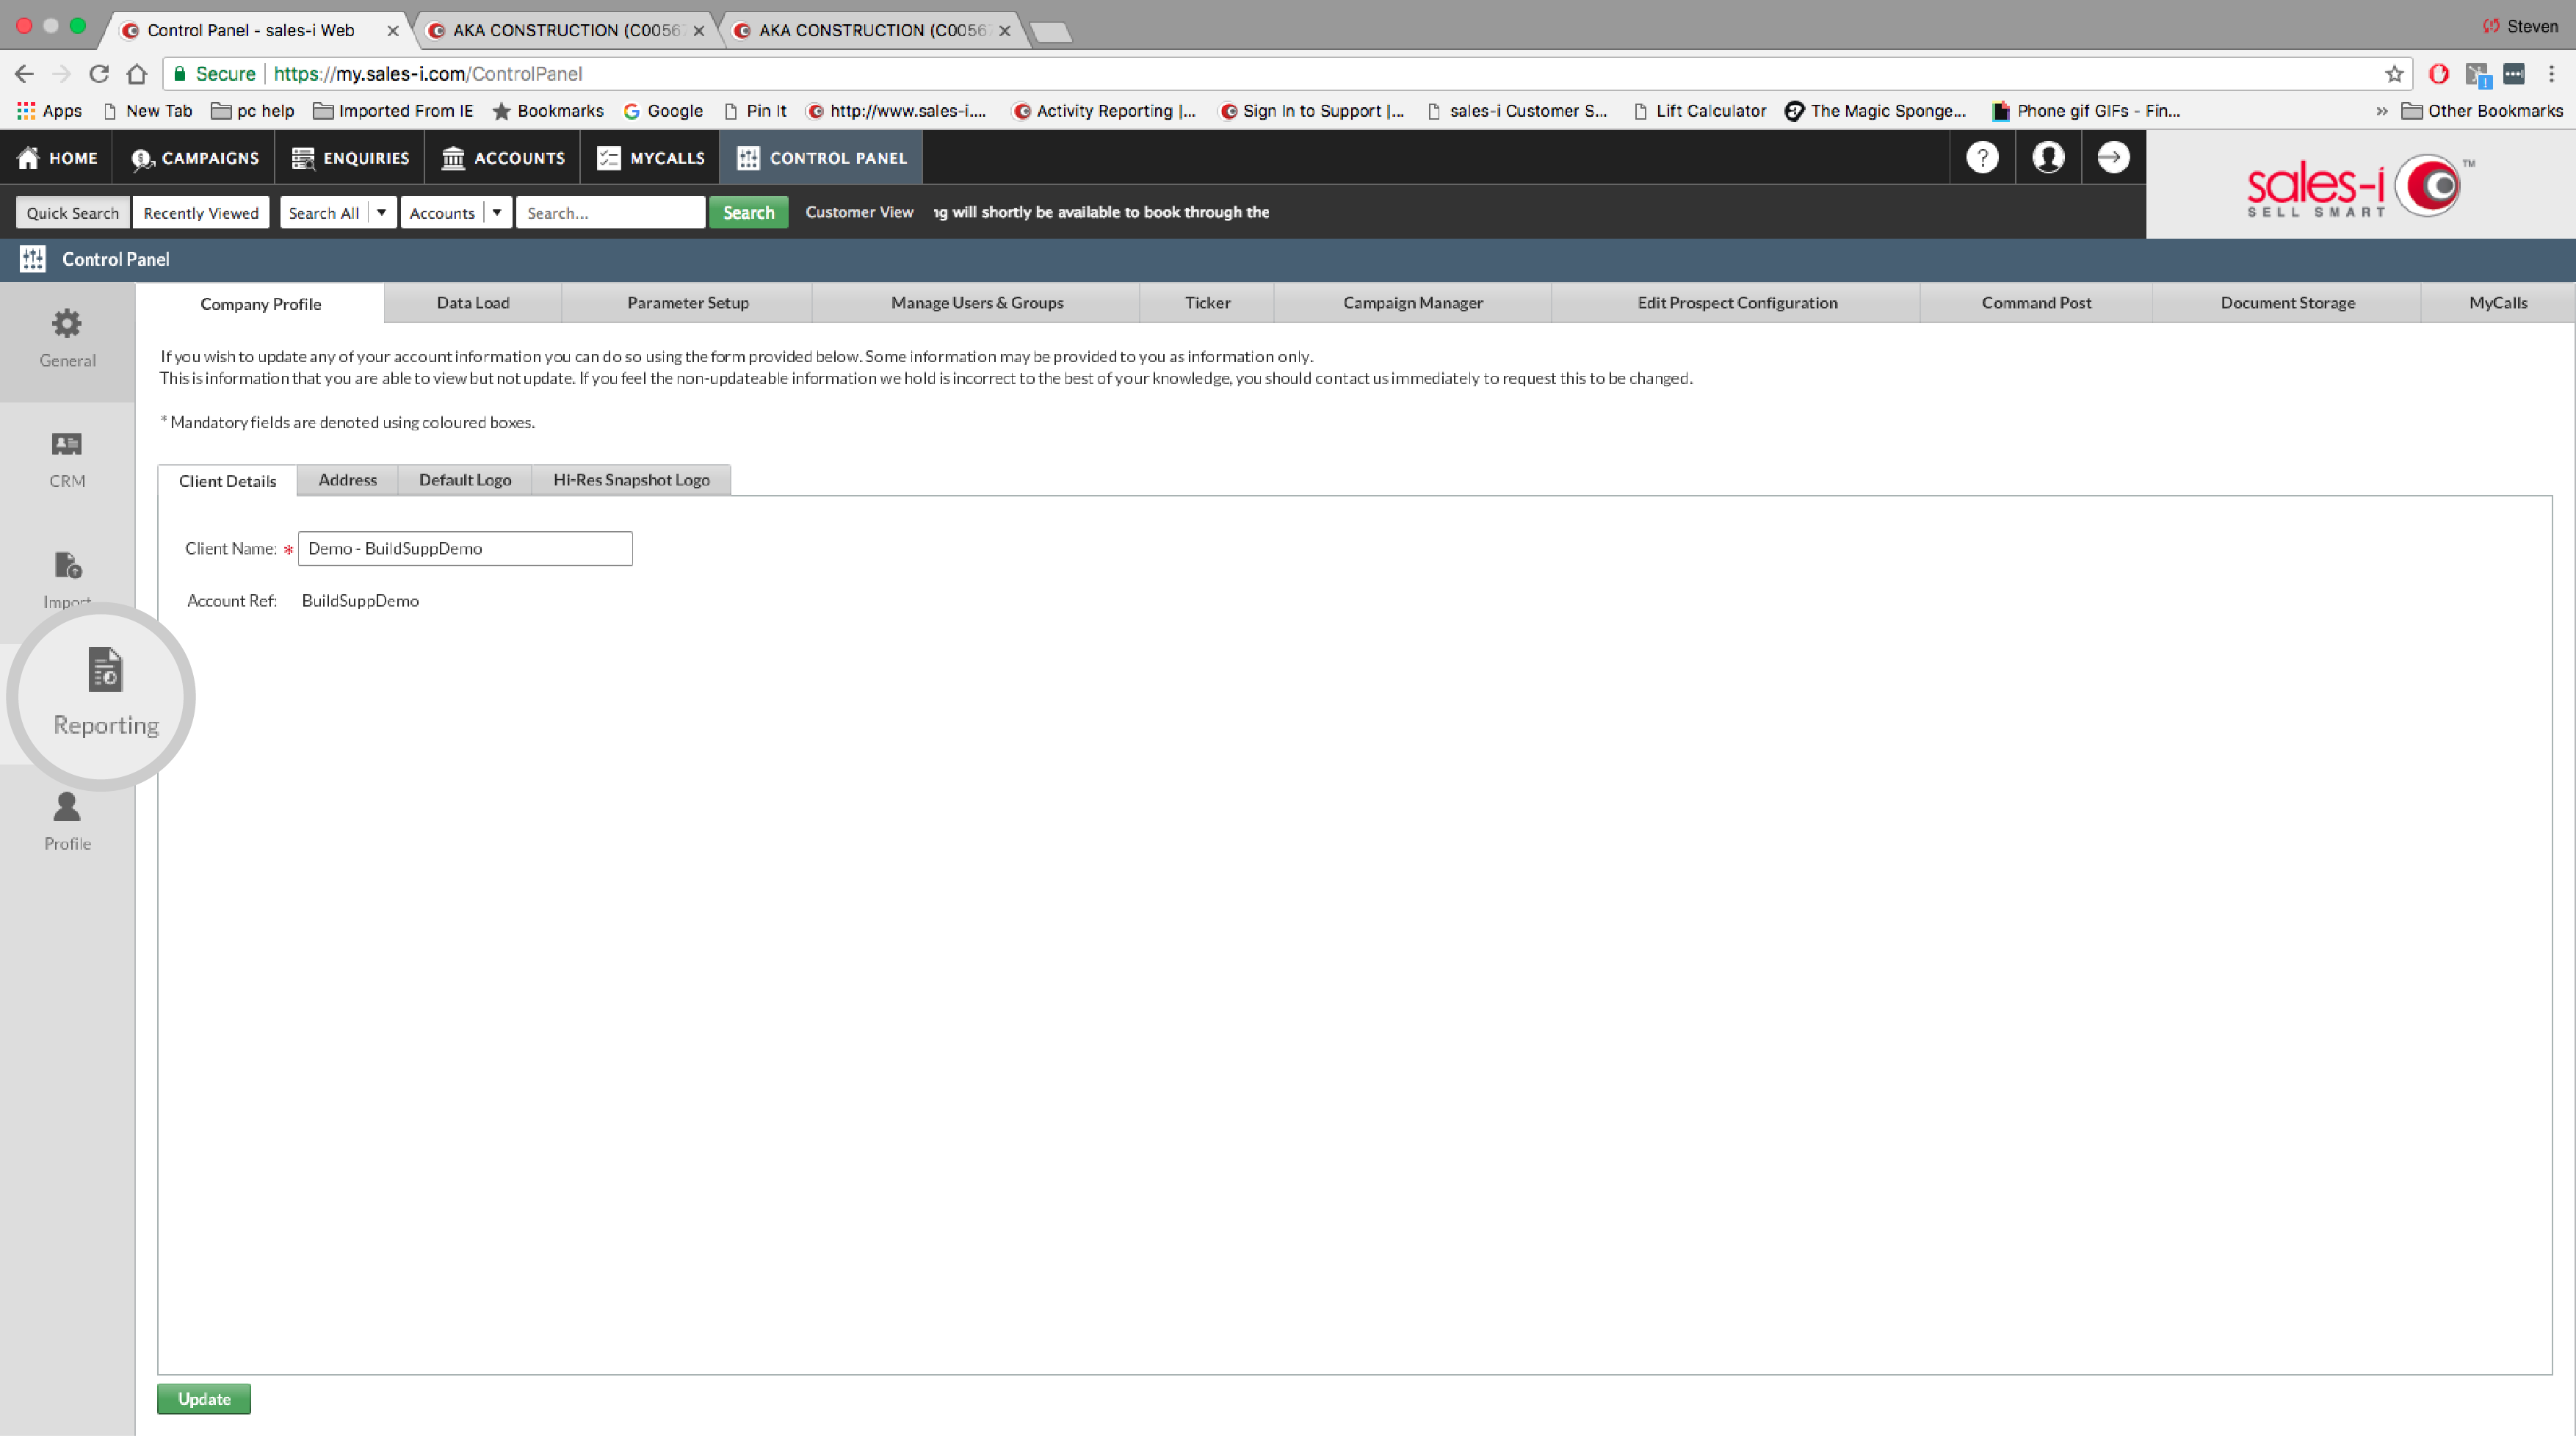
From the panel on the left, click Reporting at the bottom.
Step 6: Go To Tagging Report
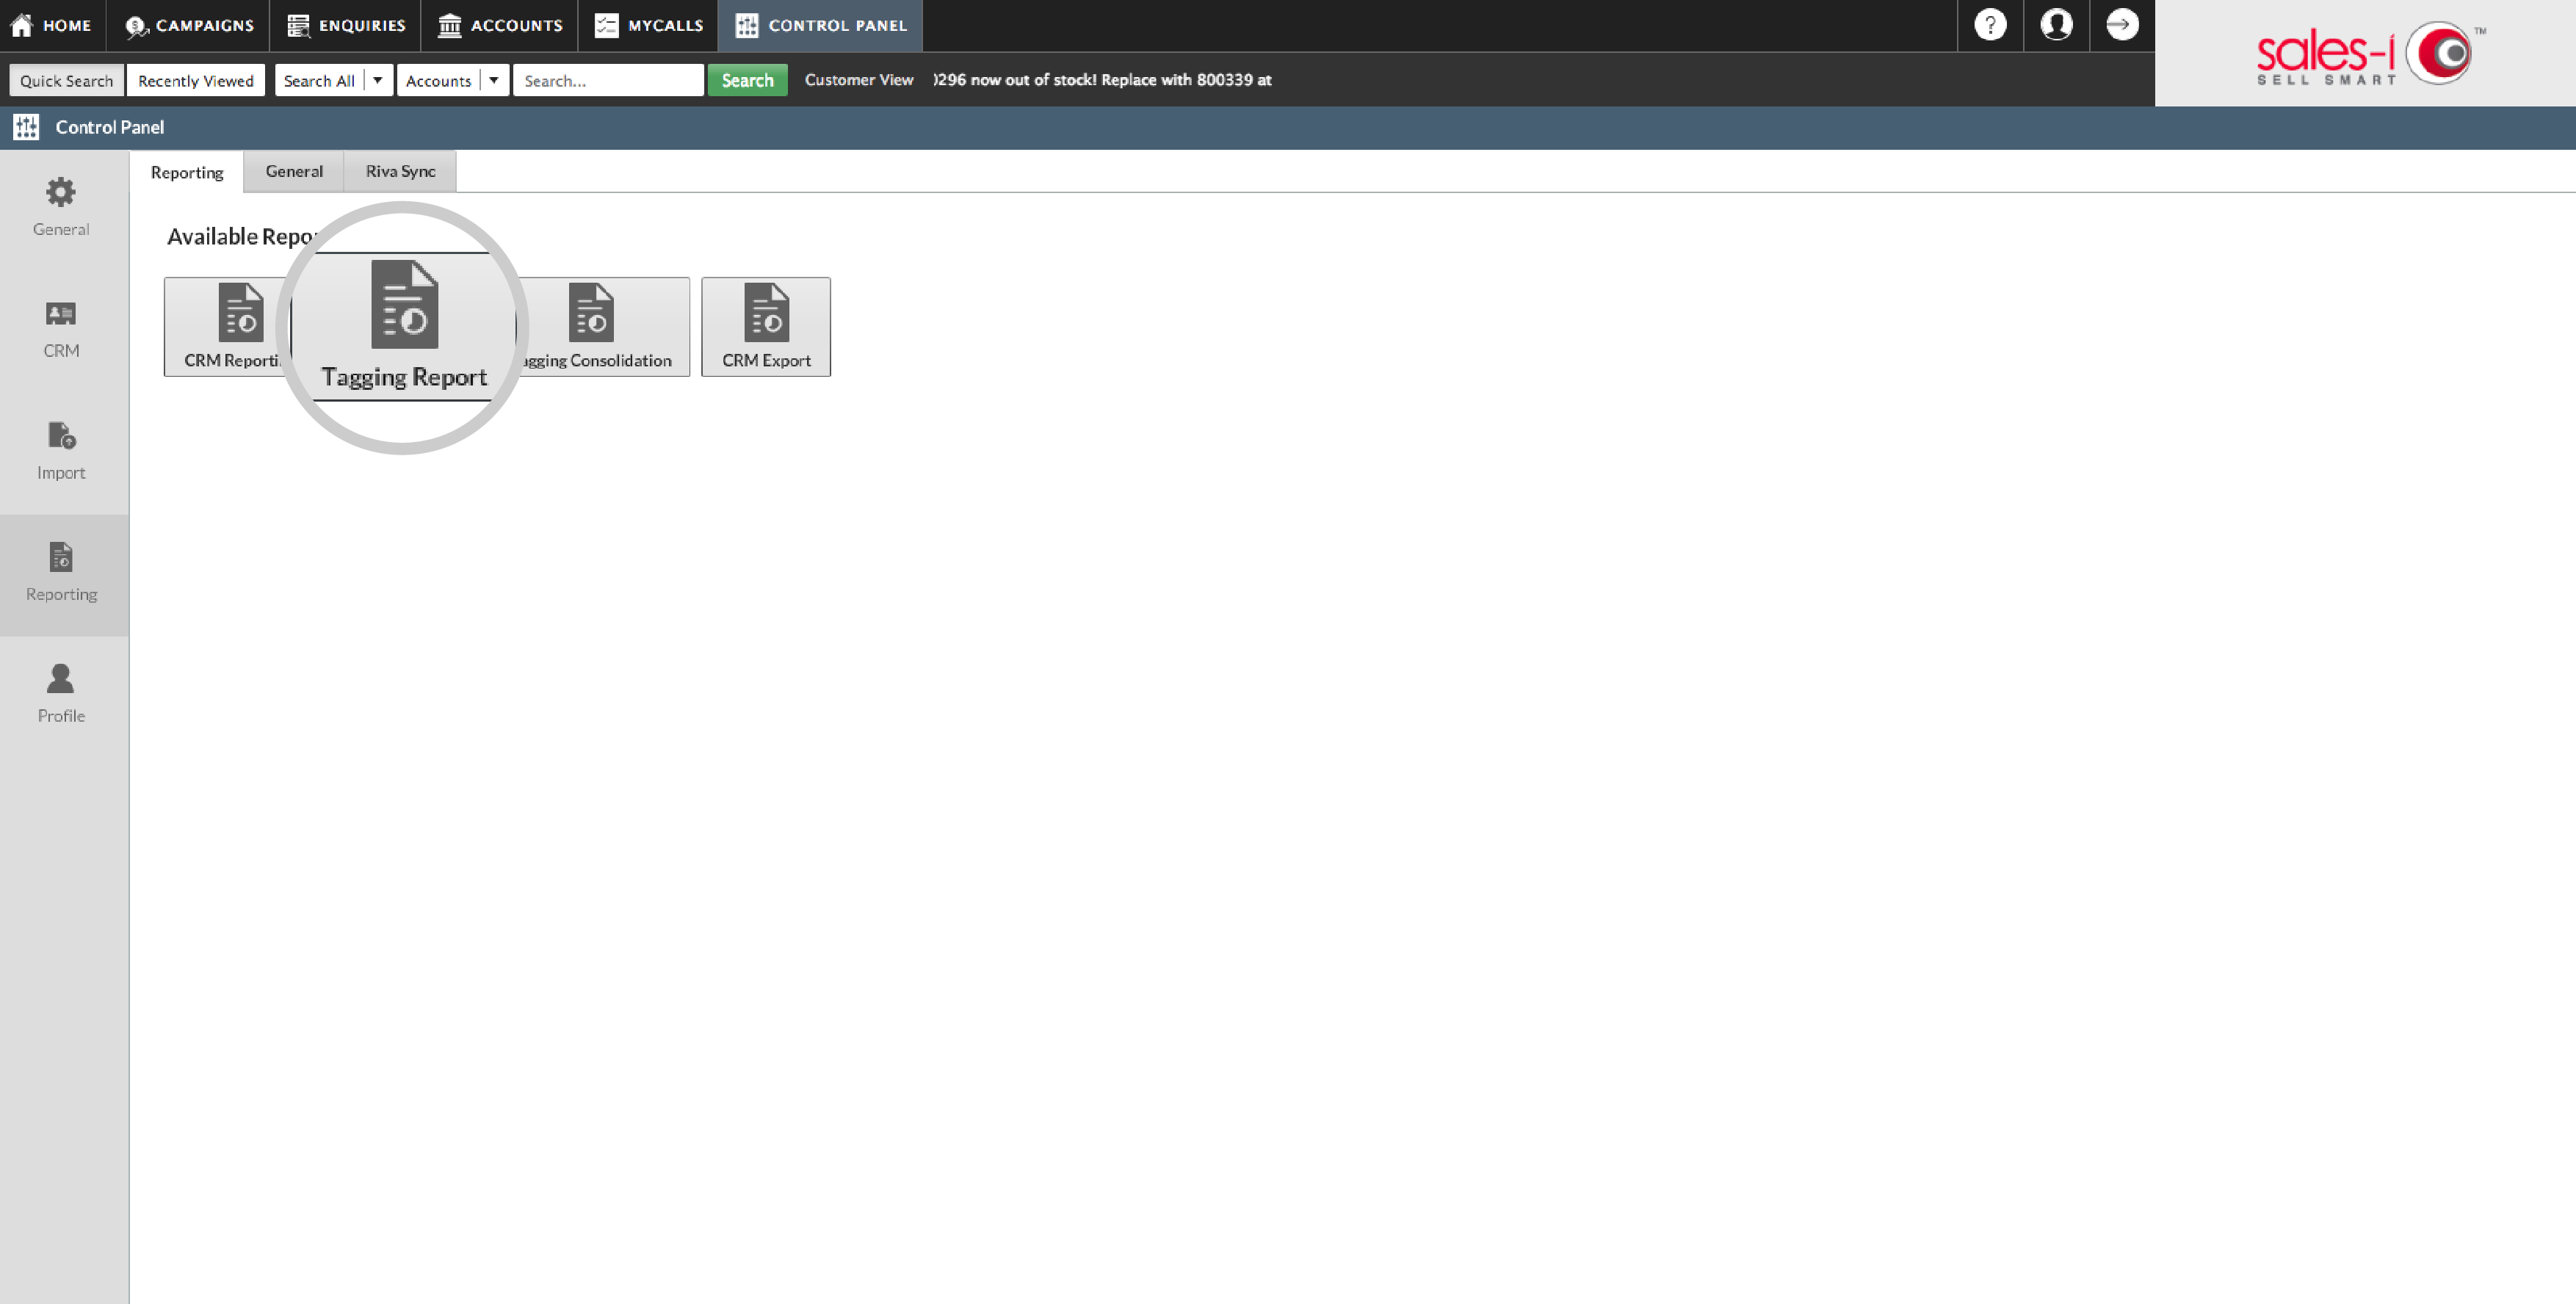
Next, click Tagging Report. This will bring back all entities that have your chosen tag. This can be further filtered by unchecking the unwanted entities on the left.
Step 7: Search Tags
Enter the name of the tag and click Search. When doing this, as with adding a tag, push the downward arrow to browse all the tags currently set up within the system.
This will bring back all entities that have your chosen tag. This can be further filtered by unchecking the unwanted entities on the left.
