sales-i allows power users (only) to create analysis fields which can then be reported on within the Enquiries section. This guide shows you how.
Desktop
Download a PDF version
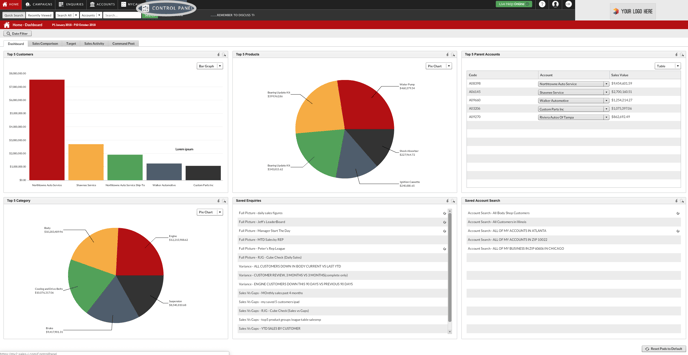
Step 1: Click Control Panel
From the black navigation bar at the top of the screen, click CONTROL PANEL.
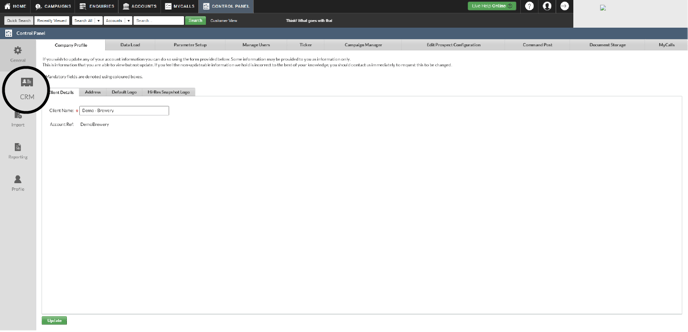
Step 2: Click CRM
Next, click CRM.
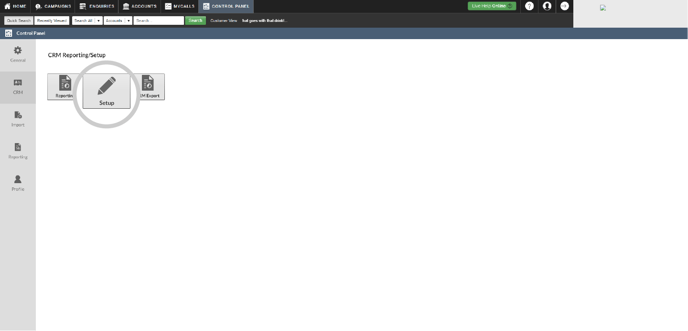
Step 3: Click Setup.
Now, click Setup.
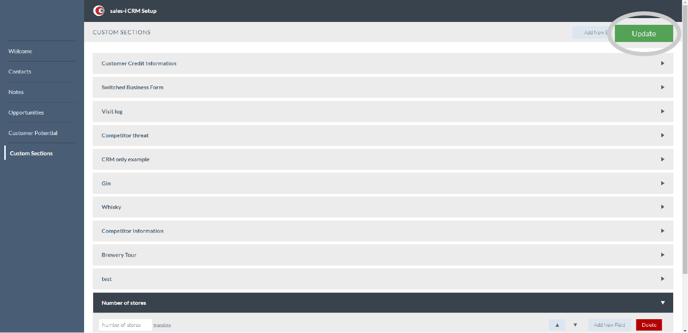
Step 4: Custom Sections
Click on Custom Sections (the bottom option).
You can now either edit an existing section or add a new section.
Interested in editing an existing section? Click on the section and Skip to step 6.
To add a new section, click the Add New Section in the top right hand corner.
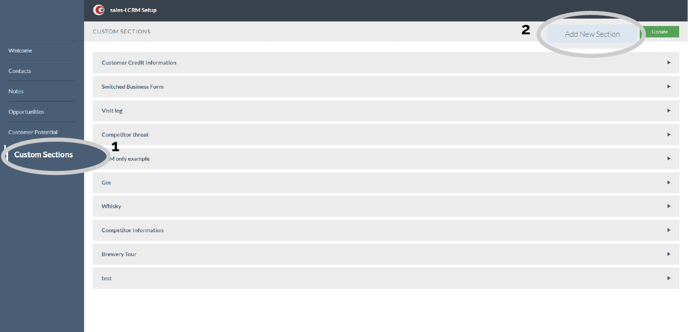
Step 5: Click Add Section
Now you need to give your CRM bubble/section a name.
To do so, type in a name and click the green Add Section button.
Your new section has now been created.

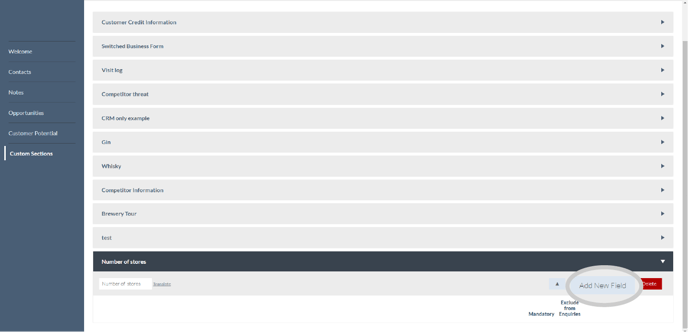
Step 6: Click Add New Field.
Now we need to add new options into your section.
Click Add New Field.
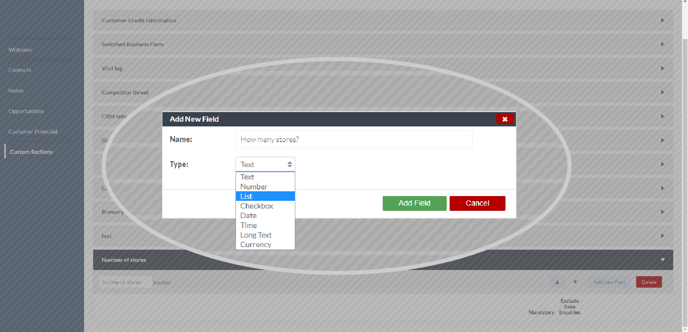
Step 7: Name and select List
Give the field a Name and select List from the type.
It is vital you select List as this will ensure the field shows as a bubble (so you can then report on it).
Finally, click the green Add Field button.
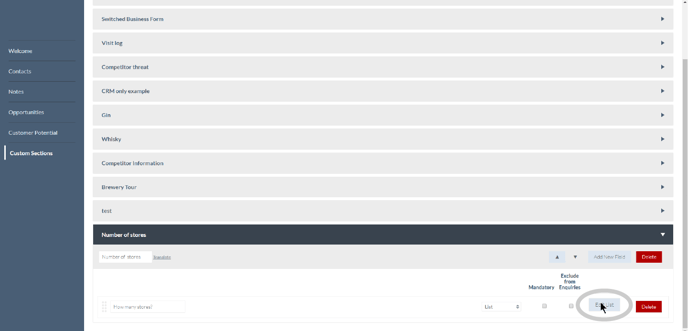
Step 8: Click Edit List
You can now choose to make the field mandatory for the user to fill by ticking the check box under Mandatory.
You can also choose to exclude this field from Enquiries if you wish.
Next, click the Edit List Button.
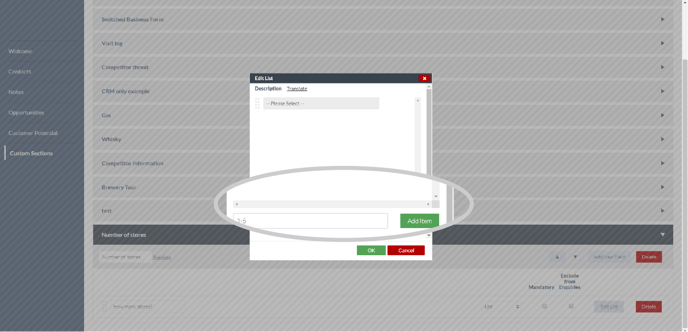
Step 9: Enter drop down options
You now need to select what the drop down options for your list will be.
You can enter as many options as you like.
Please Note: We recommend not adding too many options as this keeps data entry fast and efficient for the user.
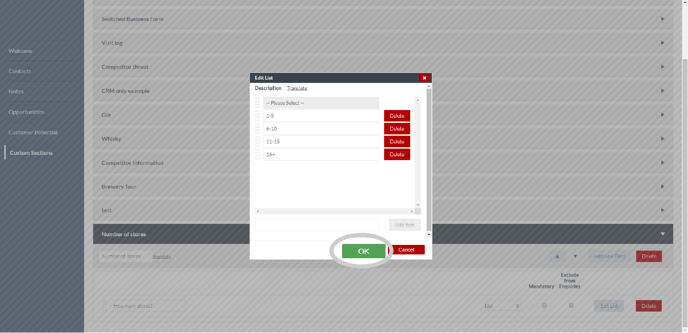
Step 10: Click OK
Once you have entered your drop down options click the green OK button.
Step 11: Click Update
Finally, click the green Update button to save your new analysis field.
This will update the field so they are useable by all users across both desktop and mobile versions of sales-i.