Document Storage is a paid for extra add on for sales-i. It allows you to store documents within customer accounts in sales-i, making it incredibly easy to stay organized, share documents and collaborate with your colleagues.
Download a PDF version
Desktop
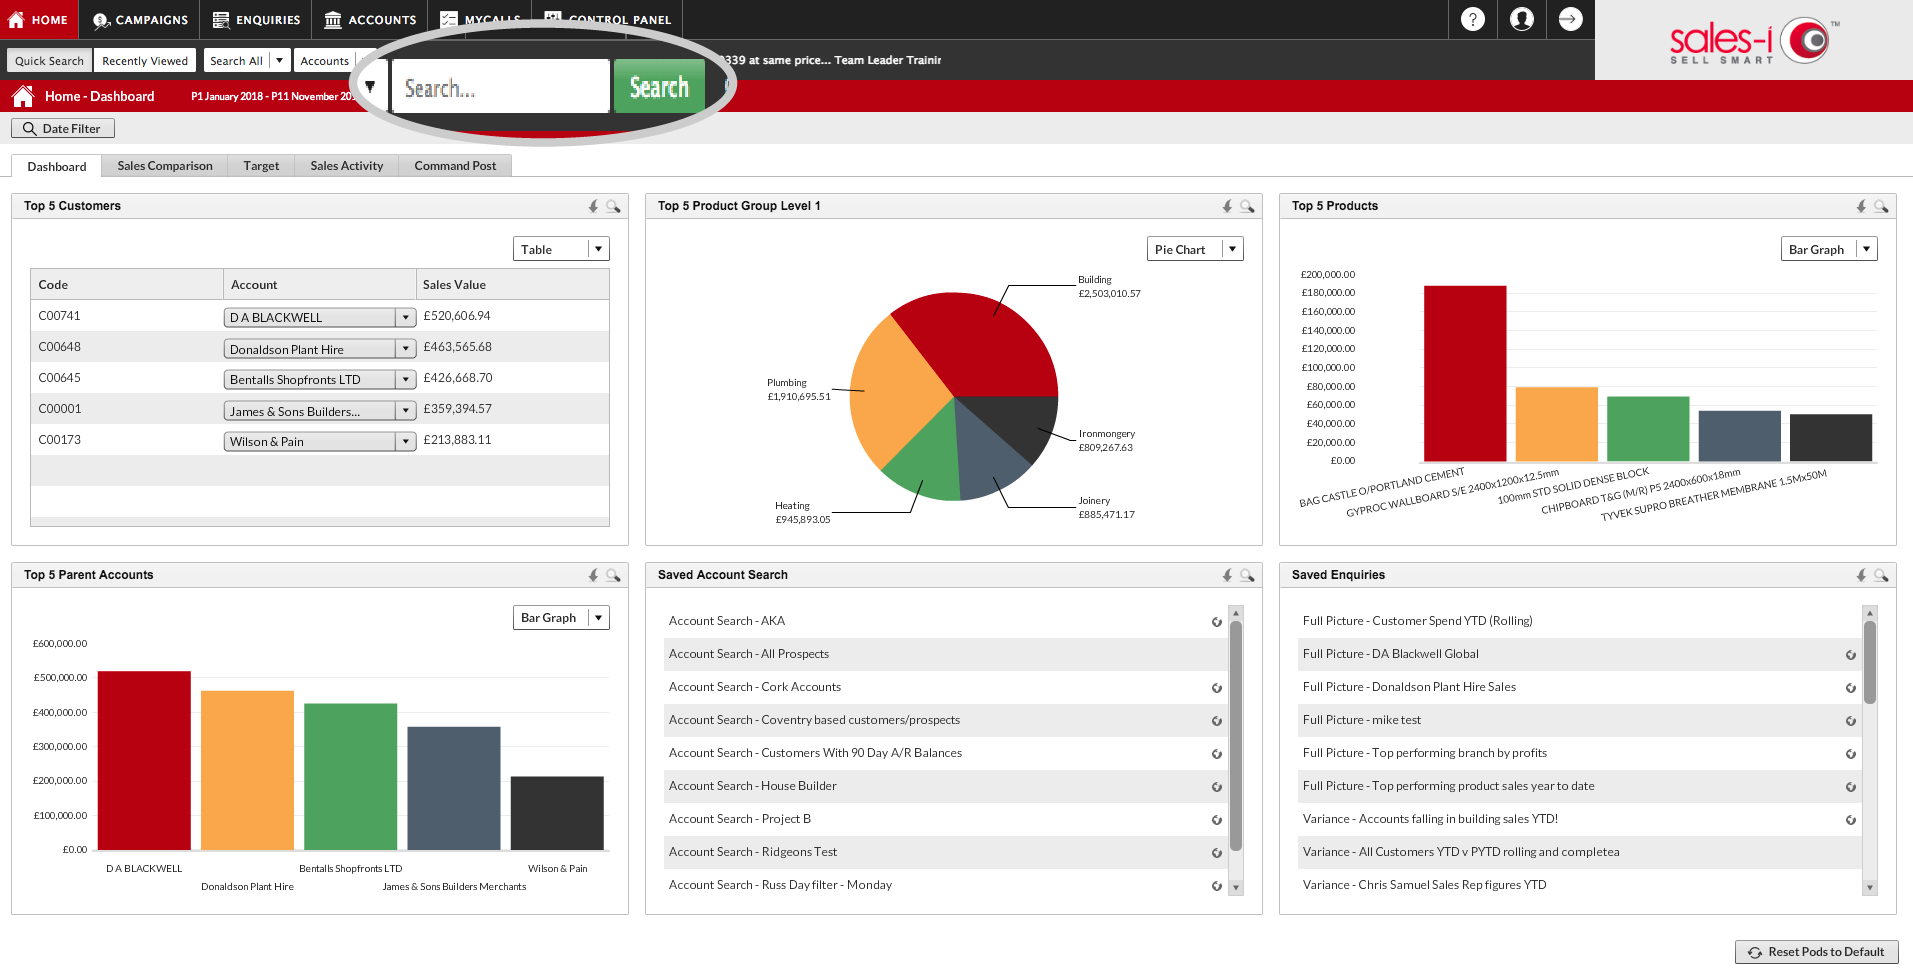
Step 1: Search
From the home screen, use the search bar at the top of the page to search for the account you want to add a document to. Make sure to select contacts rather than accounts from the drop-down menu.
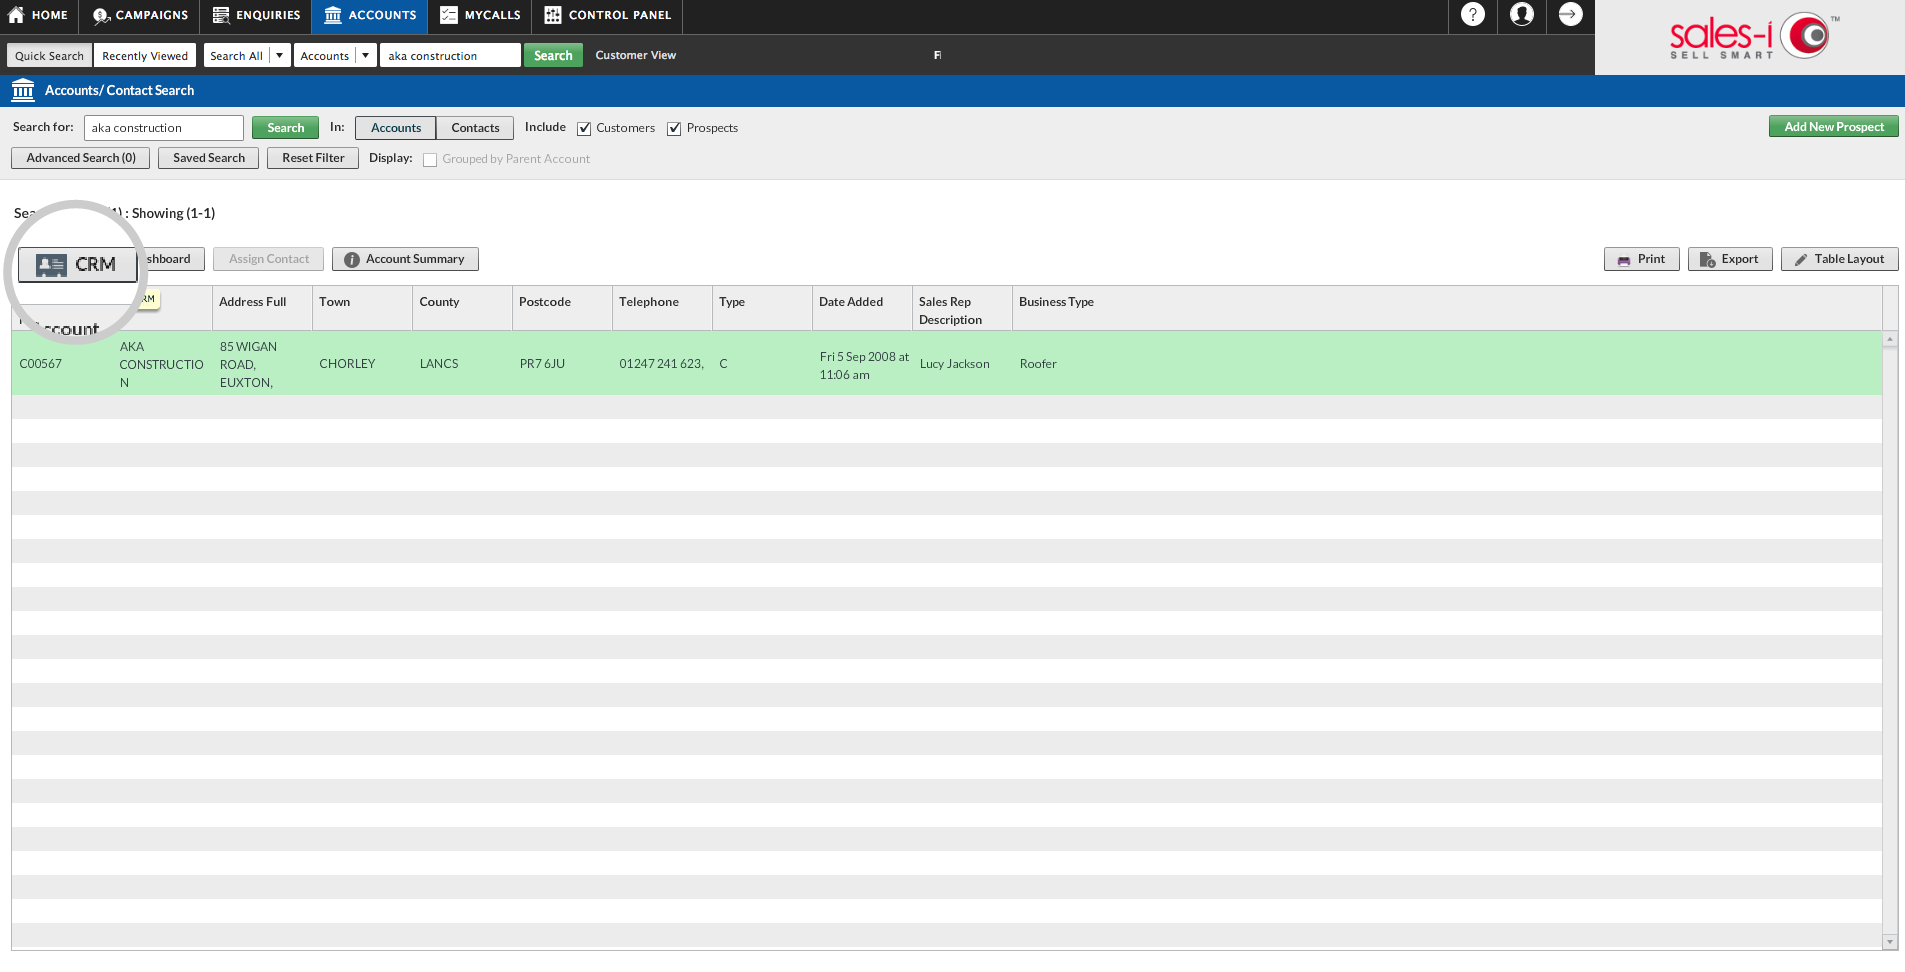
Step 2: Select Account
Select the desired account from the search results so that it turns green and click
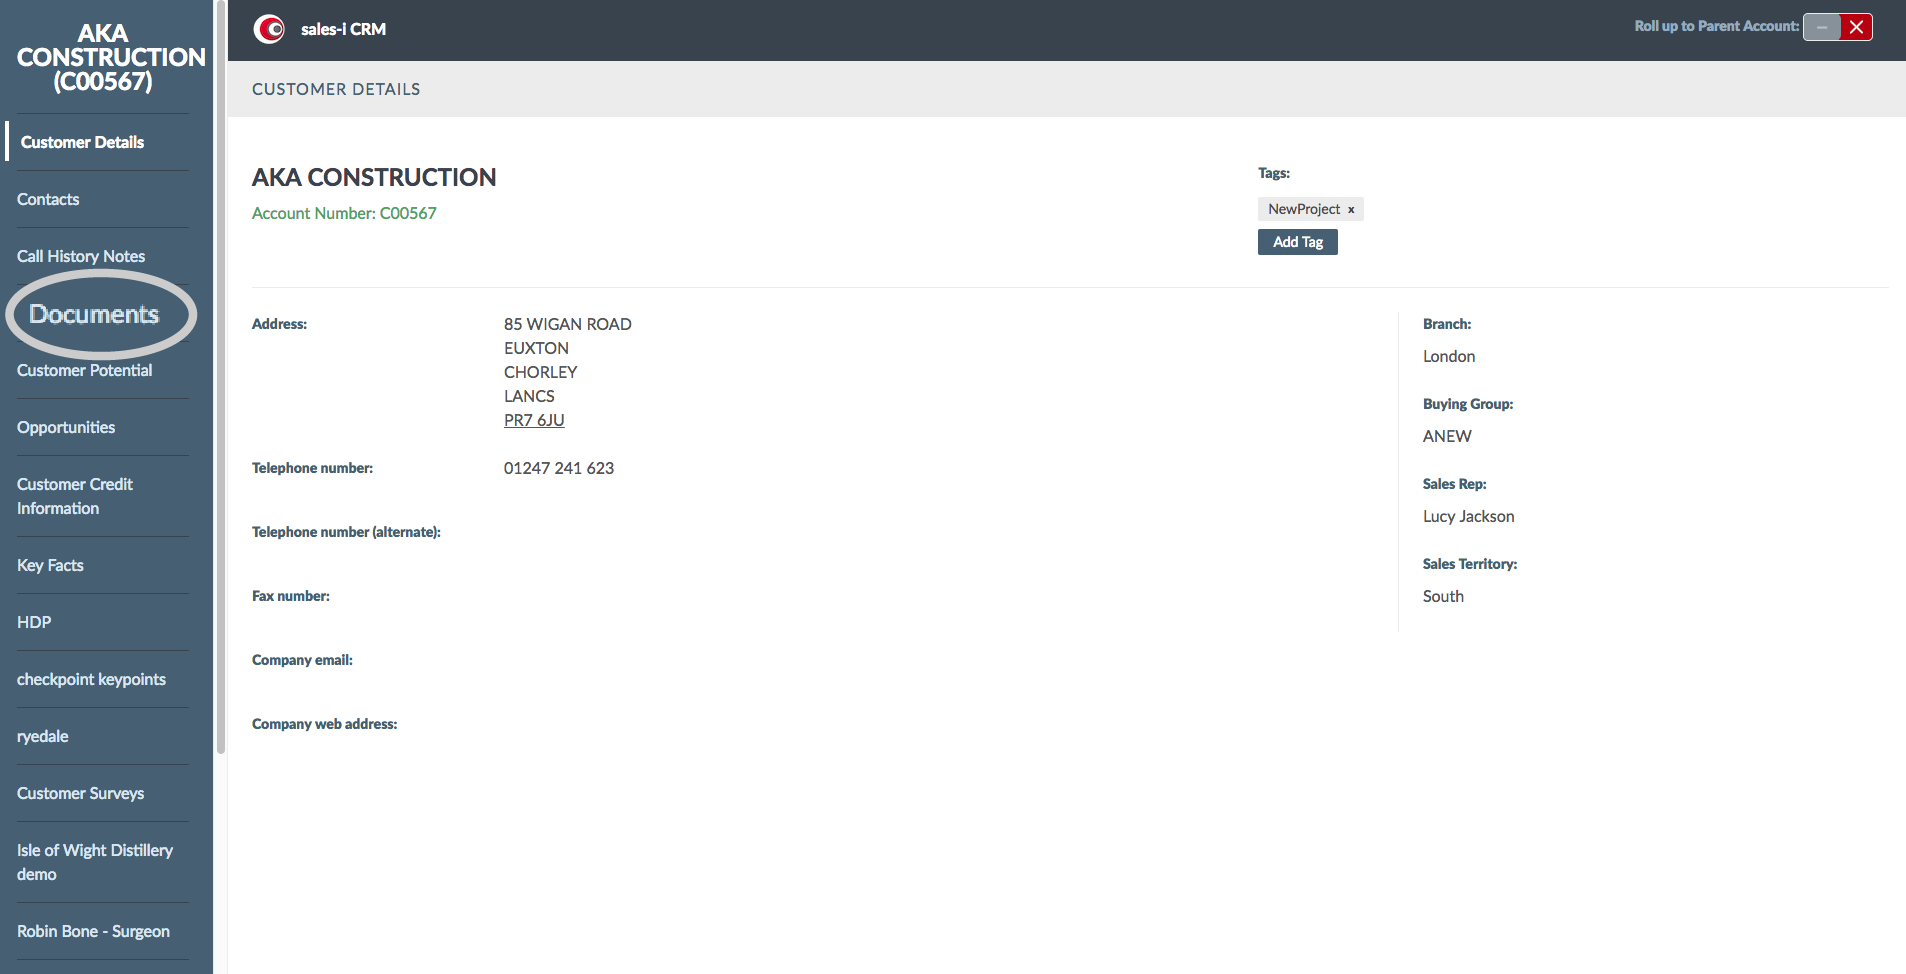
Step 3: Select Documents
In the panel on the left, select Documents.
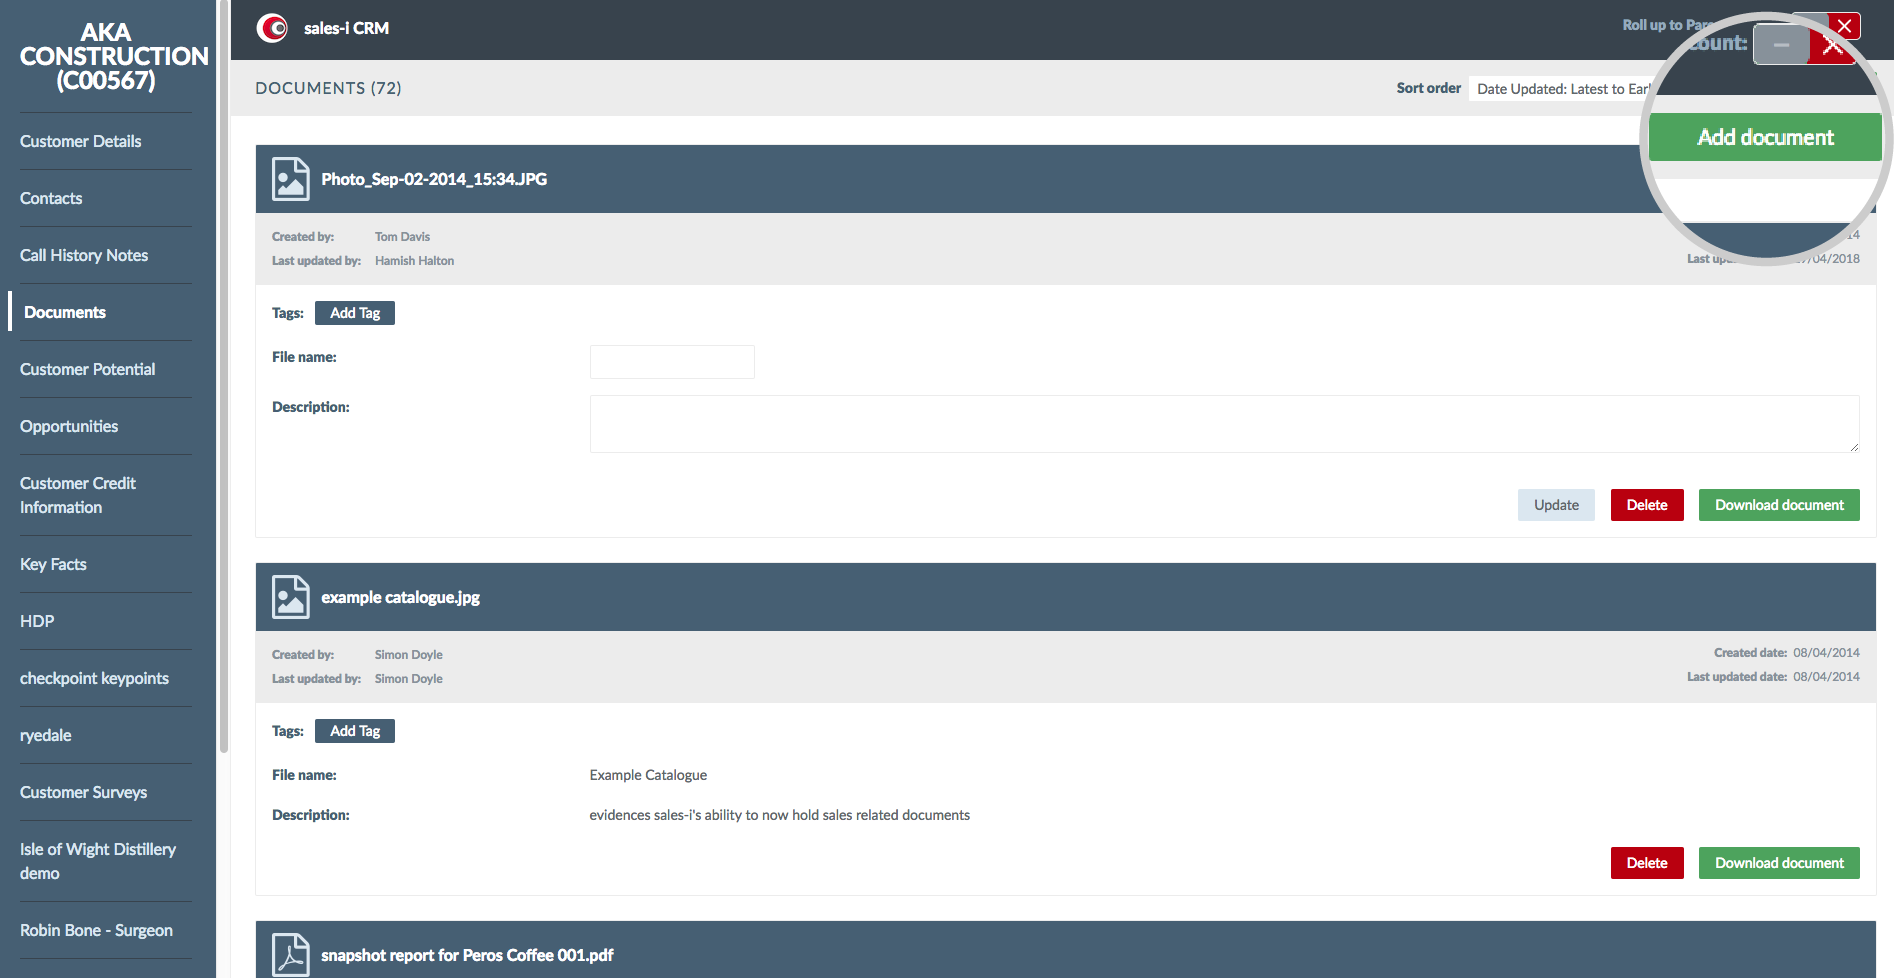
Step 4: Add document
Click Add document in the top right of the screen.
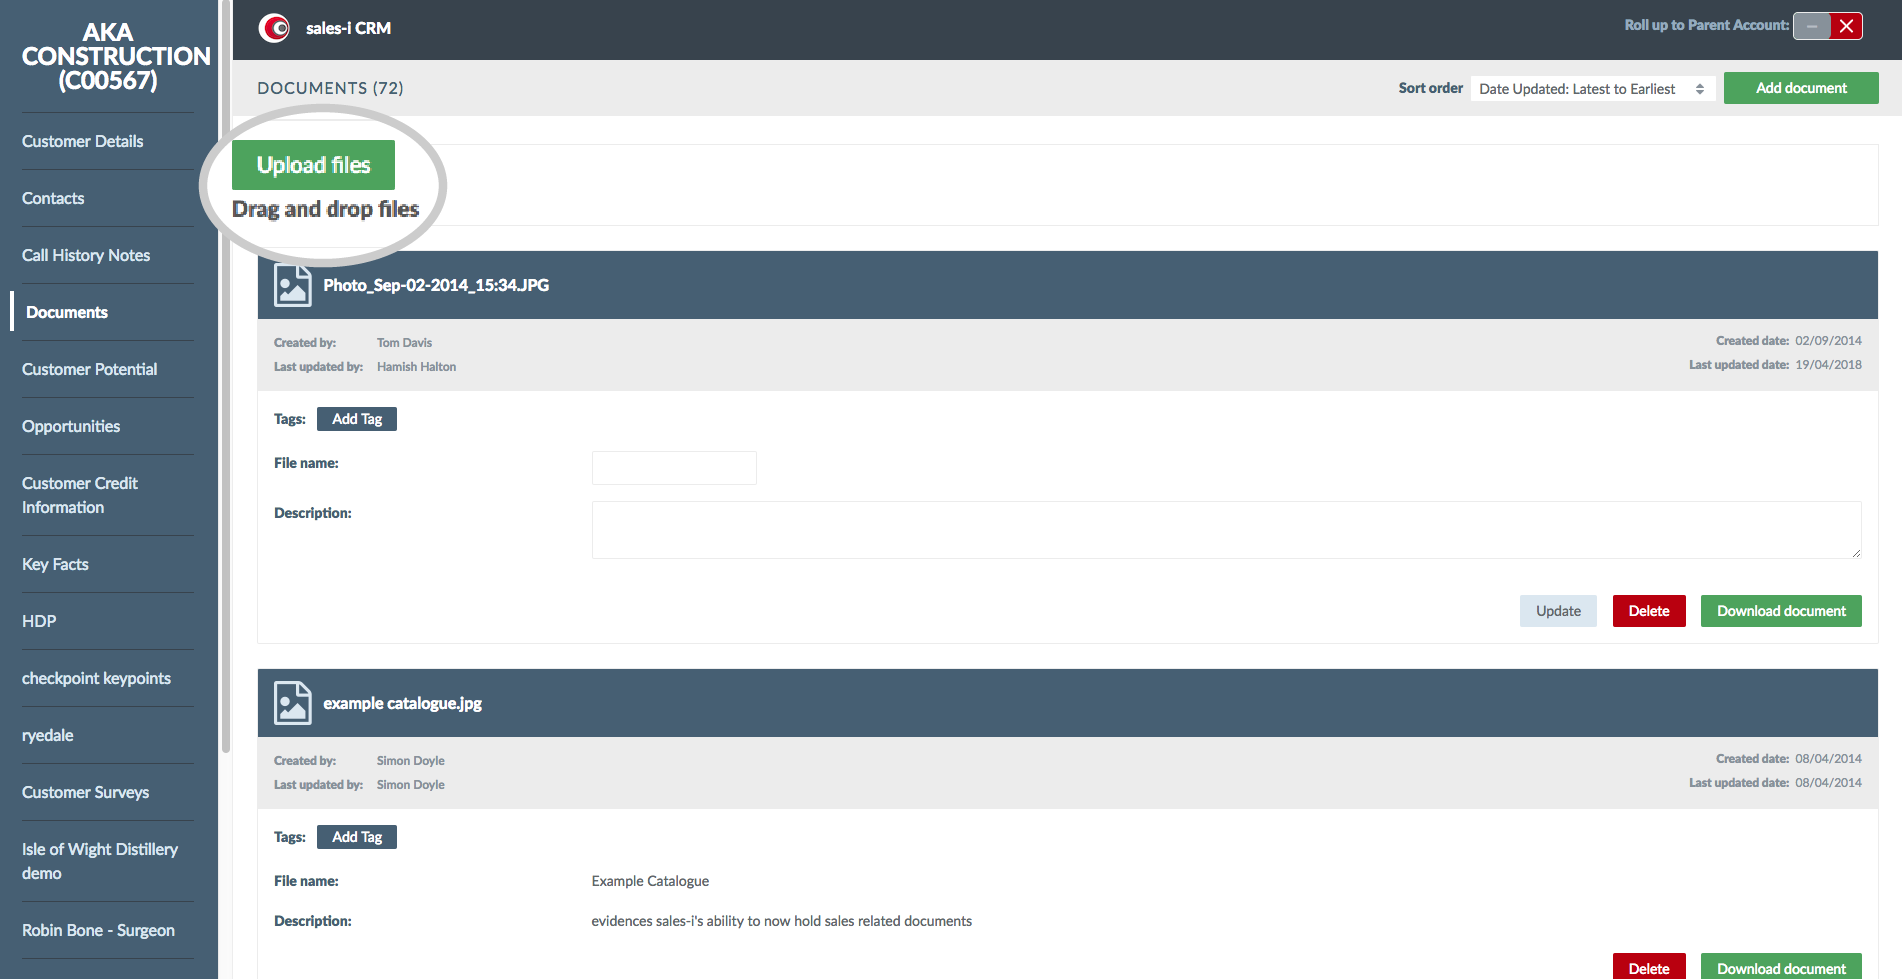
Step 5: Upload files
Now, click Upload files and select which files you would like to upload.
Apple
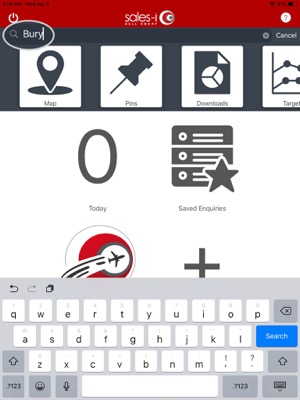
Step 1: Tap Accounts and Prospects Search Bar
From the home screen, tap the Accounts and Prospects search bar and enter the details of the account you want to upload a document to.
Tap the magnifying glass icon to search.
Step 2: Tap the desired account
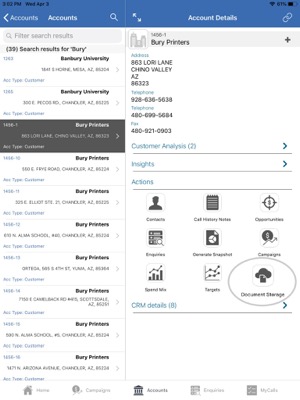
Tap the desired account from the search results list to view their Account Card.
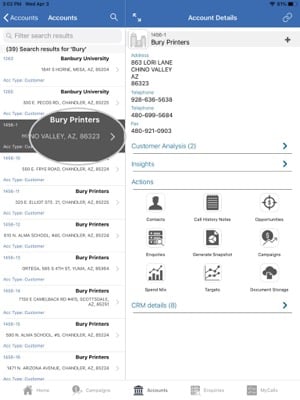
Step 3: Tap Document Storage
Now in your customer’s account, tap on the Document Storage option.
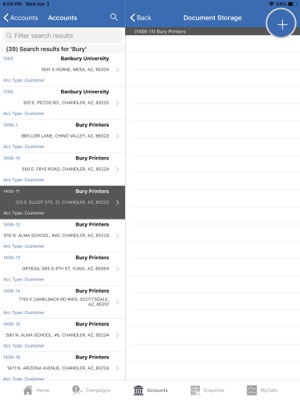
Step 4: Select desired account
In the Document Storage window you will see any documents you have previously uploaded.
Tap the plus sign in the upper right of the screen to upload a new document.
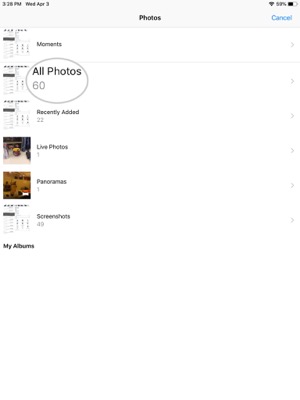
Step 5: Select a File
Now you can use this navigation menu to go through the documents saved to your device and tap the document you would like to upload.
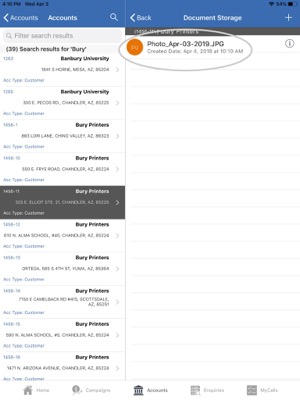
Step 6: Success
You will see a message telling you that the document is uploaded, and then another message telling you when the upload has been finished. The document will now be saved to the customer account.
This document can now be accessed from other devices and sales-i accounts.
Android
Download a PDF version
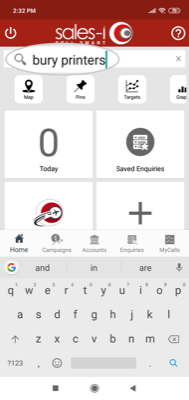
Step 1: Tap Accounts and Prospects search bar
From the home screen, tap the Accounts and Prospects search bar and enter the details of the account you want to upload a document to.
Tap the magnifying glass icon to search.
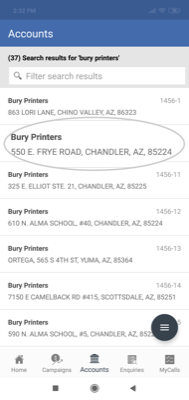
Step 2: Tap the desired Account
Tap the desired account from the search results list to view their Account Card.
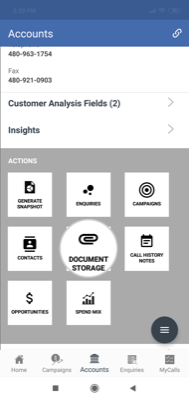
Step 3: Tap Document Storage
Now in your customer’s account, scroll to and tap on the Document Storage option.
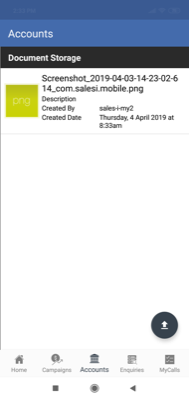
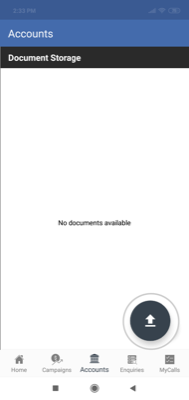
Step 4: Tap the upload button
In the Document Storage window you will see any documents you have previously uploaded.
Tap the upload button toward the bottom of the screen to upload a new document.
(The upload button has an arrow pointing upwards on it.)
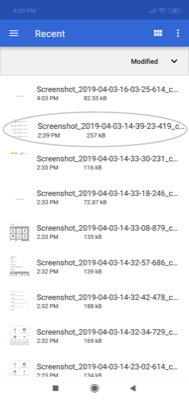
Step 5: Select a File
Now you can use this navigation menu to go through the documents saved to your device and tap the document you would like to upload.
Step 6: Success!
You will see a message telling you that the document is uploaded, and then another message telling you when the upload has been finished. The document will now be saved to the customer account.
This document can now be accessed from other devices and sales-i accounts.