
This guide will show you how to add a new segmentation field to the customer record card. We will then look at how you report on this custom field to relate it to your sales data.
Desktop
Download a PDF version
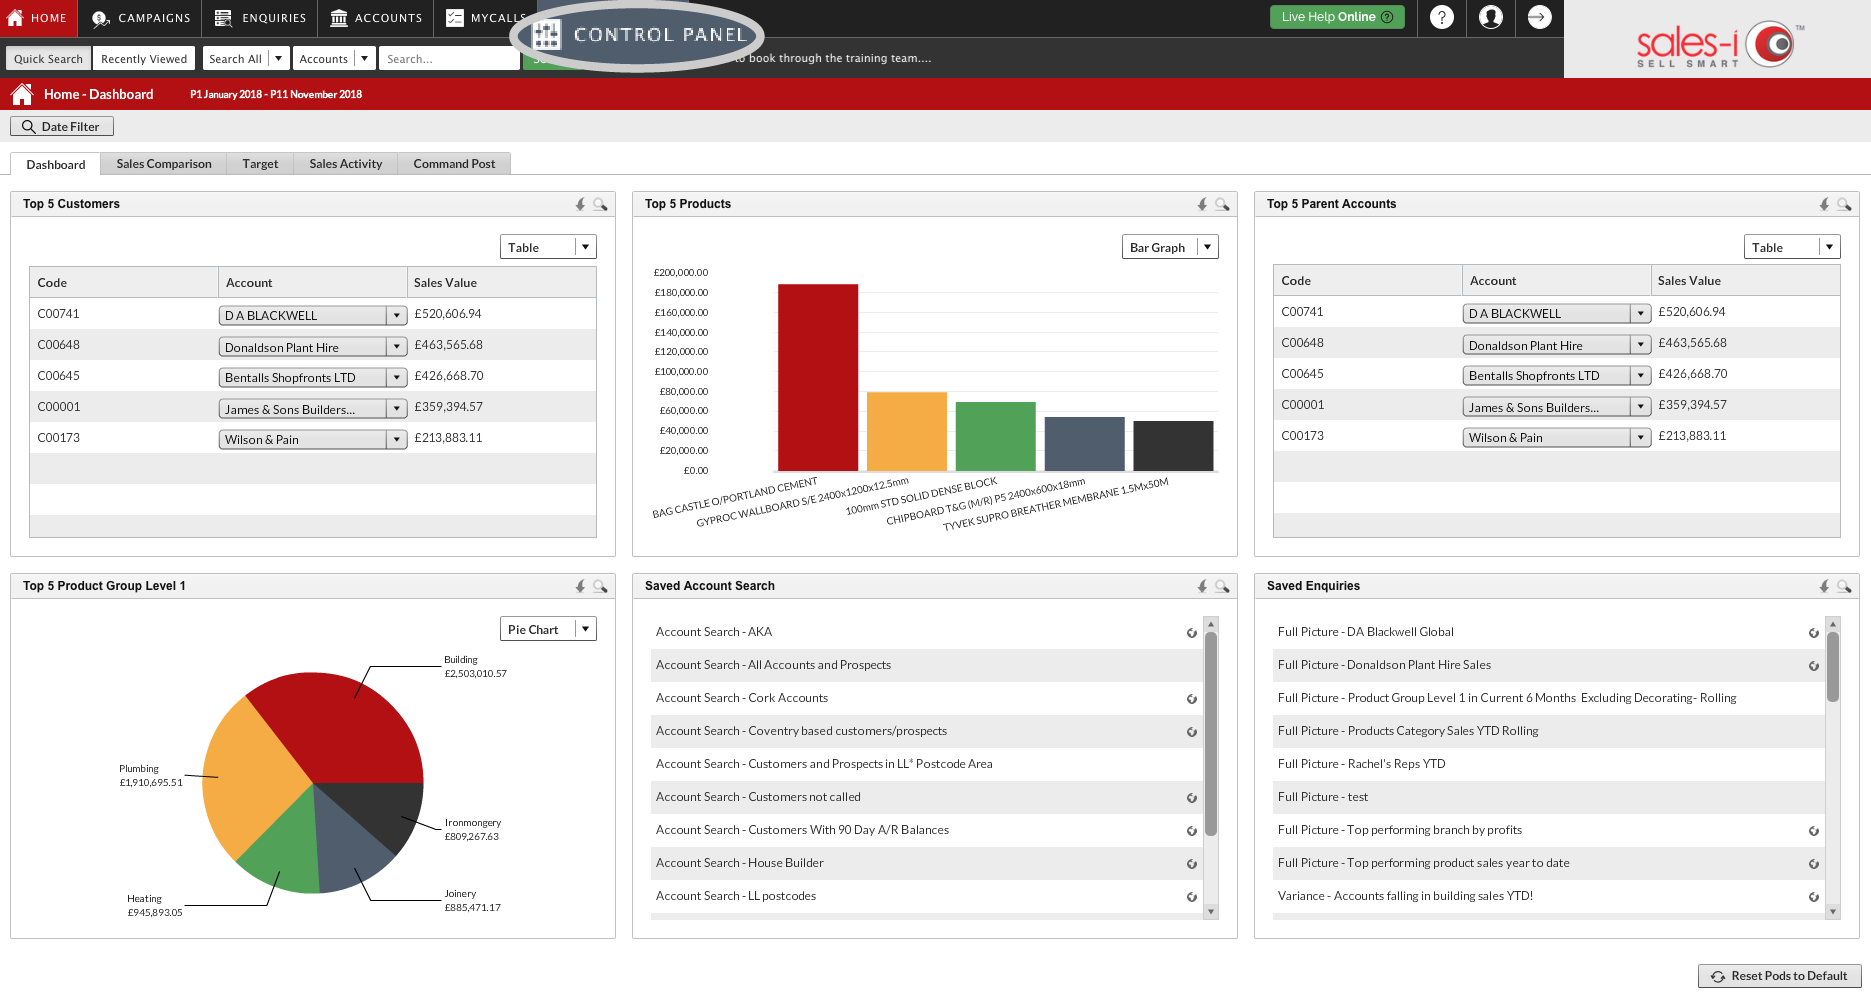
Step 1: Click Control Panel
From the black navigation bar at the top of the screen, click Control Panel.
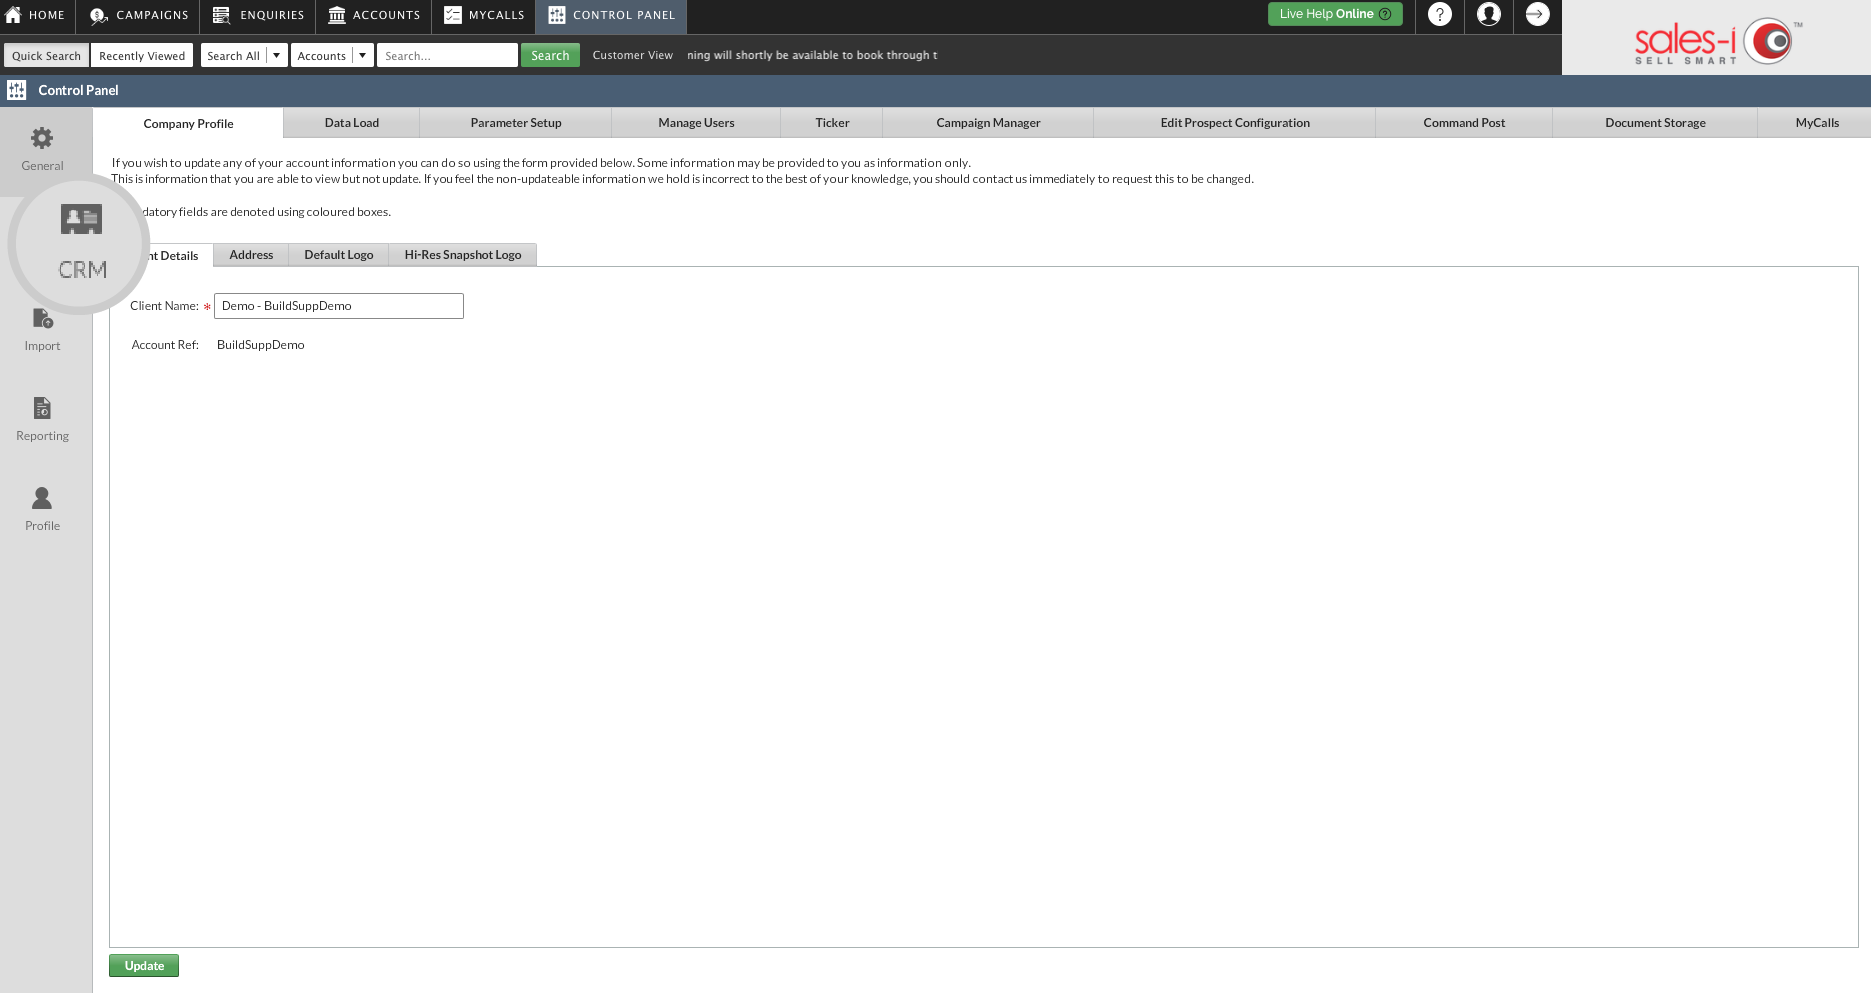
Step 2: Click CRM
From the available options on the left hand side, click CRM.
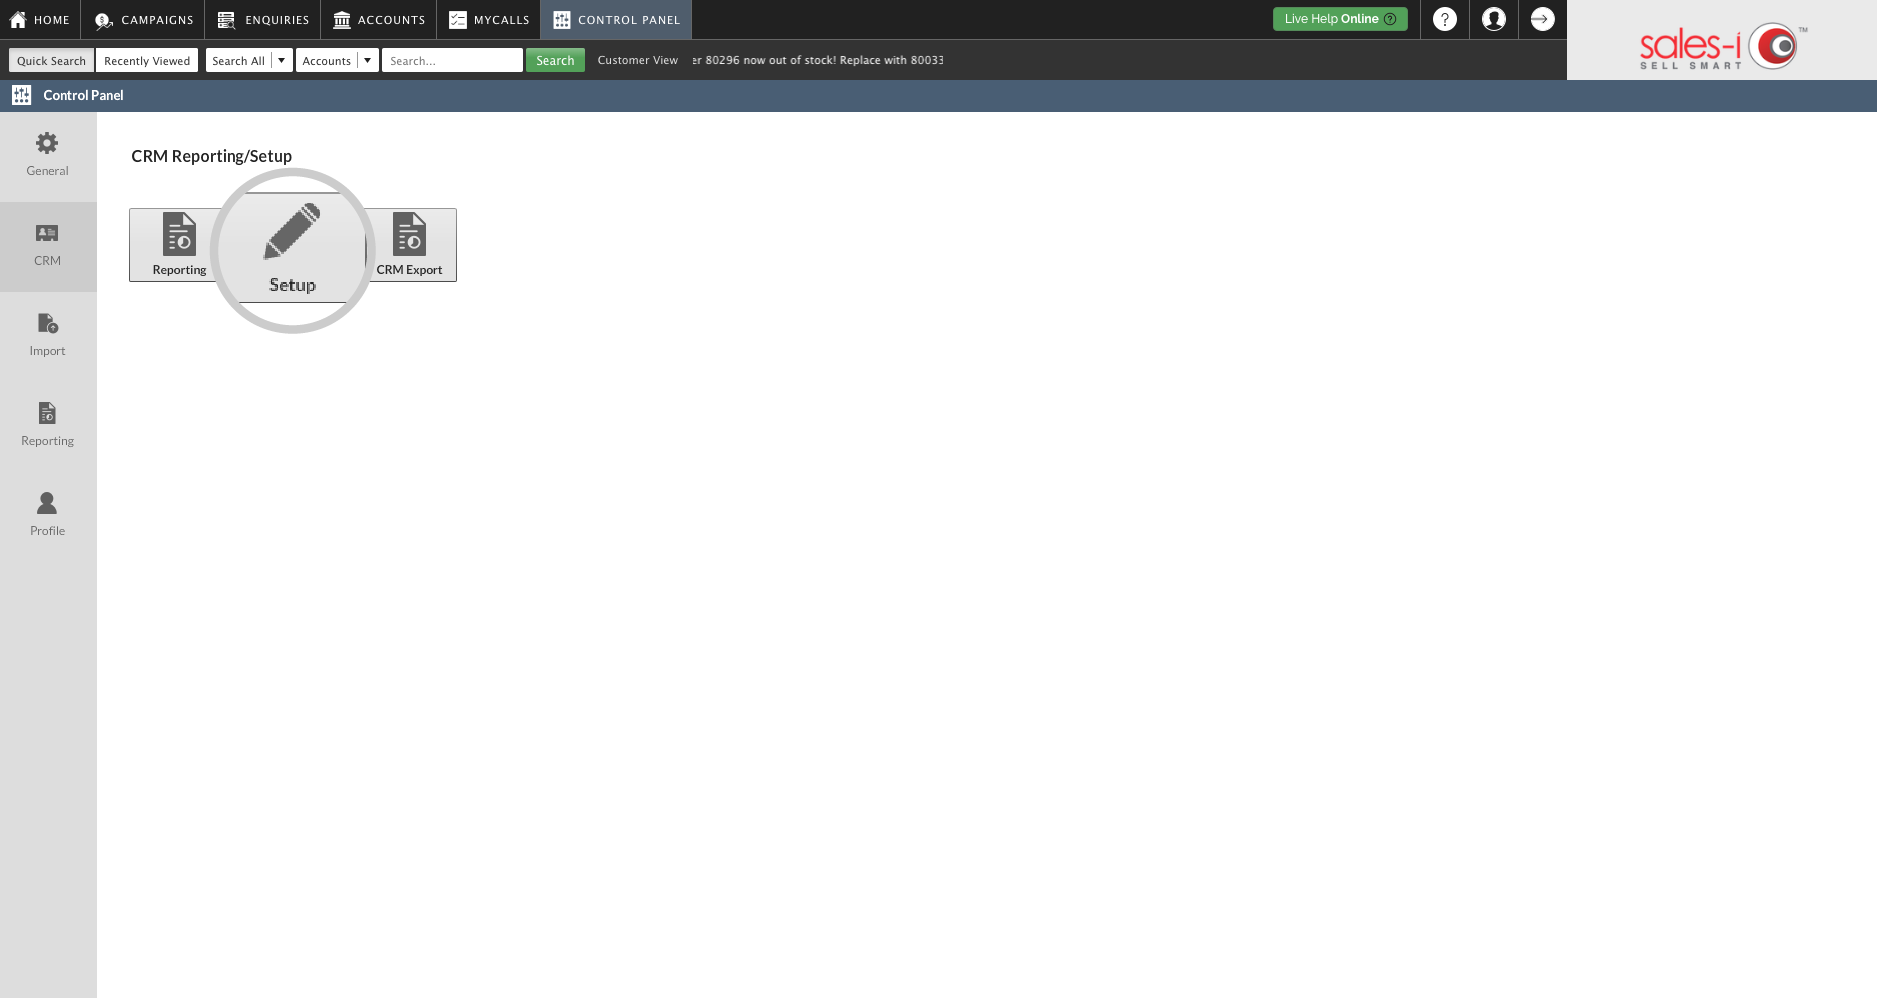
Step 3: Click Setup
Next, Click Setup.
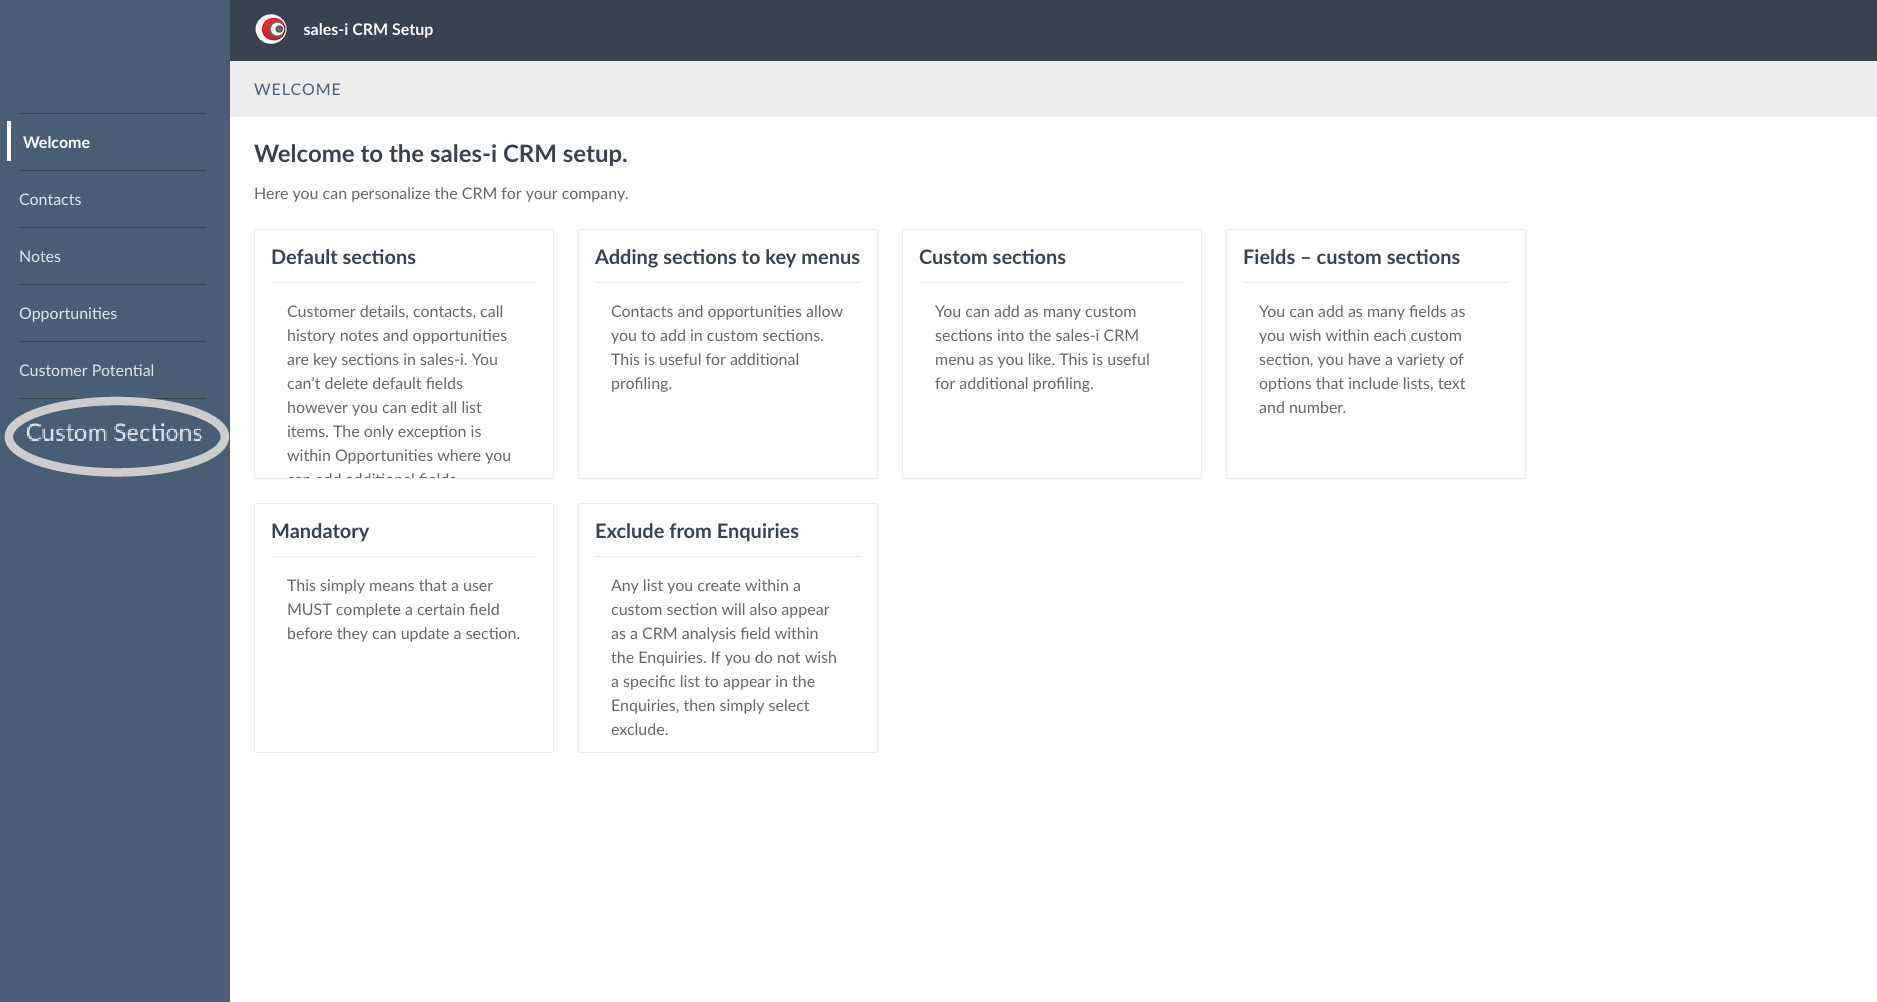
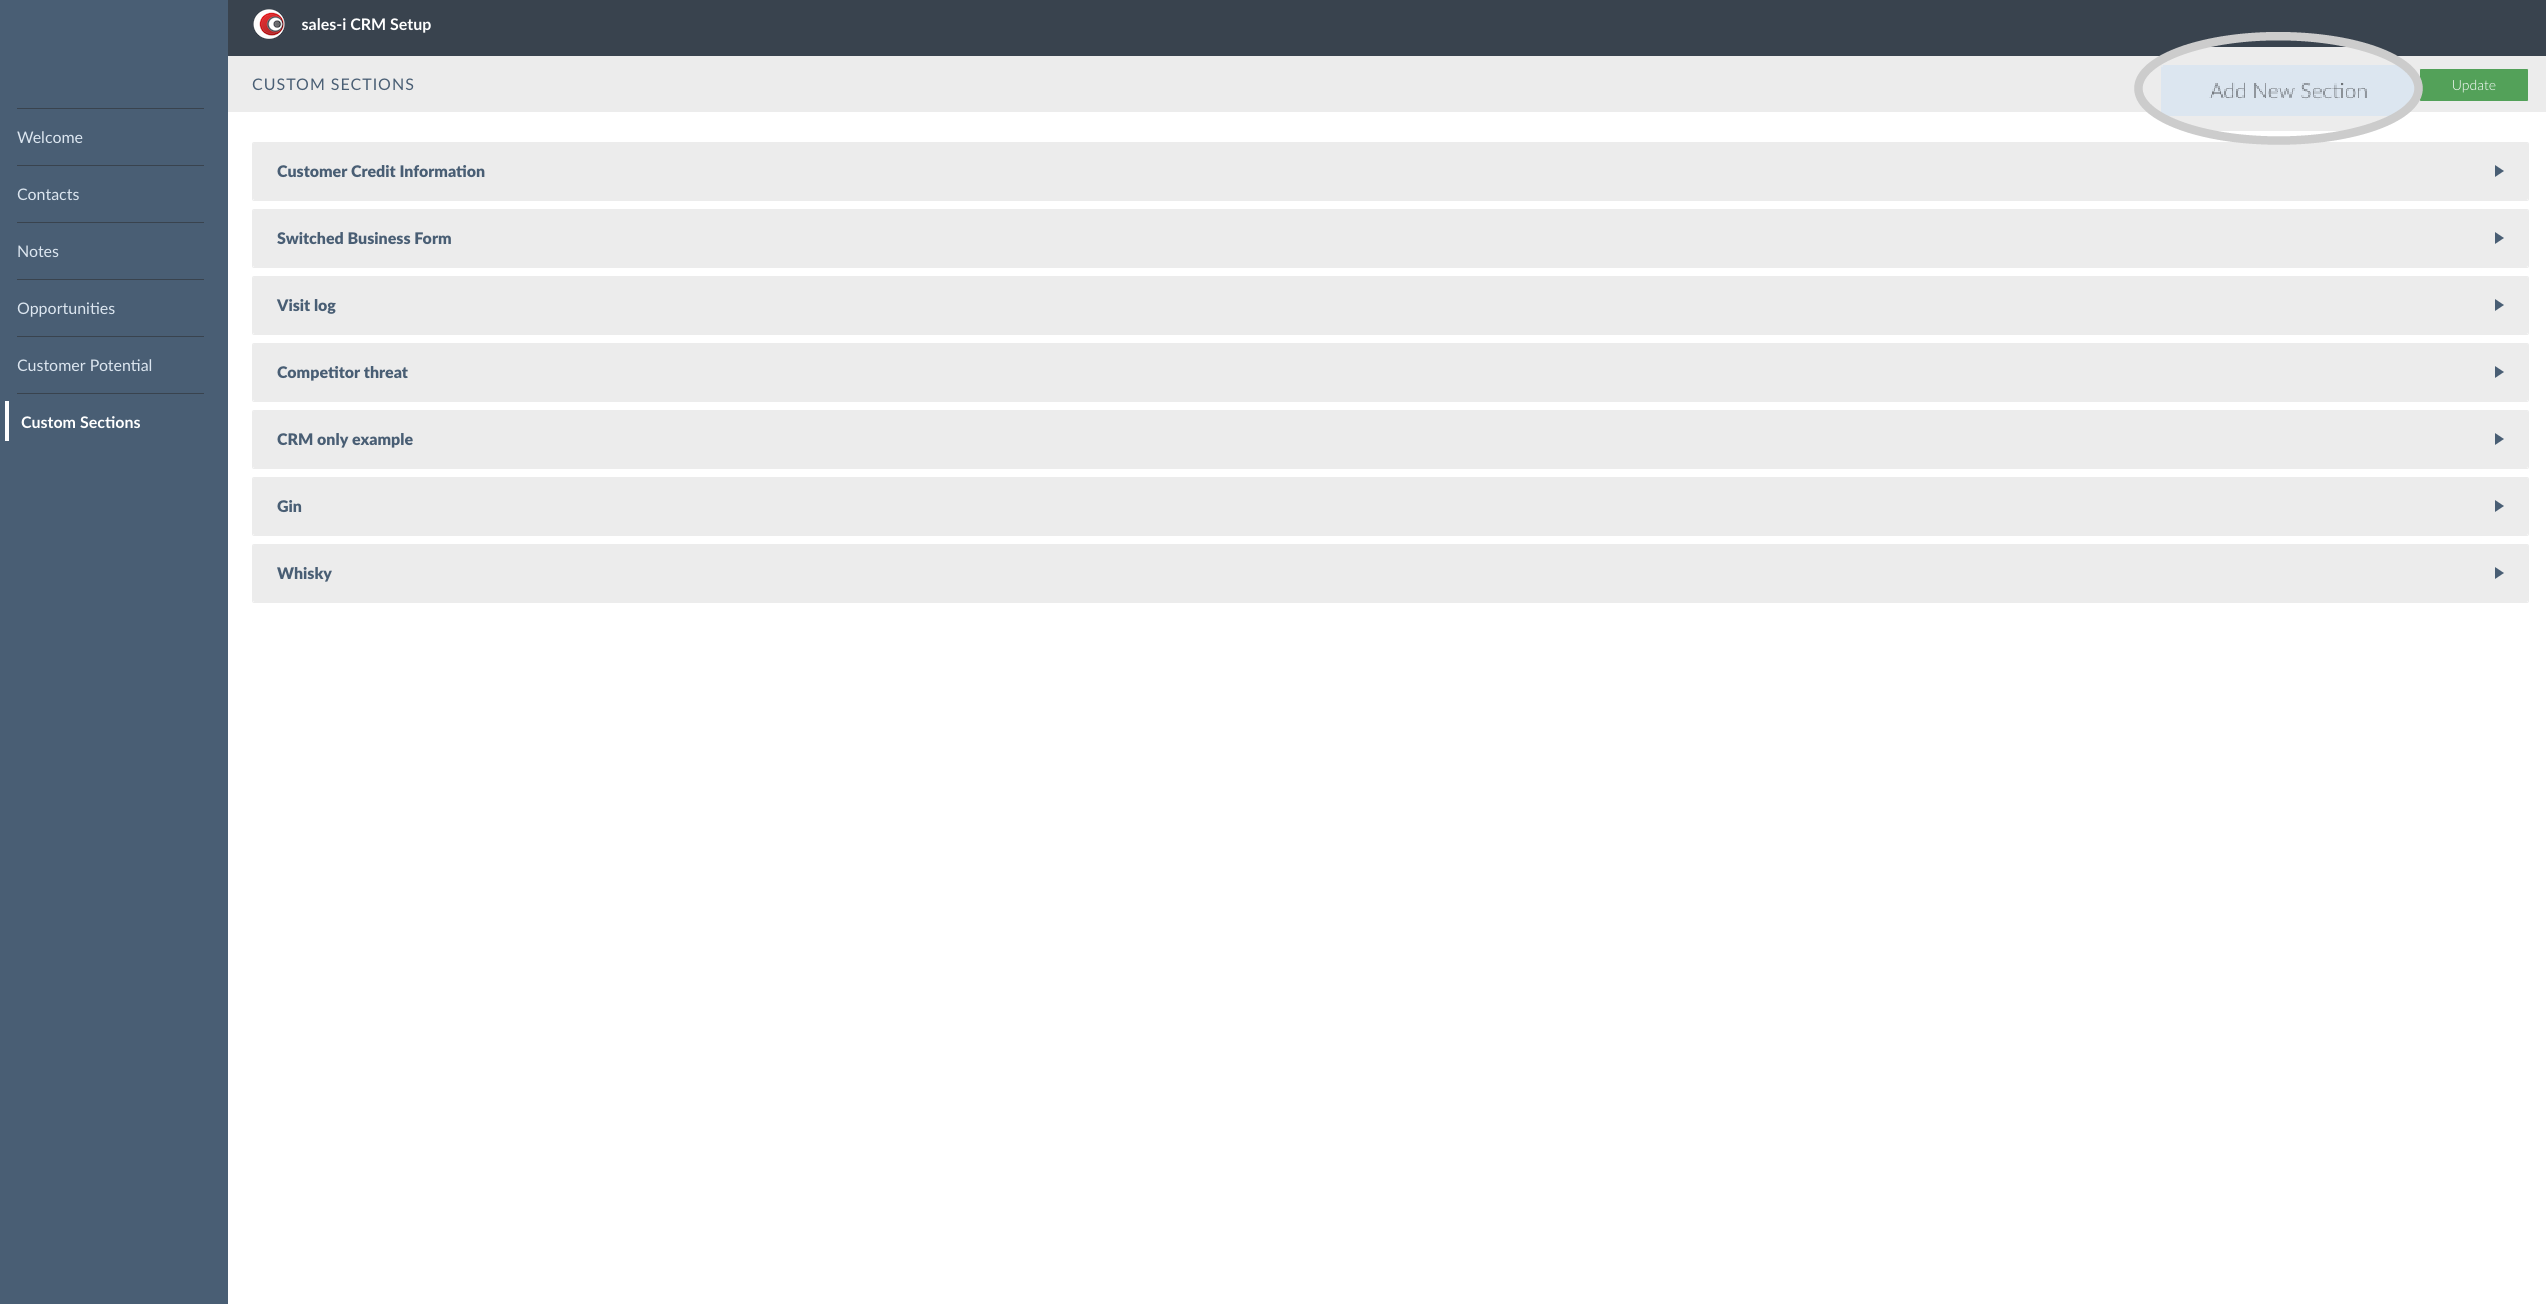
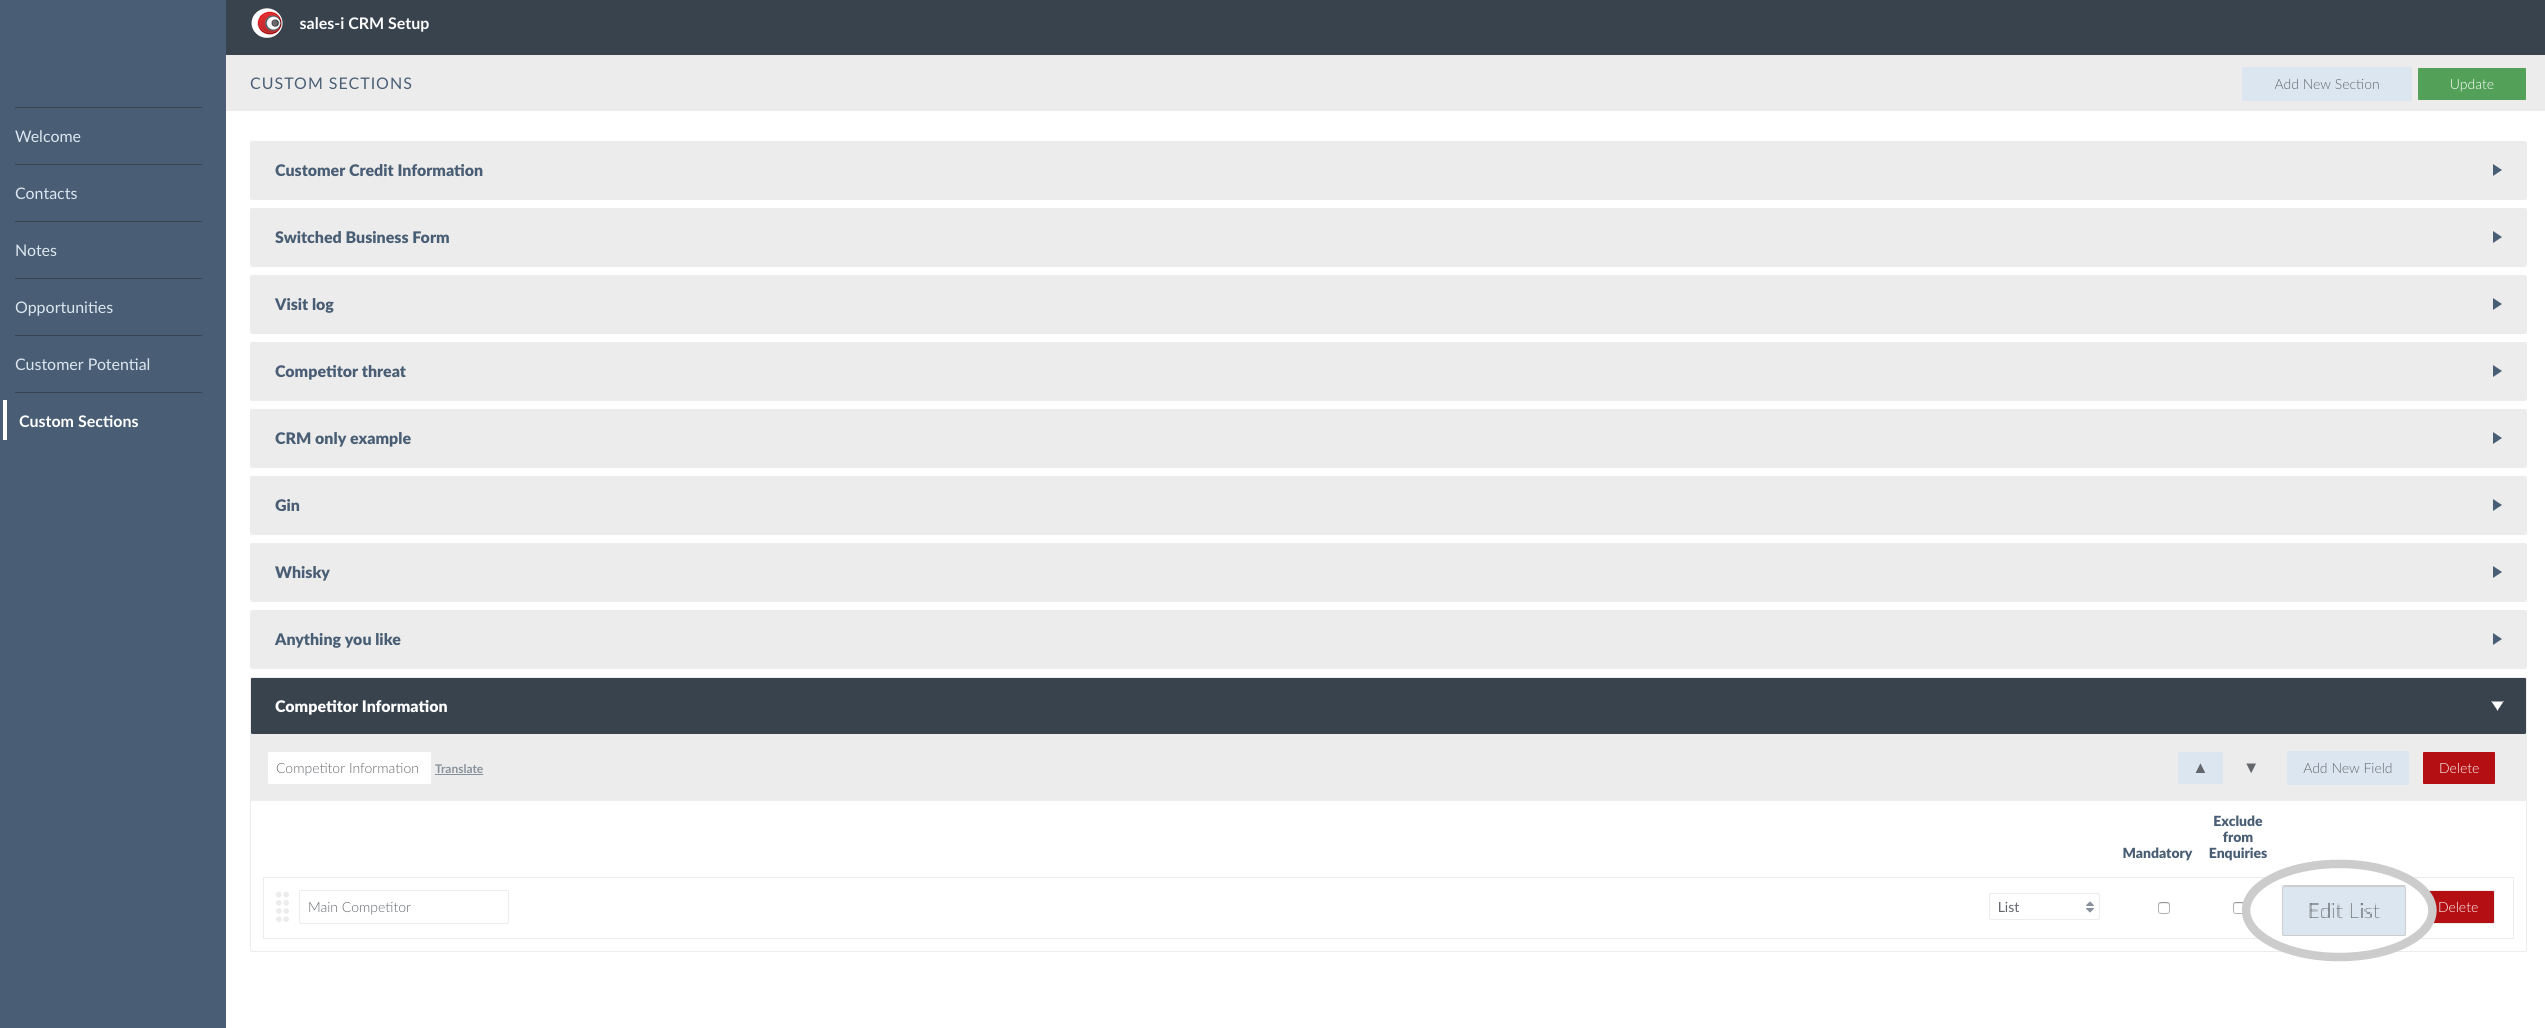
Step 4: Click Custom Sections
Click Custom Sections (left hand side of your screen).
Step 5: Click Add New Section
Click the Add New Section button in the top right hand corner.
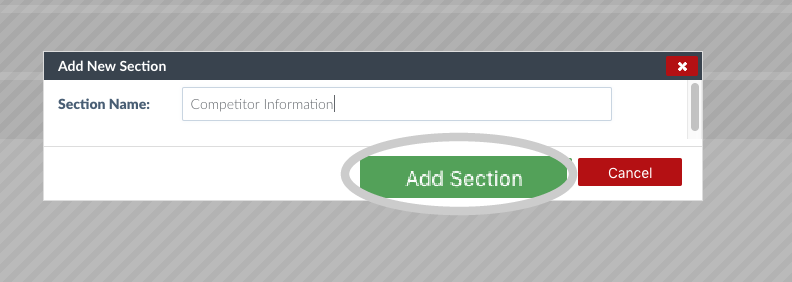
Step 6: Add Section
It's now time to type the name of your new section in the Section Name box and then click the green Add Section button.
For this example, we'll add a new section called Competitor Information.
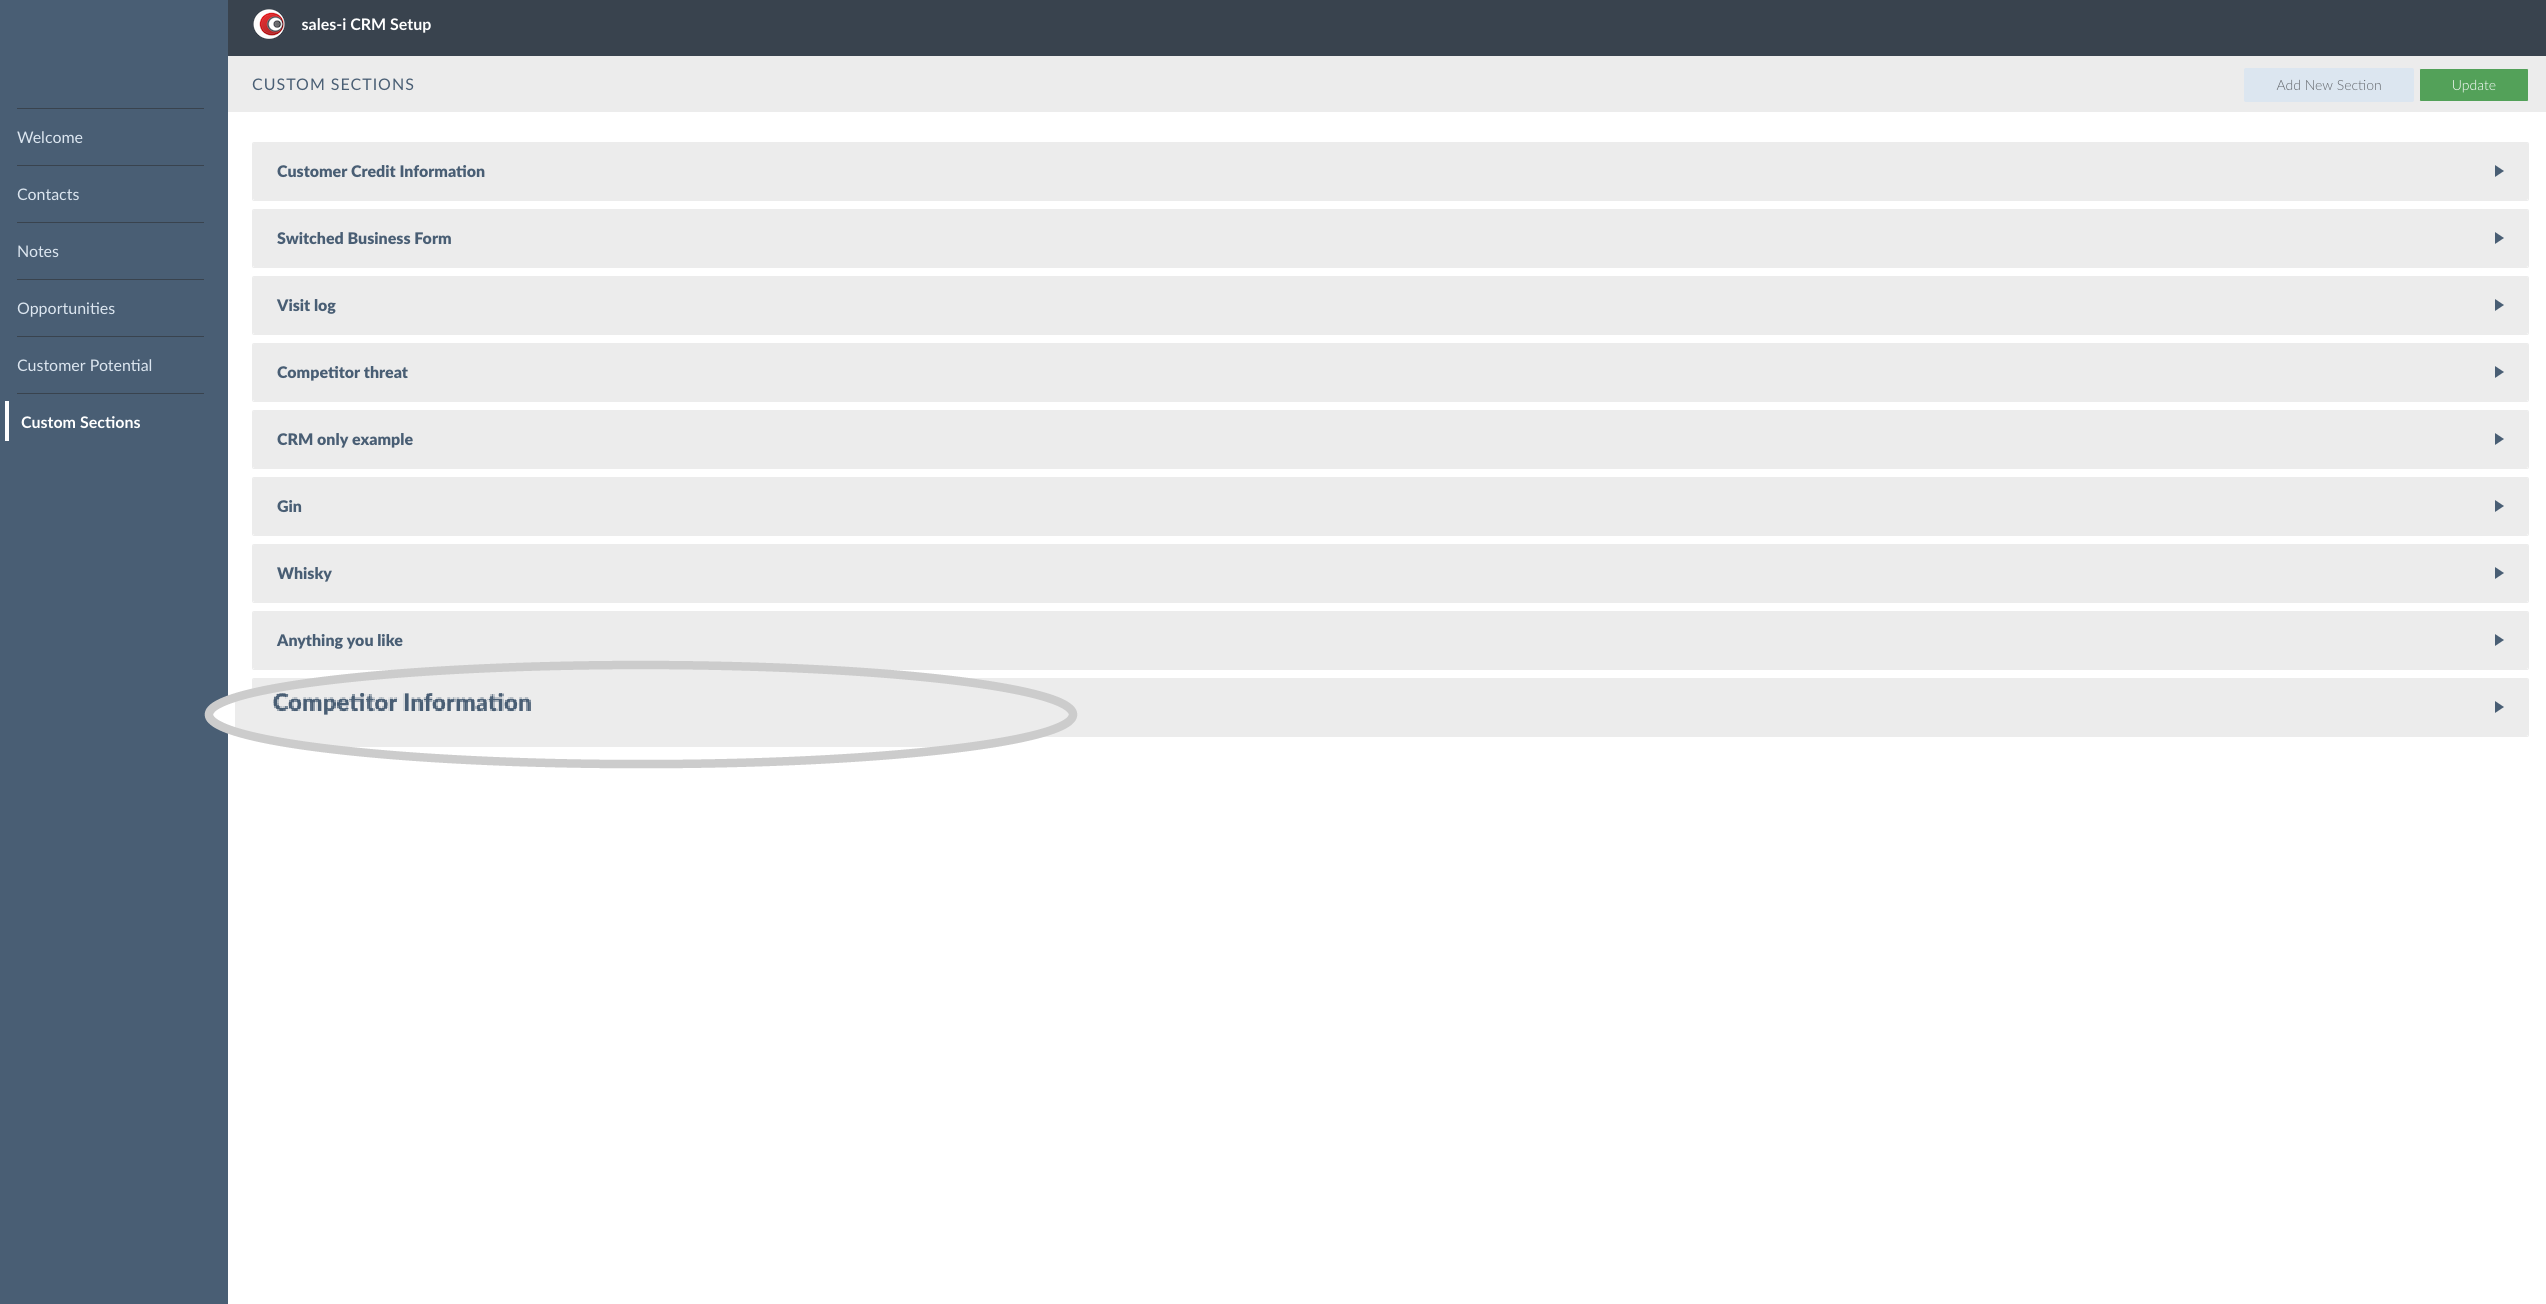
Step 7: Click on your new section.
This new section will now appear at the bottom of your custom section list.
Click on it to expand.
Step 8: Click Add New Field
Next, click the Add New Field button (bottom right hand corner).

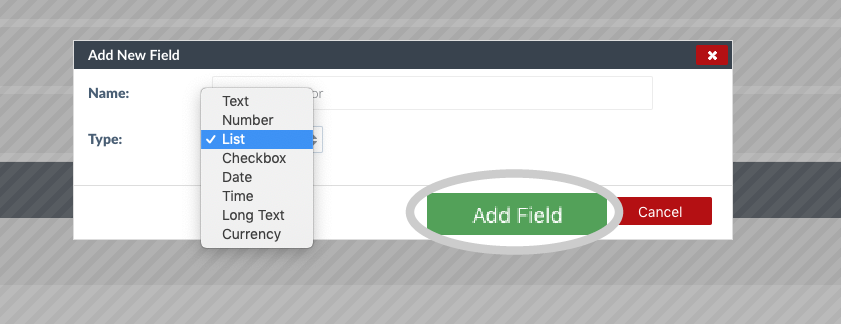
Step 9: New field options
Type the name for your new field e.g Main Competitor.
Next, select your type of field. (This is how your field will present to the person completing this section). E.g do you want the person completing this section to be able to tick it, choose from a number, select from a list or select a date etc? For this example we'll select List.
Once selected, click the green Add Field button.
Please Note: If you want to report on this segmentation field in enquiries, you must select List.
Step 10: Click Edit List
Next, click the Edit List button in the bottom right hand corner of the screen.
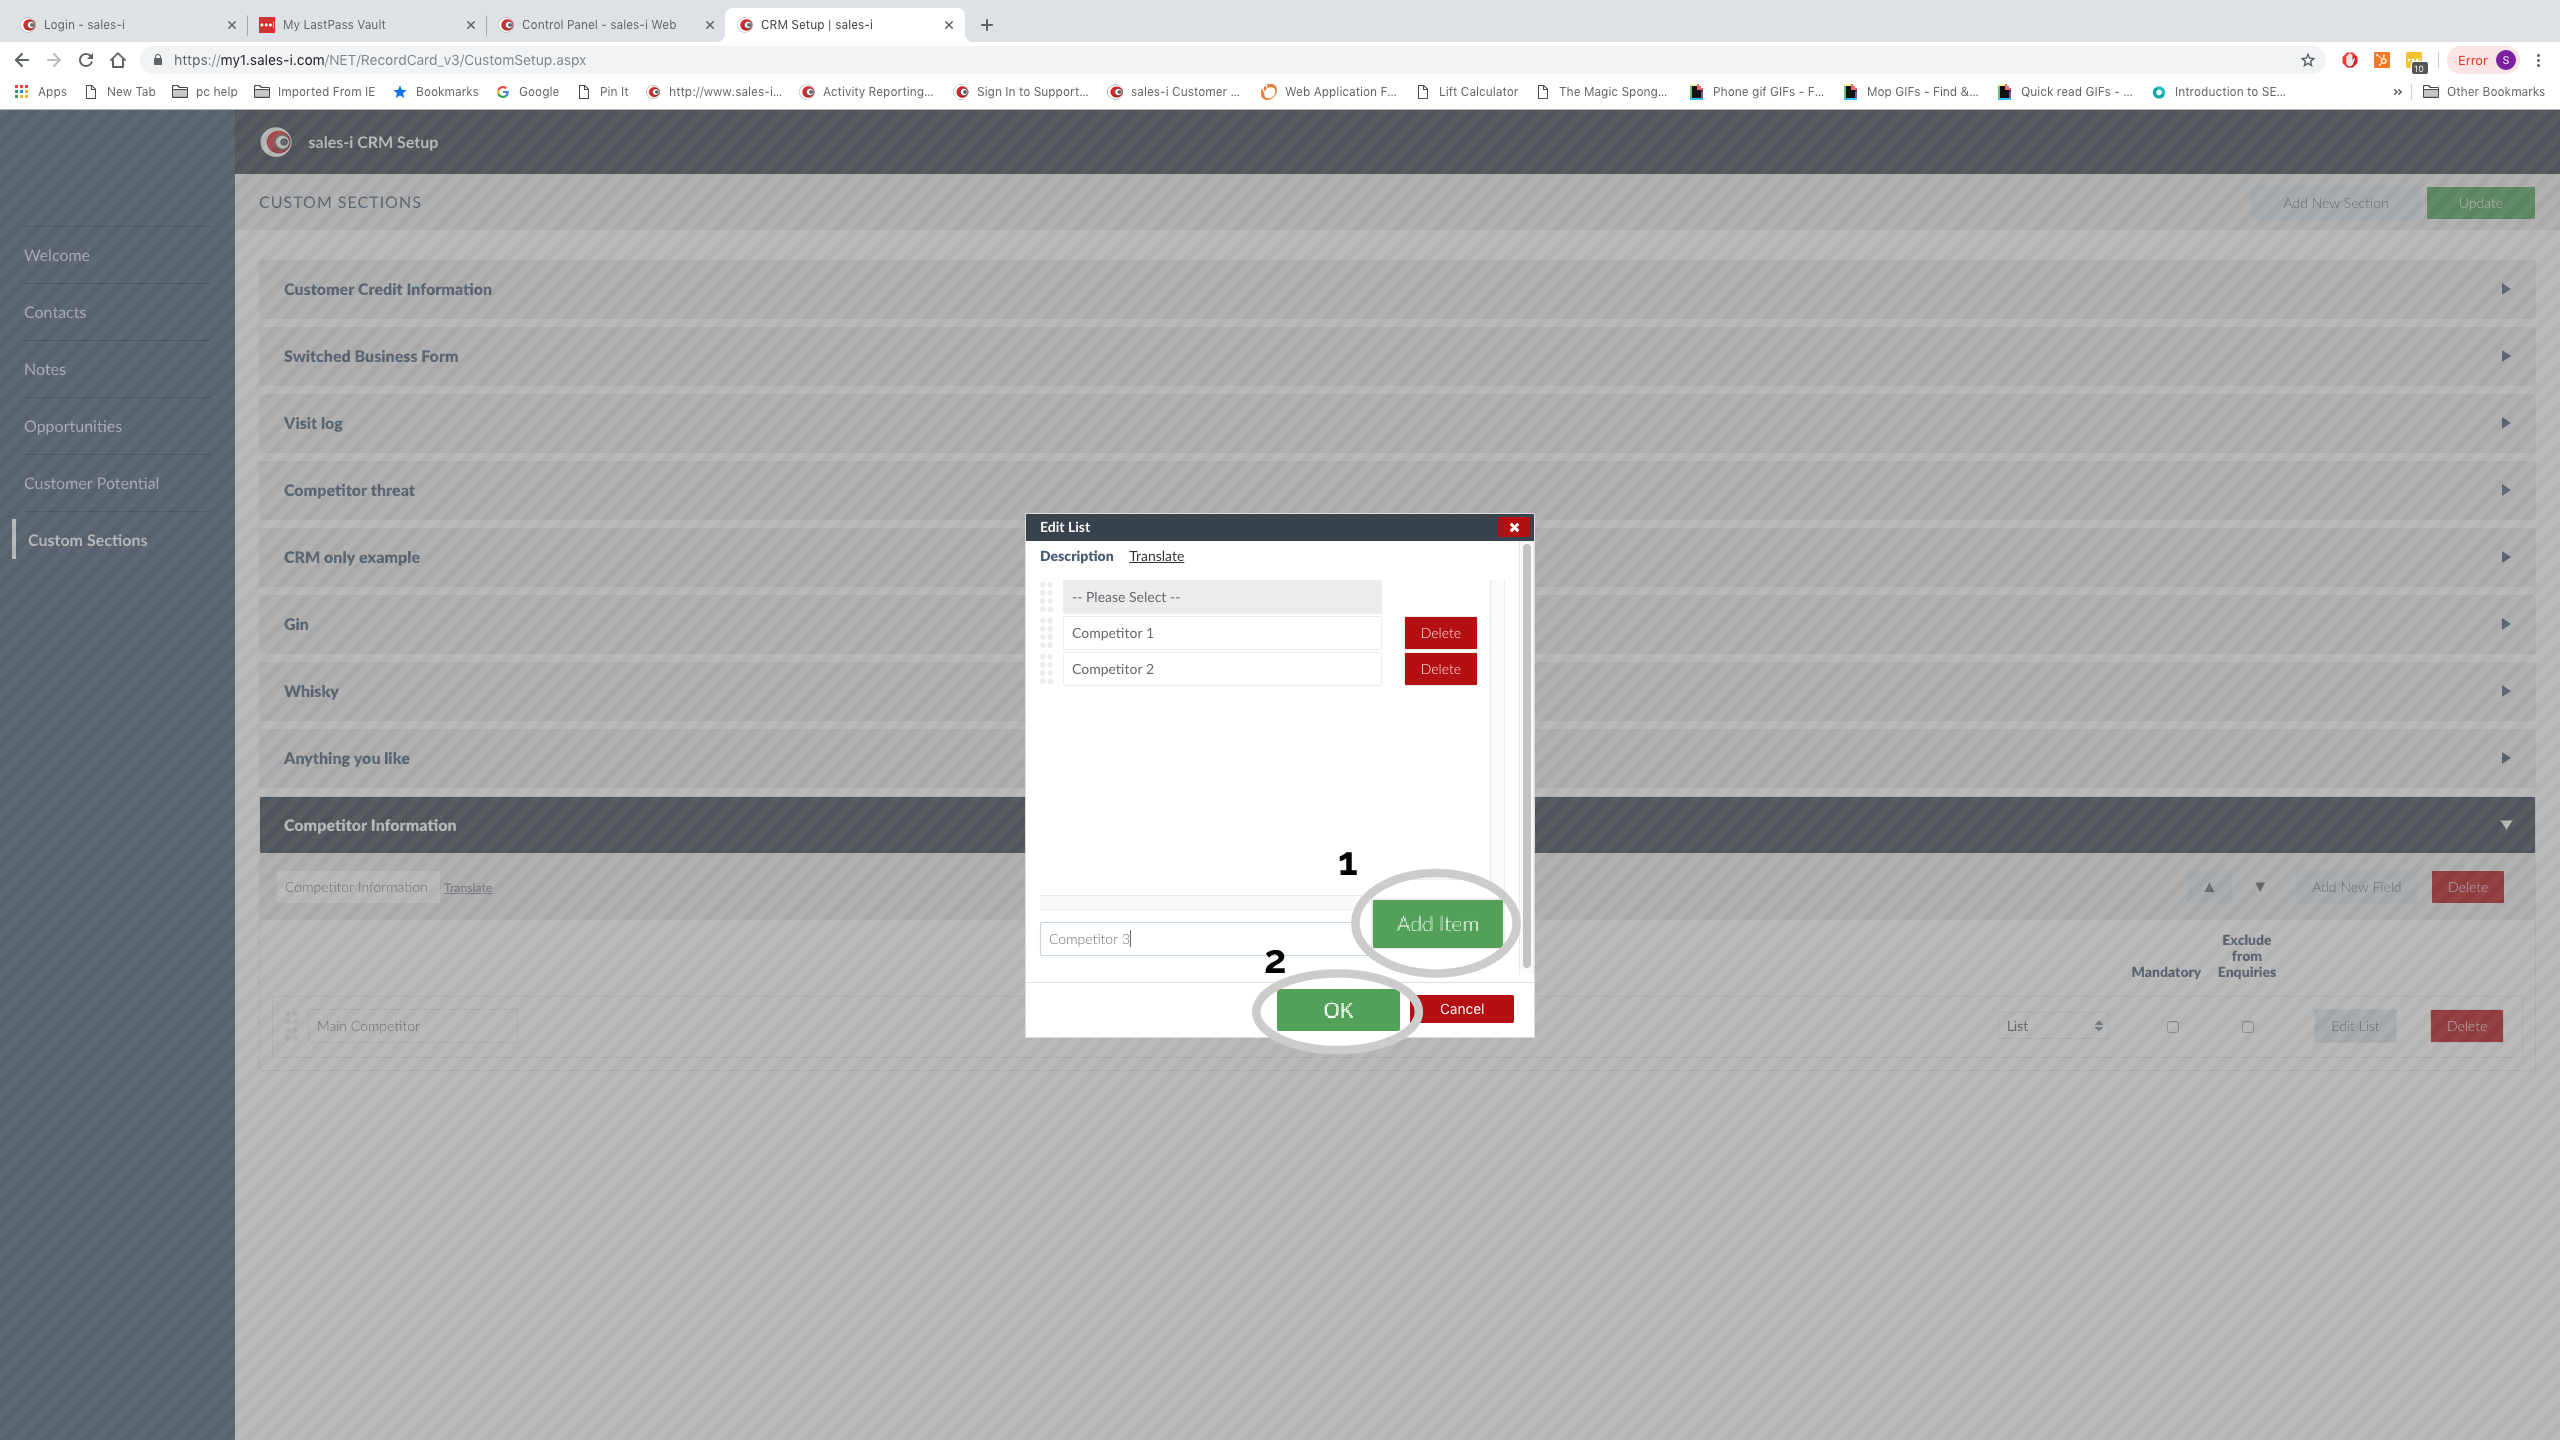
Step 11: Add items
A pop-up box will now open. This is where you put in the names of your list options. These are the options that the user who inputs the data will be able to pick from.
After each list entry click Add item and then once all list entries have been added click OK.
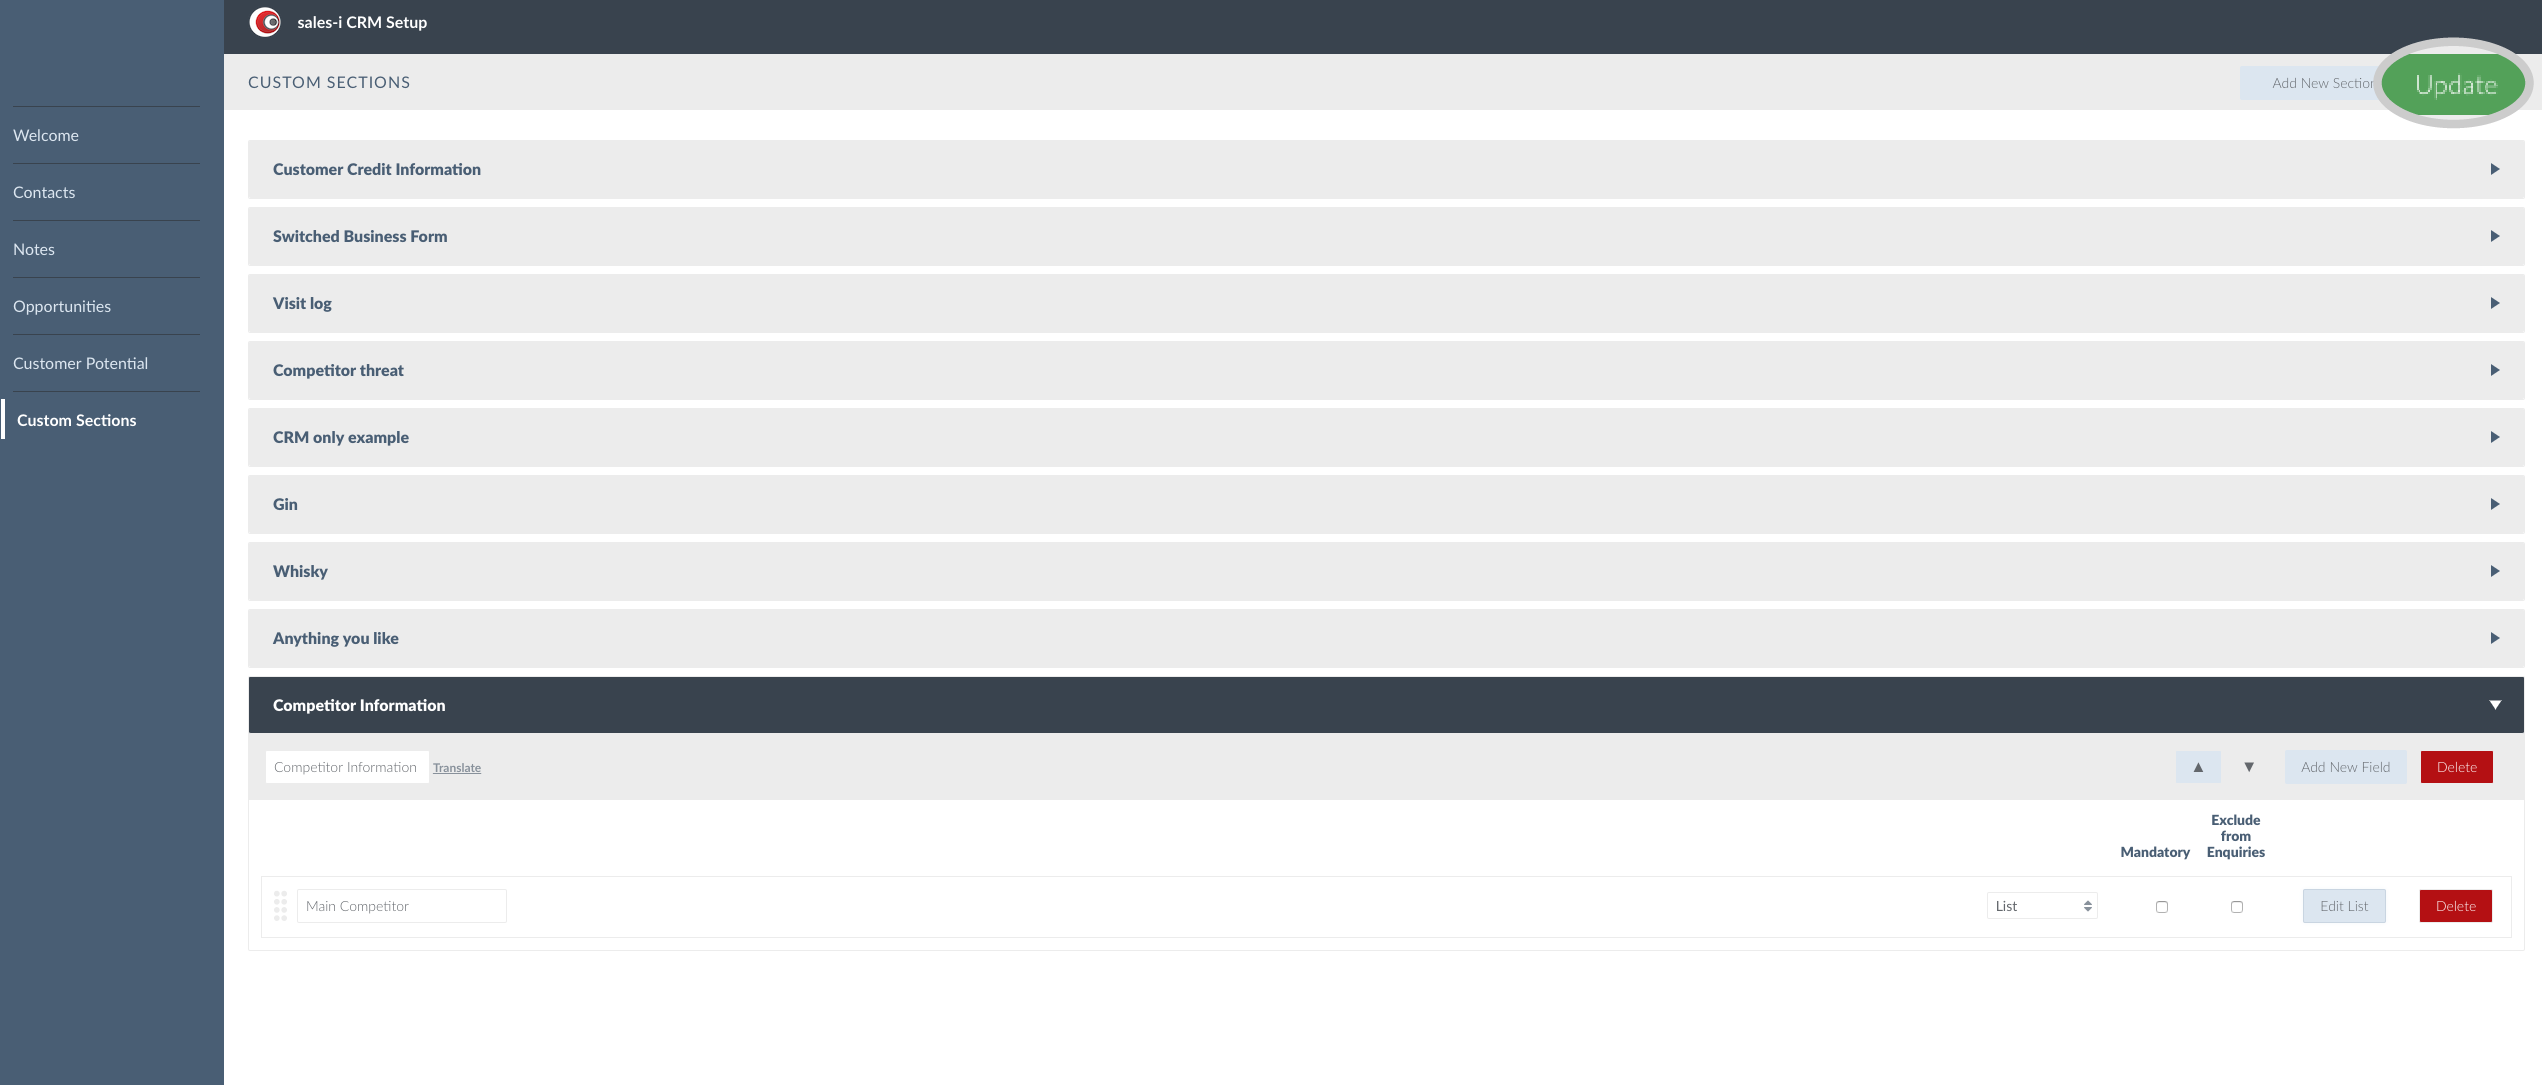
Step 12: Click Update
Next, click the green Update button in the top right hand corner.
Your list options are now set up.
Please Note: If you don't click the Update button all of your previous work will be lost.
Step 13: How to add an account to a list
To add an account to a list, search for and select your account and then click on their CRM.
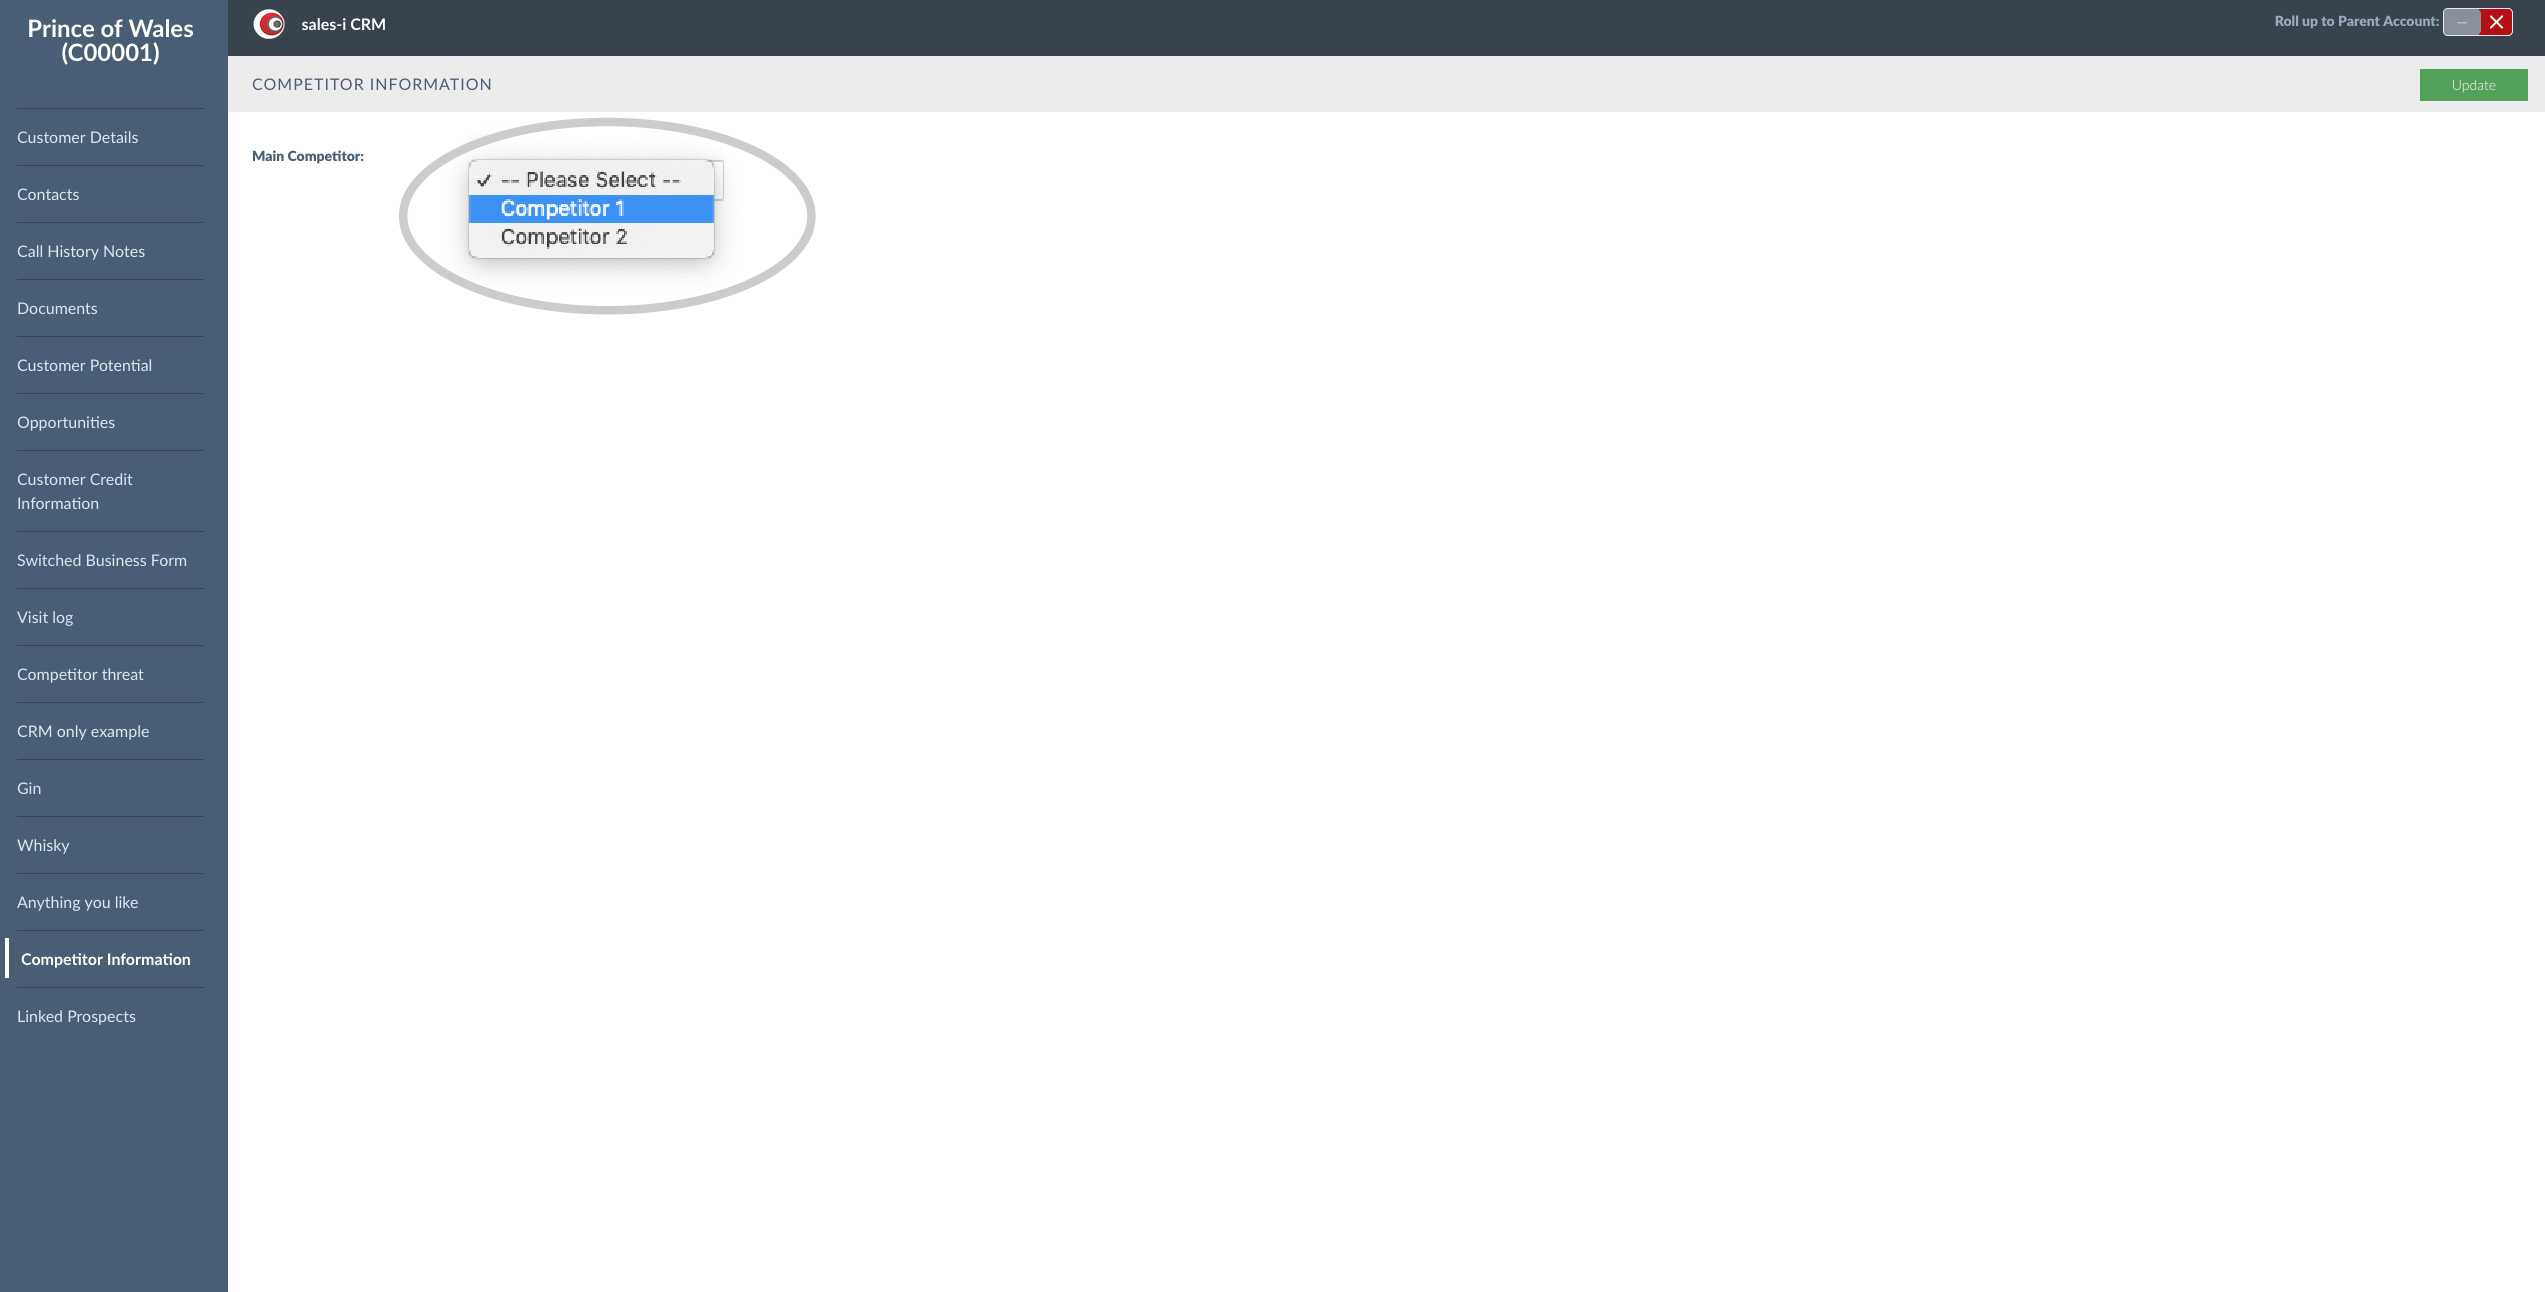
You will now see the title of your new custom section at the bottom left hand side. e.g. Customer Information. Click on it.

Step 14: Select relevant option
Now, select the relevant list option that applies to this customer.
For this example, we'll select Competitor 2.
Once you've made your changes, click the green Update button.
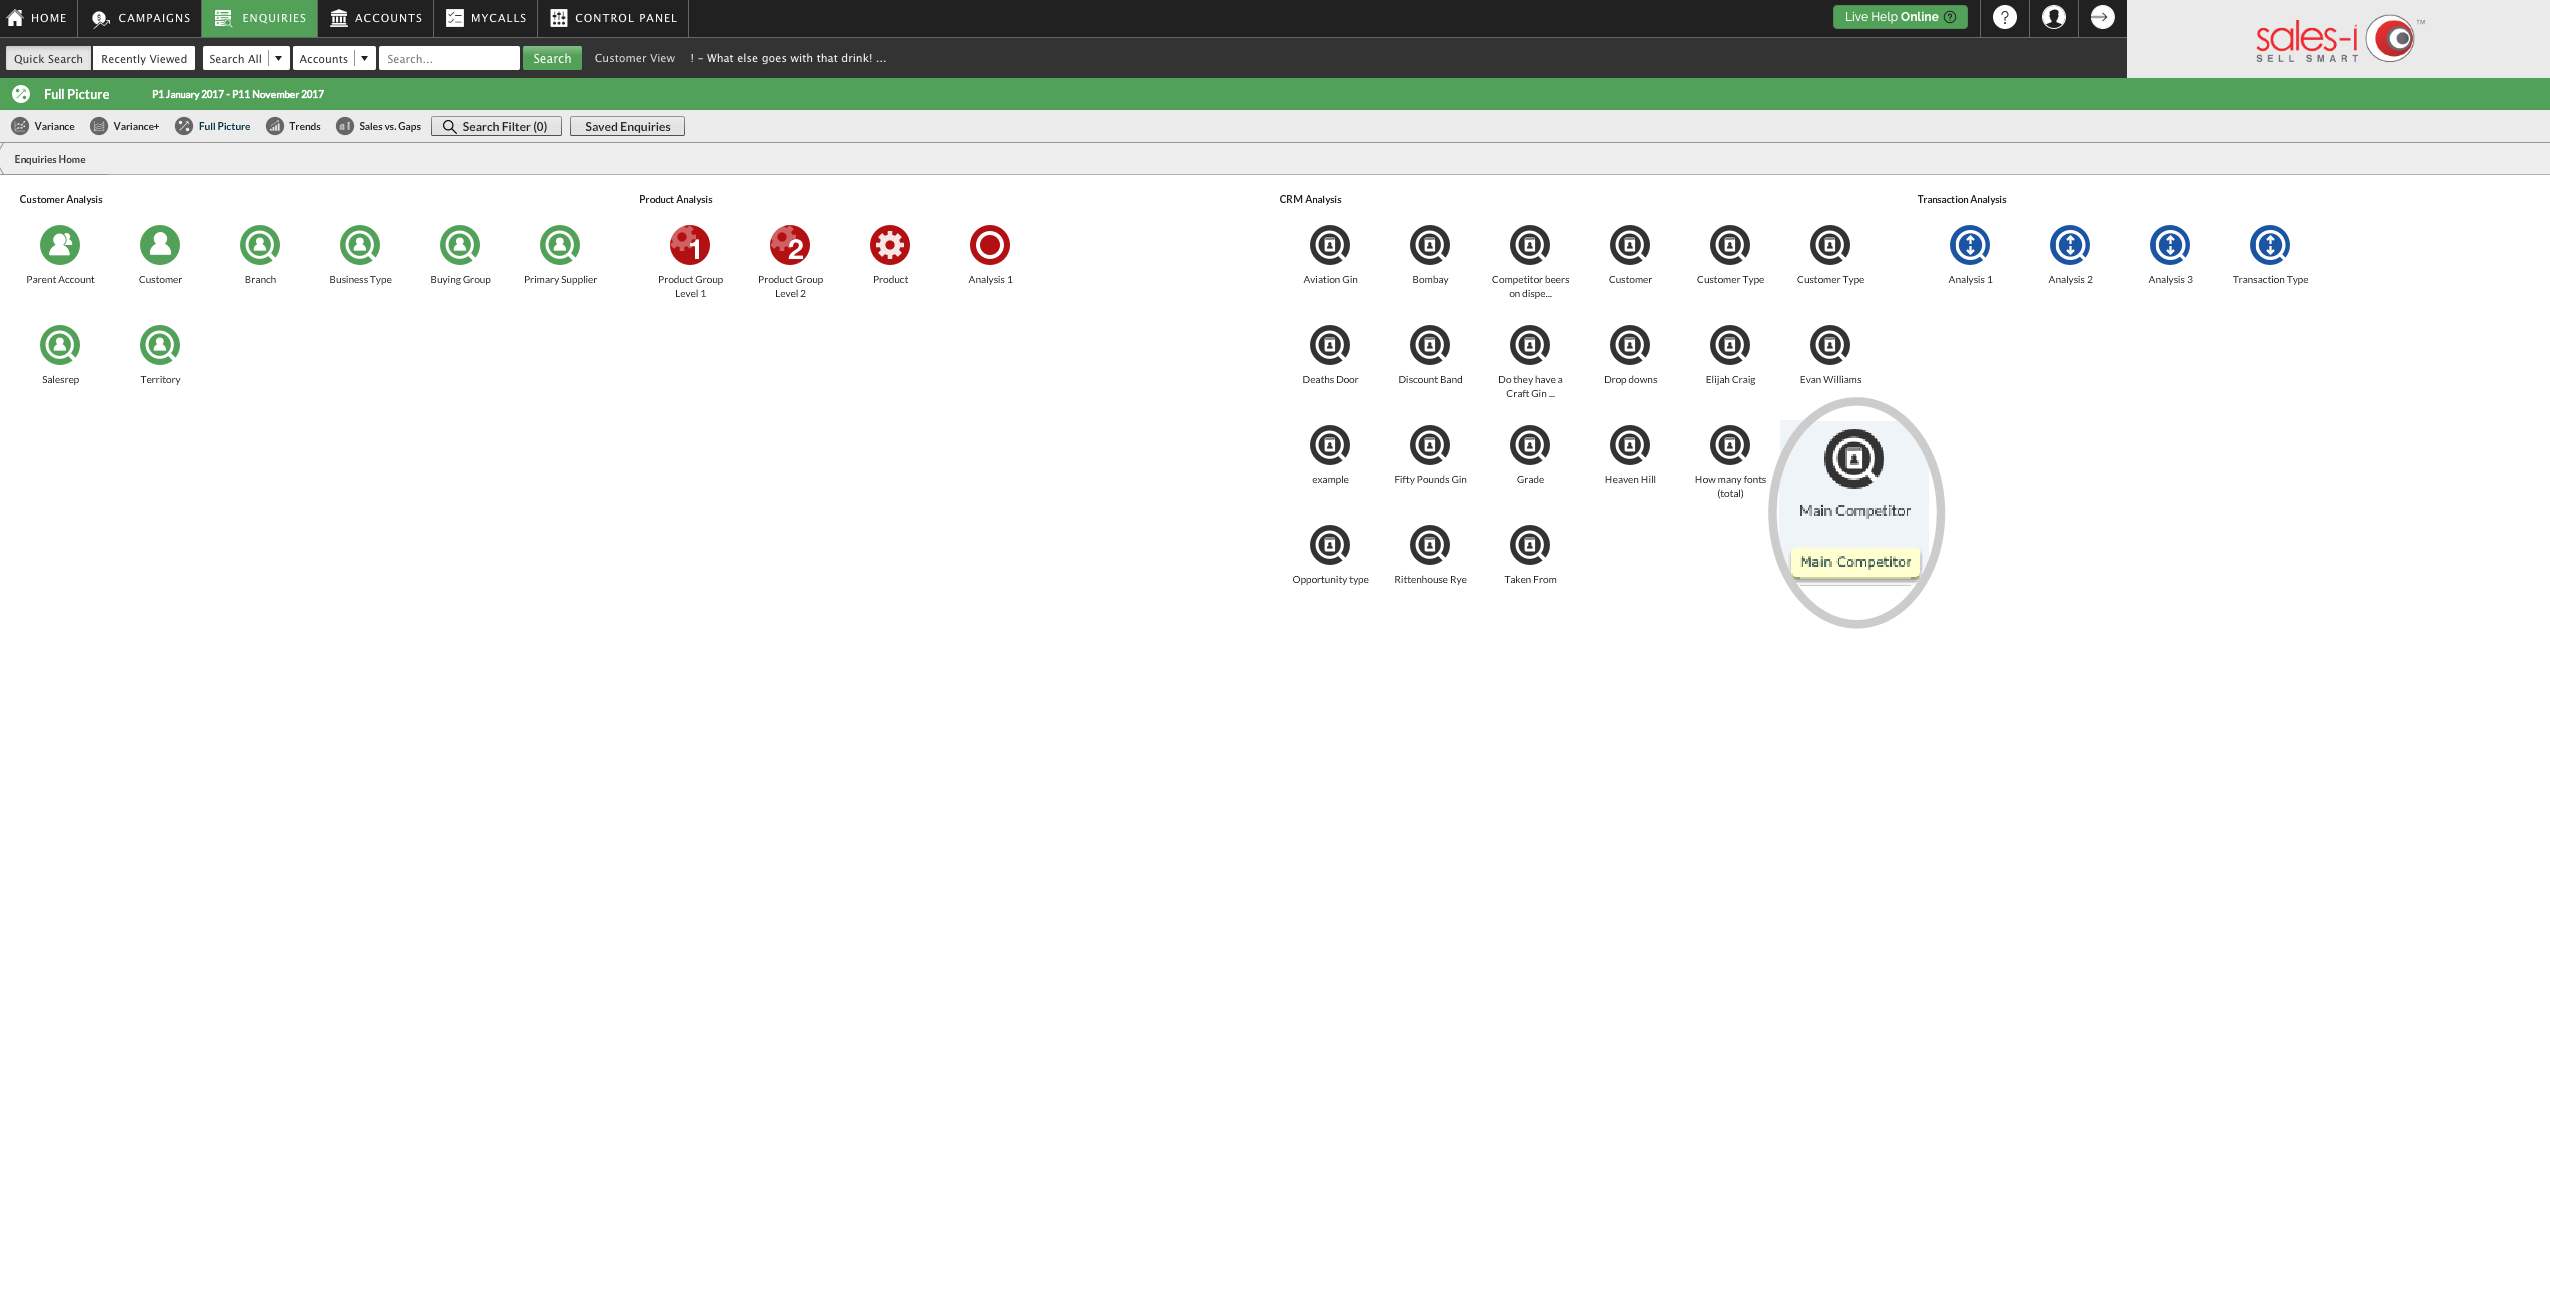
Step 15: How to view Accounts which fall into your list
To view all accounts which fall under your new analysis field, select Enquiries and then click on the new black CRM Analysis bubble that you created.
For this example, we'll select Main Competitor.
Step 16: Click on the cog icon
Once you've clicked on the relevant bubble, click on the cog icon next to the list option that you want to see more information for.
For this example, we'll select Competitor 2.

Step 17: Click Customer
Next, click Customer.

Step 18: The results
You will now see a list of all of the accounts that fall into your selected filter.
So, for this example, we now see which accounts have Competitor 2 listed as their main competitor.
