This article will show Power Users how to disable or delete a sales-i user.
Please note: Disabling a user, temporarily prevents them from accessing sales-i, whilst deleting a user (and informing sales-i they've been deleted) removes them from sales-i all together.
Desktop
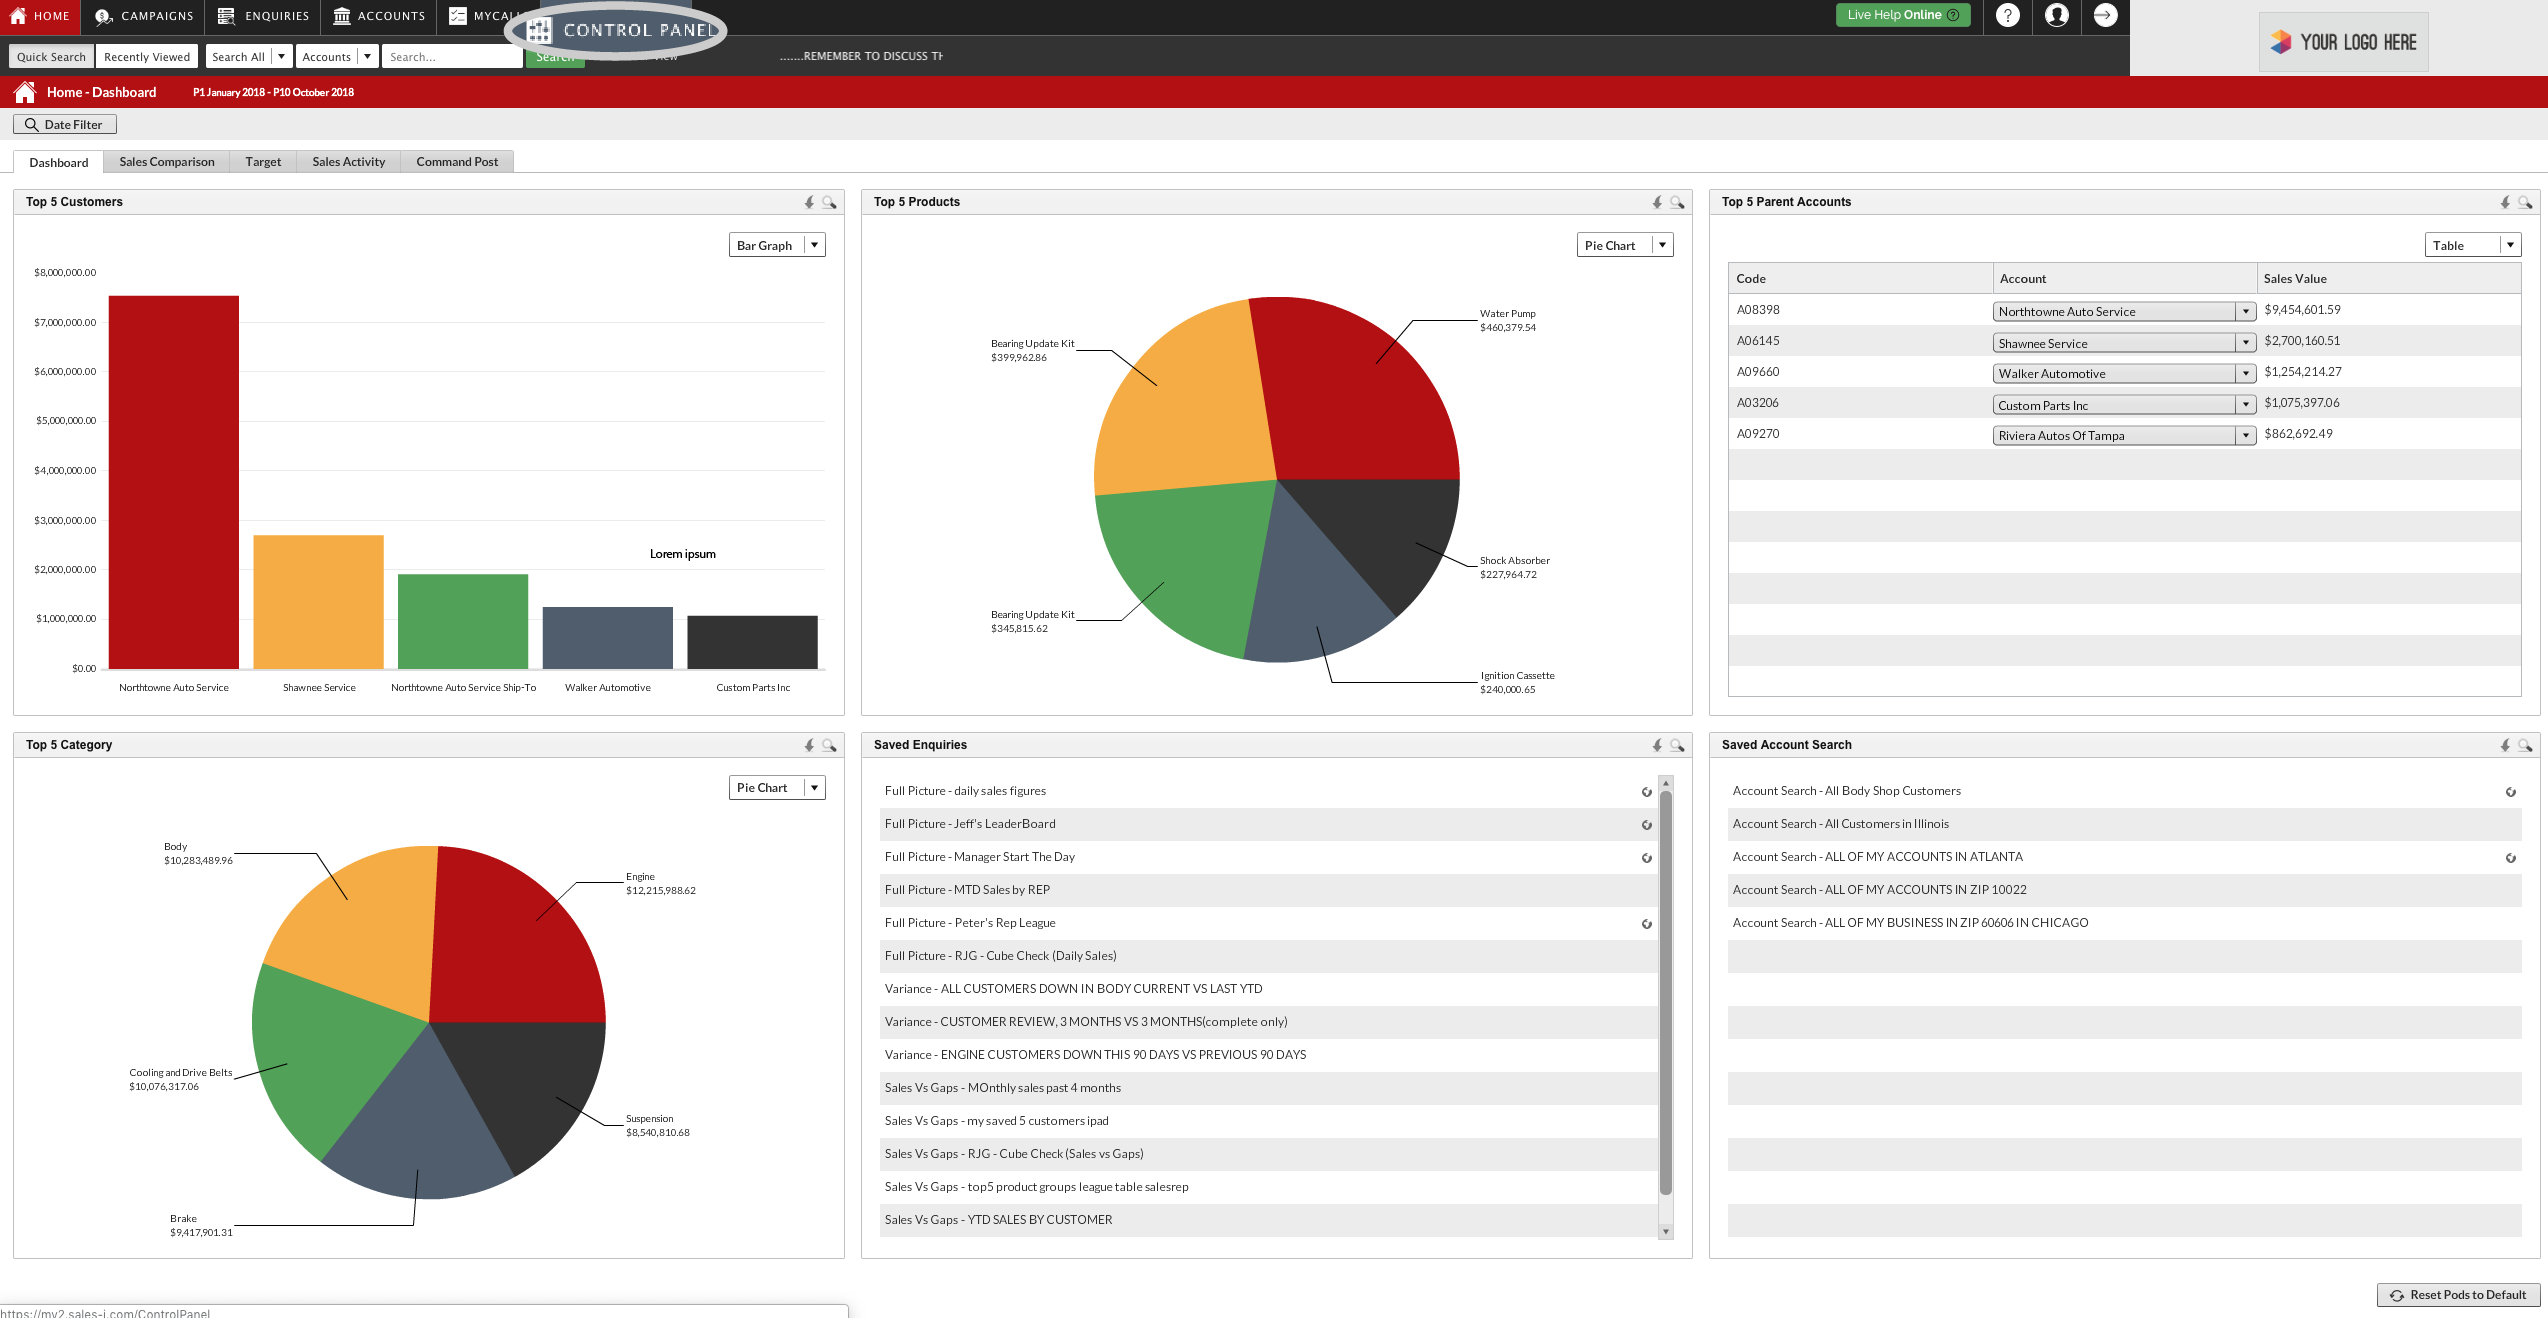
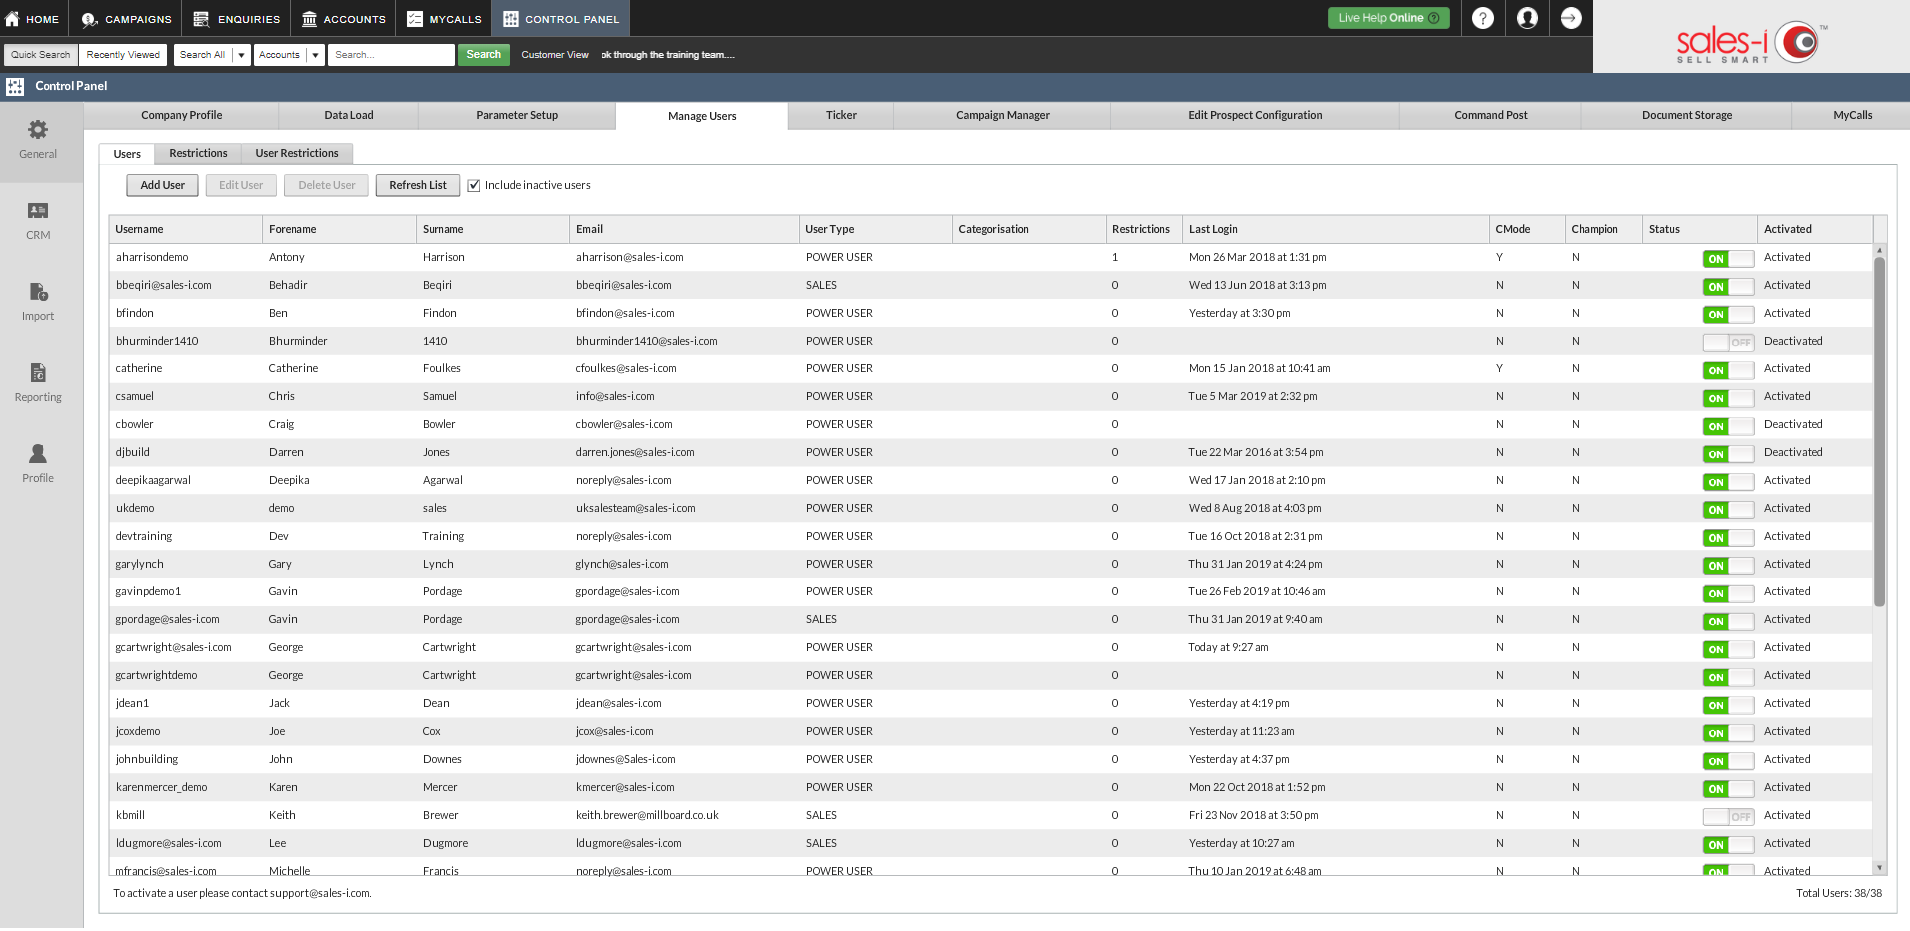
Step 1: Go to Control Panel
From the black navigation bar at the top of the screen, click Control Panel.
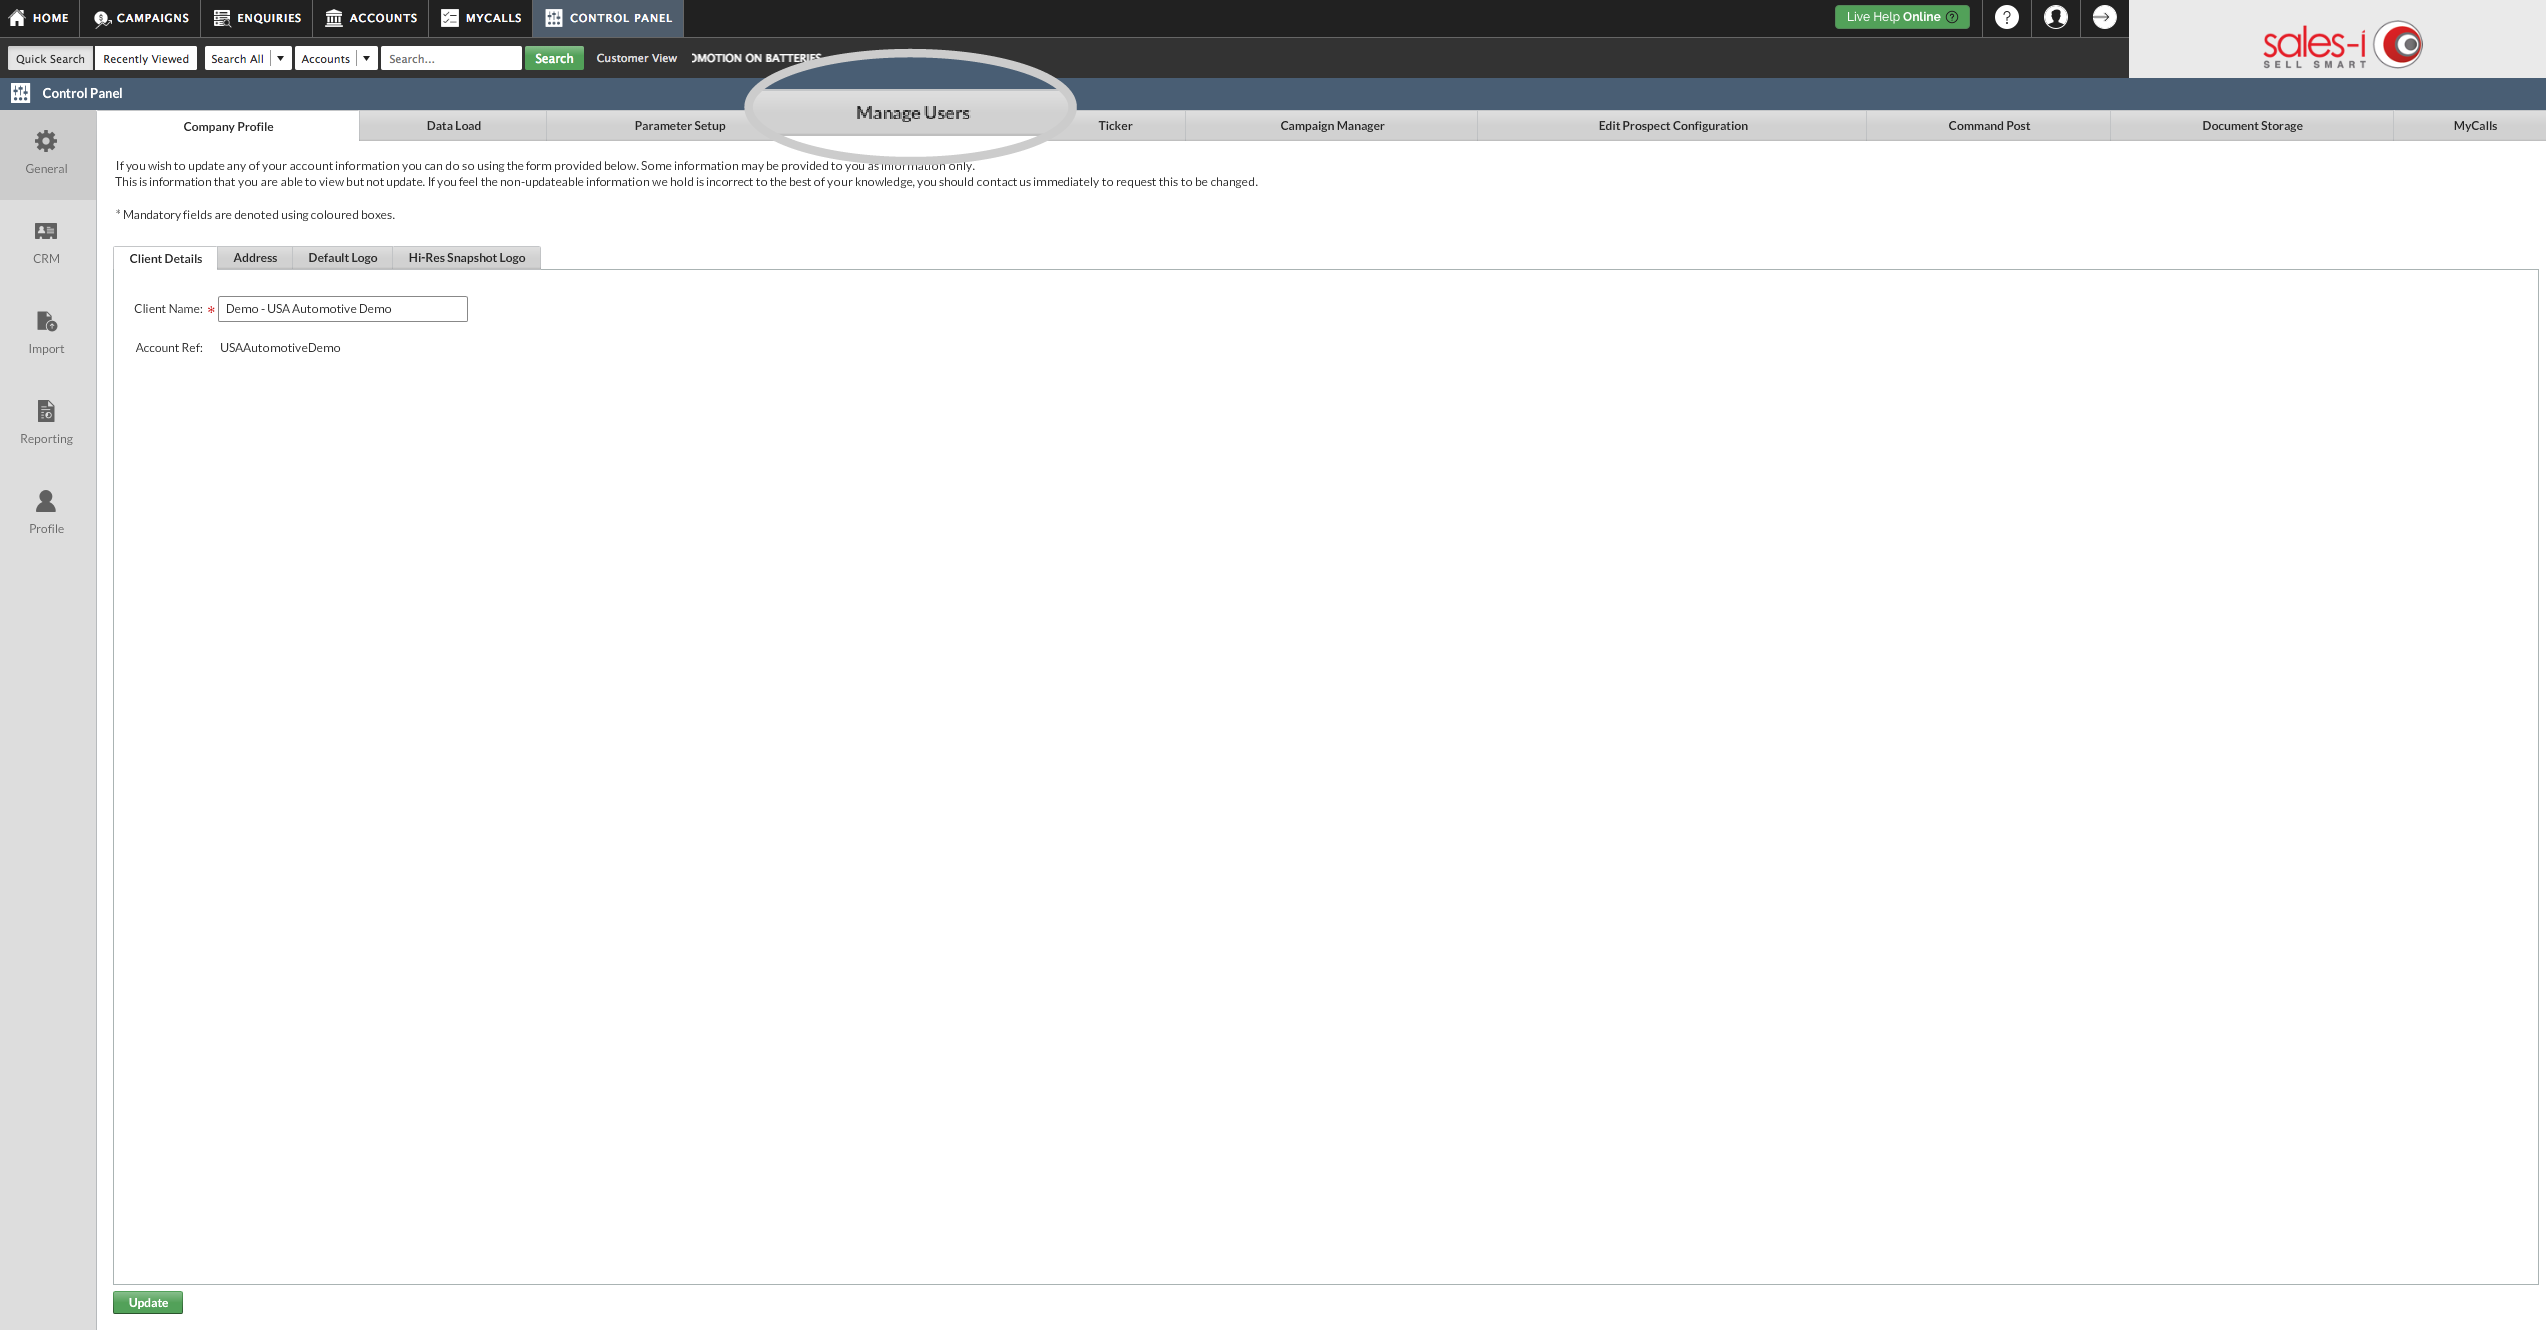
Step 2: Click Manage Users.
Next, Click Manage Users. (It’s the fourth tab from the left.)
Step 3: Select a user
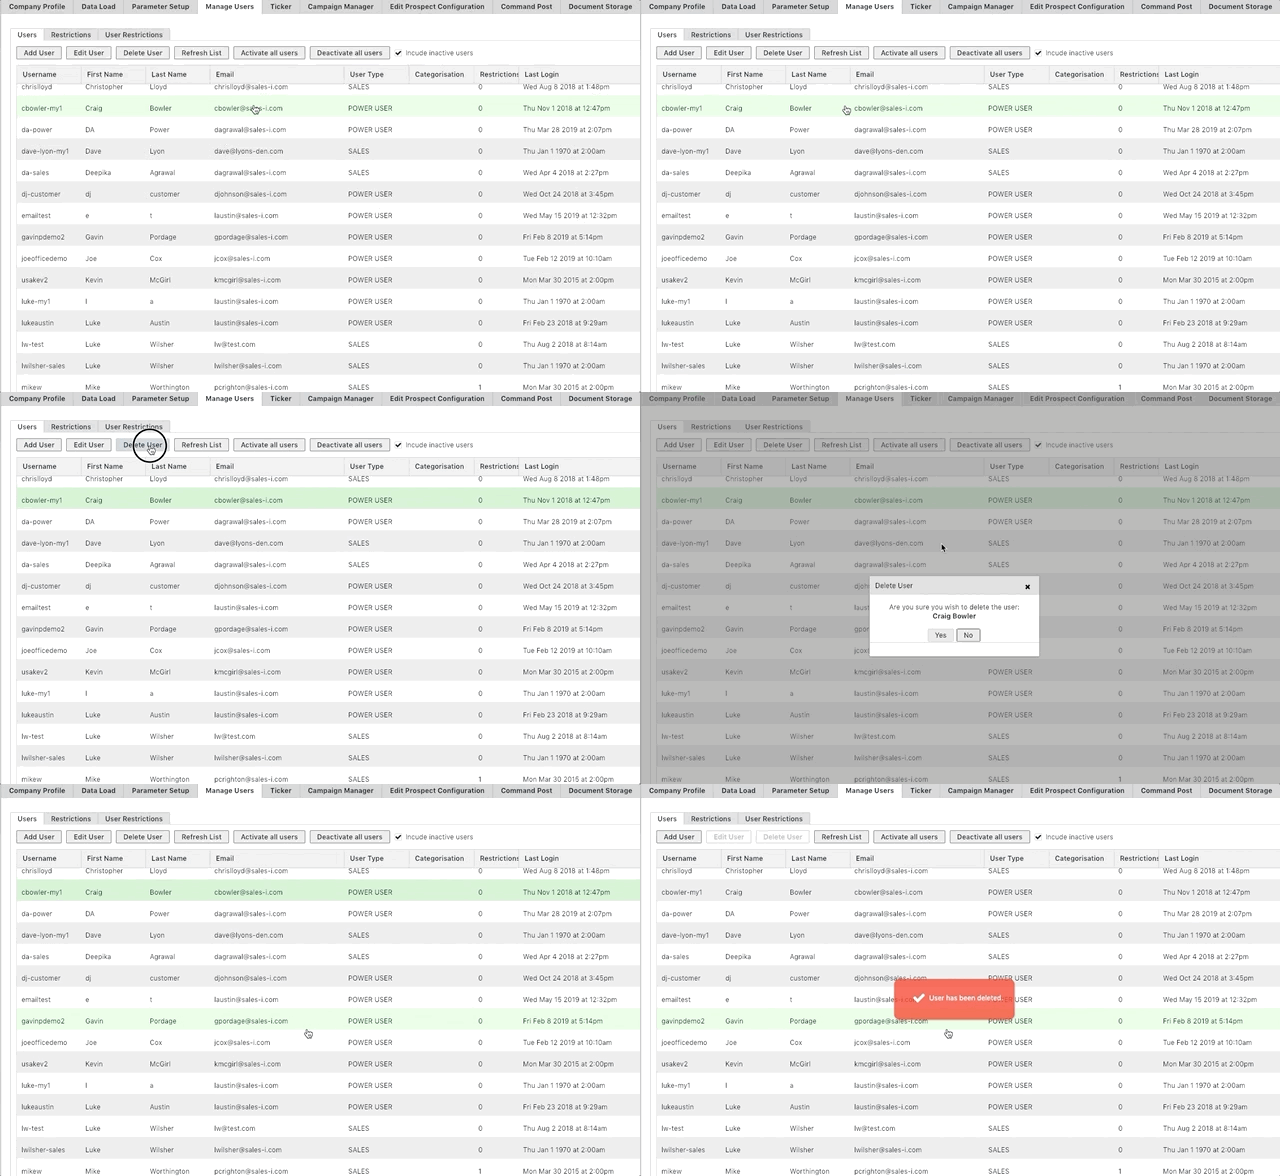
Single click anywhere on the line of the user you would like to disable or delete. The line will highlight green.
You now need to decide whether to delete or disable this user.
If you wish to disable the user go to step 4.
If you wish to delete the user skip to step 5.
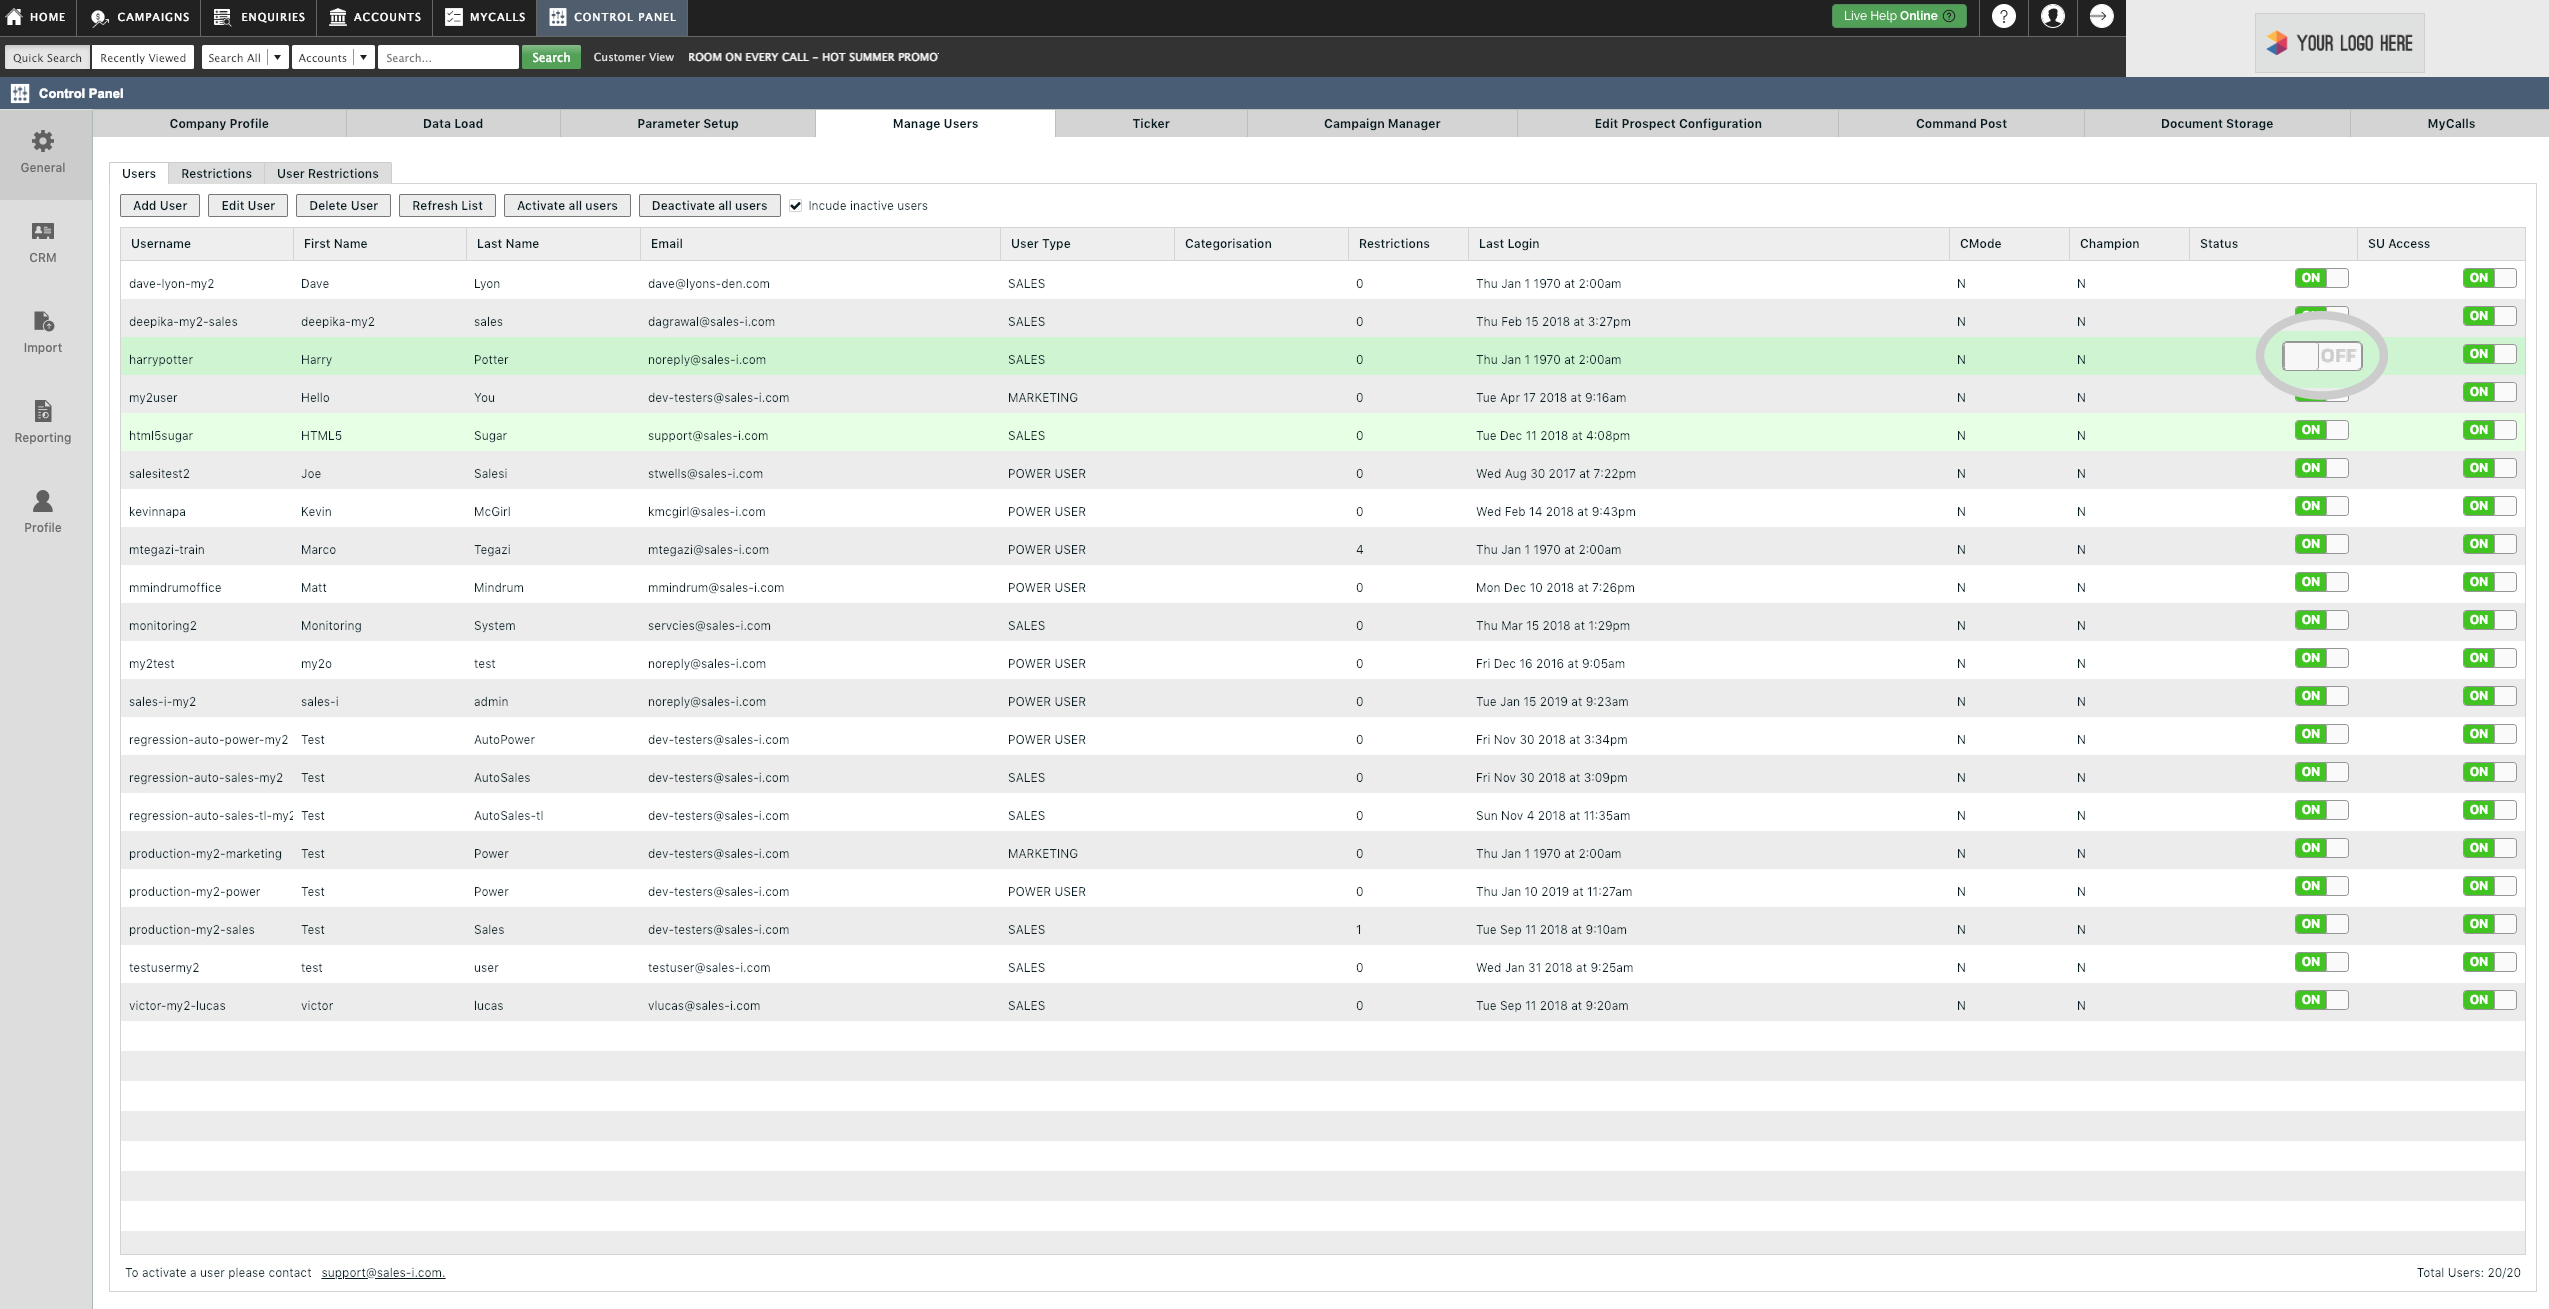
Step 4: How to disable a user
To disable a user, click on the green slider on the user’s line under the Status heading, so that it grays out and says OFF.
The user is now disabled.
You can re-enable this user at any time by sliding the switch back to ON (green).
Please Note: Users that have been disabled from sales-i will still be treated as active users.
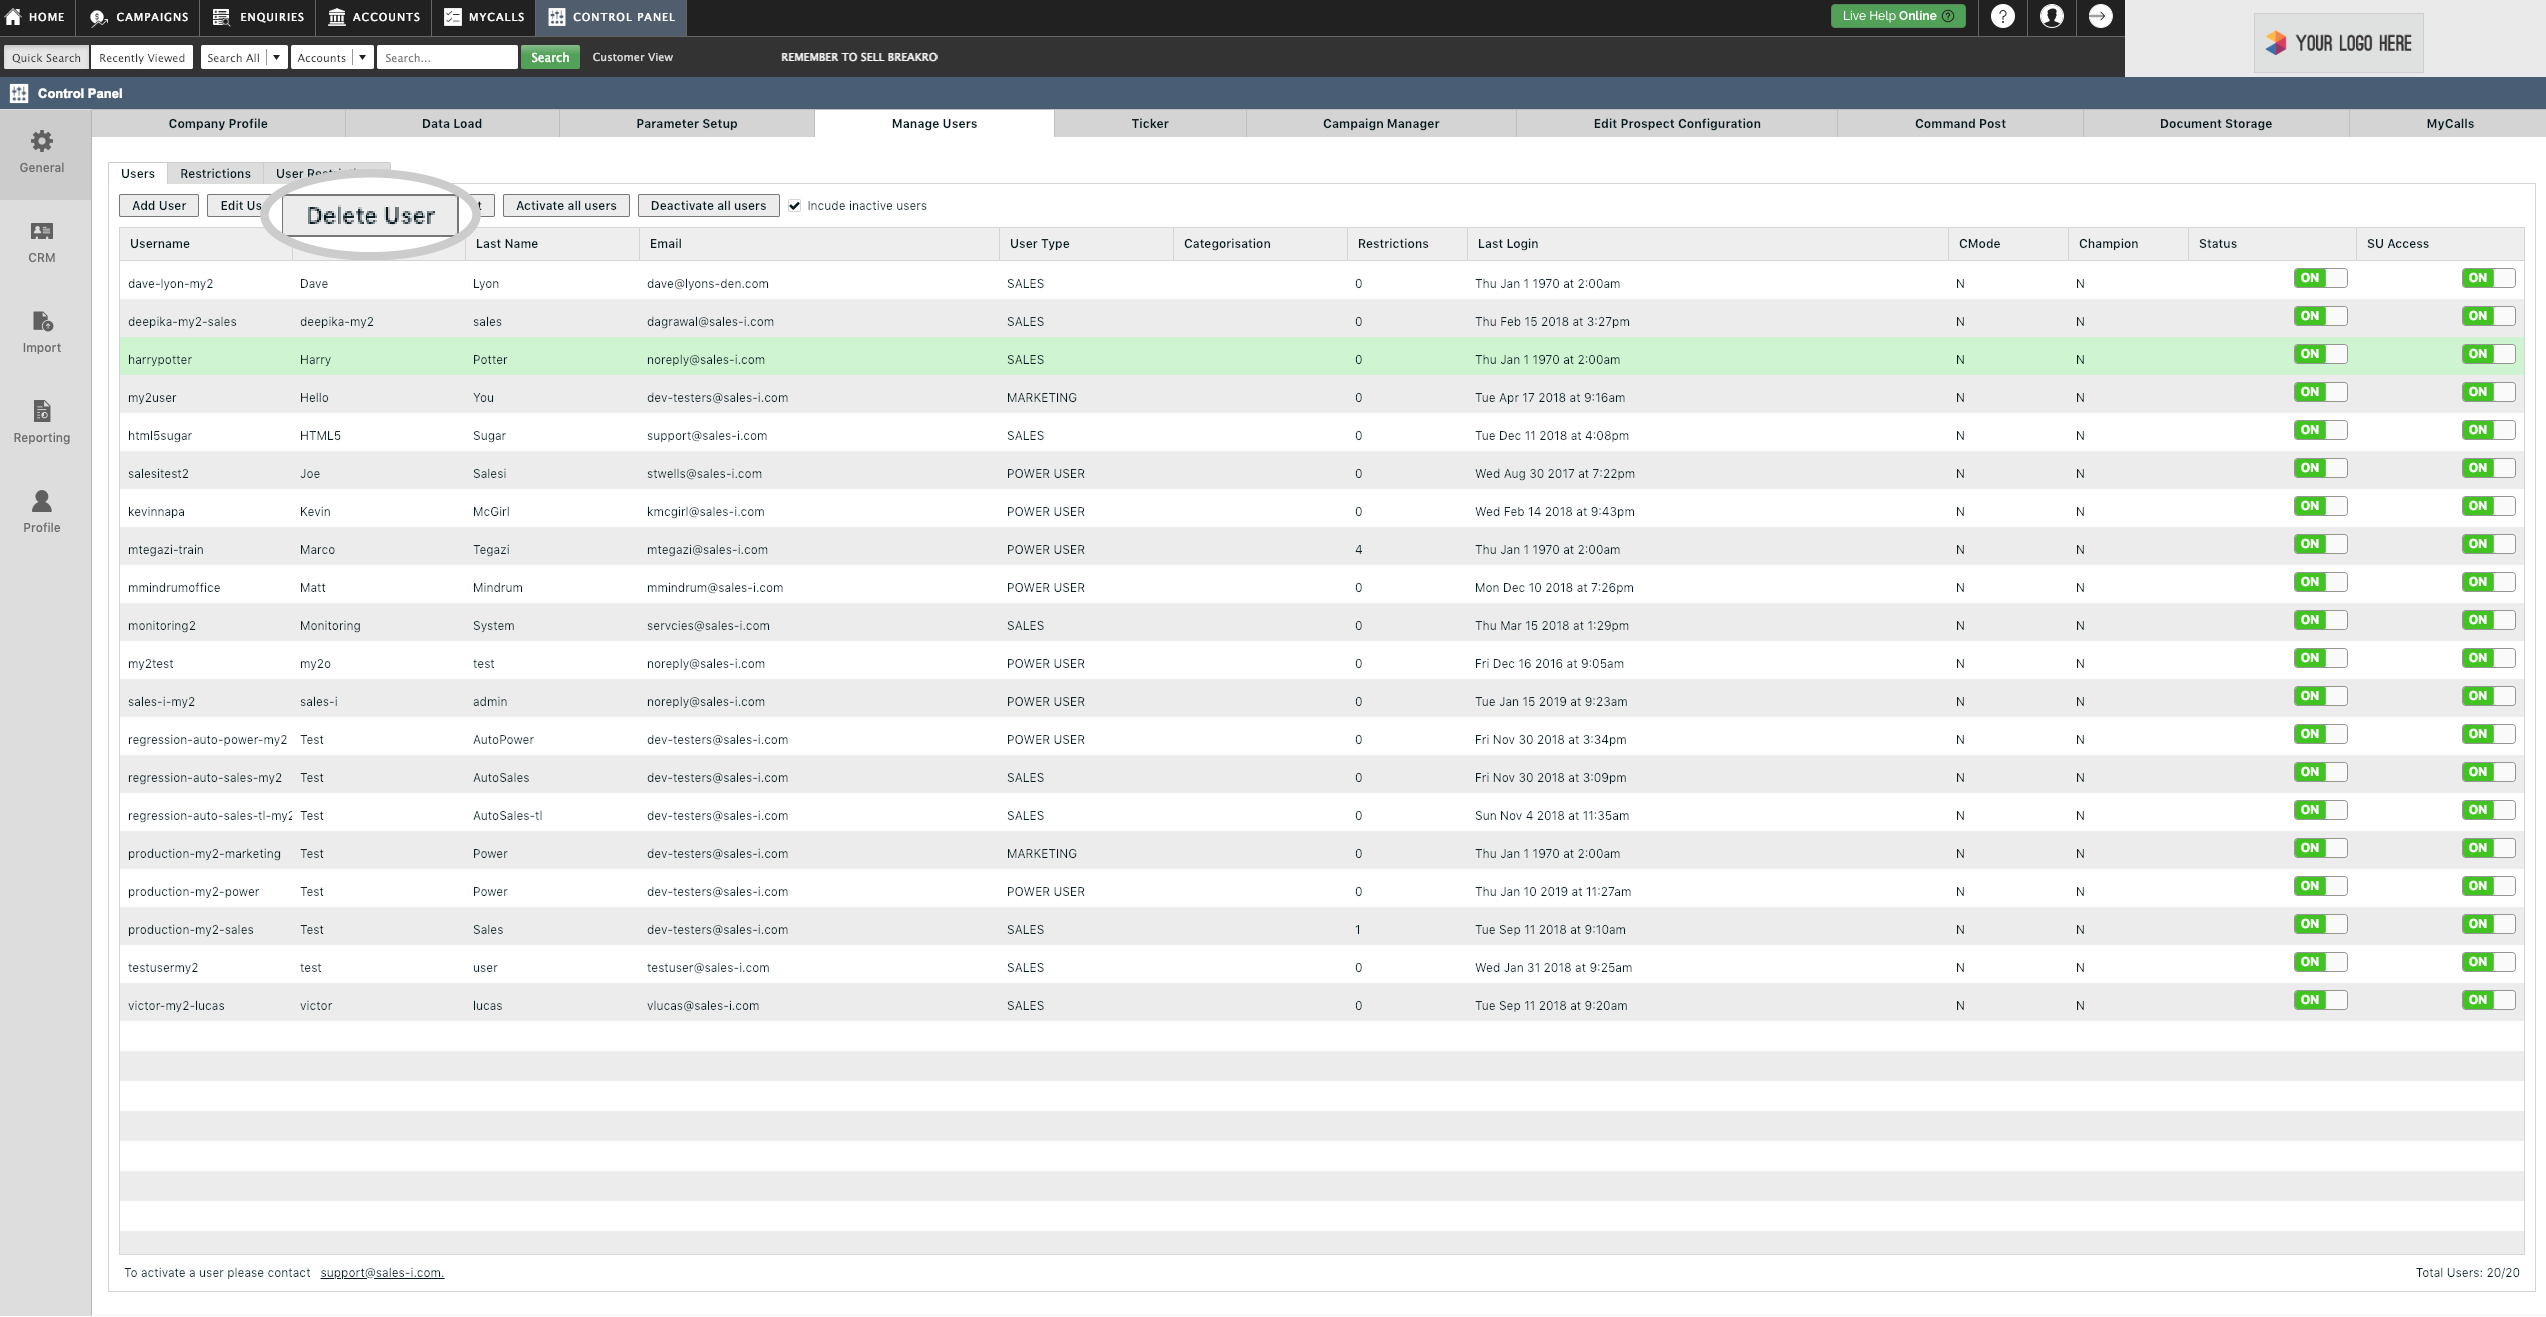
Step 5: How to delete a user
To delete a user, click the third option from the left, Delete User.
If the Delete User option is grayed out, ensure that the user is correctly selected (highlighted green) as described in Step 3.
Step 6: Deleting a user continued
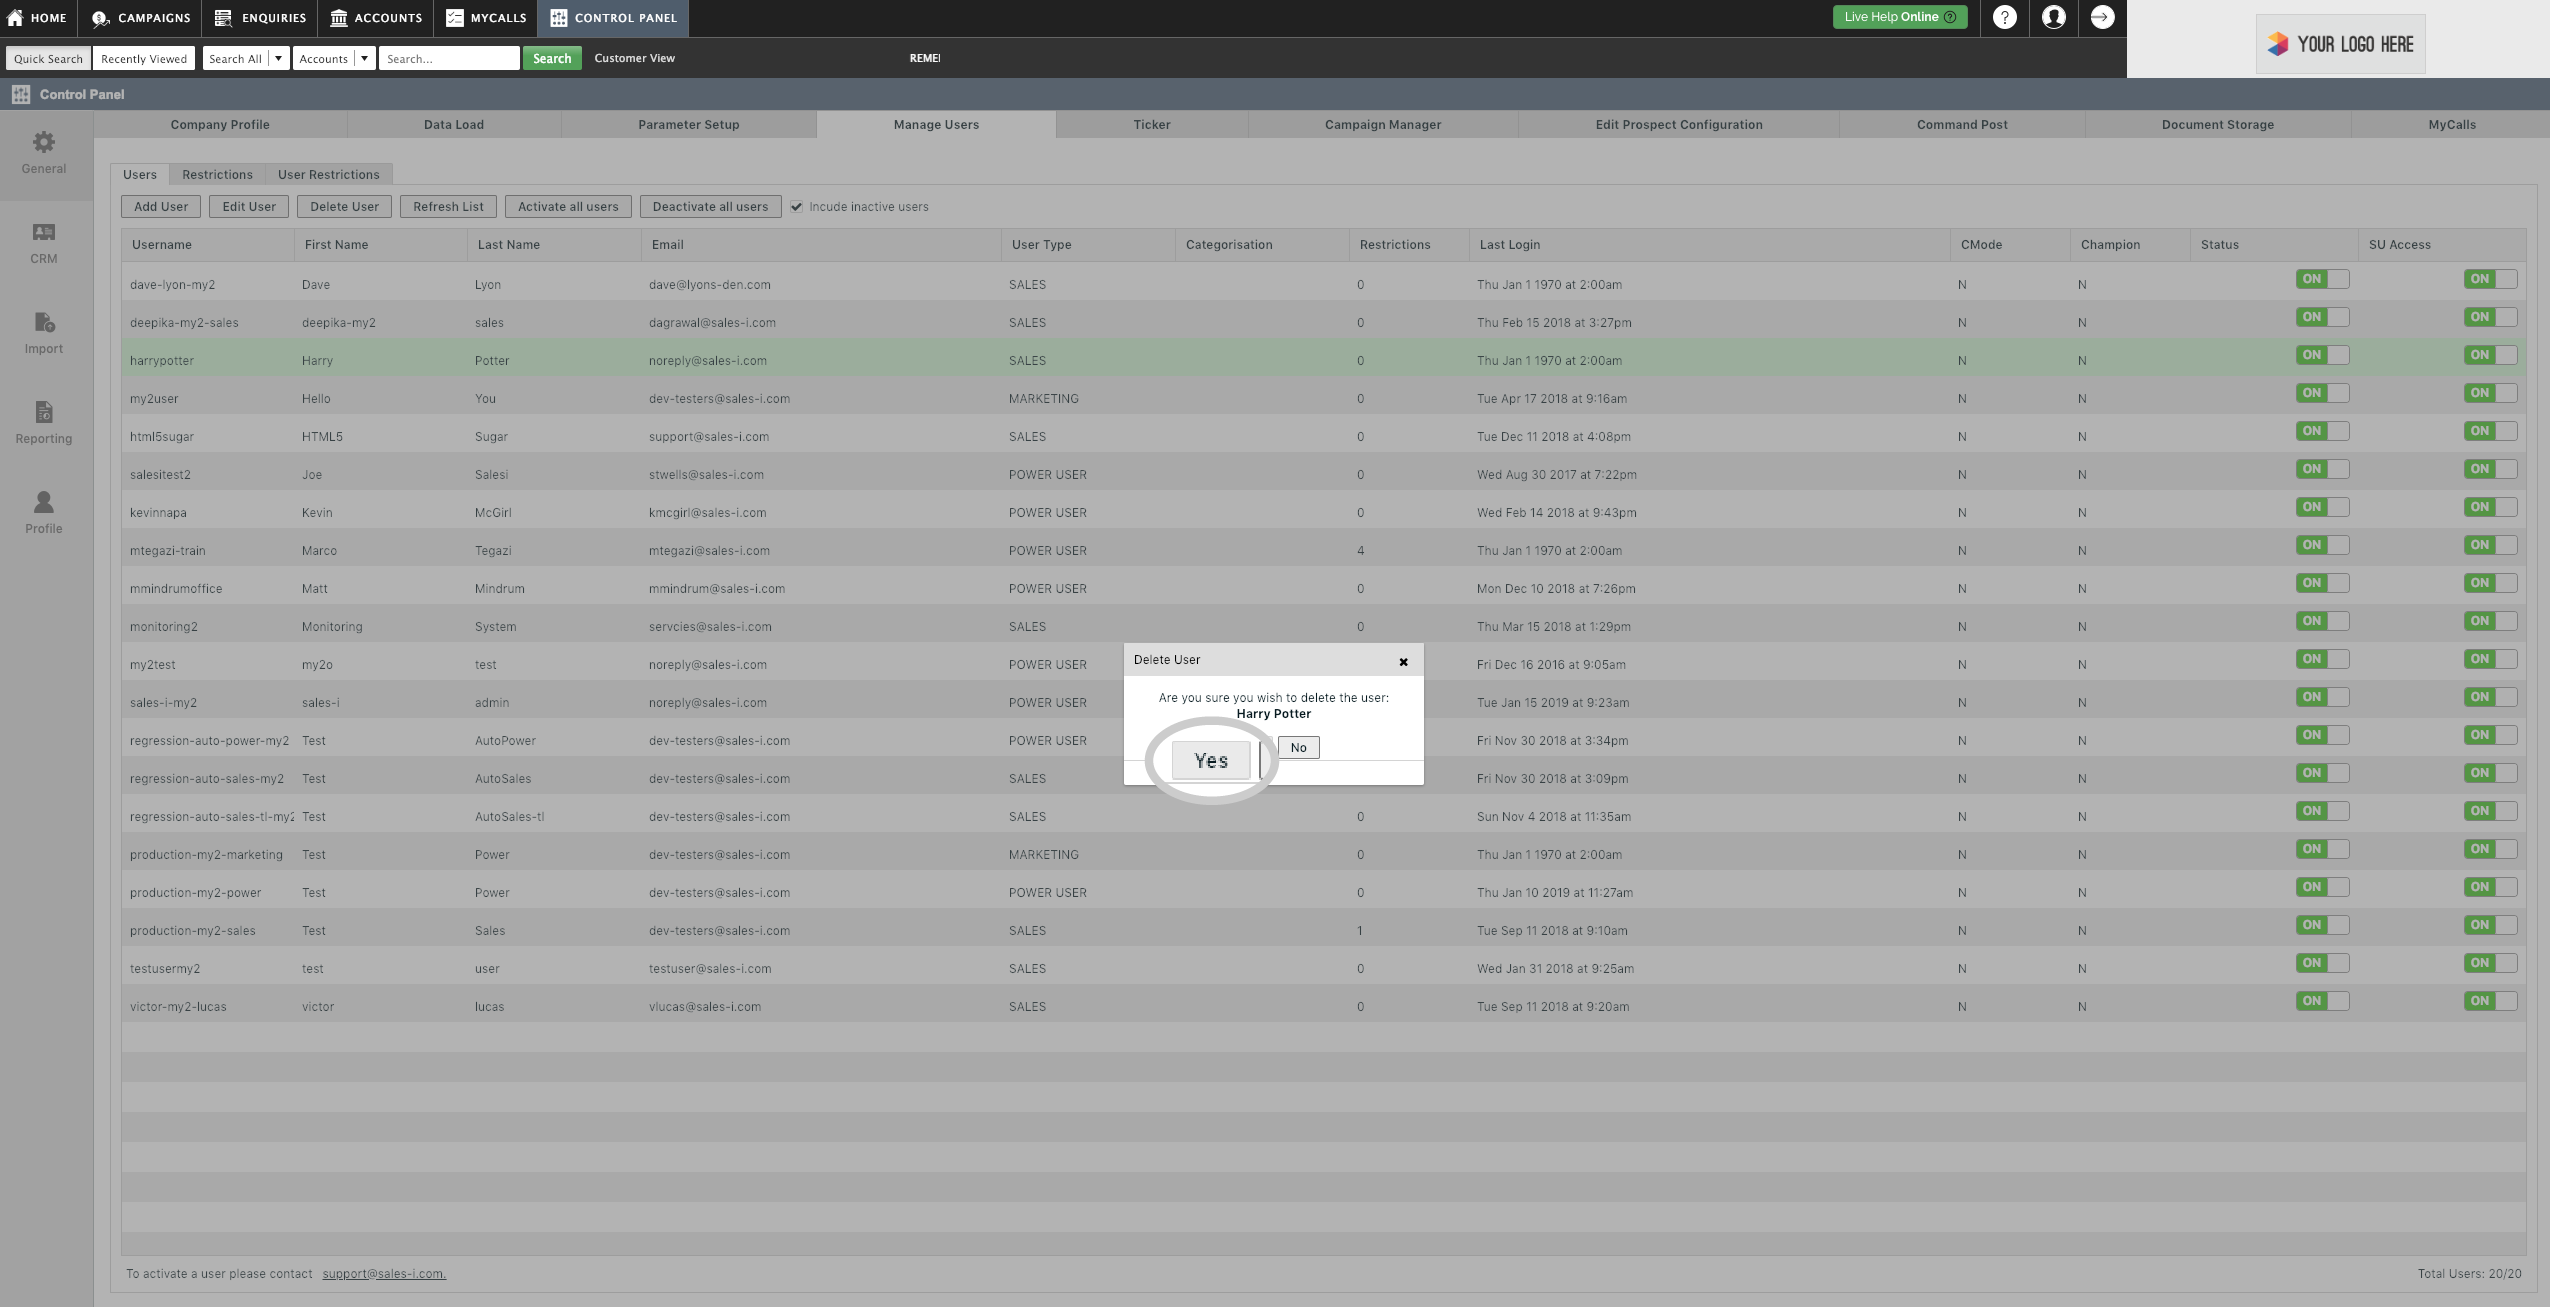
A window will now appear on the screen asking if you want to delete the user.
Select Yes to delete the user.
The user will now be deleted and will no longer show up in the Manage Users window in sales-i.
Once you’ve done this please send an email to support@sales-i.com and include the user name of the deleted user.
