Campaigns can be used to identify your high spending customers who have not spent anything so far this month. Creating campaigns can only be done by Power Users, but they can be set up to be viewable by other users as well.
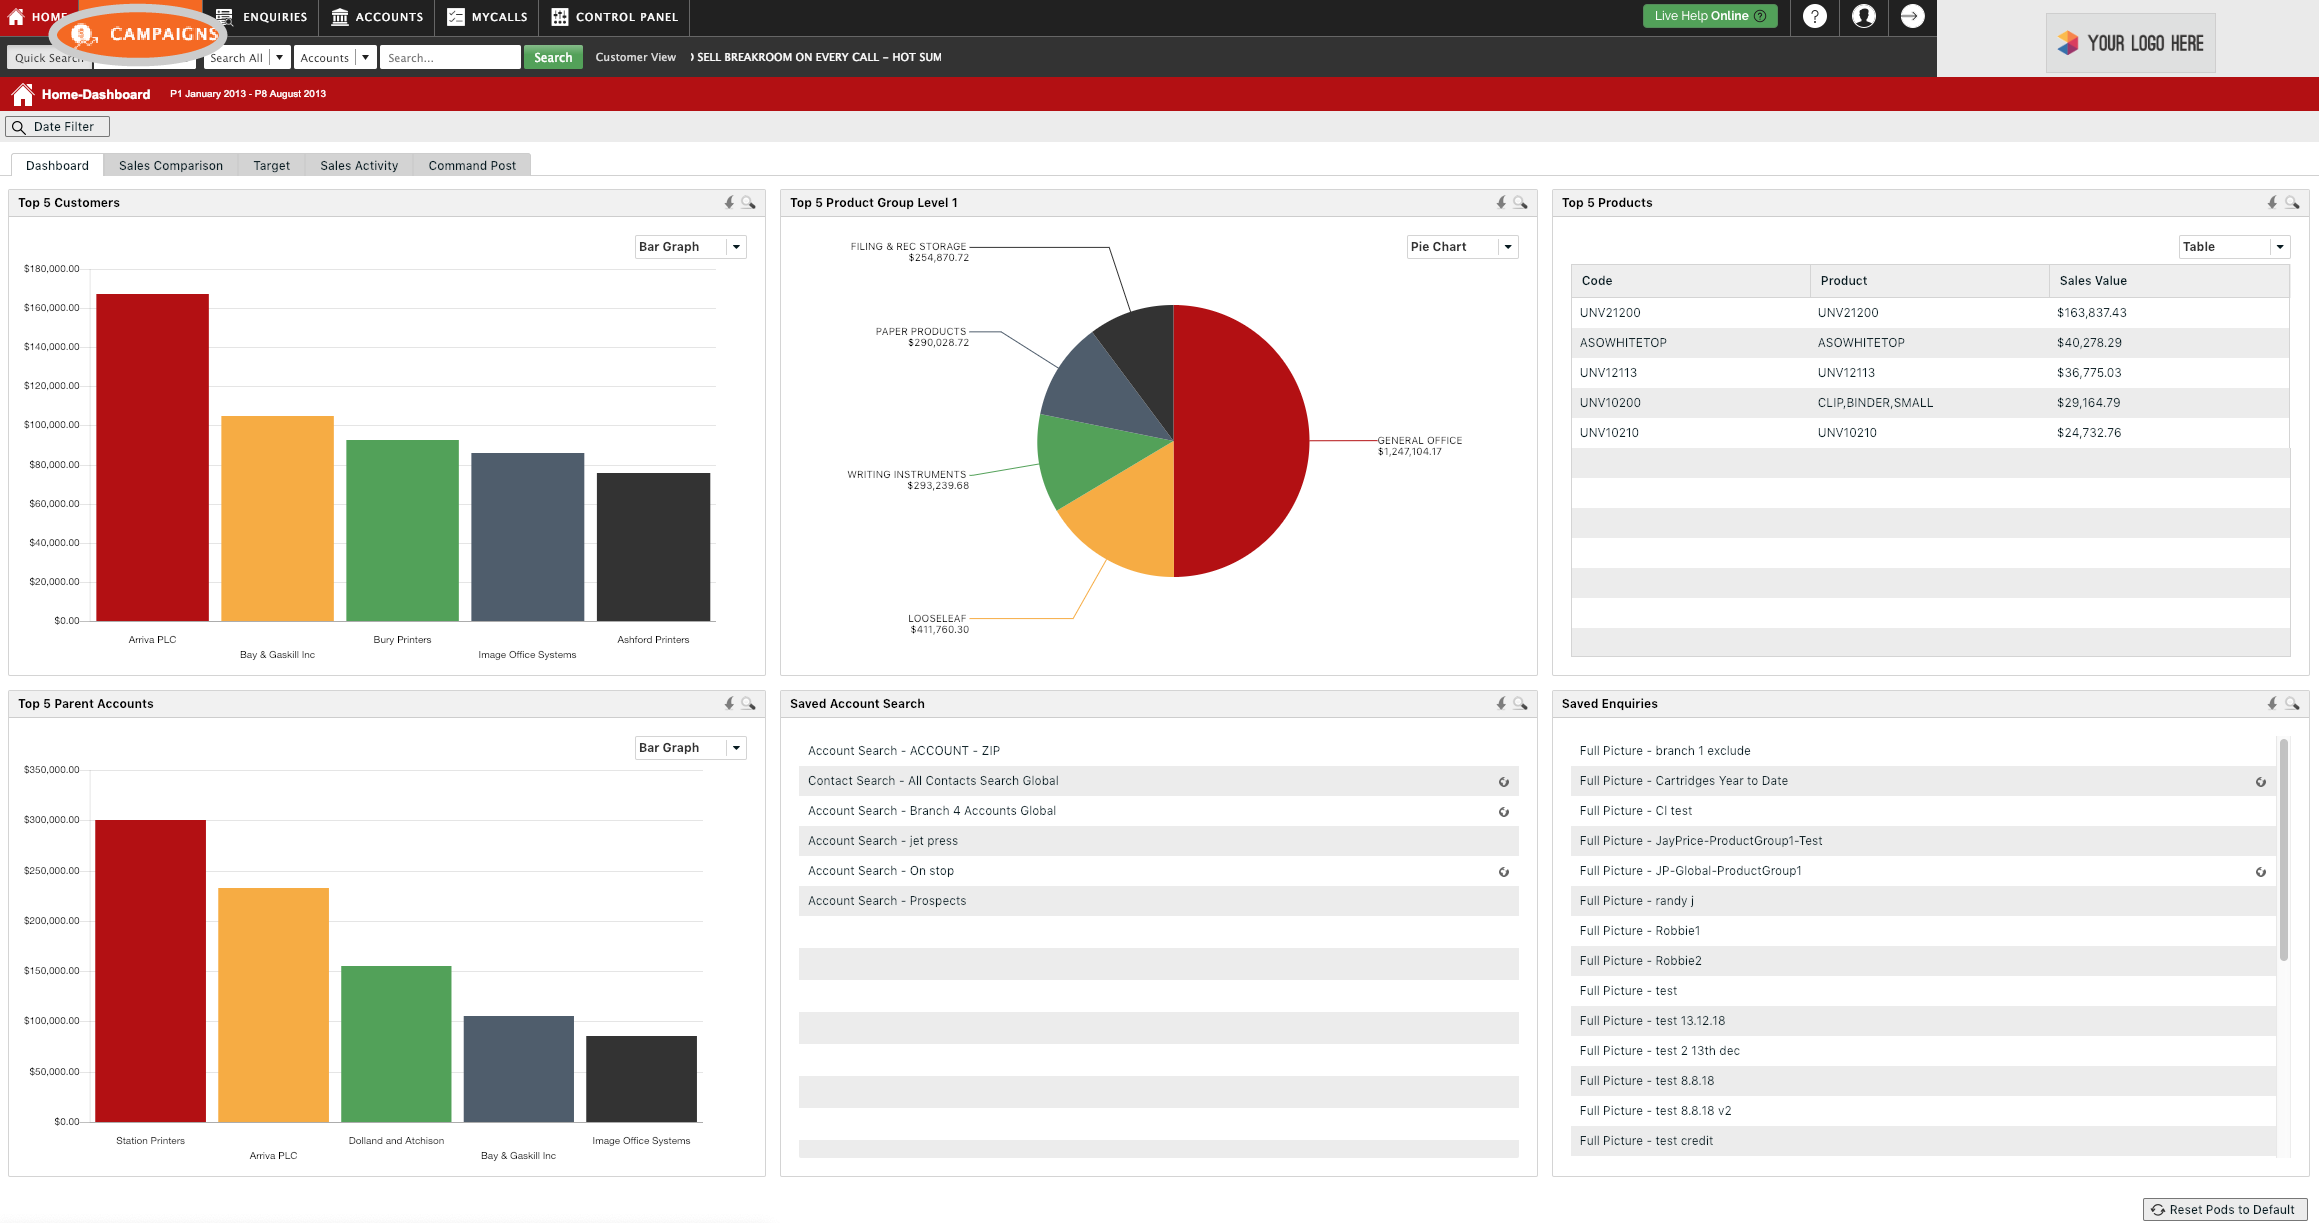
Step 1: Click Campaigns
Click Campaigns from the menu at the top of the screen.
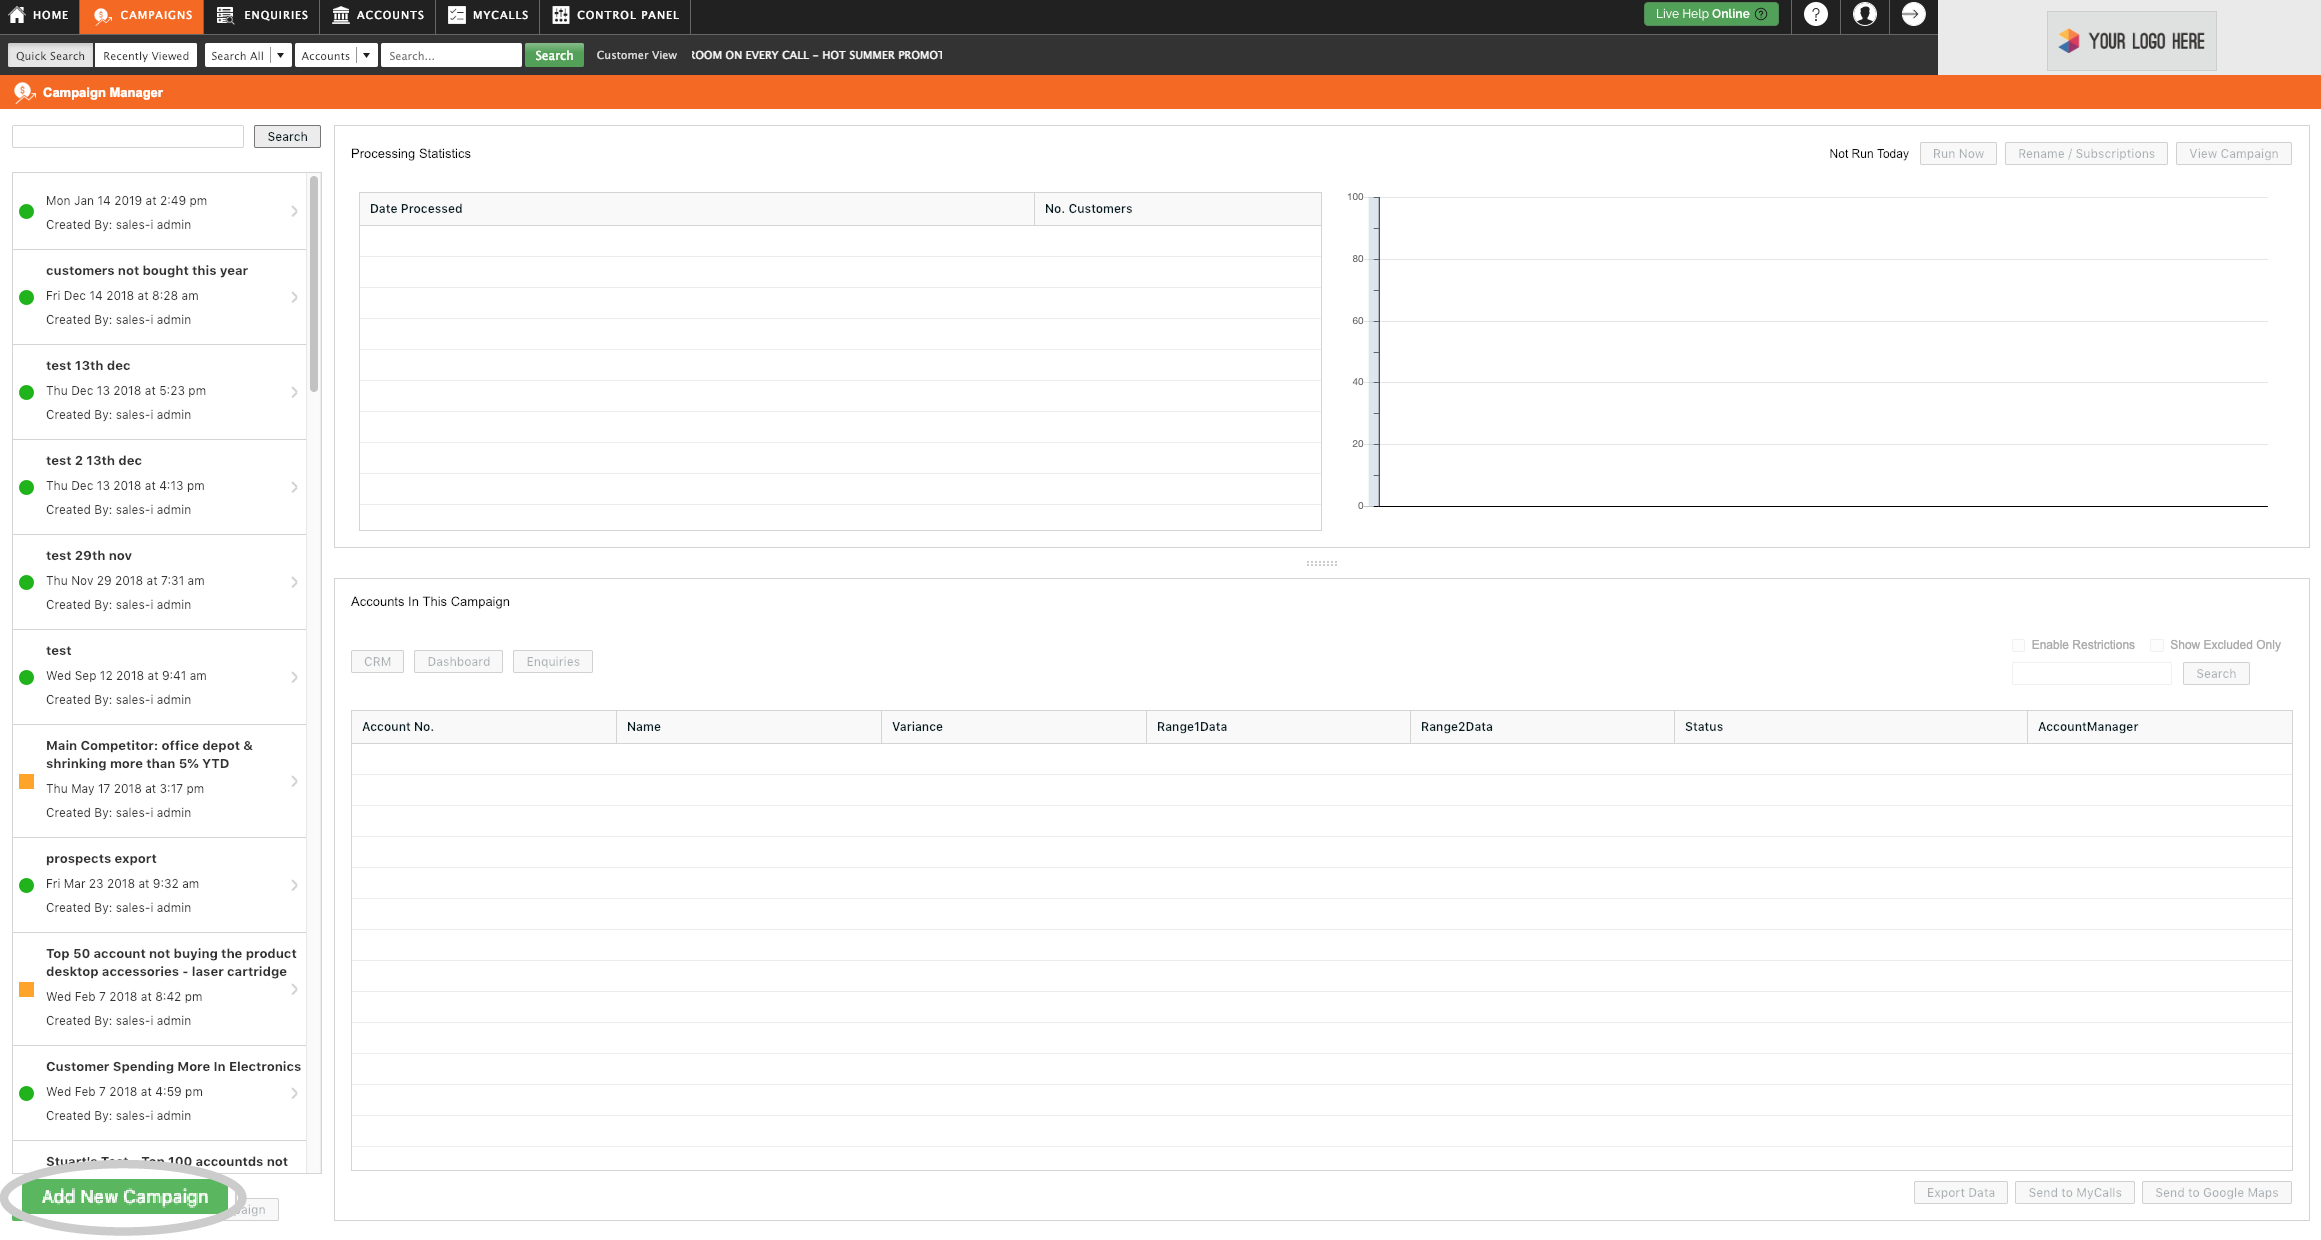
Step 2: Click Add New Campaign
Click the green Add New Campaign button in the bottom left of the screen.
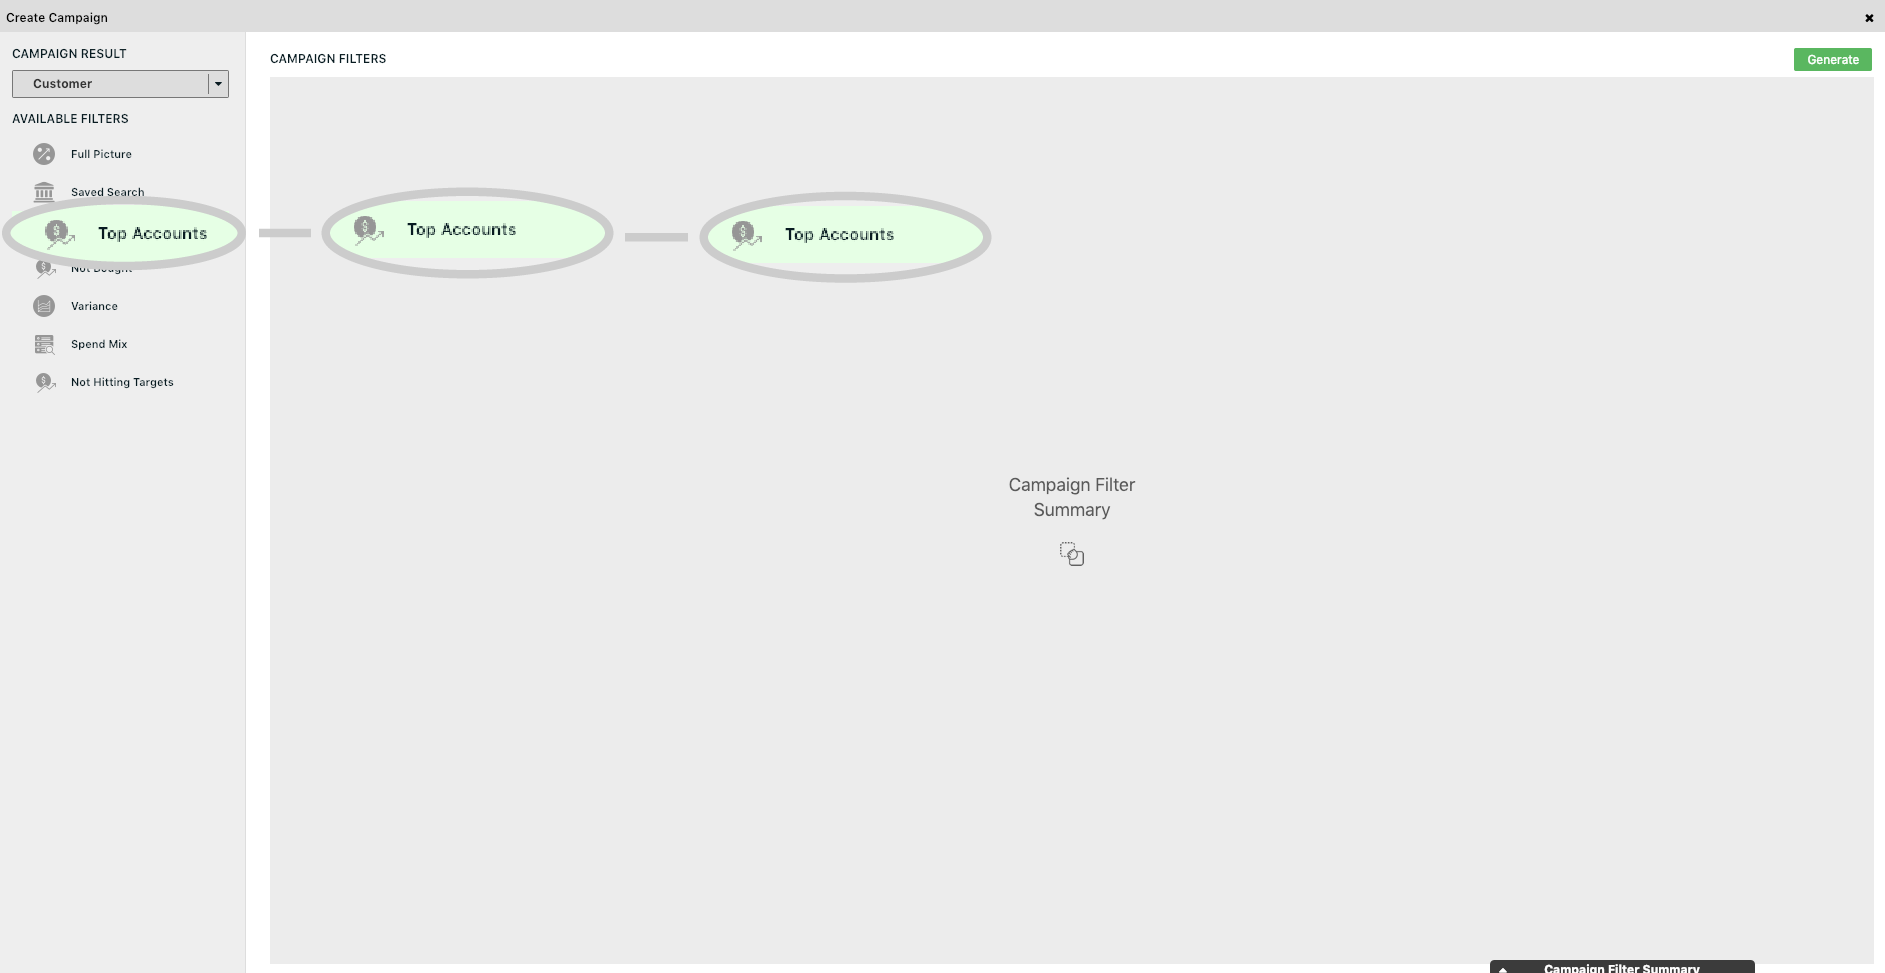
Step 3: Click on Top Accounts
Click on Top Accounts (on the left side of the screen) and drag it over into the Campaign Filters area.
Step 4: Select options
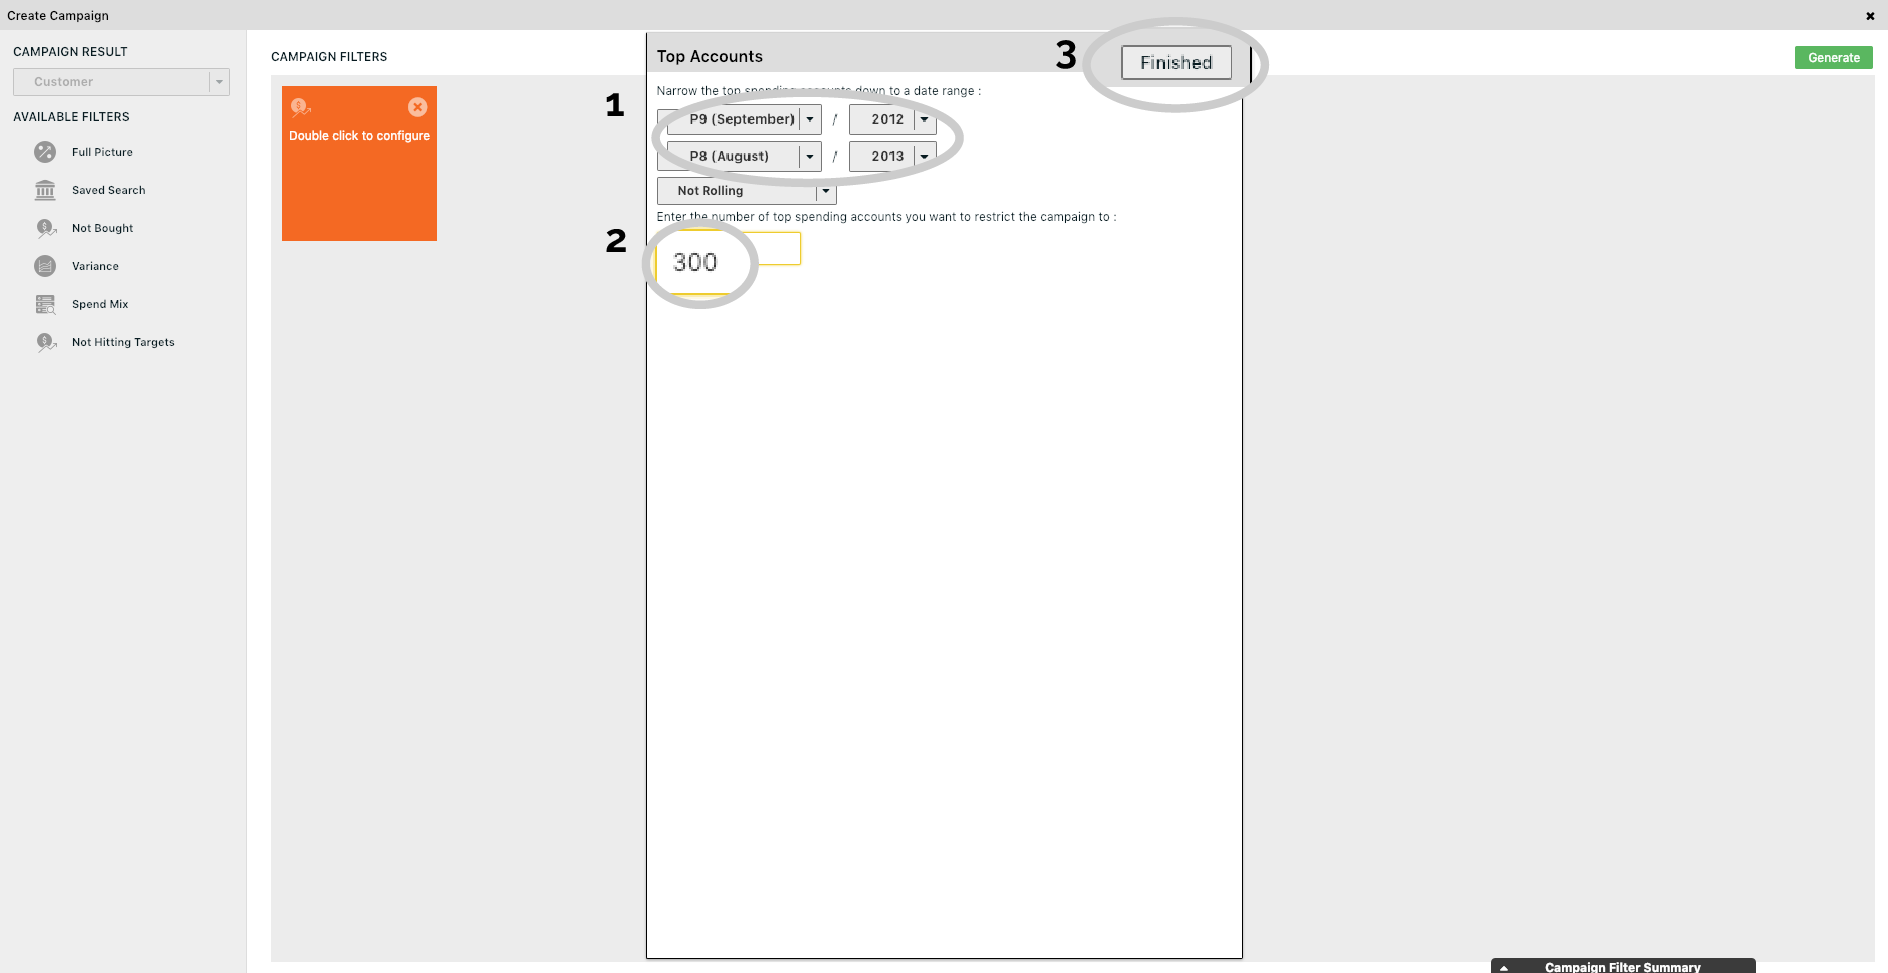
To find your top 300 accounts it is best to set the date range to a larger period of time and exclude the current month as we are looking for the customers who spent the most in the past and nothing yet this month.
For this example we will set the Date Range for previous 12 months and set the number of accounts to 300.
Finally, click Finished.
Step 5: Click on Not Bought
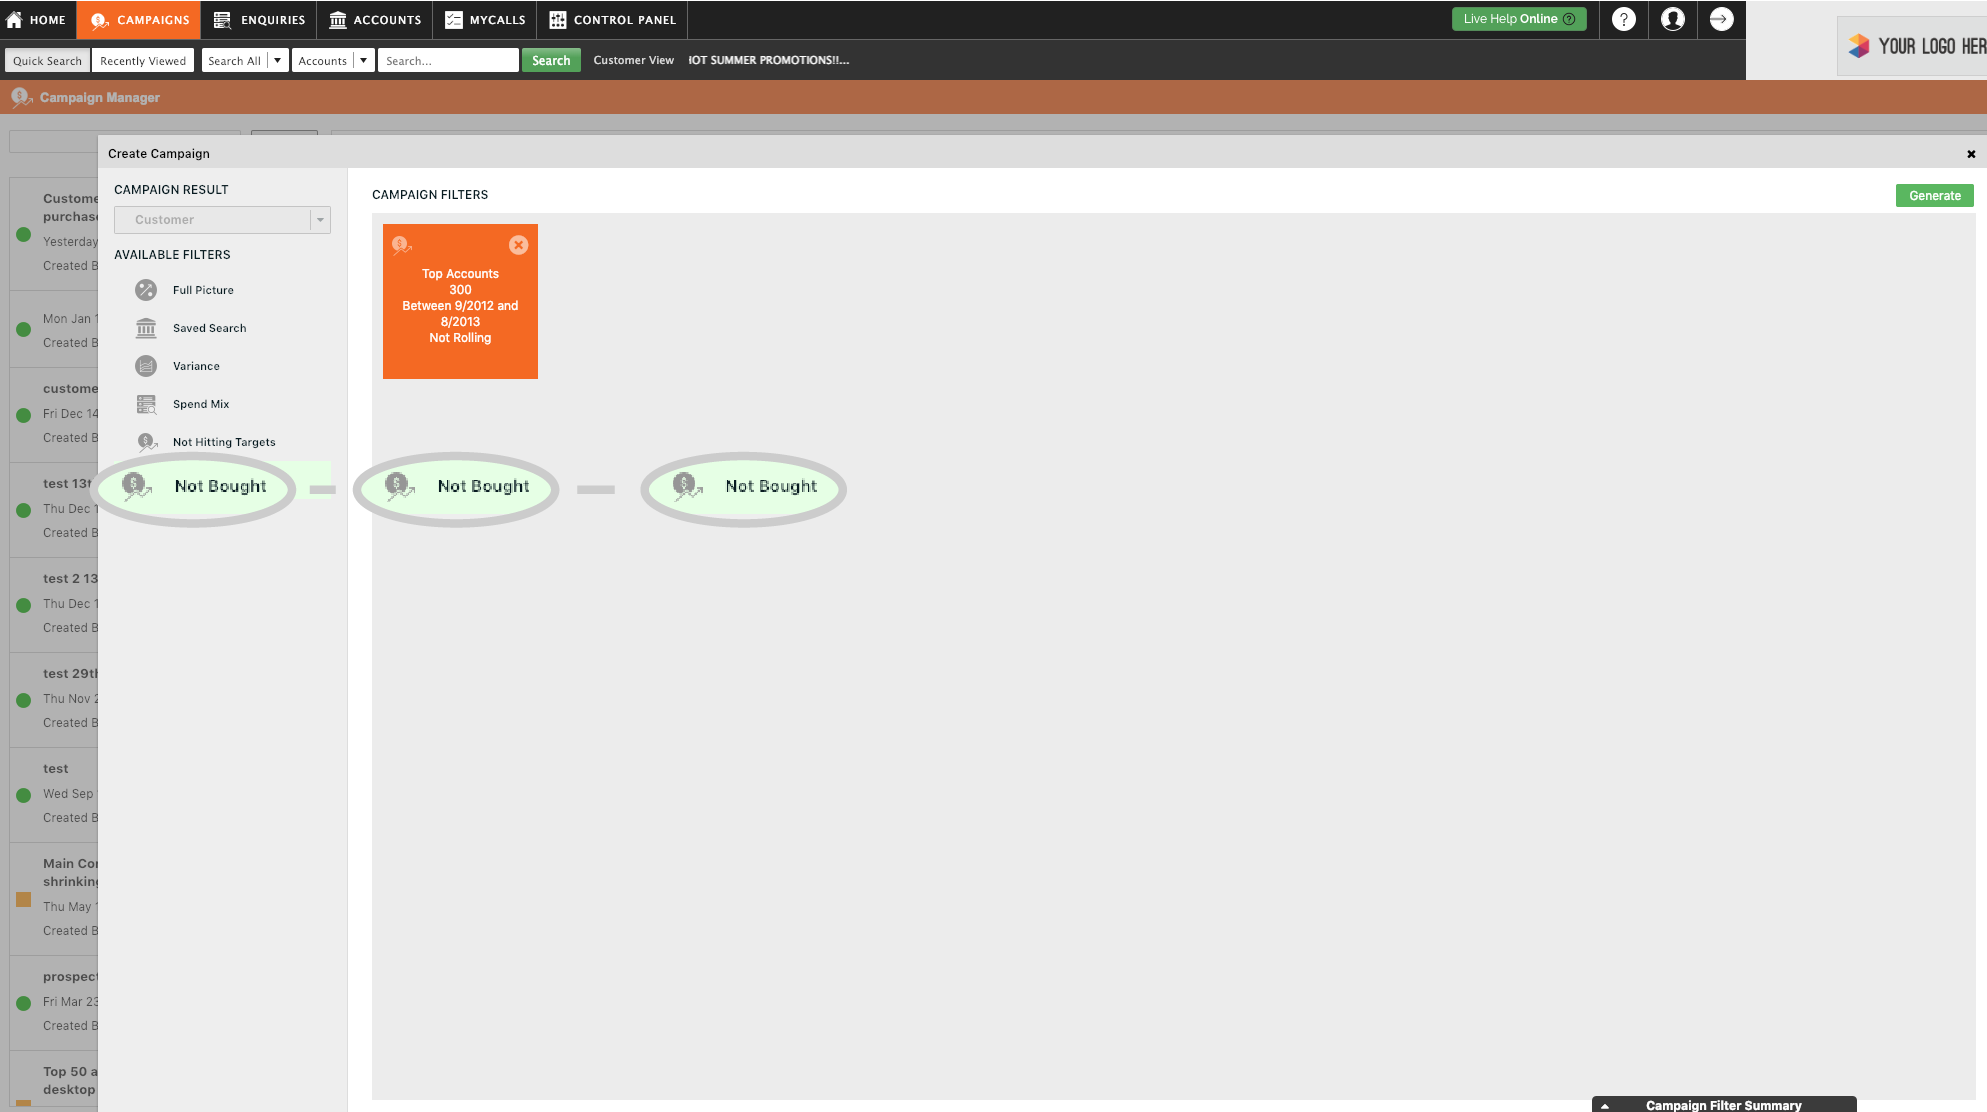
Now we must select the Not Bought filter. Click on Not Bought on the left side of the screen and drag it over into the Campaign Filters area.
Step 6: Select months
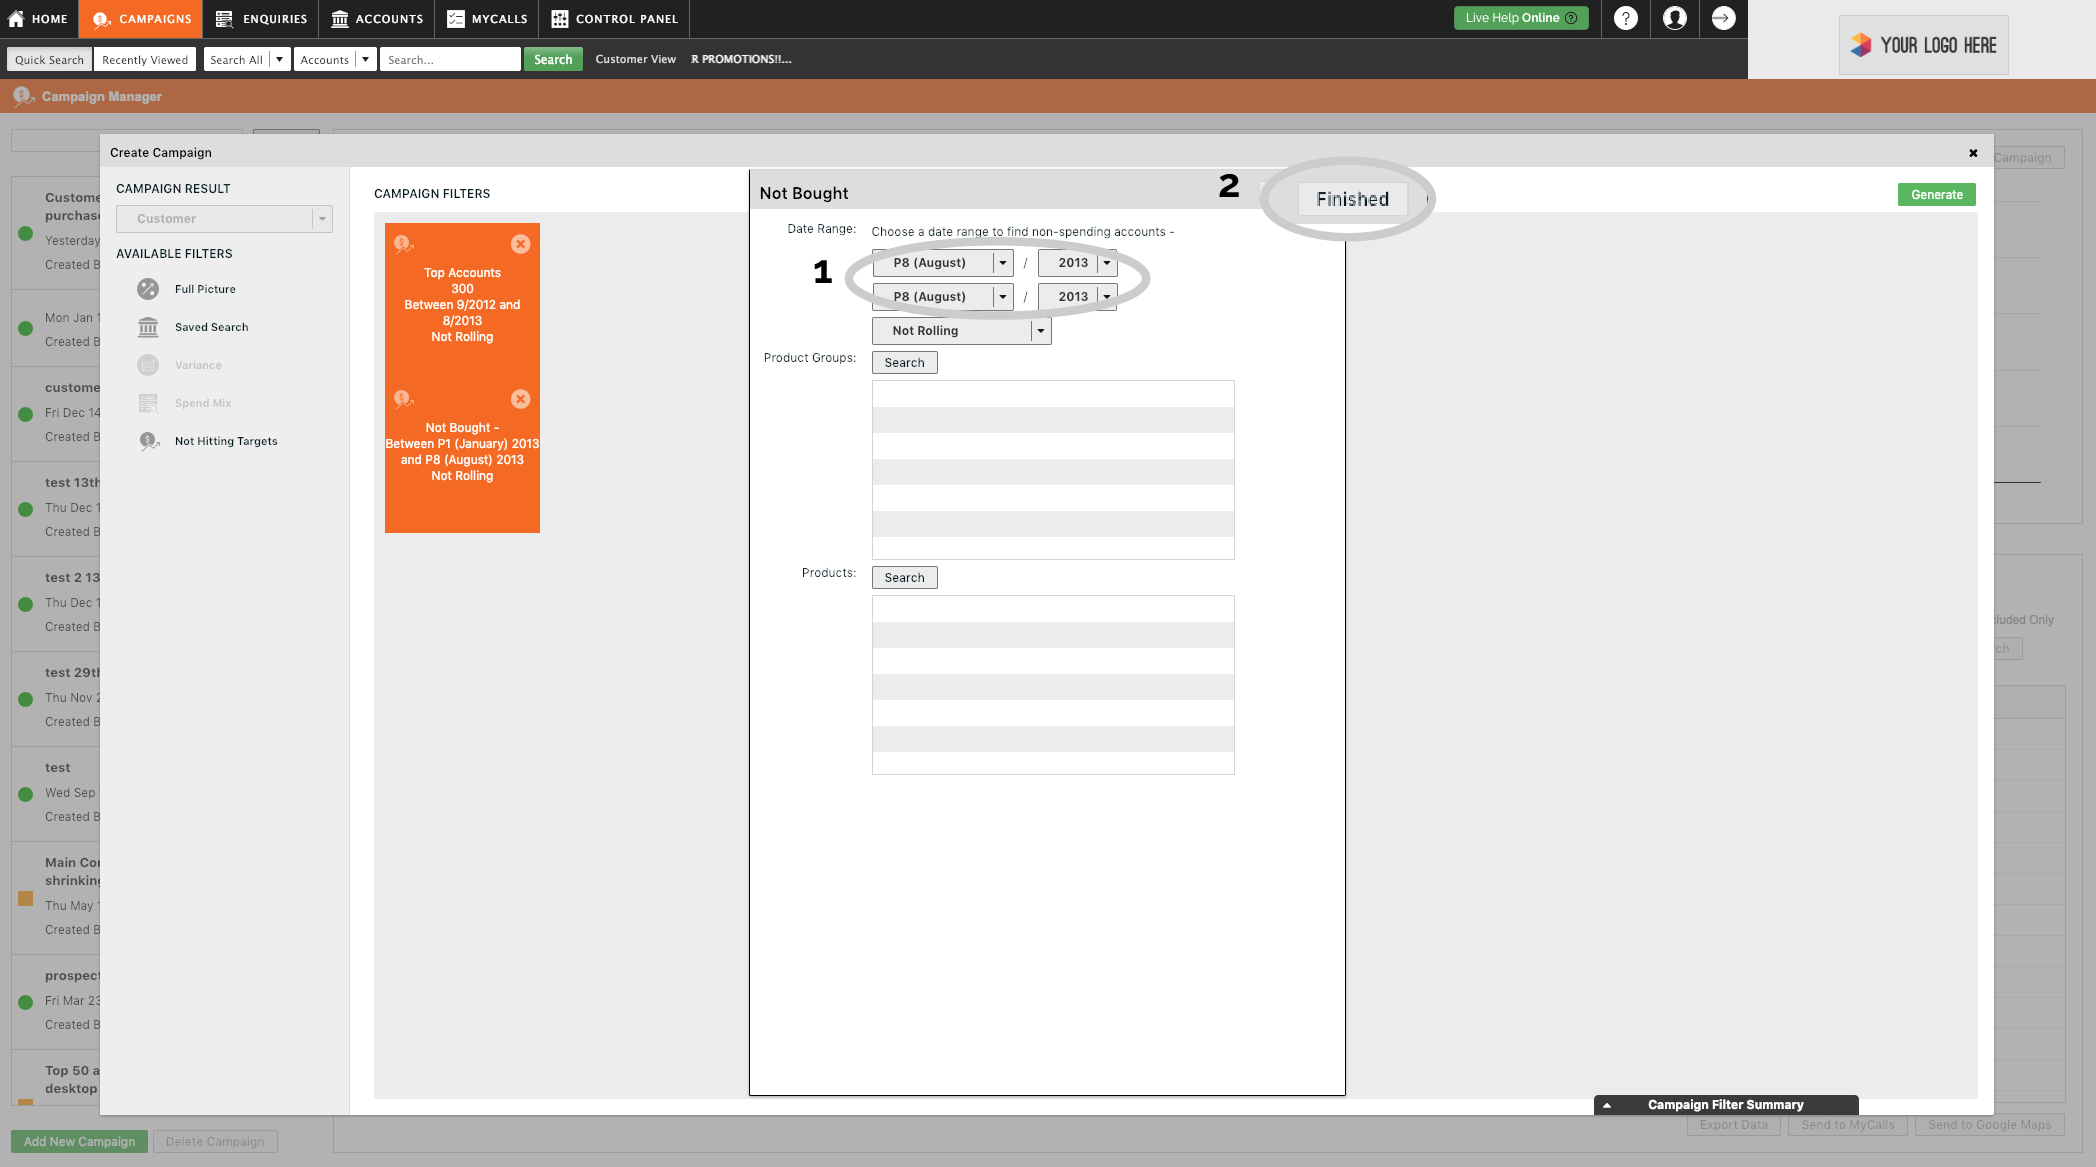
Now we need to select the months we want to check when our top 300 customers have not bought in. So, set the date range to the current month.
We recommend changing Not rolling to Roll Both Periods too. This will keep the Campaign up to date so that it always runs for the current month, whenever you relook at it.
We will leave the Product Groups and Products sections empty. (As we wish to check which of our customers have bought nothing at all).
Finally, click Finished in the top left of the window.
Step 7: Click Generate
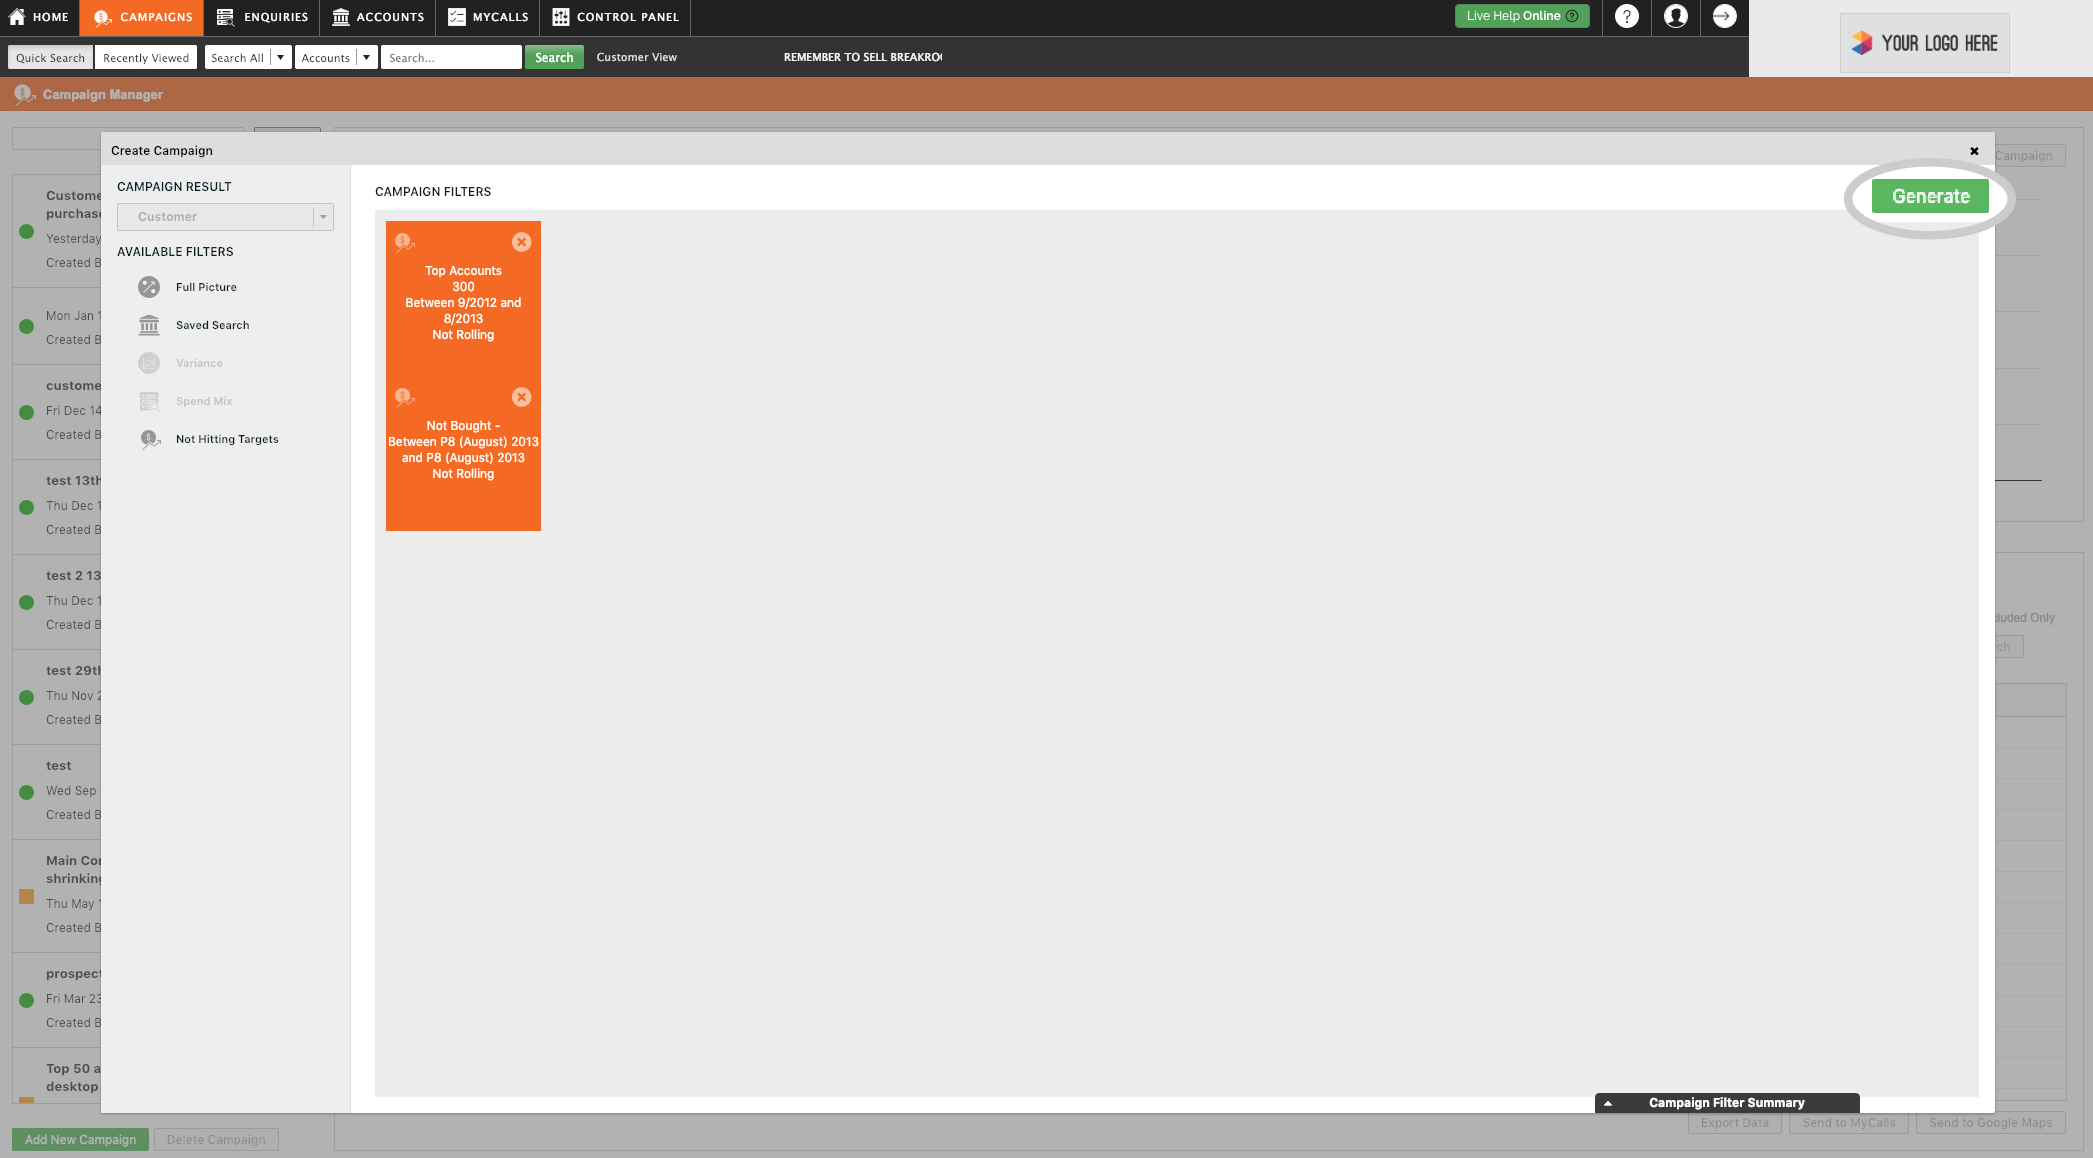
Next, click on the green Generate button in the upper right corner of the window.
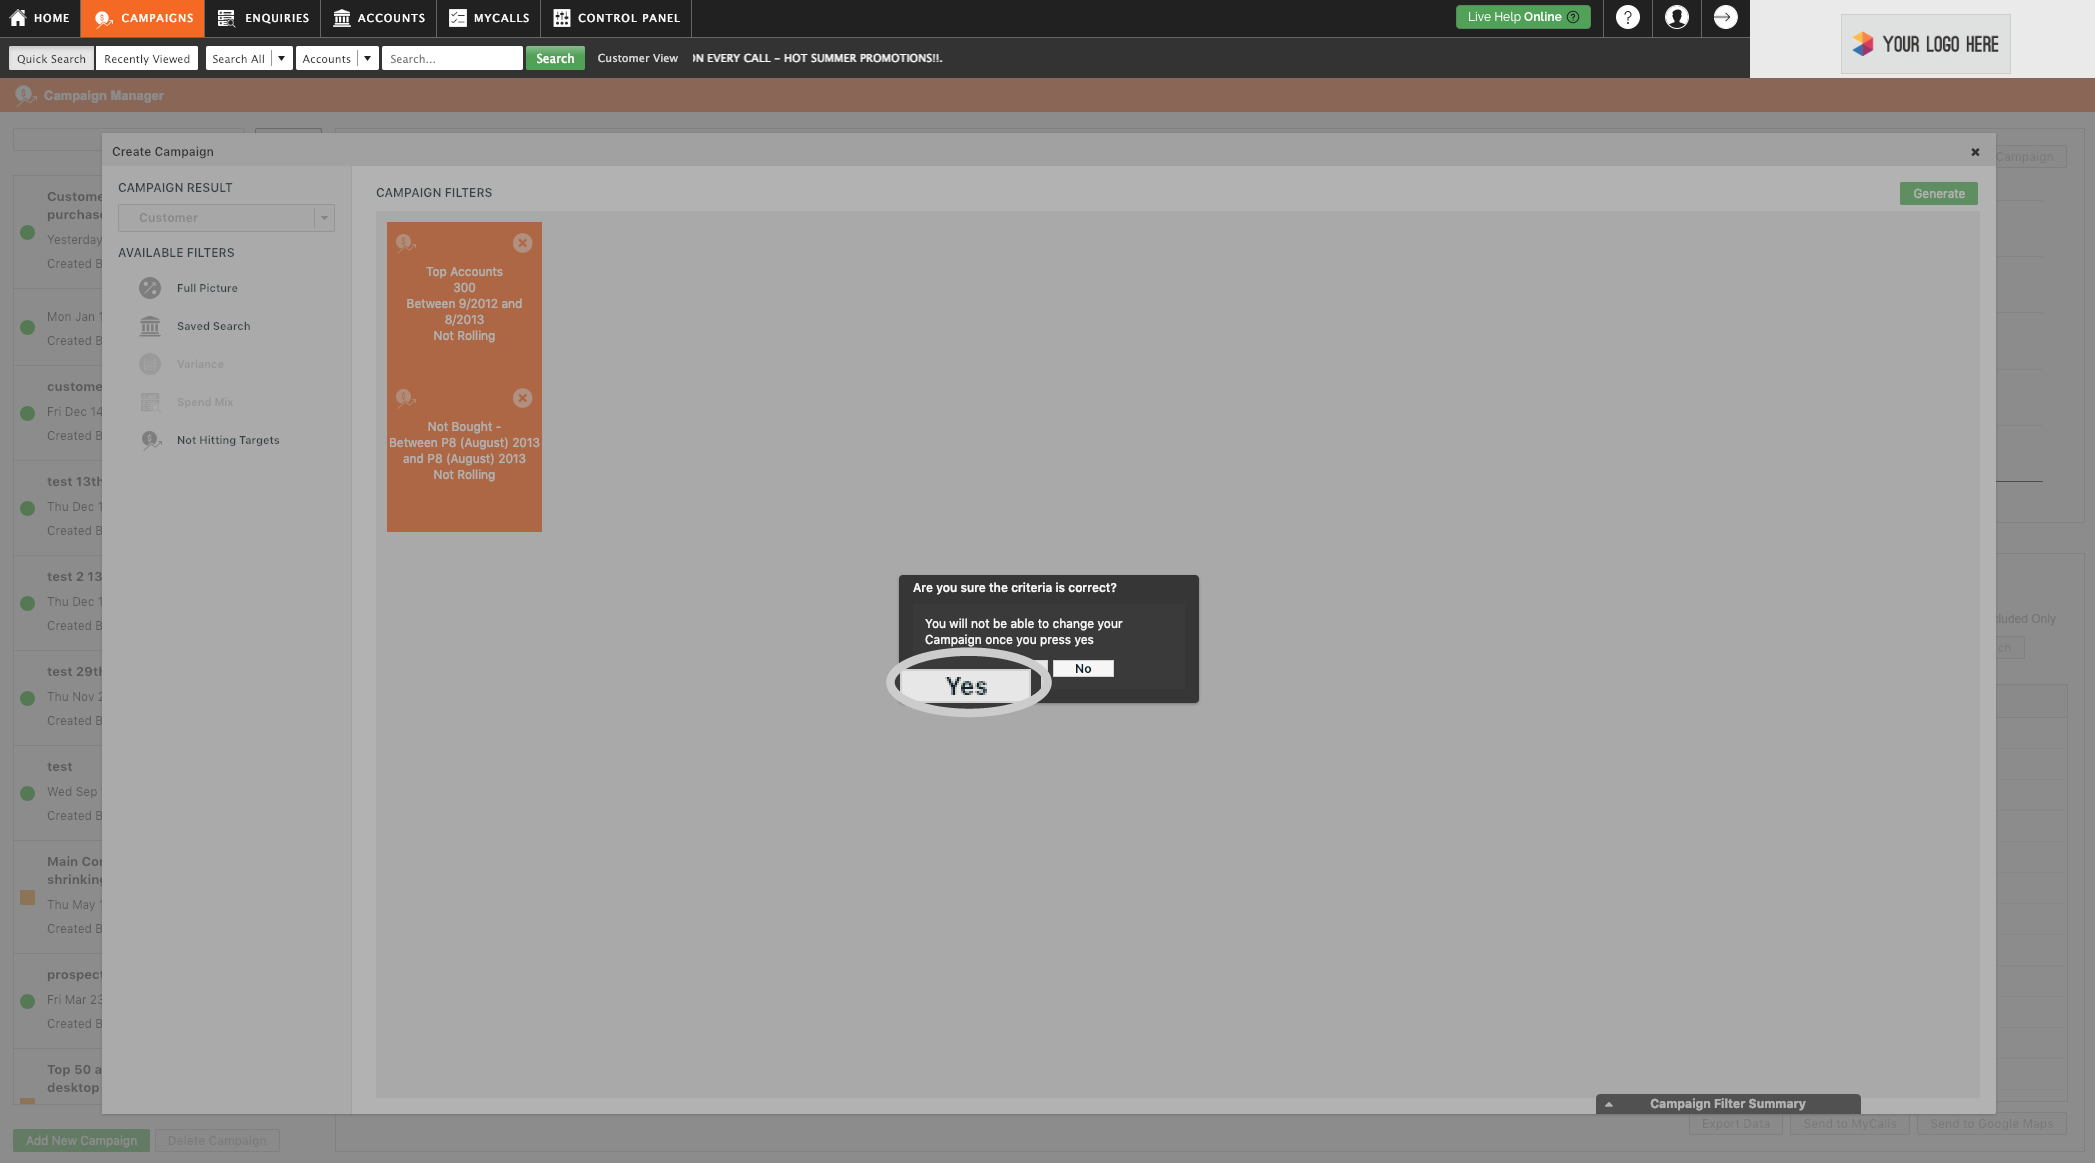
Step 8: Click Yes
sales-i will ask you if you are sure the criteria is correct. You will not be able to change your campaign once you press yes. If you are ready to proceed, click Yes. Your campaign will now be created.
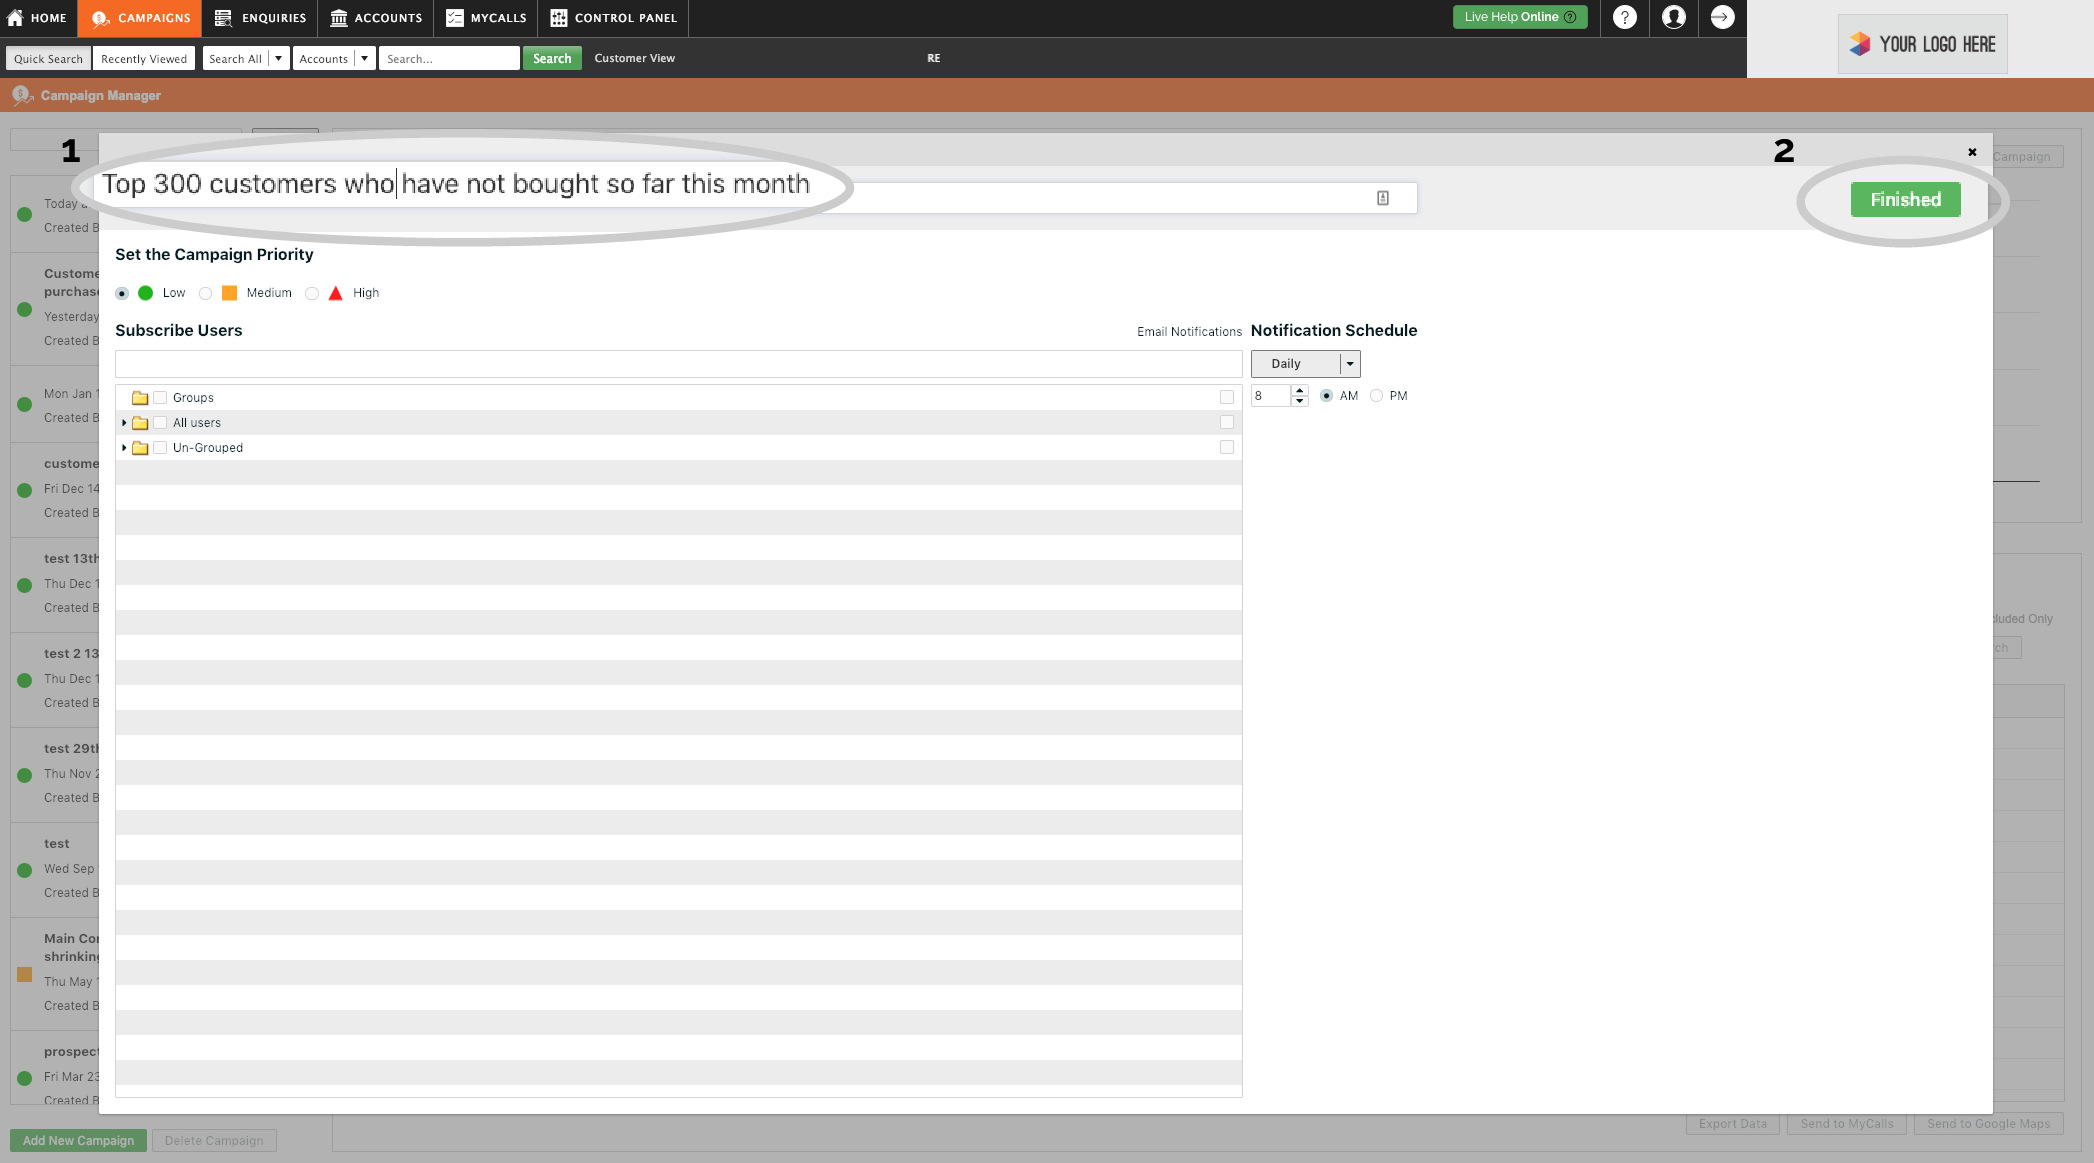
Step 9: Name the enquiry
You now need to enter a name for this enquiry. For example: 'Top 300 customers who have not bought so far this month.'
You can also set the priority of the campaign, how frequently you would like it to run, and assign users to see the results if you so desire.
We recommend checking the results of the campaign first to make sure it’s correct and properly shows the information you are looking for, before assigning users, at a later stage.
Click the green Finished button (top right).
Step 10: Run the Campaign
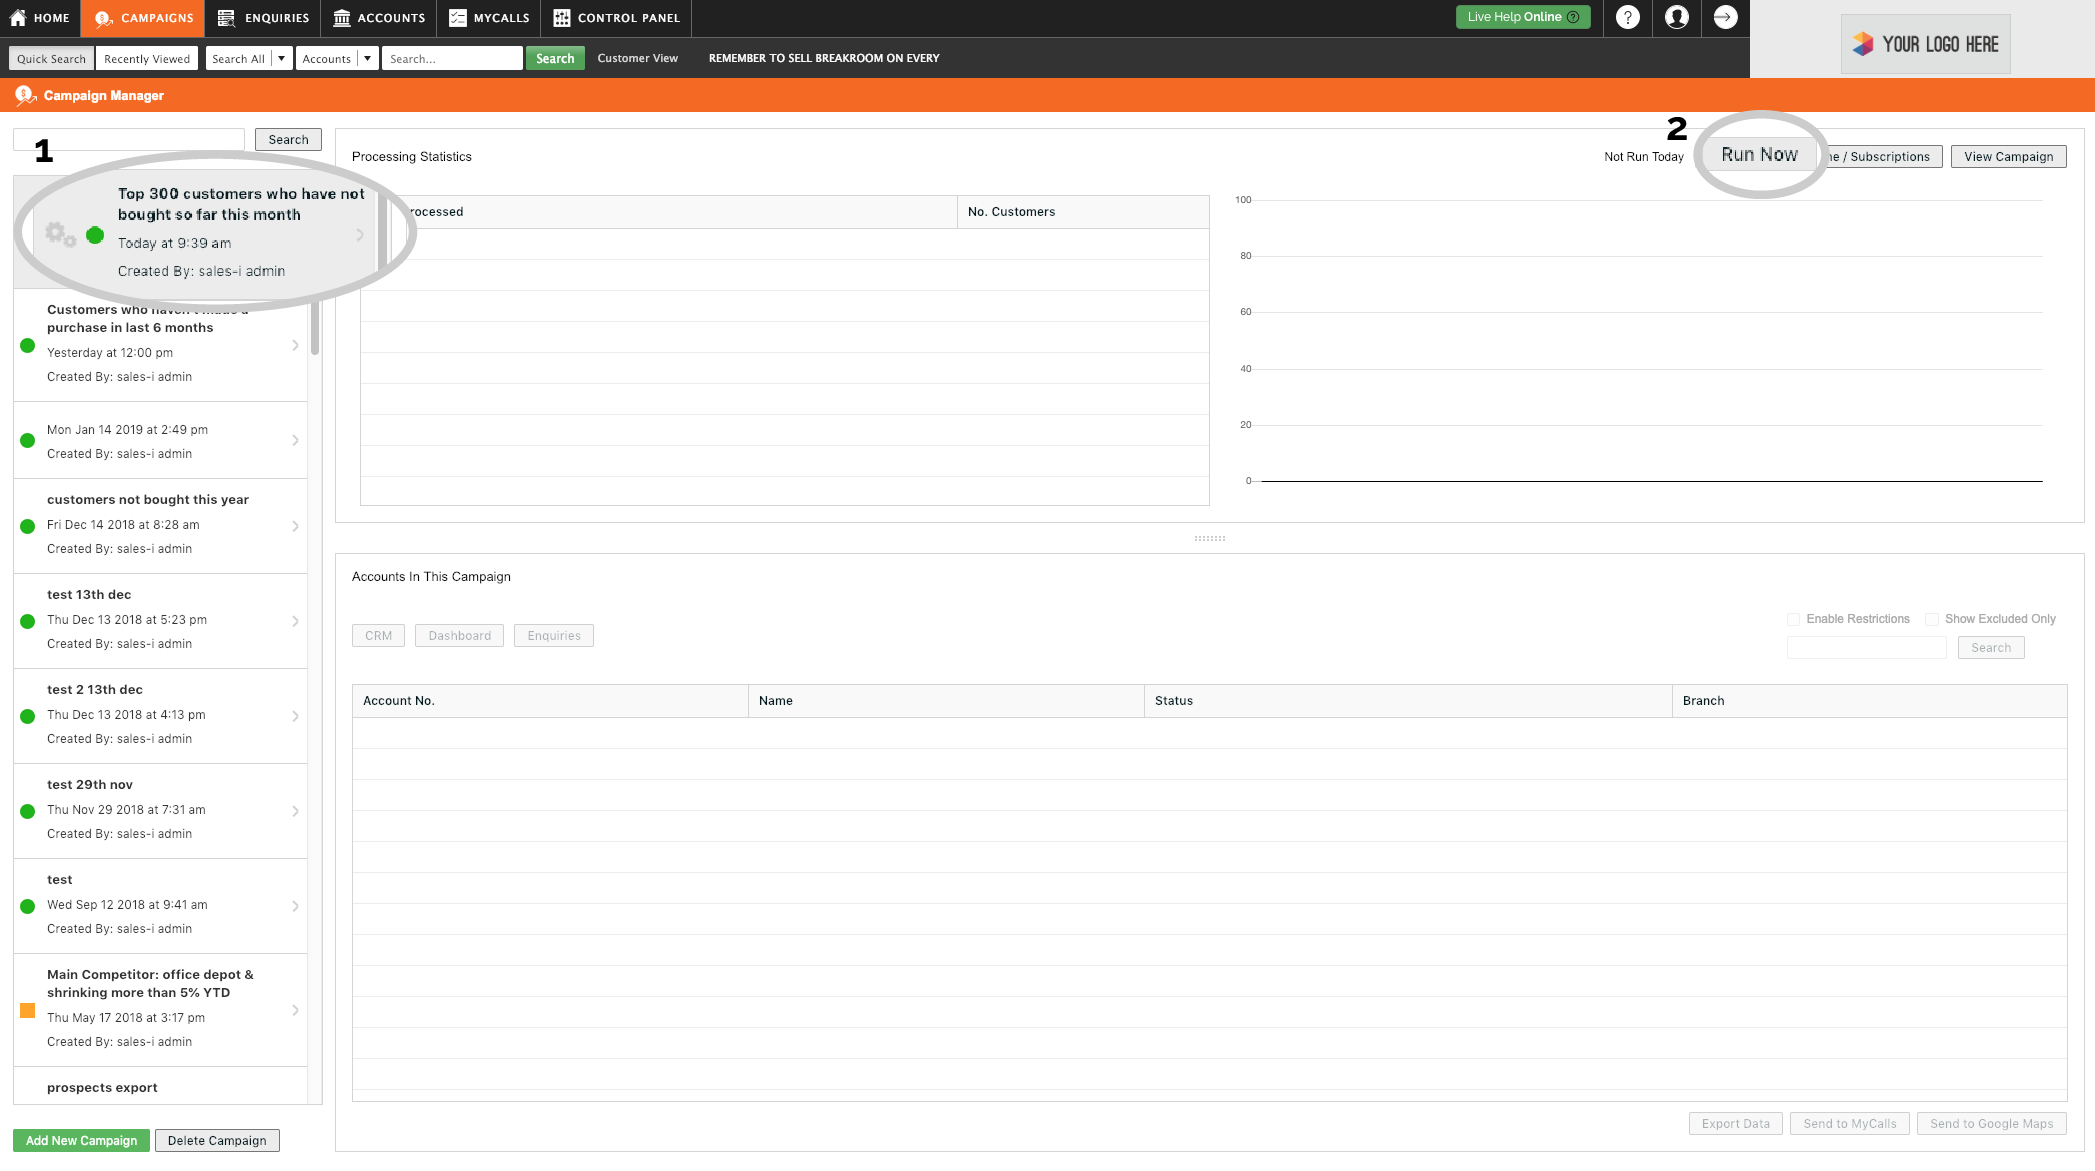
To view the results of this campaign, click on its title in the menu on the left.
Then, click Run Now in the upper right corner.
Step 11: Click on processing statistics
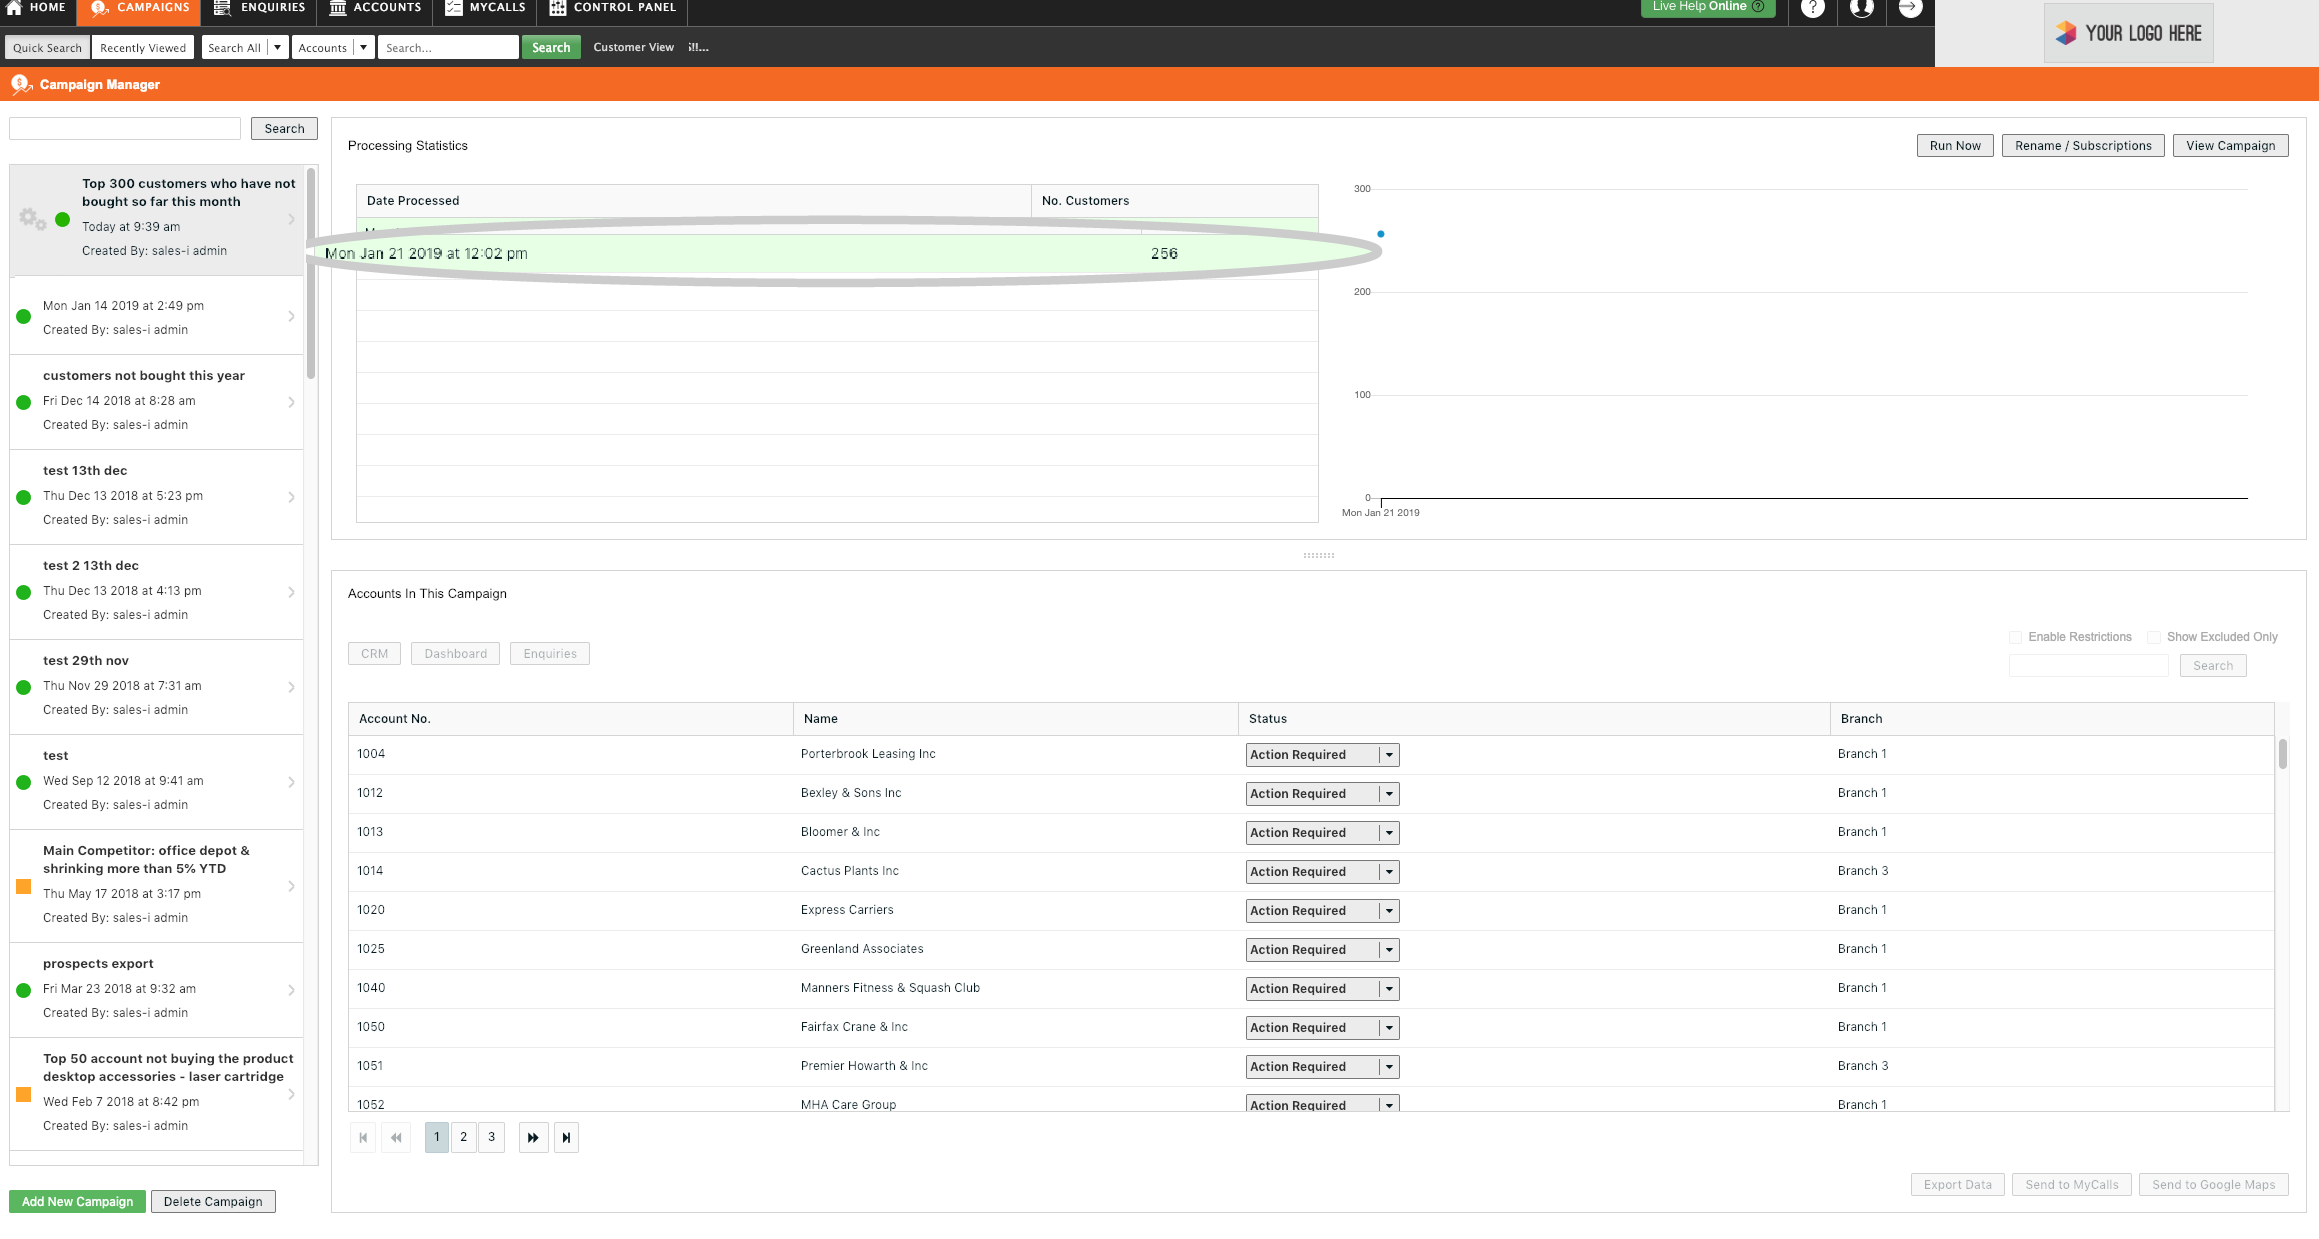
A spinning gear icon will appear to the left of the campaign’s name while it is running. Campaigns can take a few minutes to run.
Once the icon has stopped spinning, click on the latest process in the Processing Statistics section, this will populate all the Accounts In This Campaign field.
Step 12: Further options
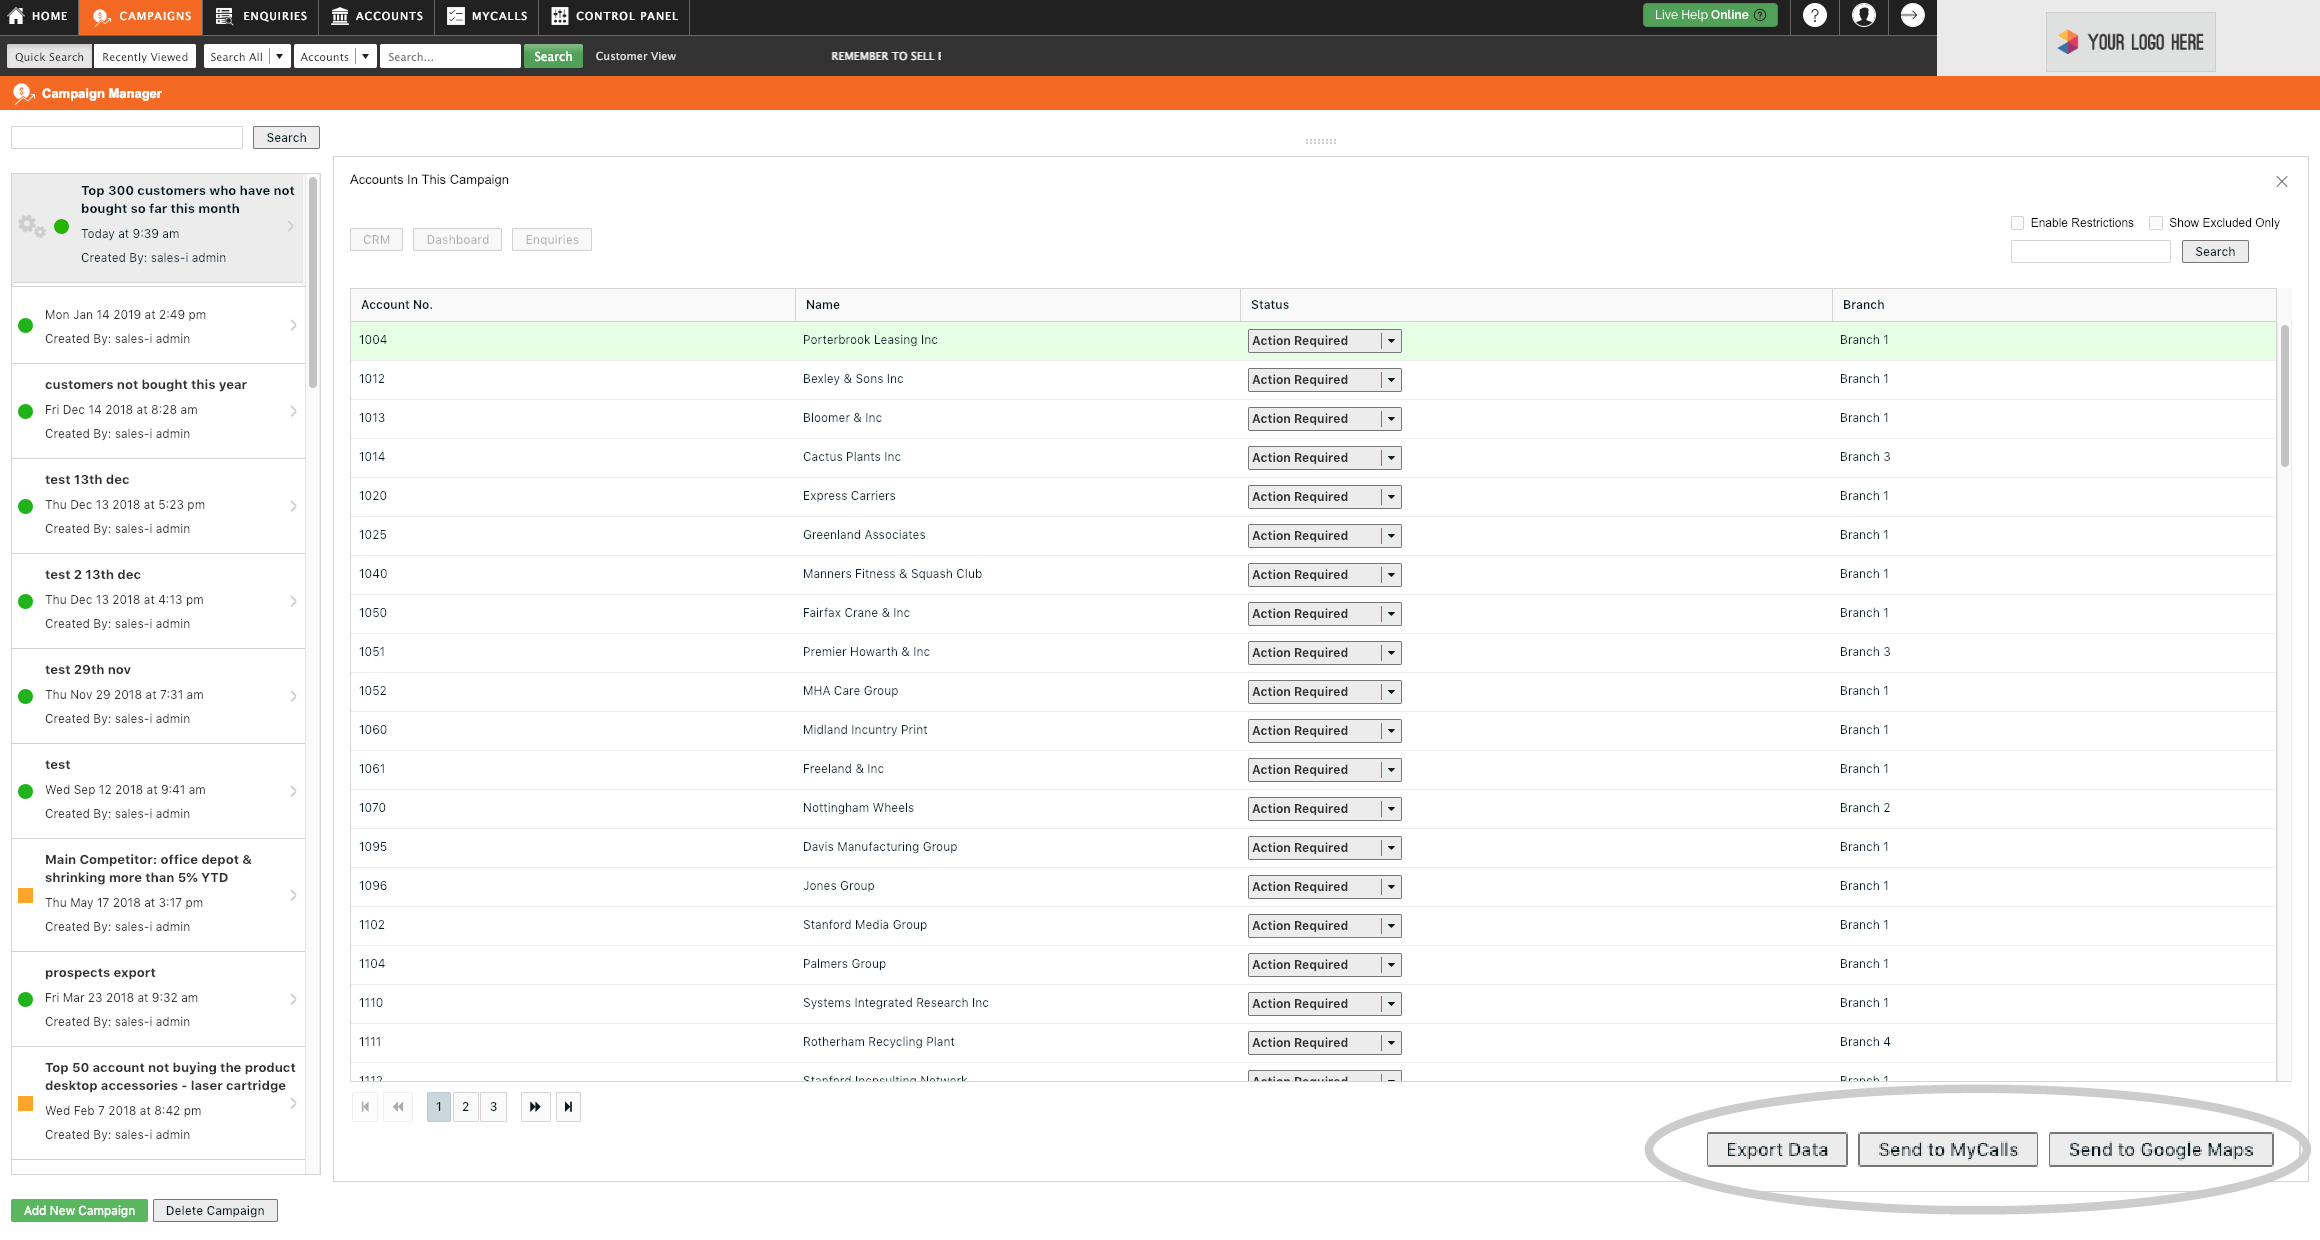
You can use the options at the bottom right of the screen to either:
Export Data: Export this list to Excel.
Send to MyCalls: Send it to your diary, so you can call them at specified times.
or
Send to Google Maps: so you can the accounts plotted on a map and see if you can plan visits, to start the sales rolling in.
