You can use the Campaigns feature in sales-i to locate your prospects on a map, powered by Google Maps. This can be beneficial when planning visits to see if there are any other prospects in the area that you could see.
Please Note: Only Power Users can create Campaigns, but they can be set up to be viewable by other users as well.
Desktop
Download a pdf version
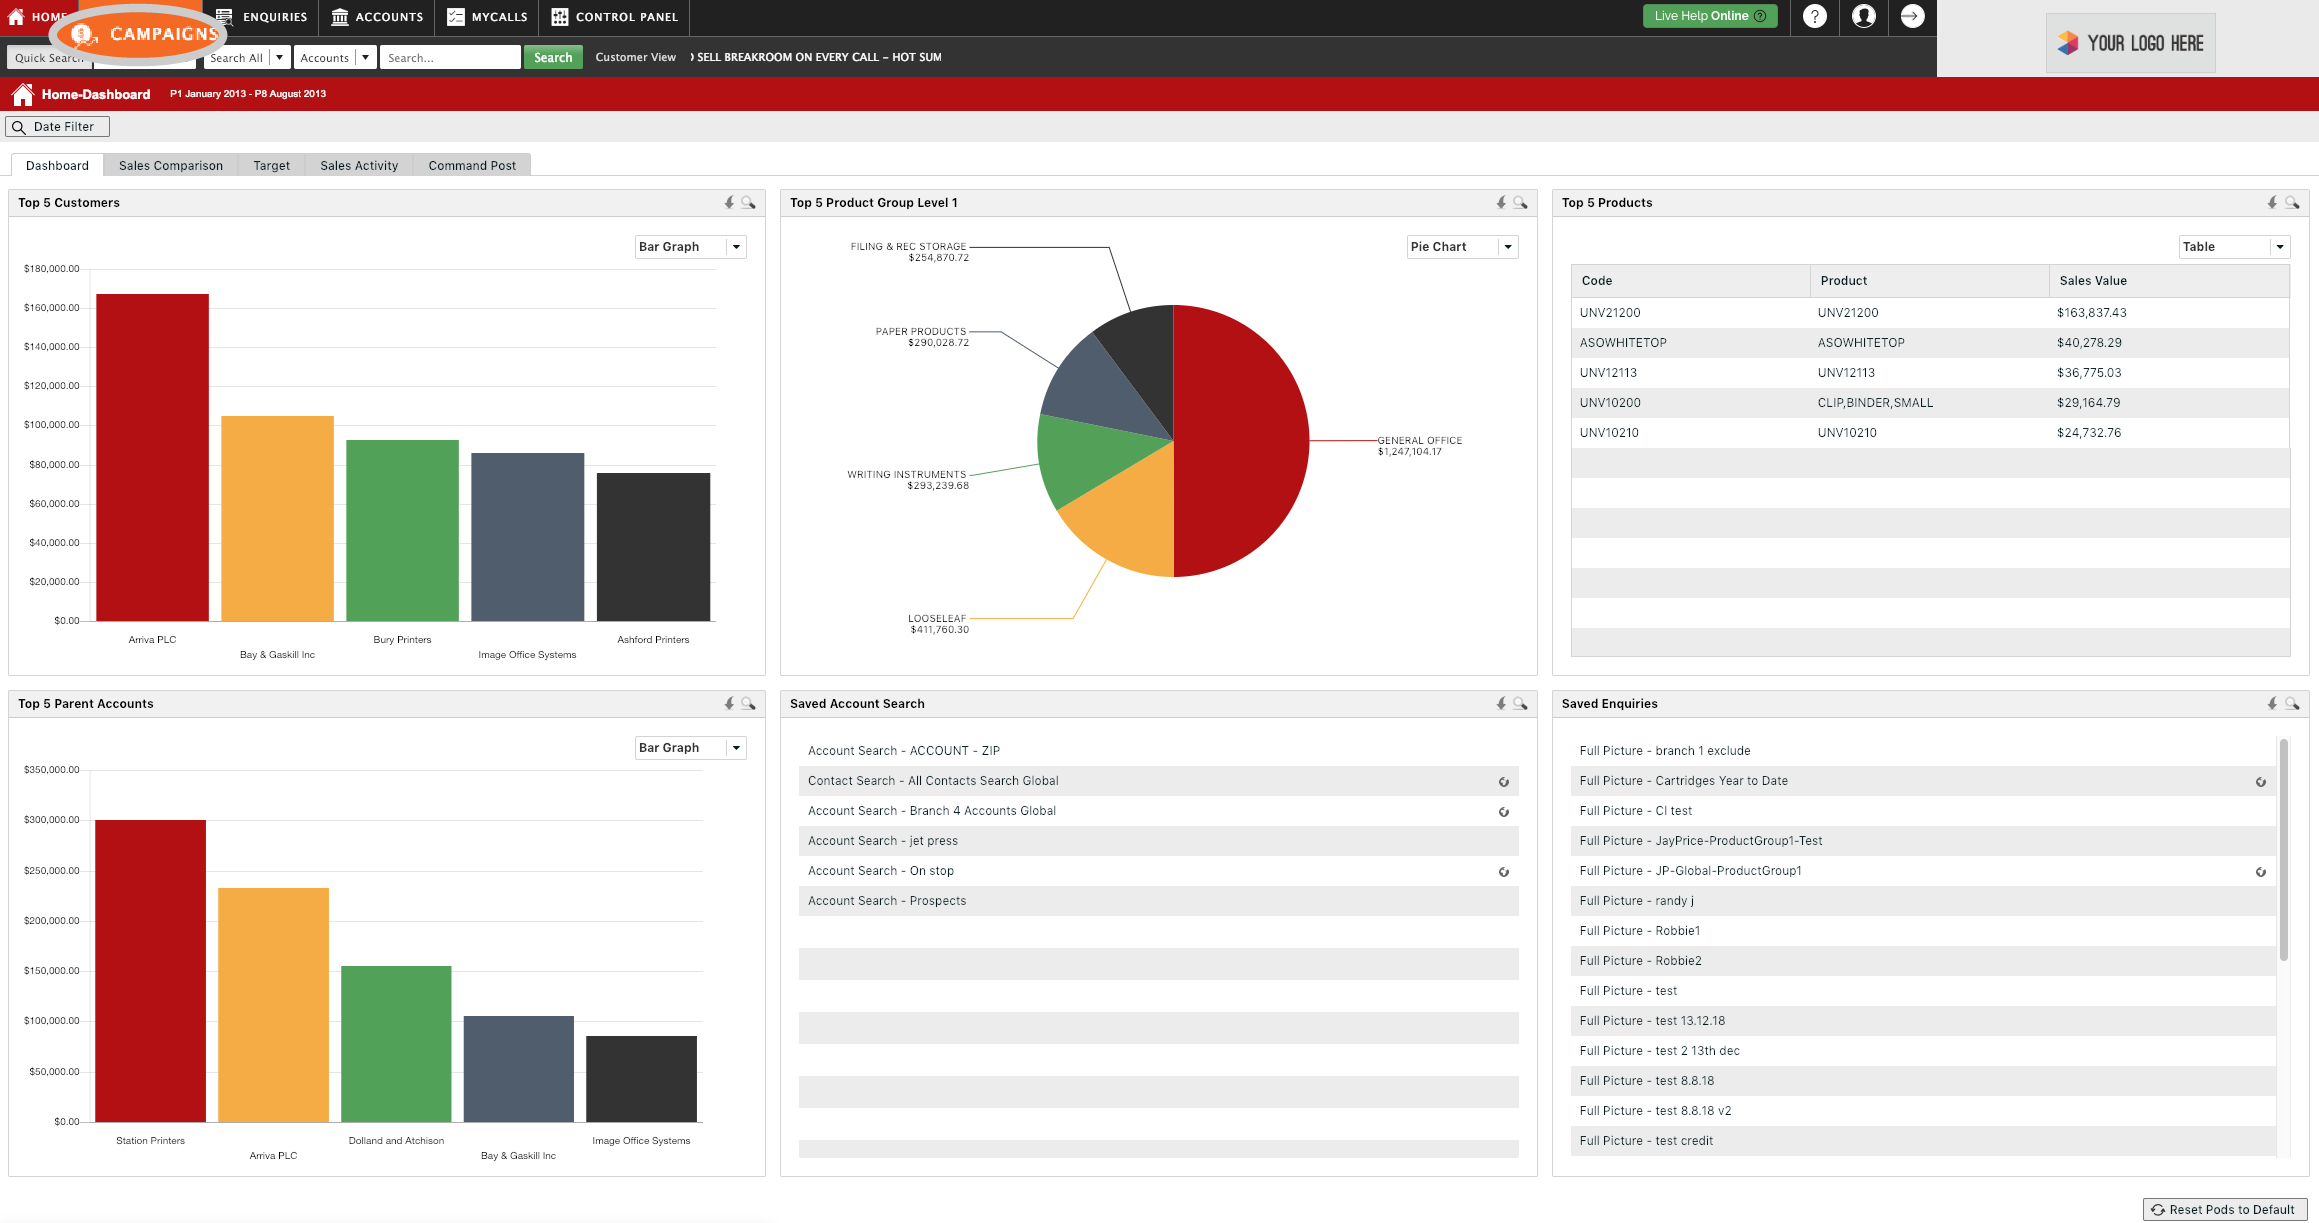
Step 1: Click Campaigns
Click Campaigns from the menu at the top of the screen.
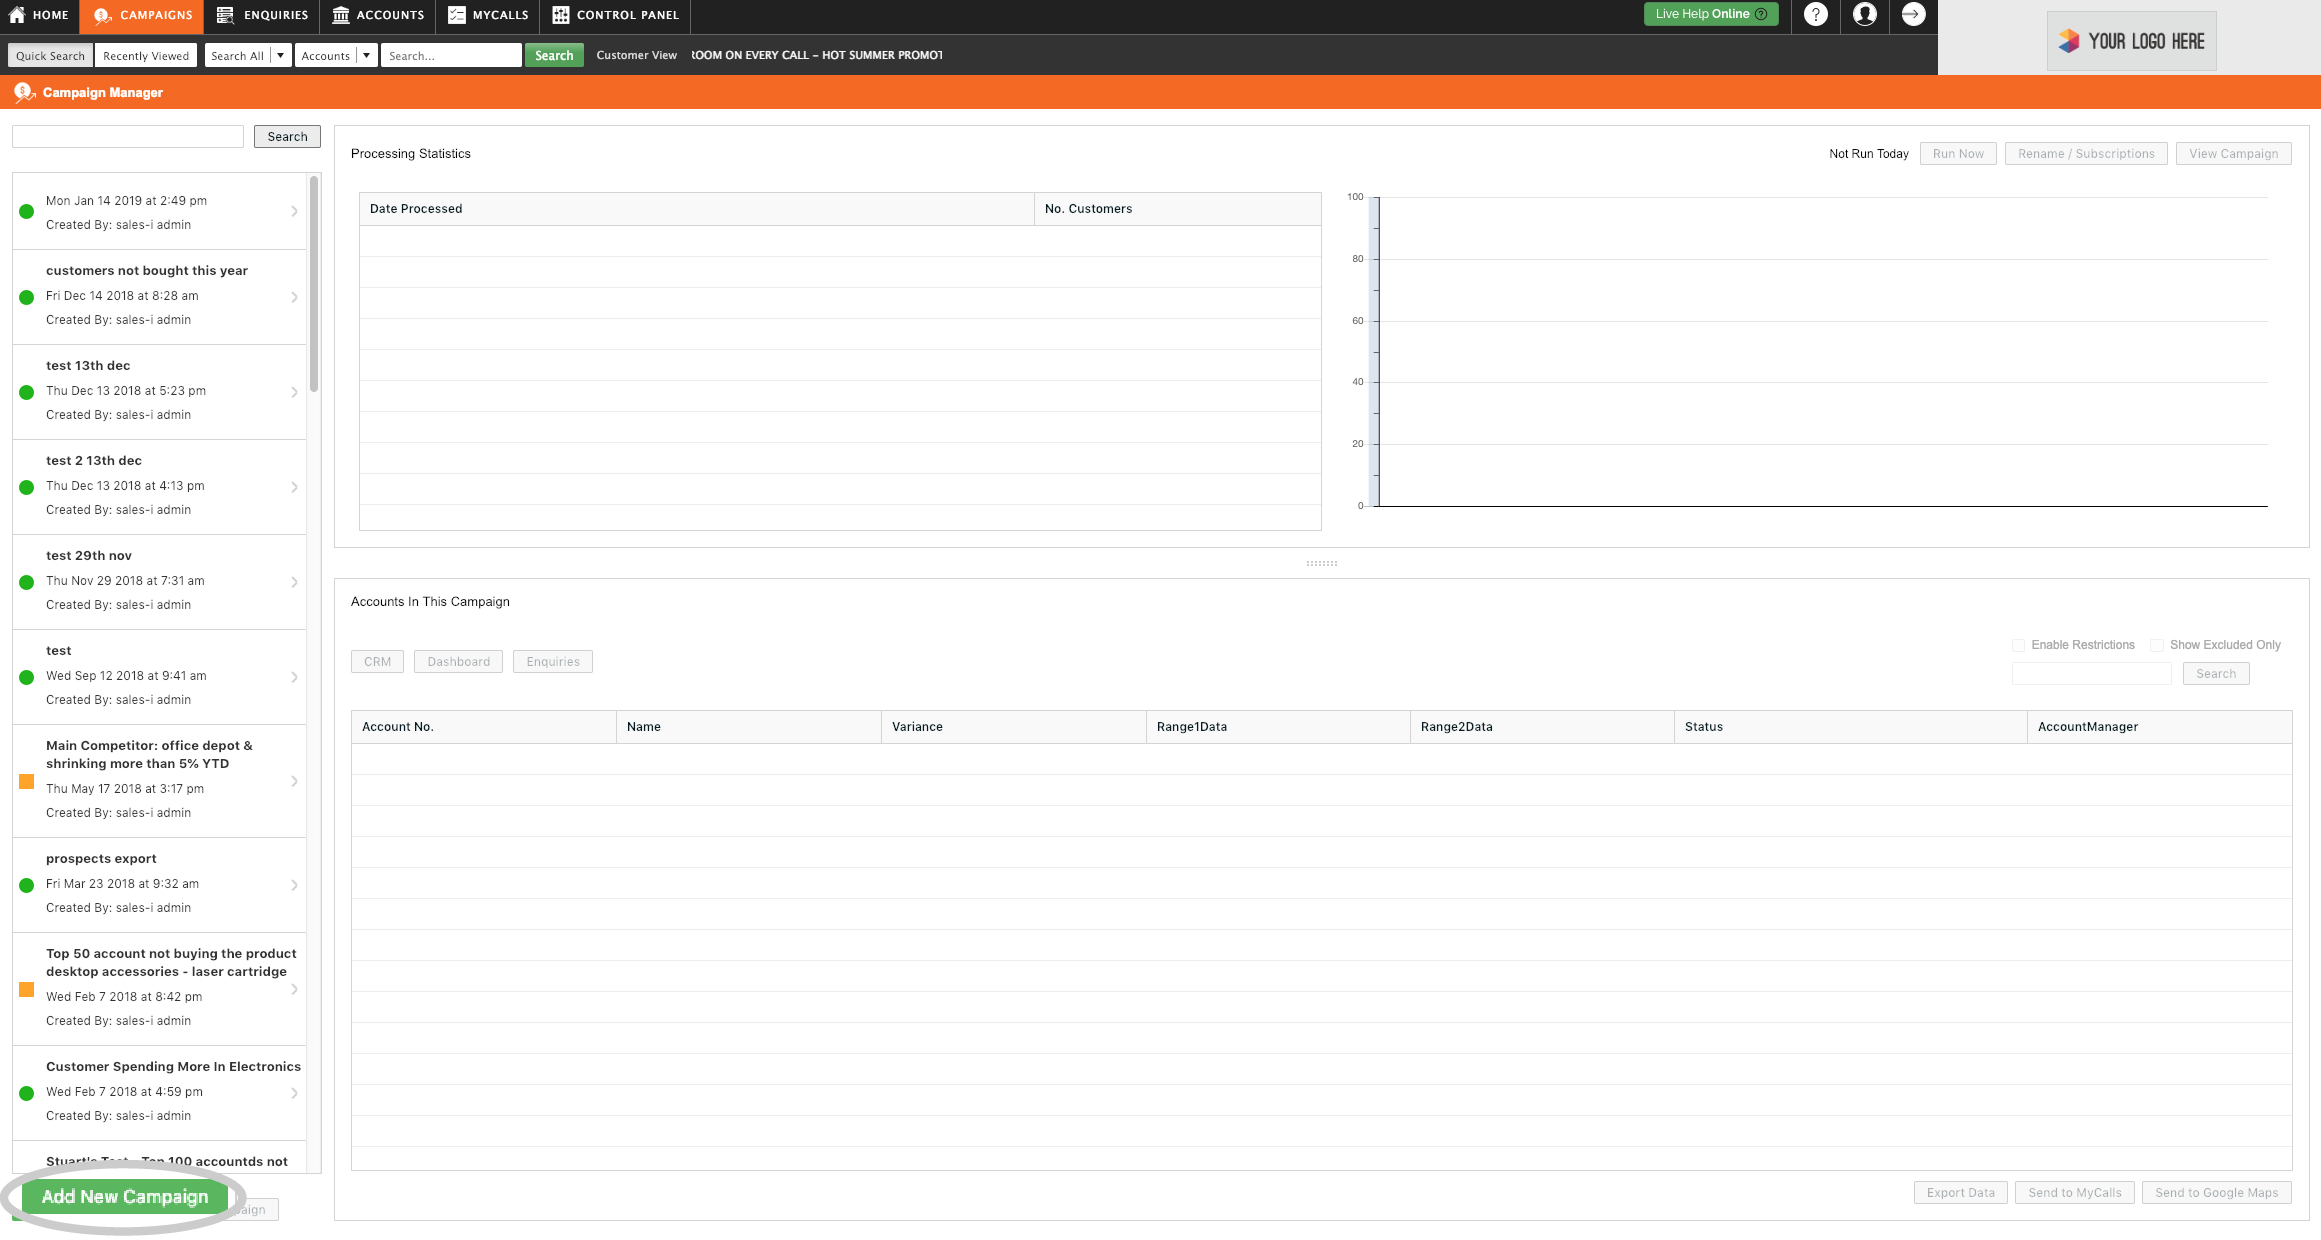
Step 2: Click Add New Campaign
Click the green Add New Campaign button, in the bottom left of the screen
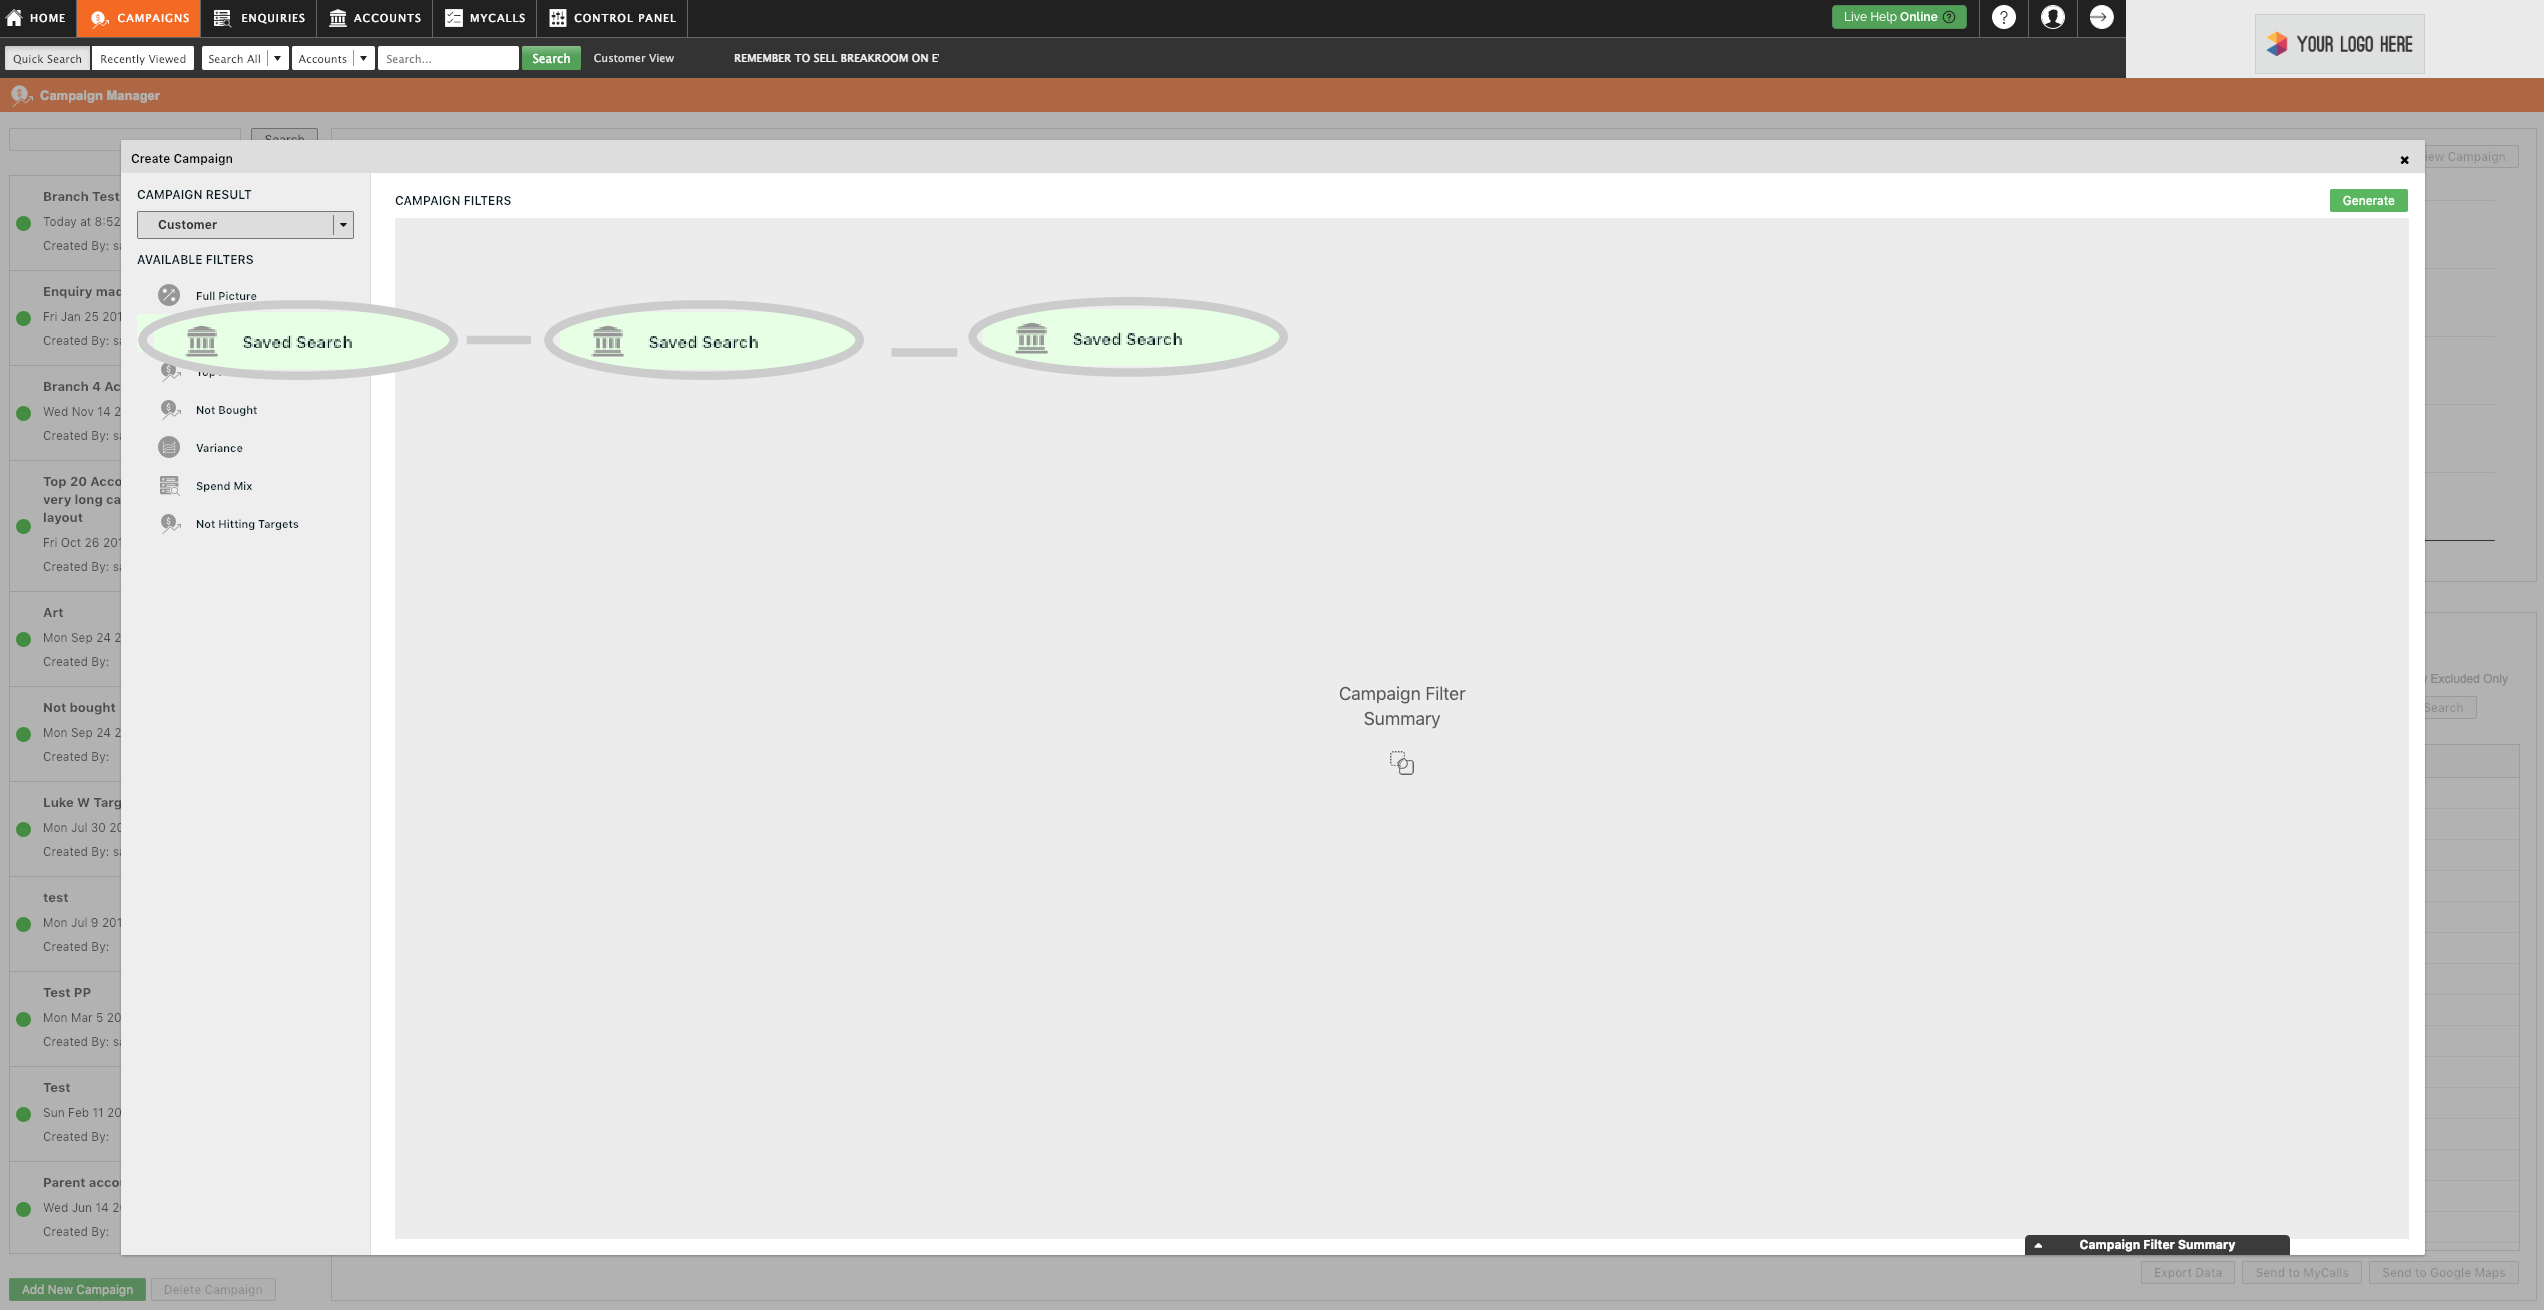
Step 3: Click Saved Search
Select Saved Search from the Available Filters list. Click and drag it into the center of the window.
Step 4: Click Create New Account Search.
Click on Create New Account Search.

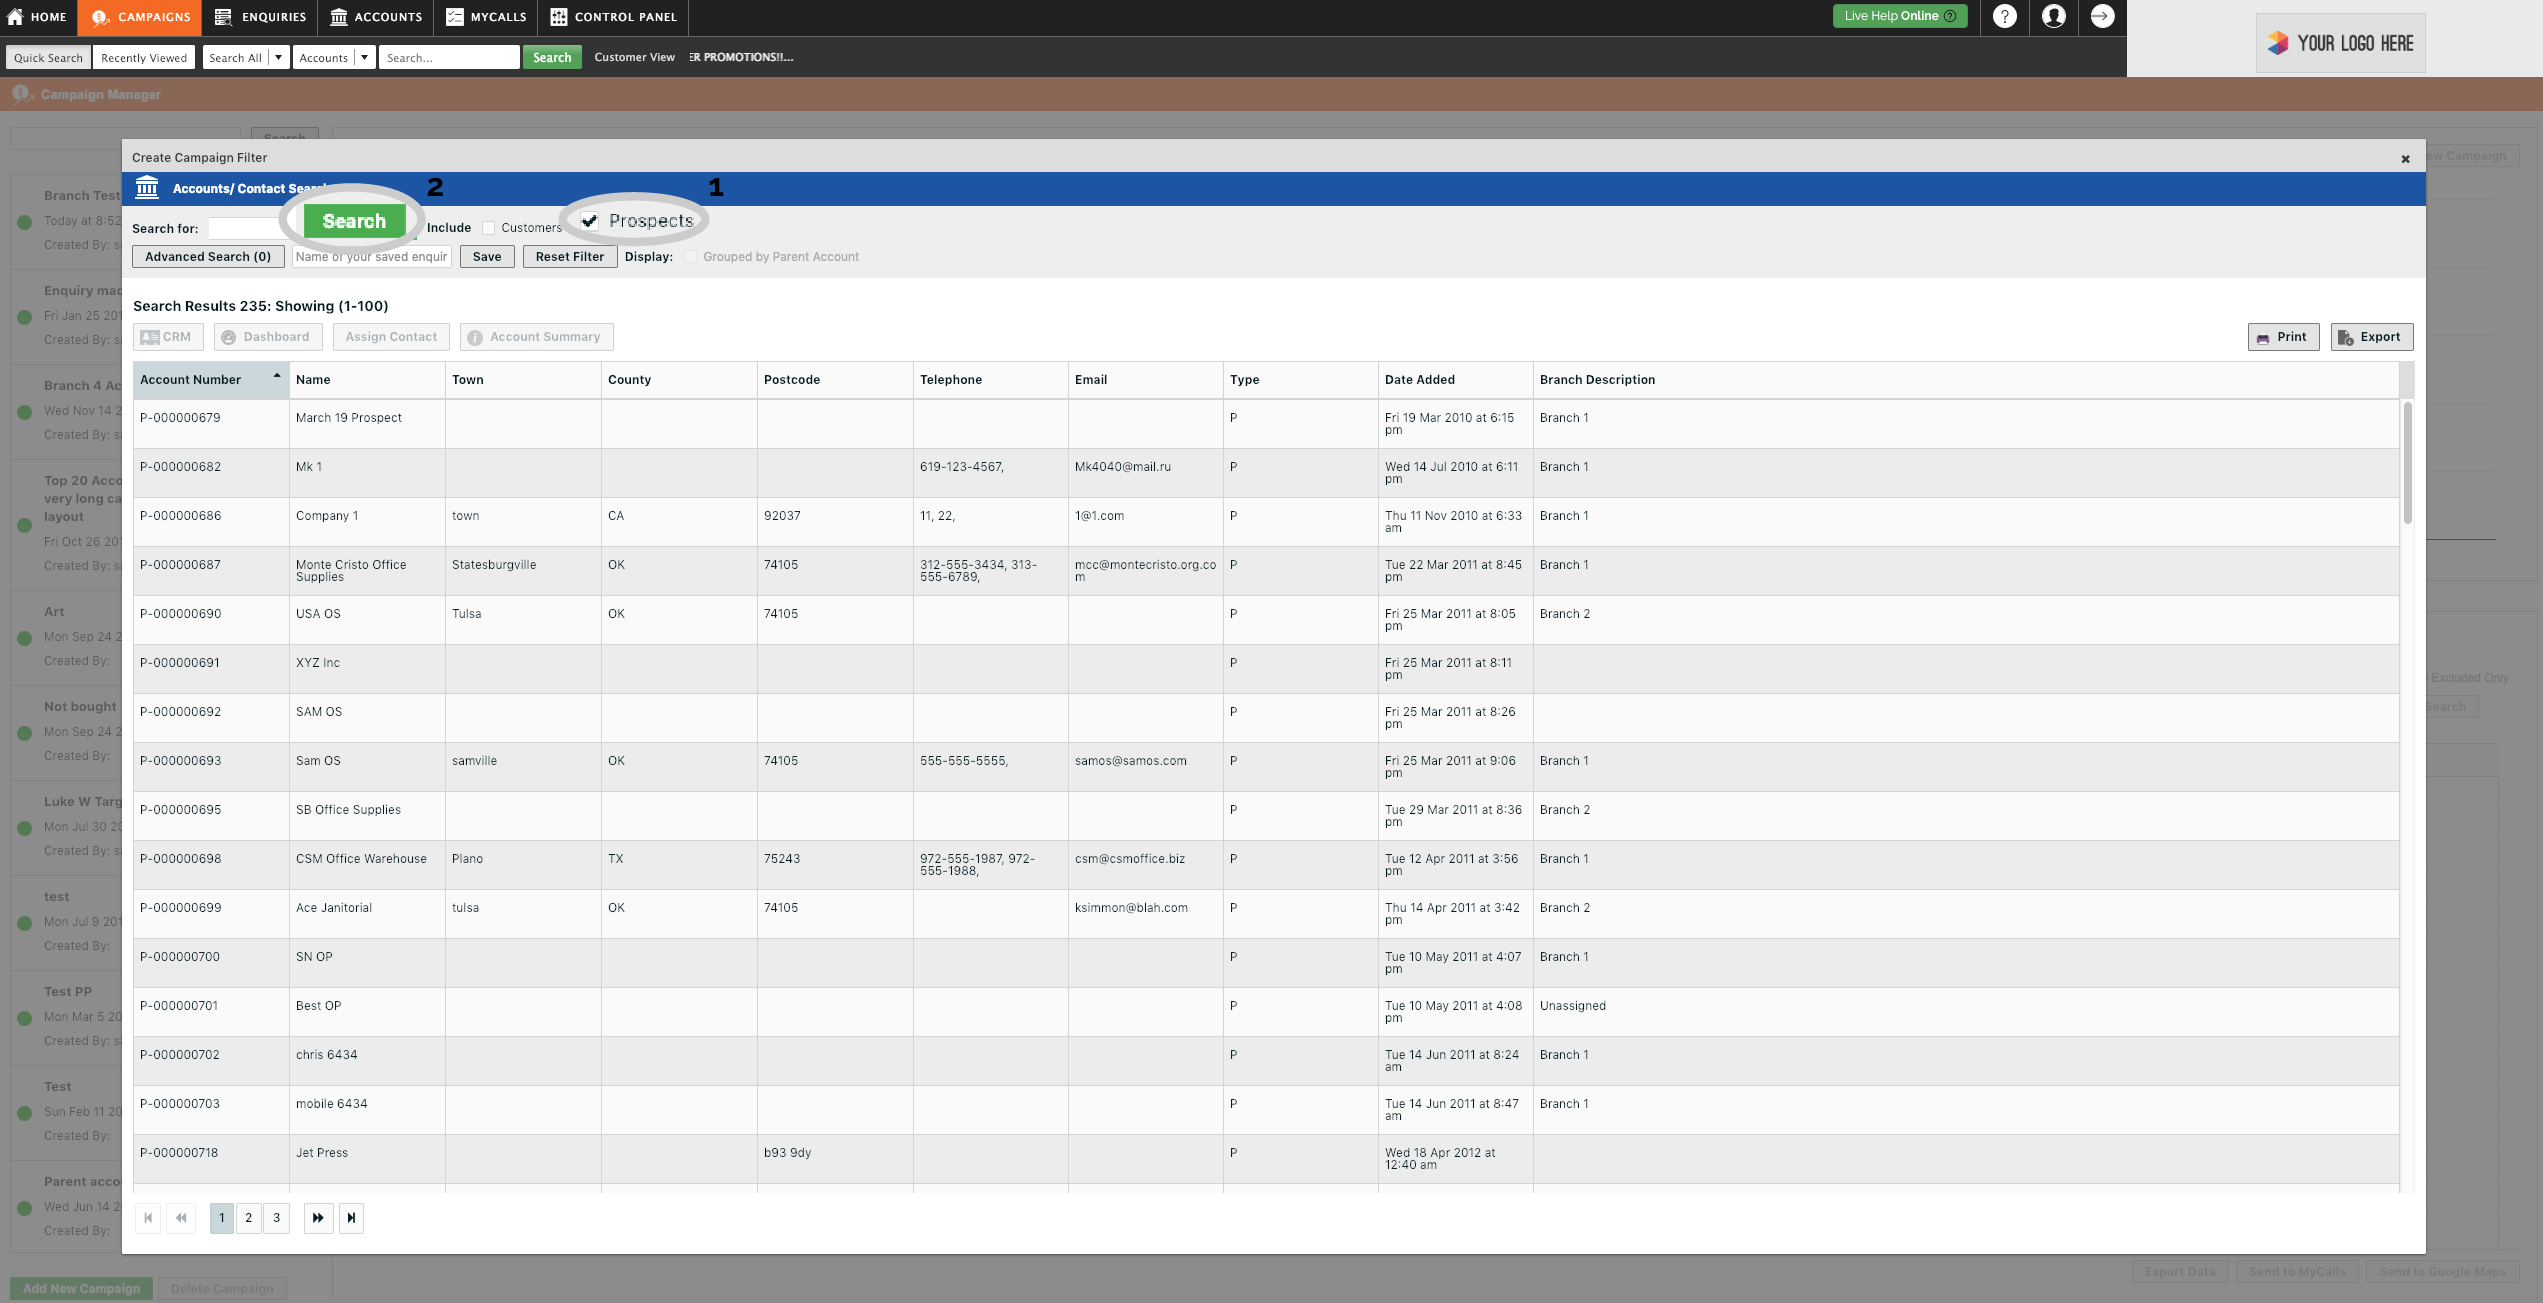
Step 5: Search
Uncheck the Customers box.
Check the Prospects box and leave the Search for: box empty.
Click the green Search button.
sales-i will now list all of your prospects.
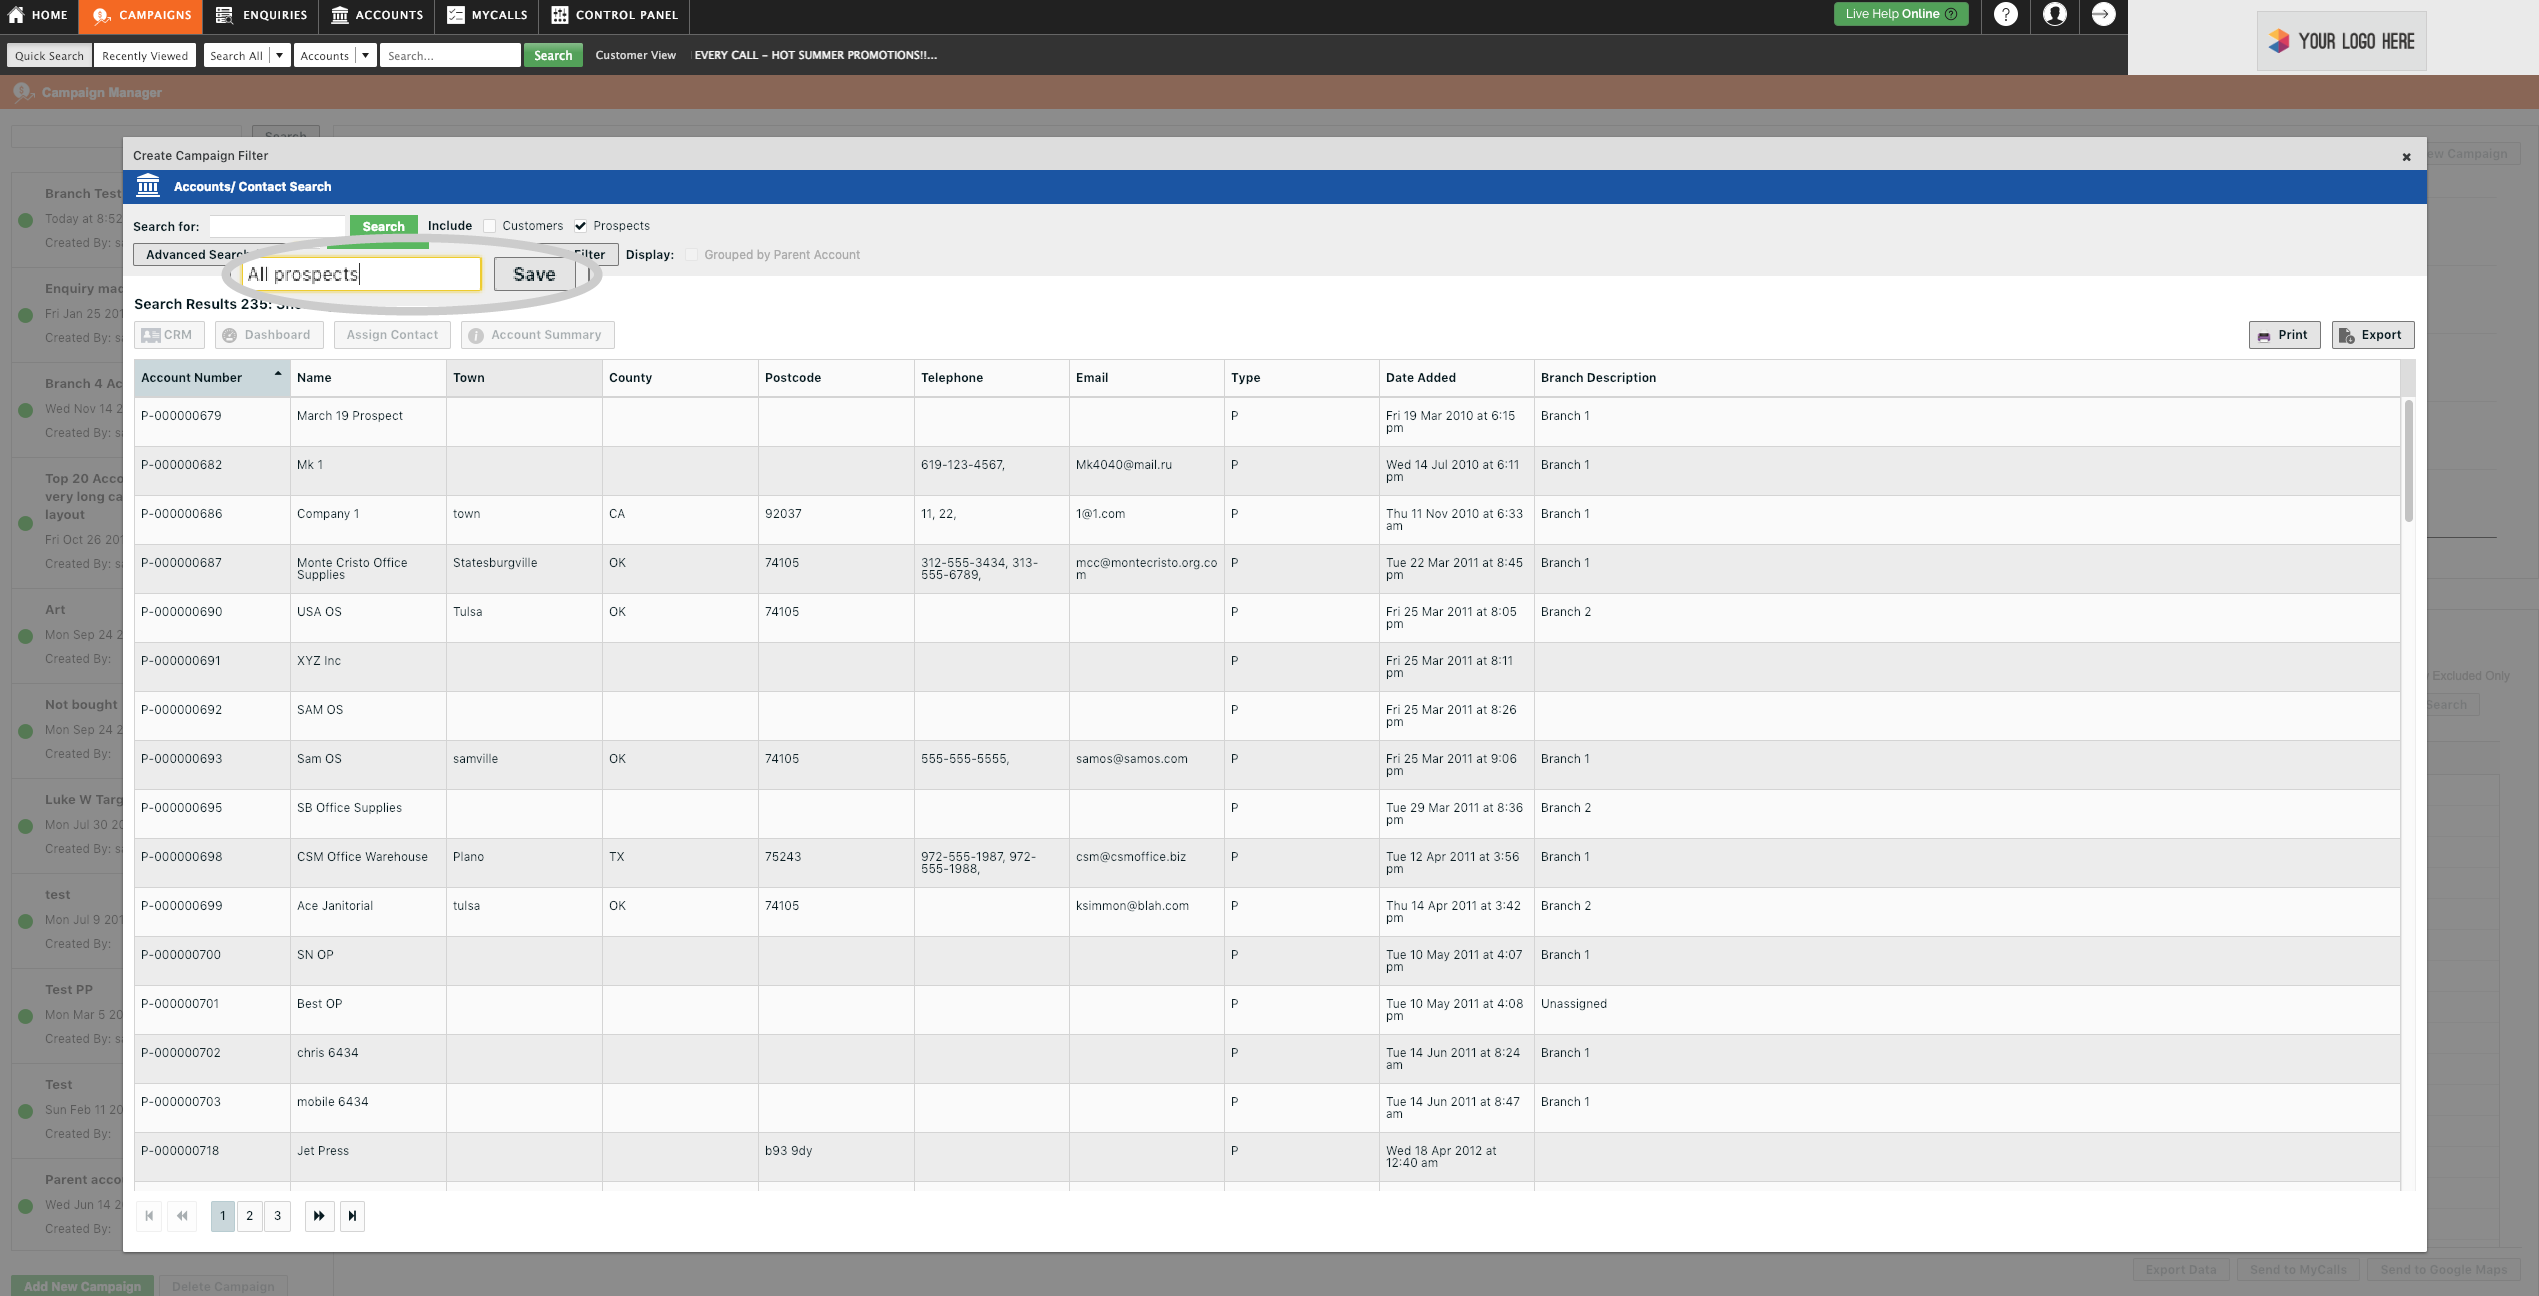
Step 6: Enter a name
Enter a name for your list of customers in the box that says “Name of your saved enquiry”. Then click the Save button directly to the right of that box.
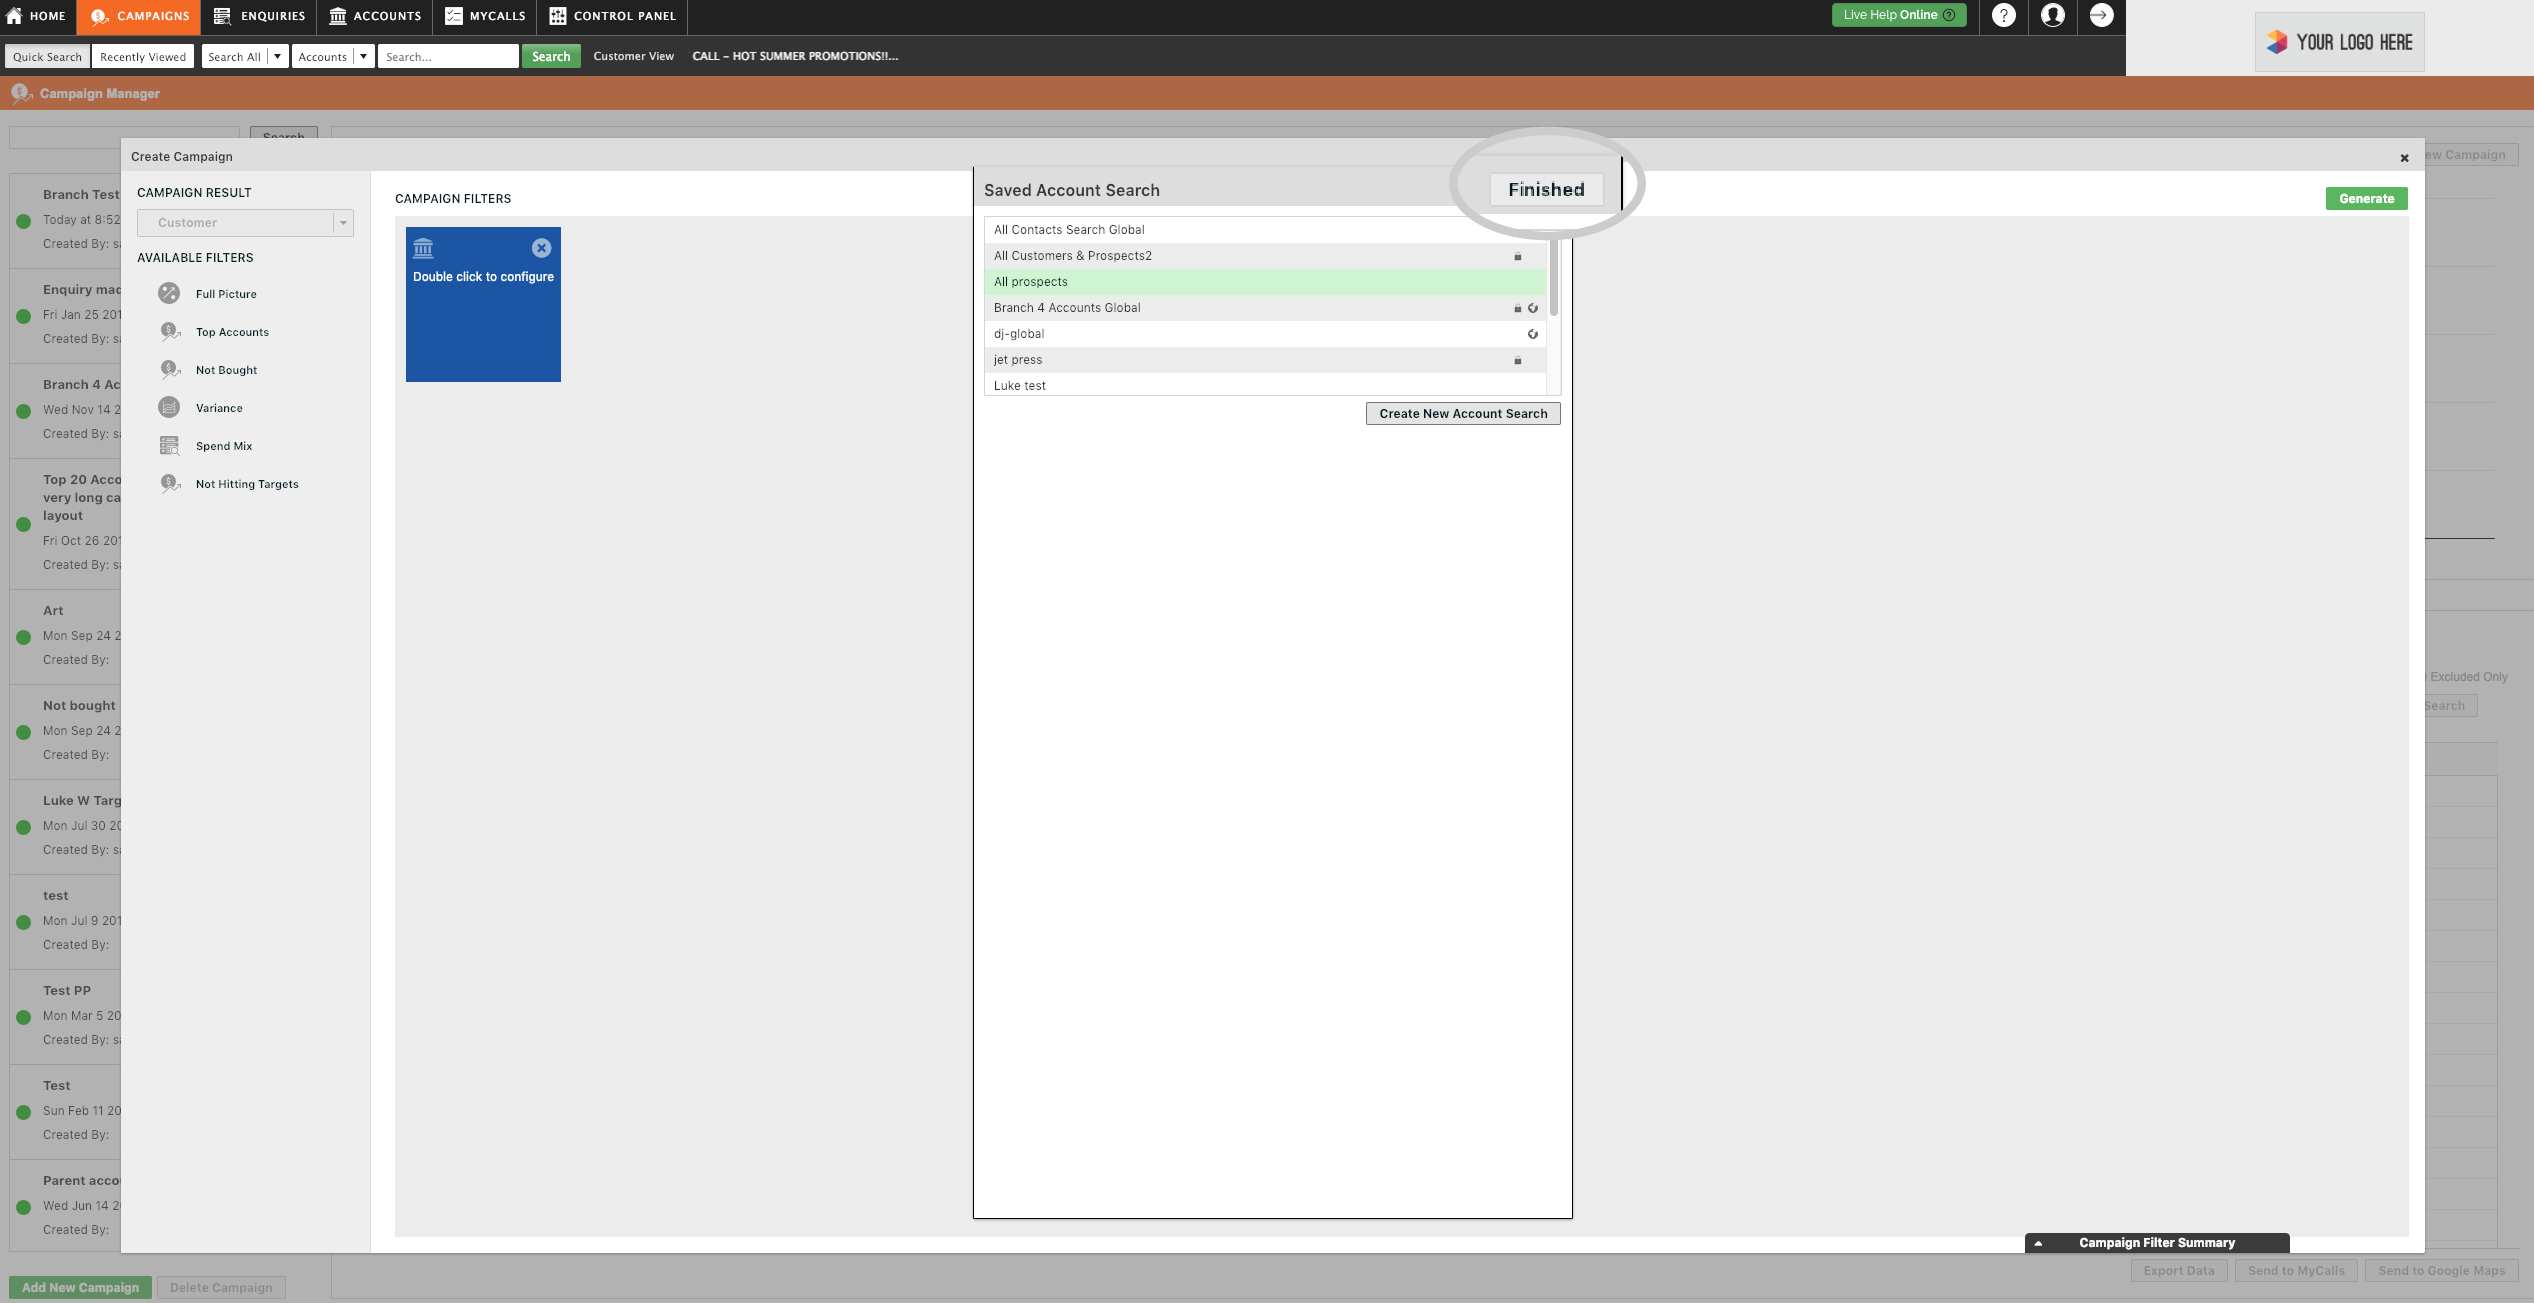
Step 7: Select search and Click Finished
Find the search that you created in the list. Click on it so that it is highlighted in green, then click the Finished button in the top left of the window.
Step 8: Click Generate
Click the green Generate button in the top left of the window to create the campaign.

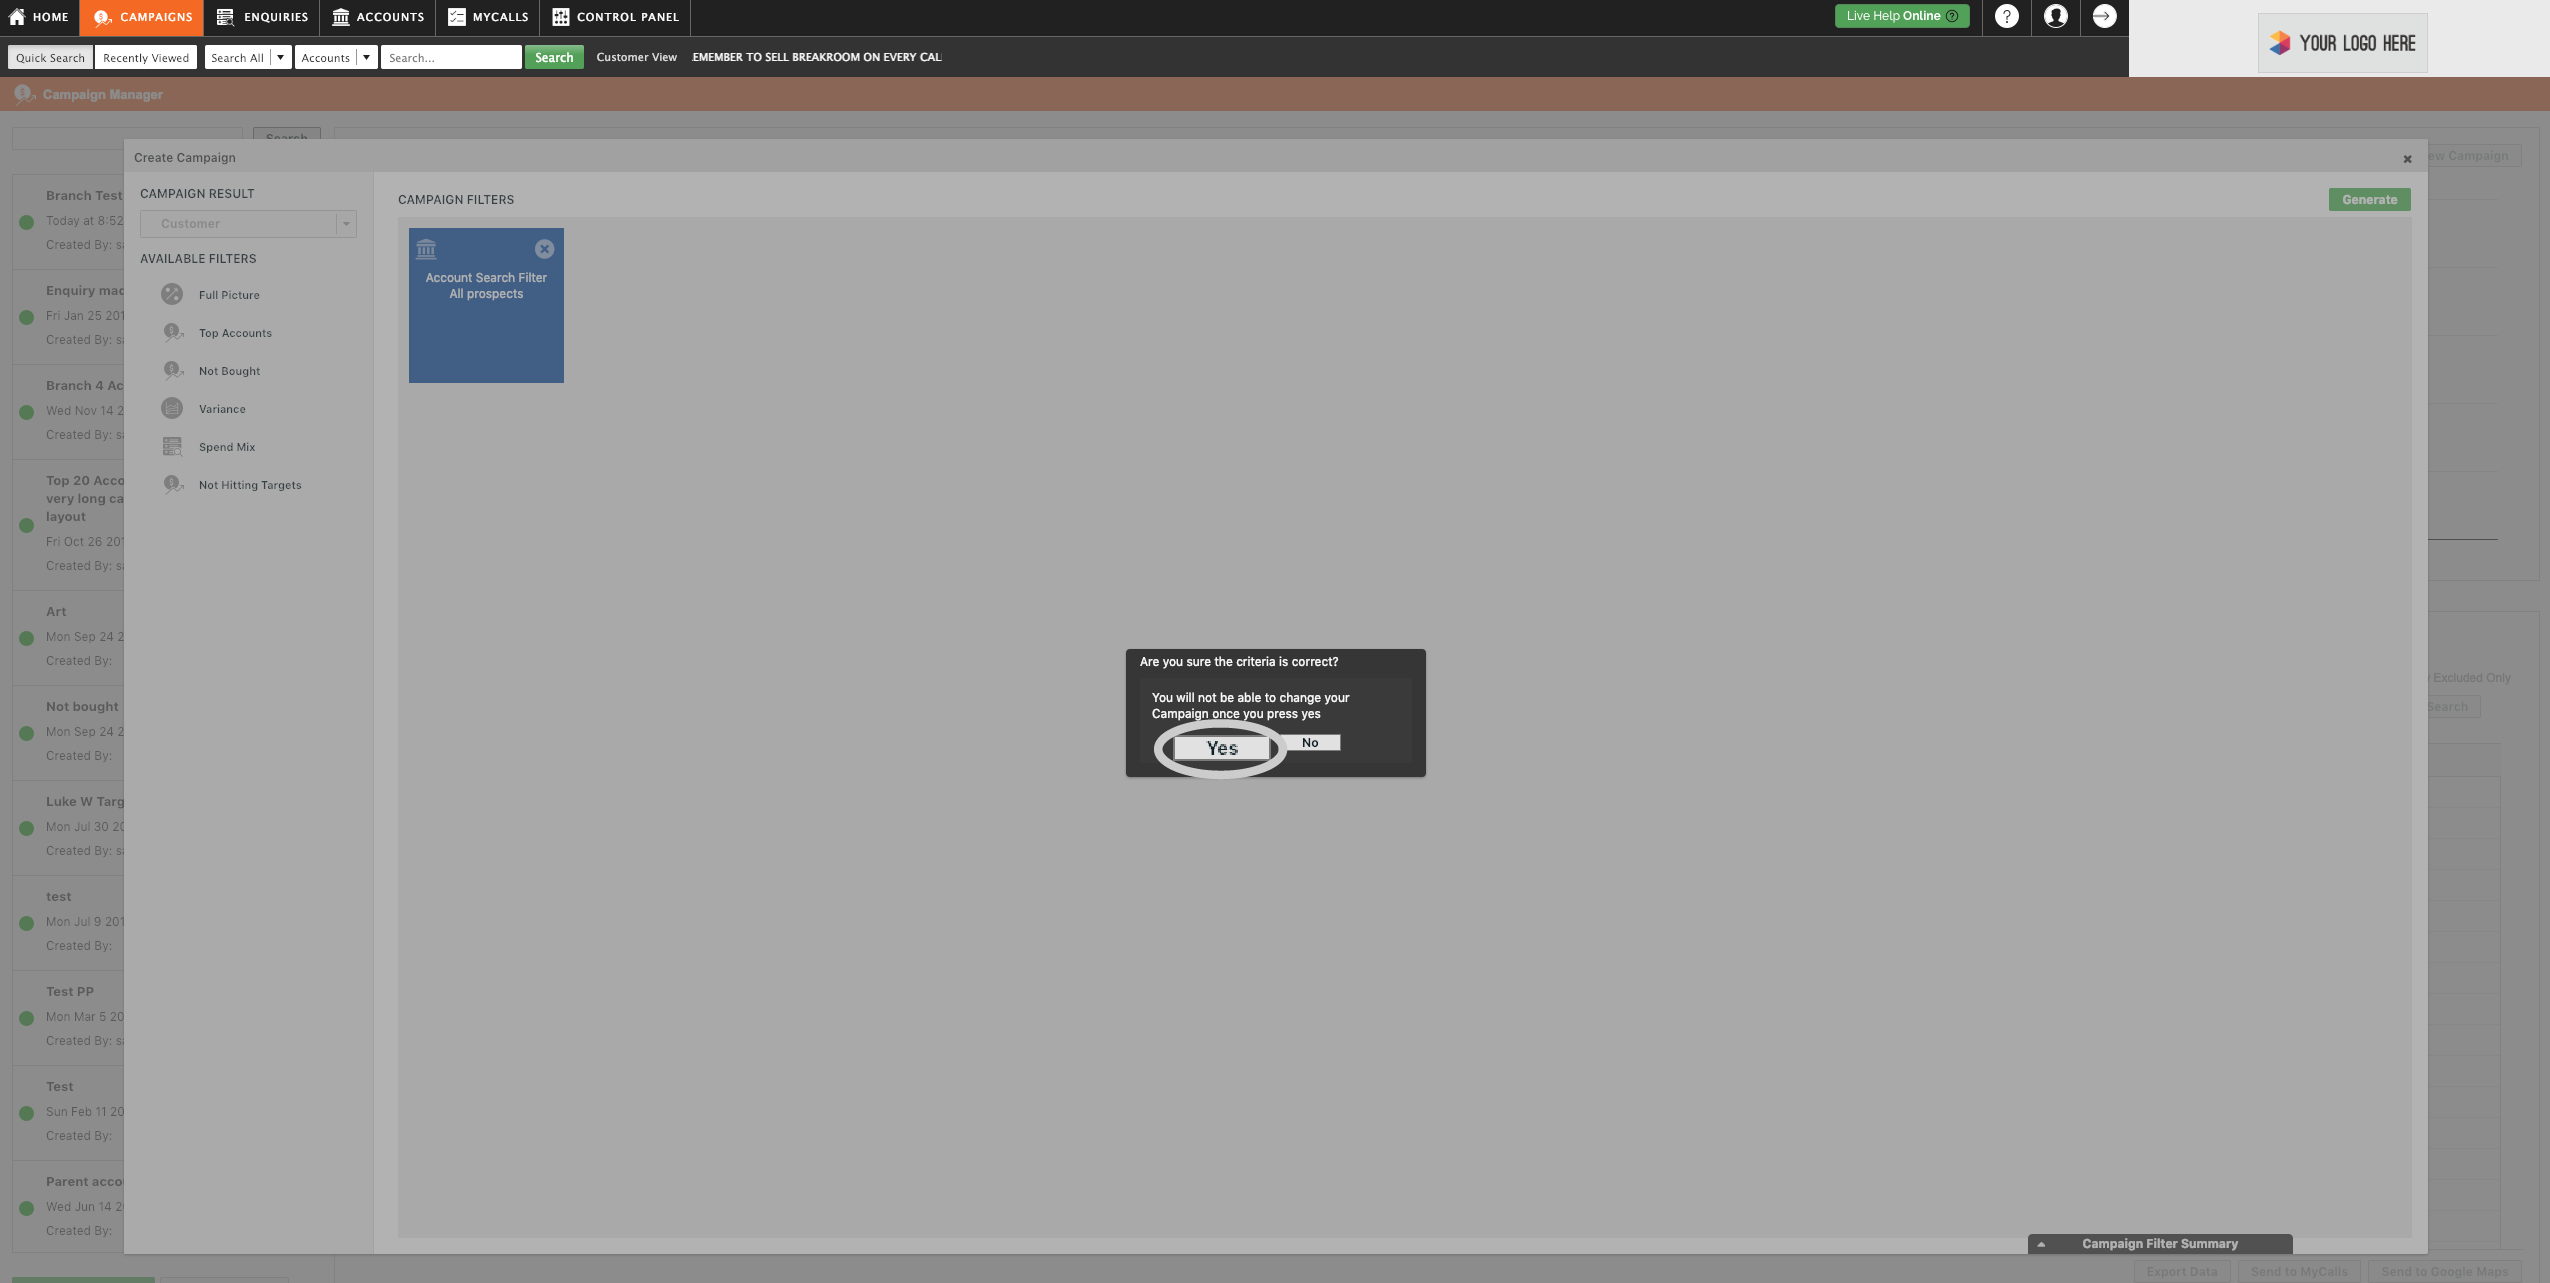
Step 9: Click Yes
sales-i will then ask you if you are sure the criteria is correct, click Yes.
Step 10: Enter a Campaign name and access rights
Enter a name for the campaign in the bar across the top of the window.
Using the traffic light system, give your campaign a colour of priority.
Next, select the users you wish to access the campaign results.
Using the grey arrow next to All Users folder, will open up the list of users.
Select the box next to All Users if you wish to allow everybody to access the campaign*
*If used, Groups will assign access to the users included in the relevant group(s).
Finally, select the green Finished button in the upper right corner of the current window.

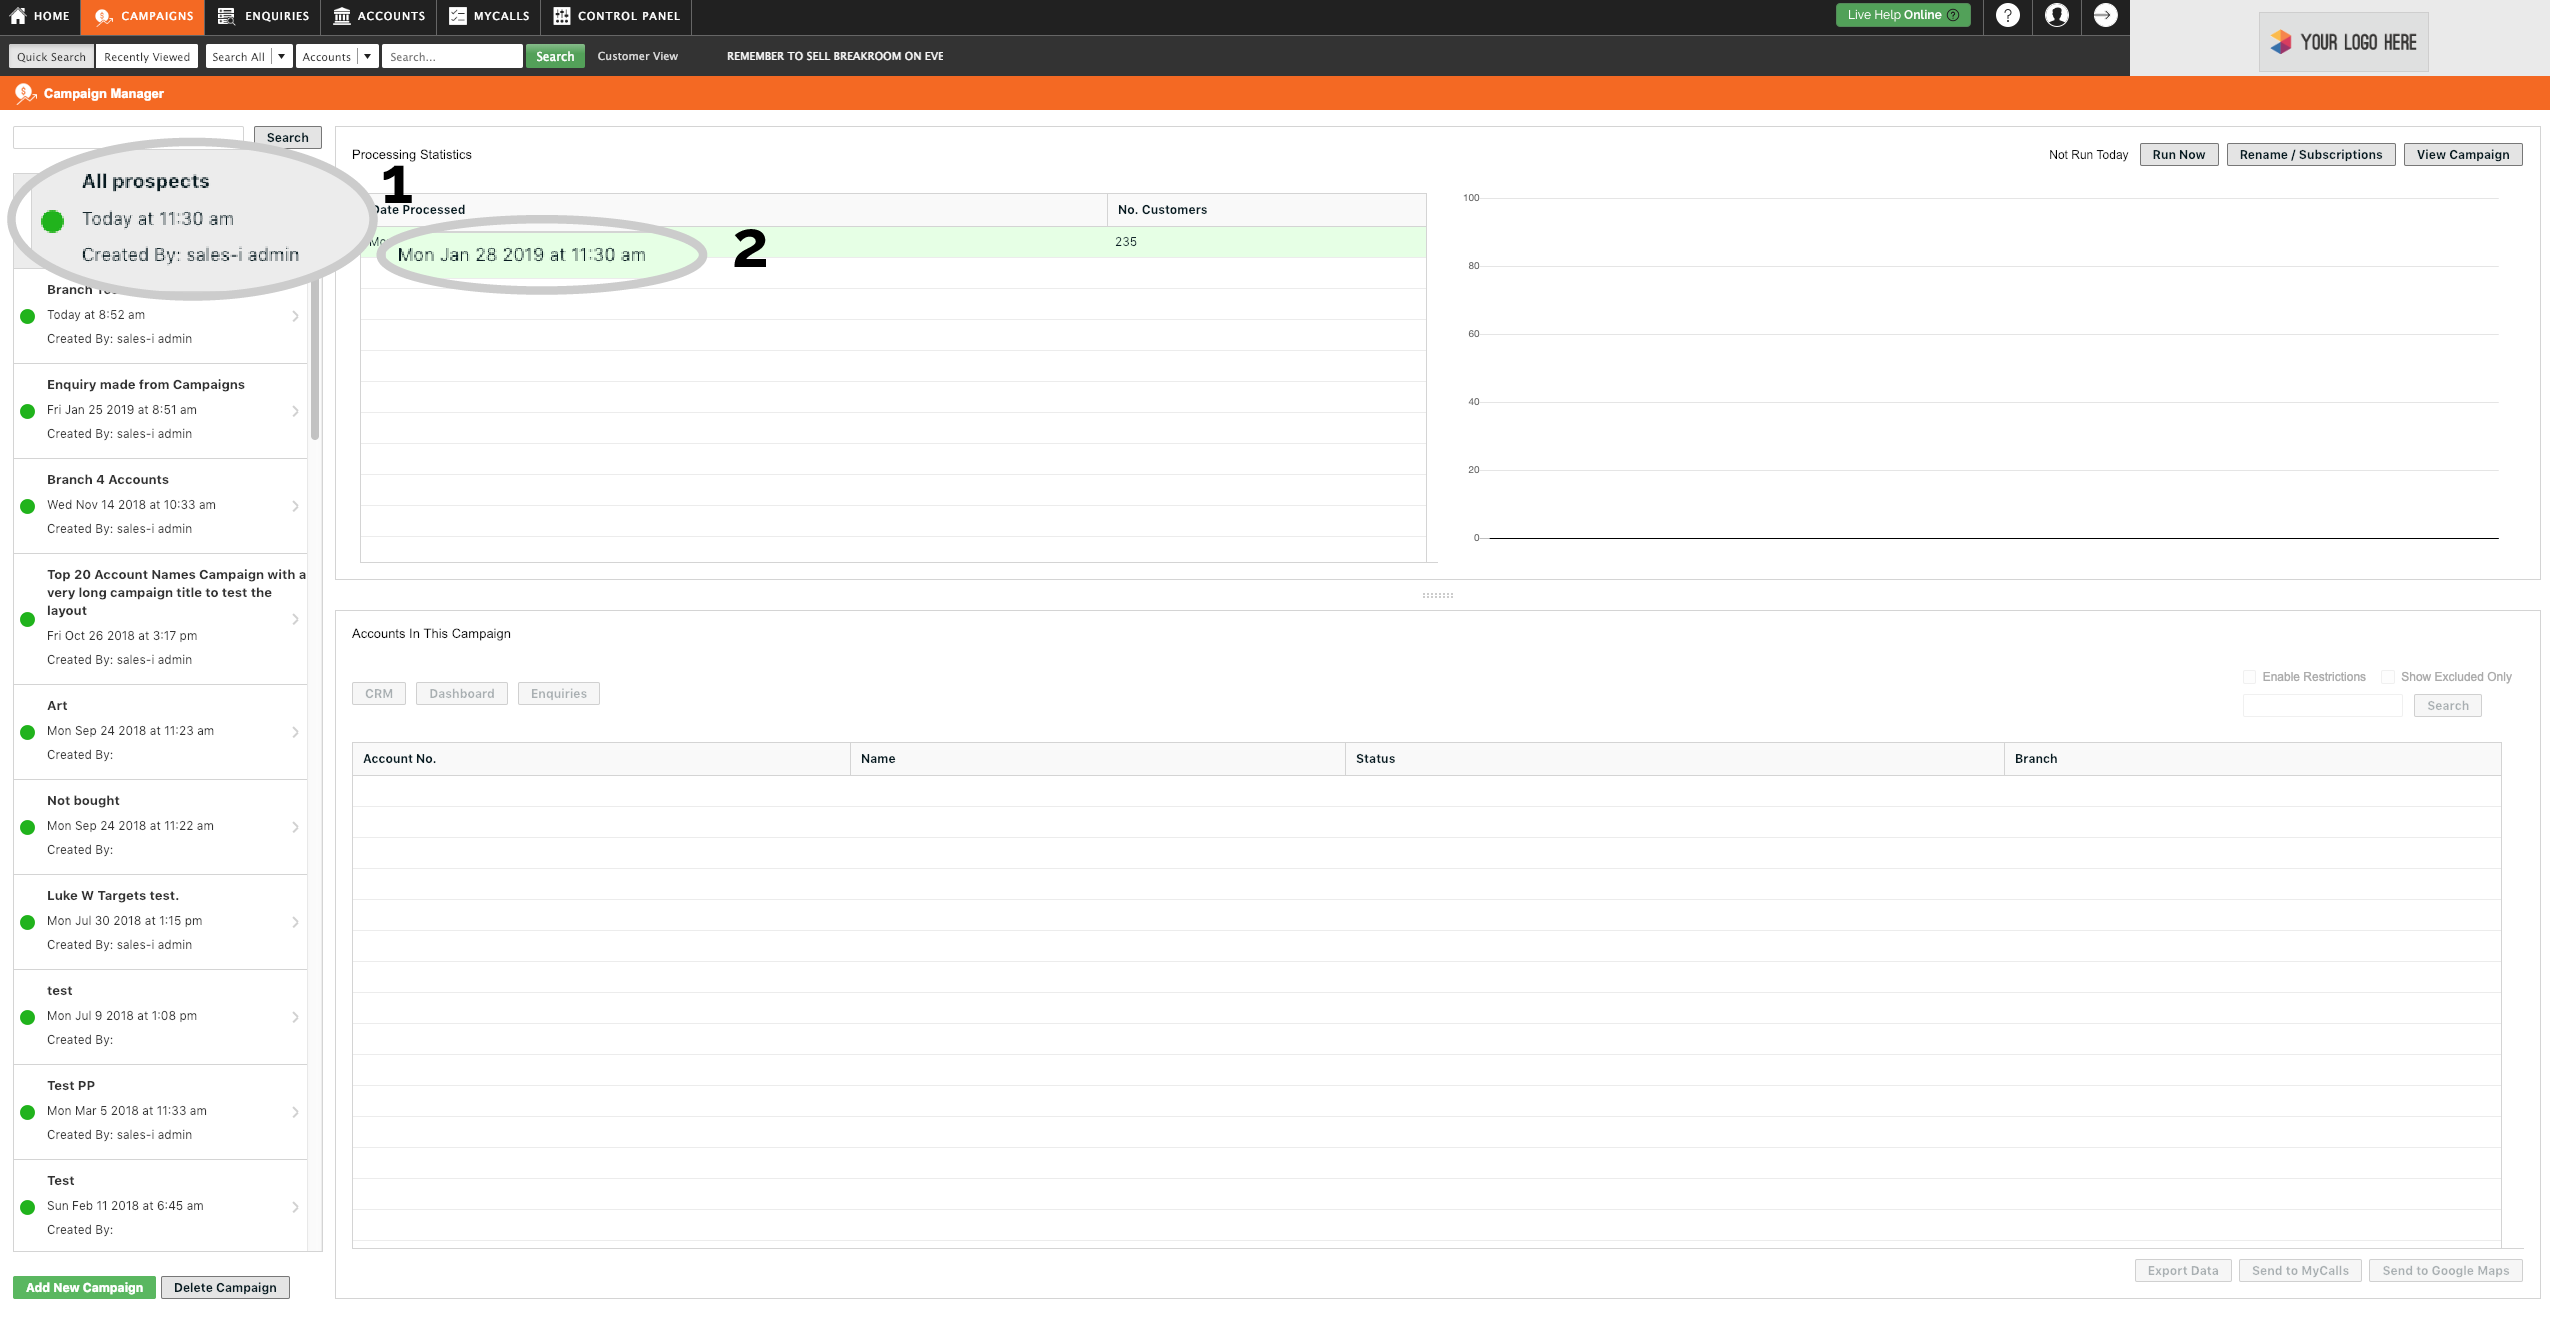
Step 11: Select your Campaign
Select your new campaign from the list on the left and then select the most recent process under Date Processed.
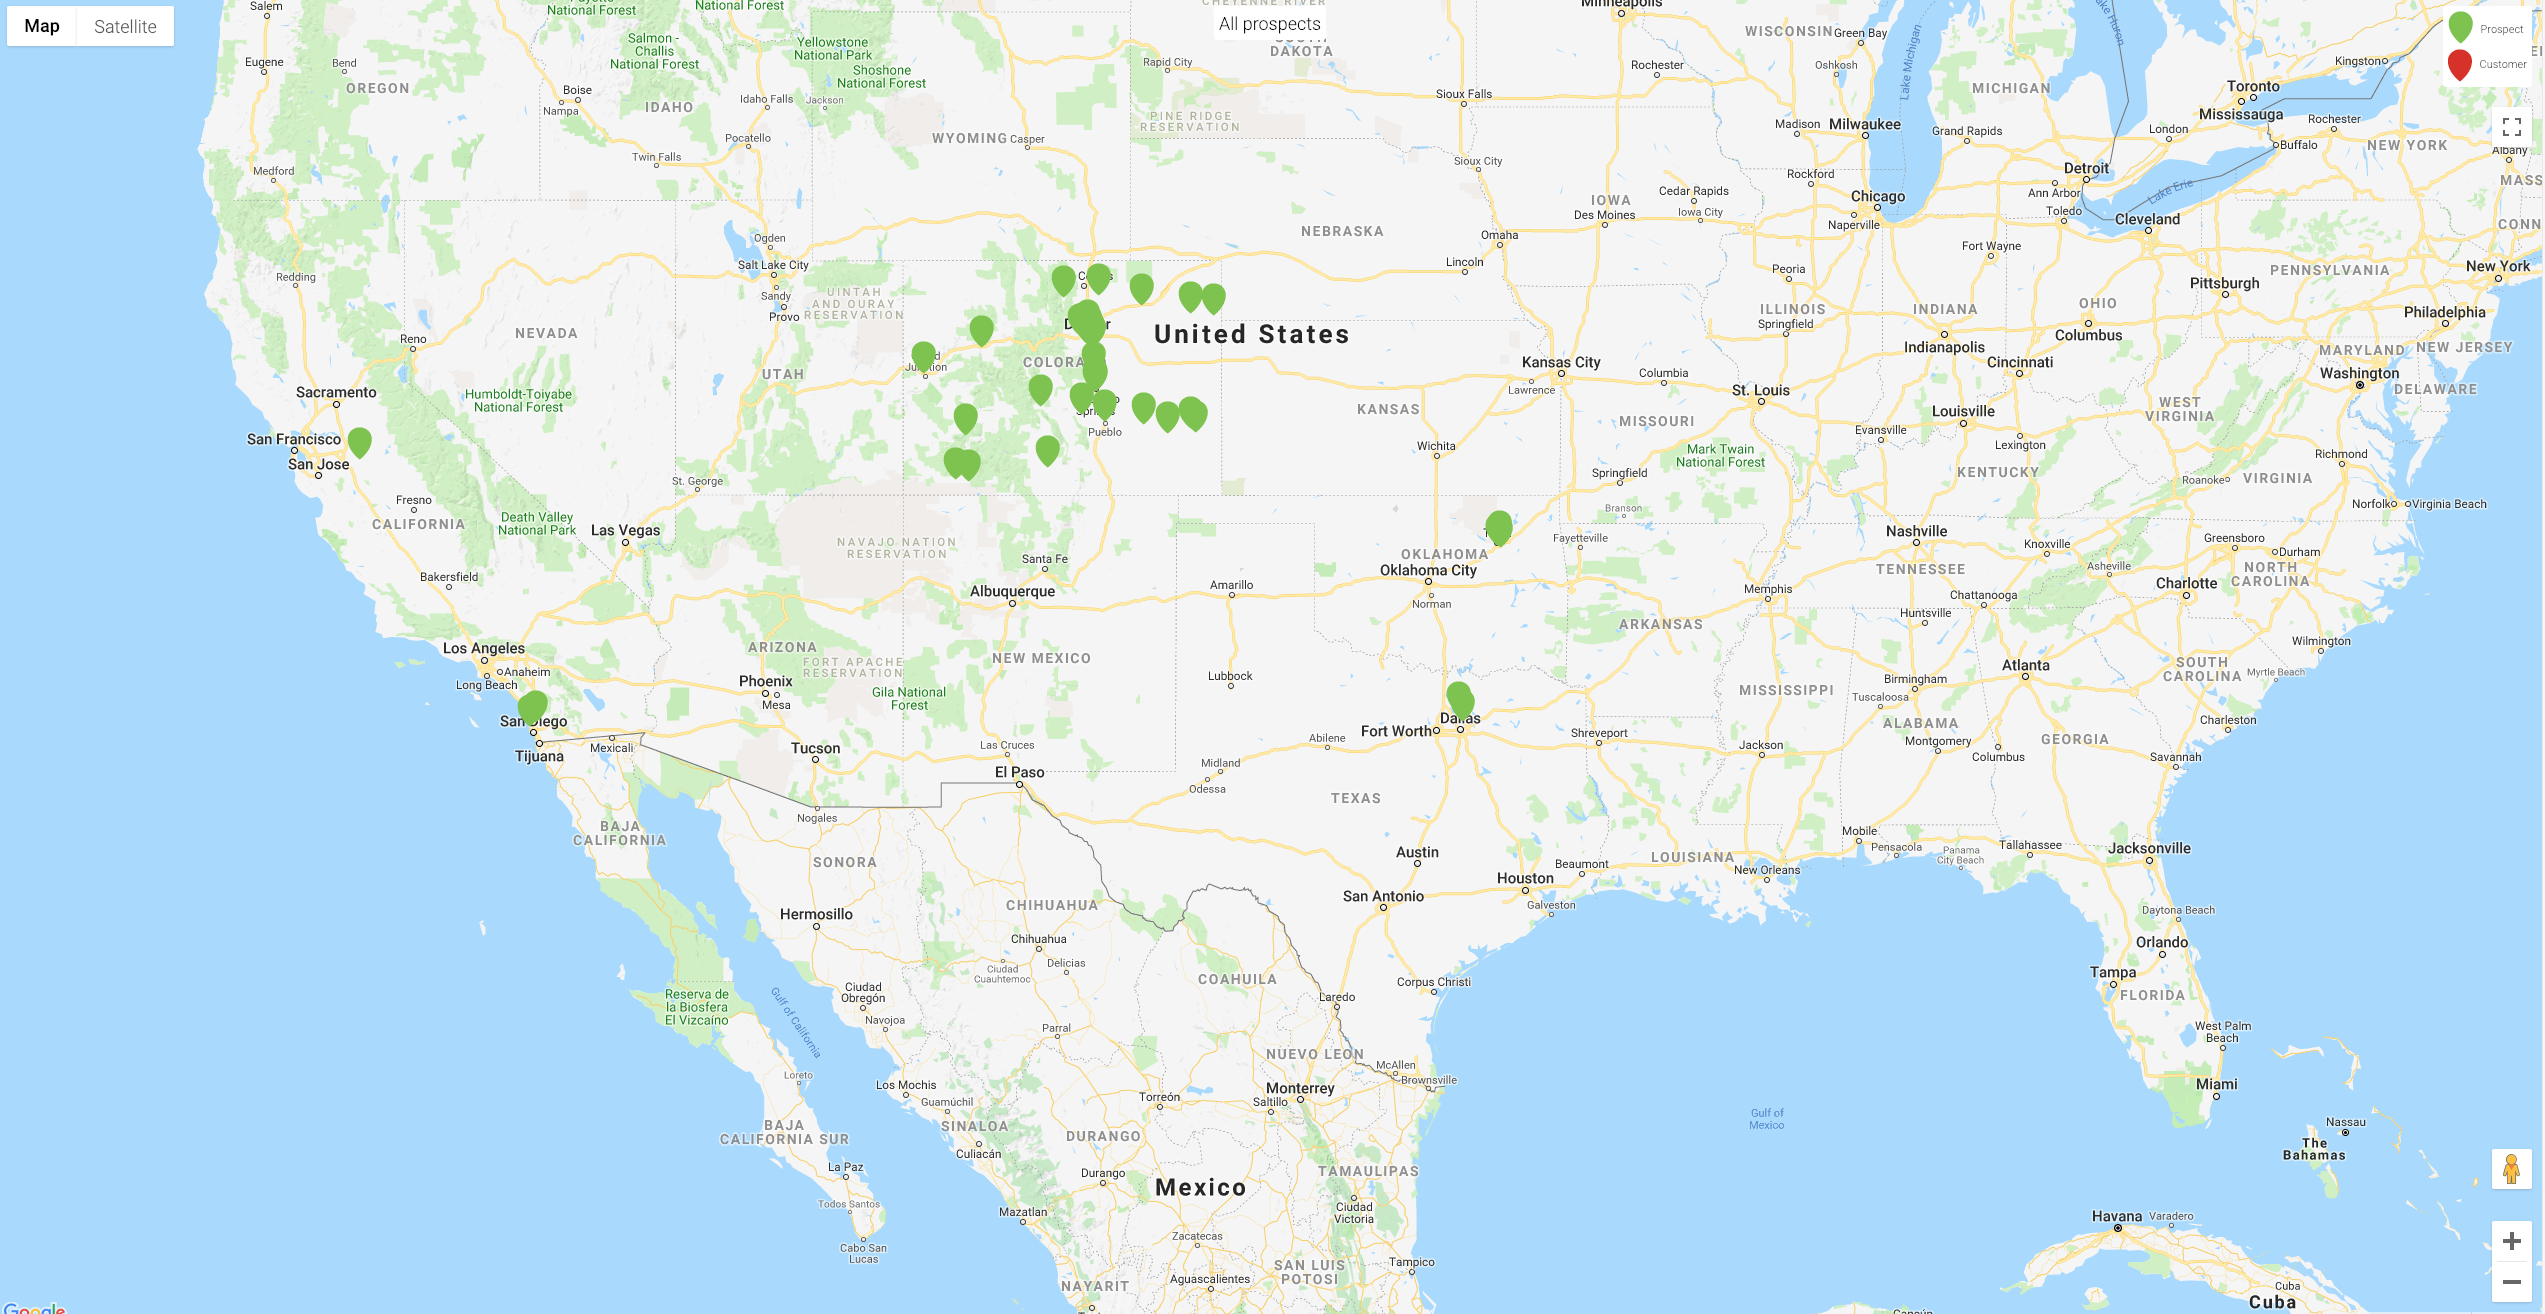
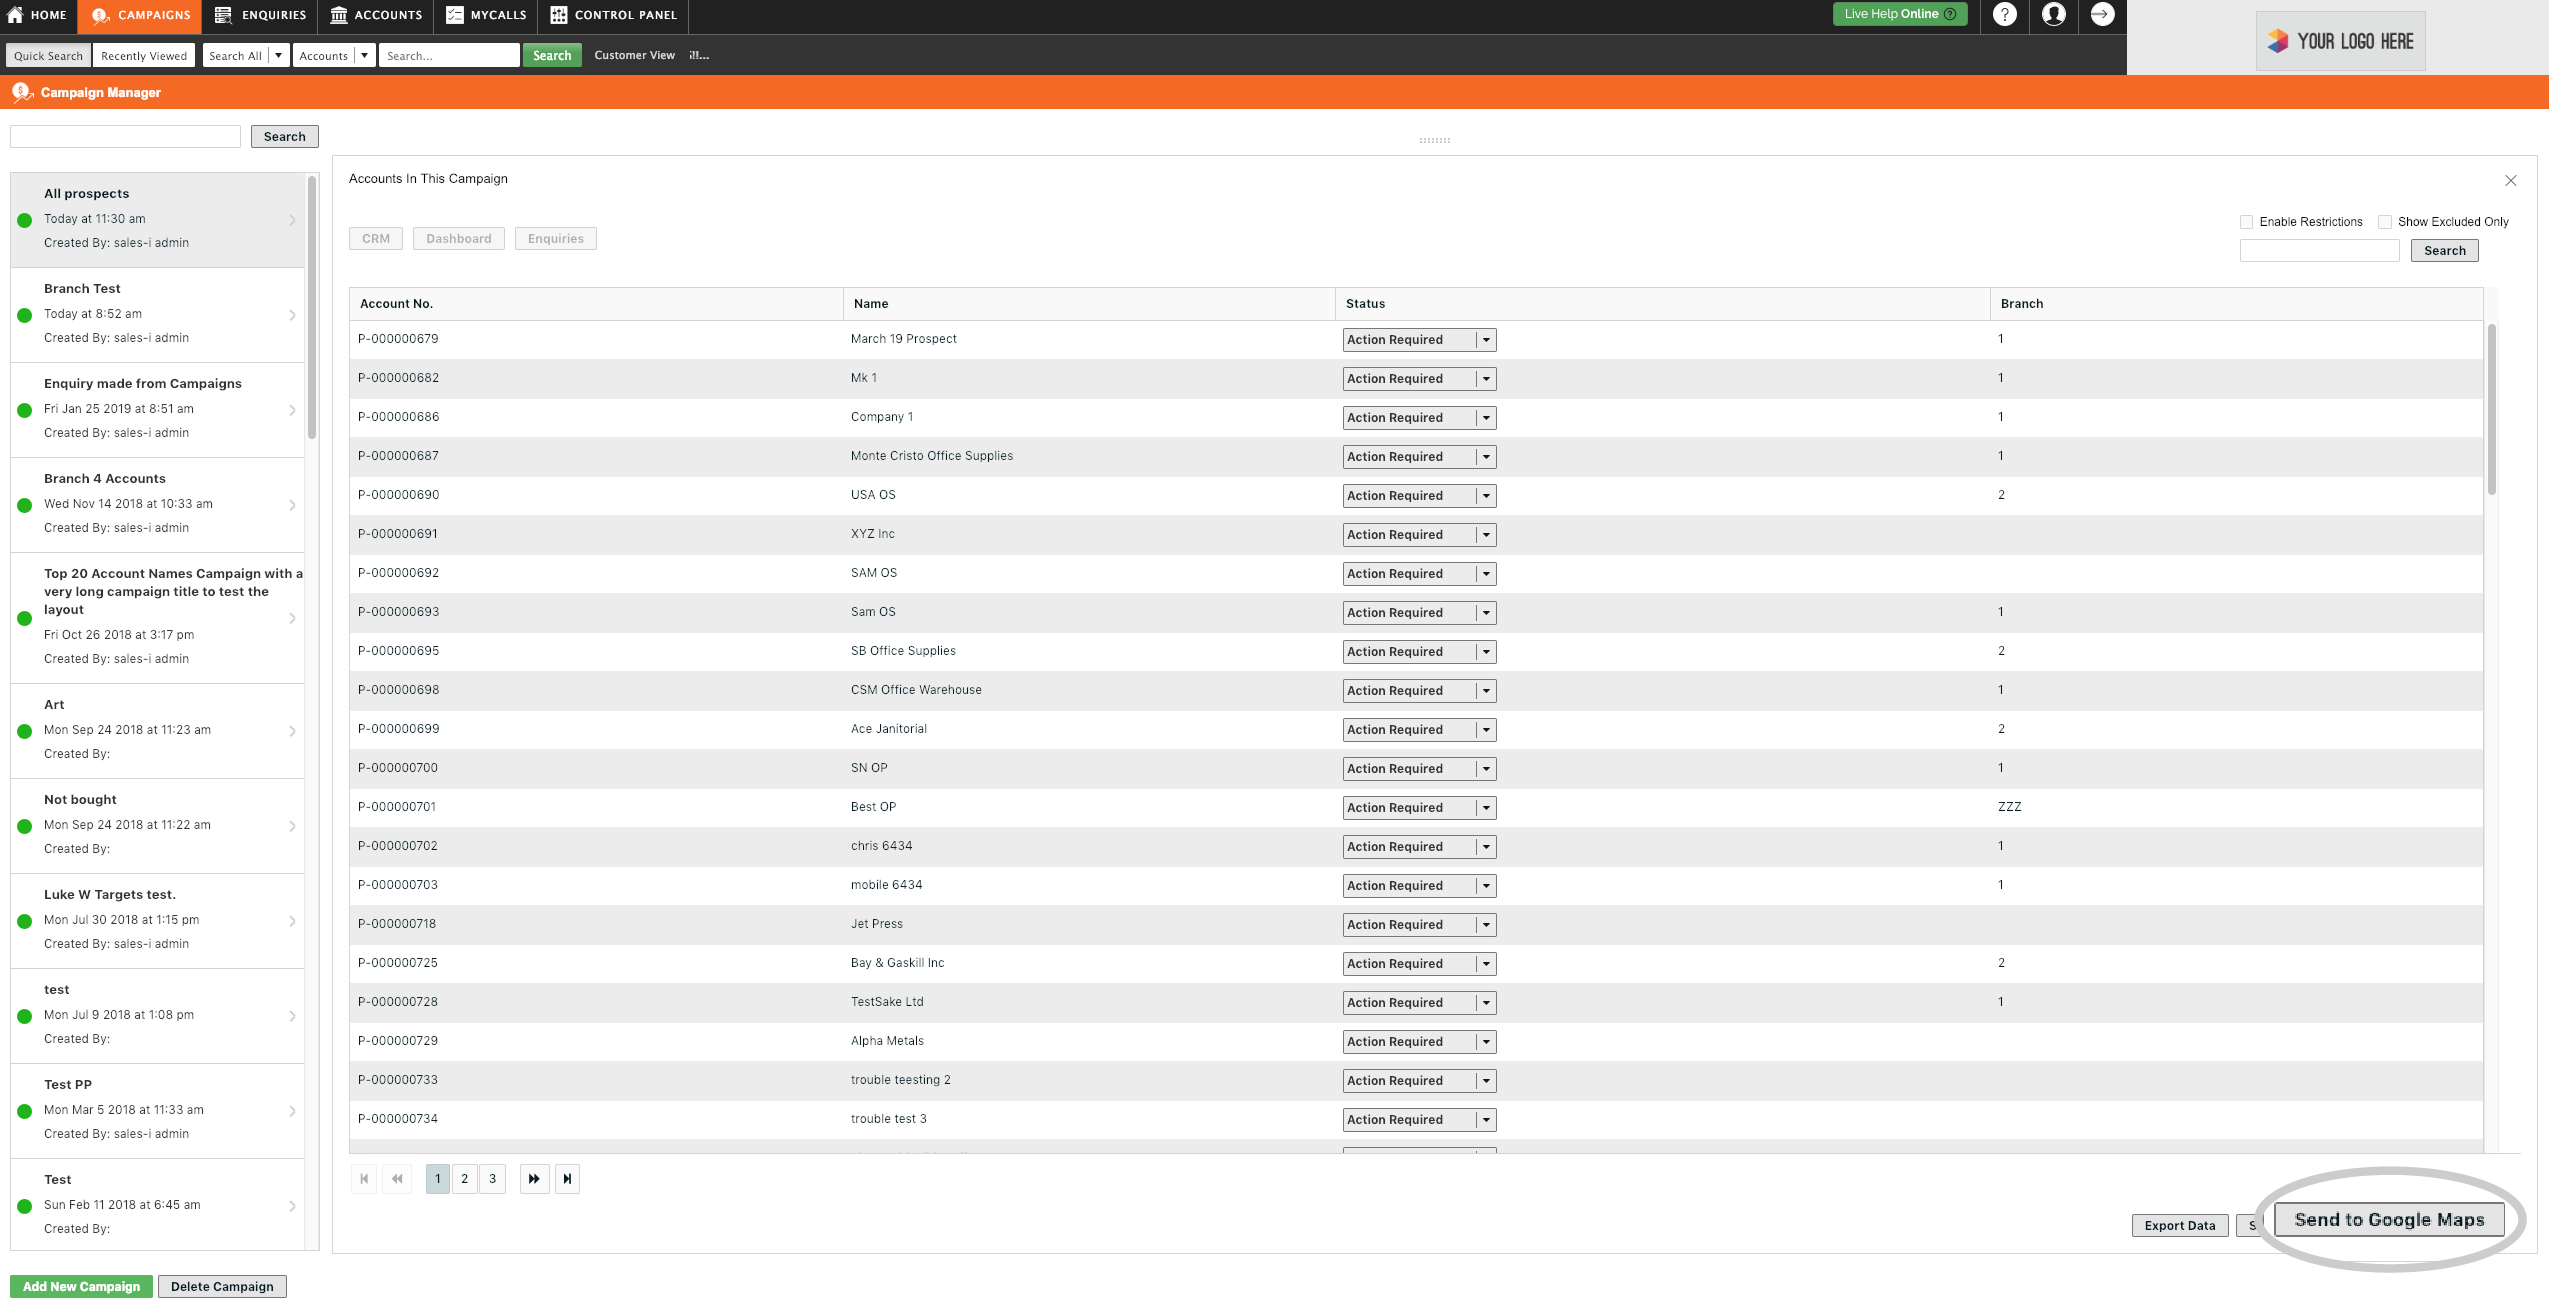
Step 12: Select Send to Google Maps
Select Send to Google Maps in the bottom right of the window.
This will generate the map with all accounts from the campaign plotted on it.
Step 13: The results
It may take a minute or two for the locations to be plotted on the map, but all locations will appear automatically.