This is a how to guide for Power Users and will show you how to turn on the Autopilot feature for your Sales Users.
Download a PDF version
Desktop
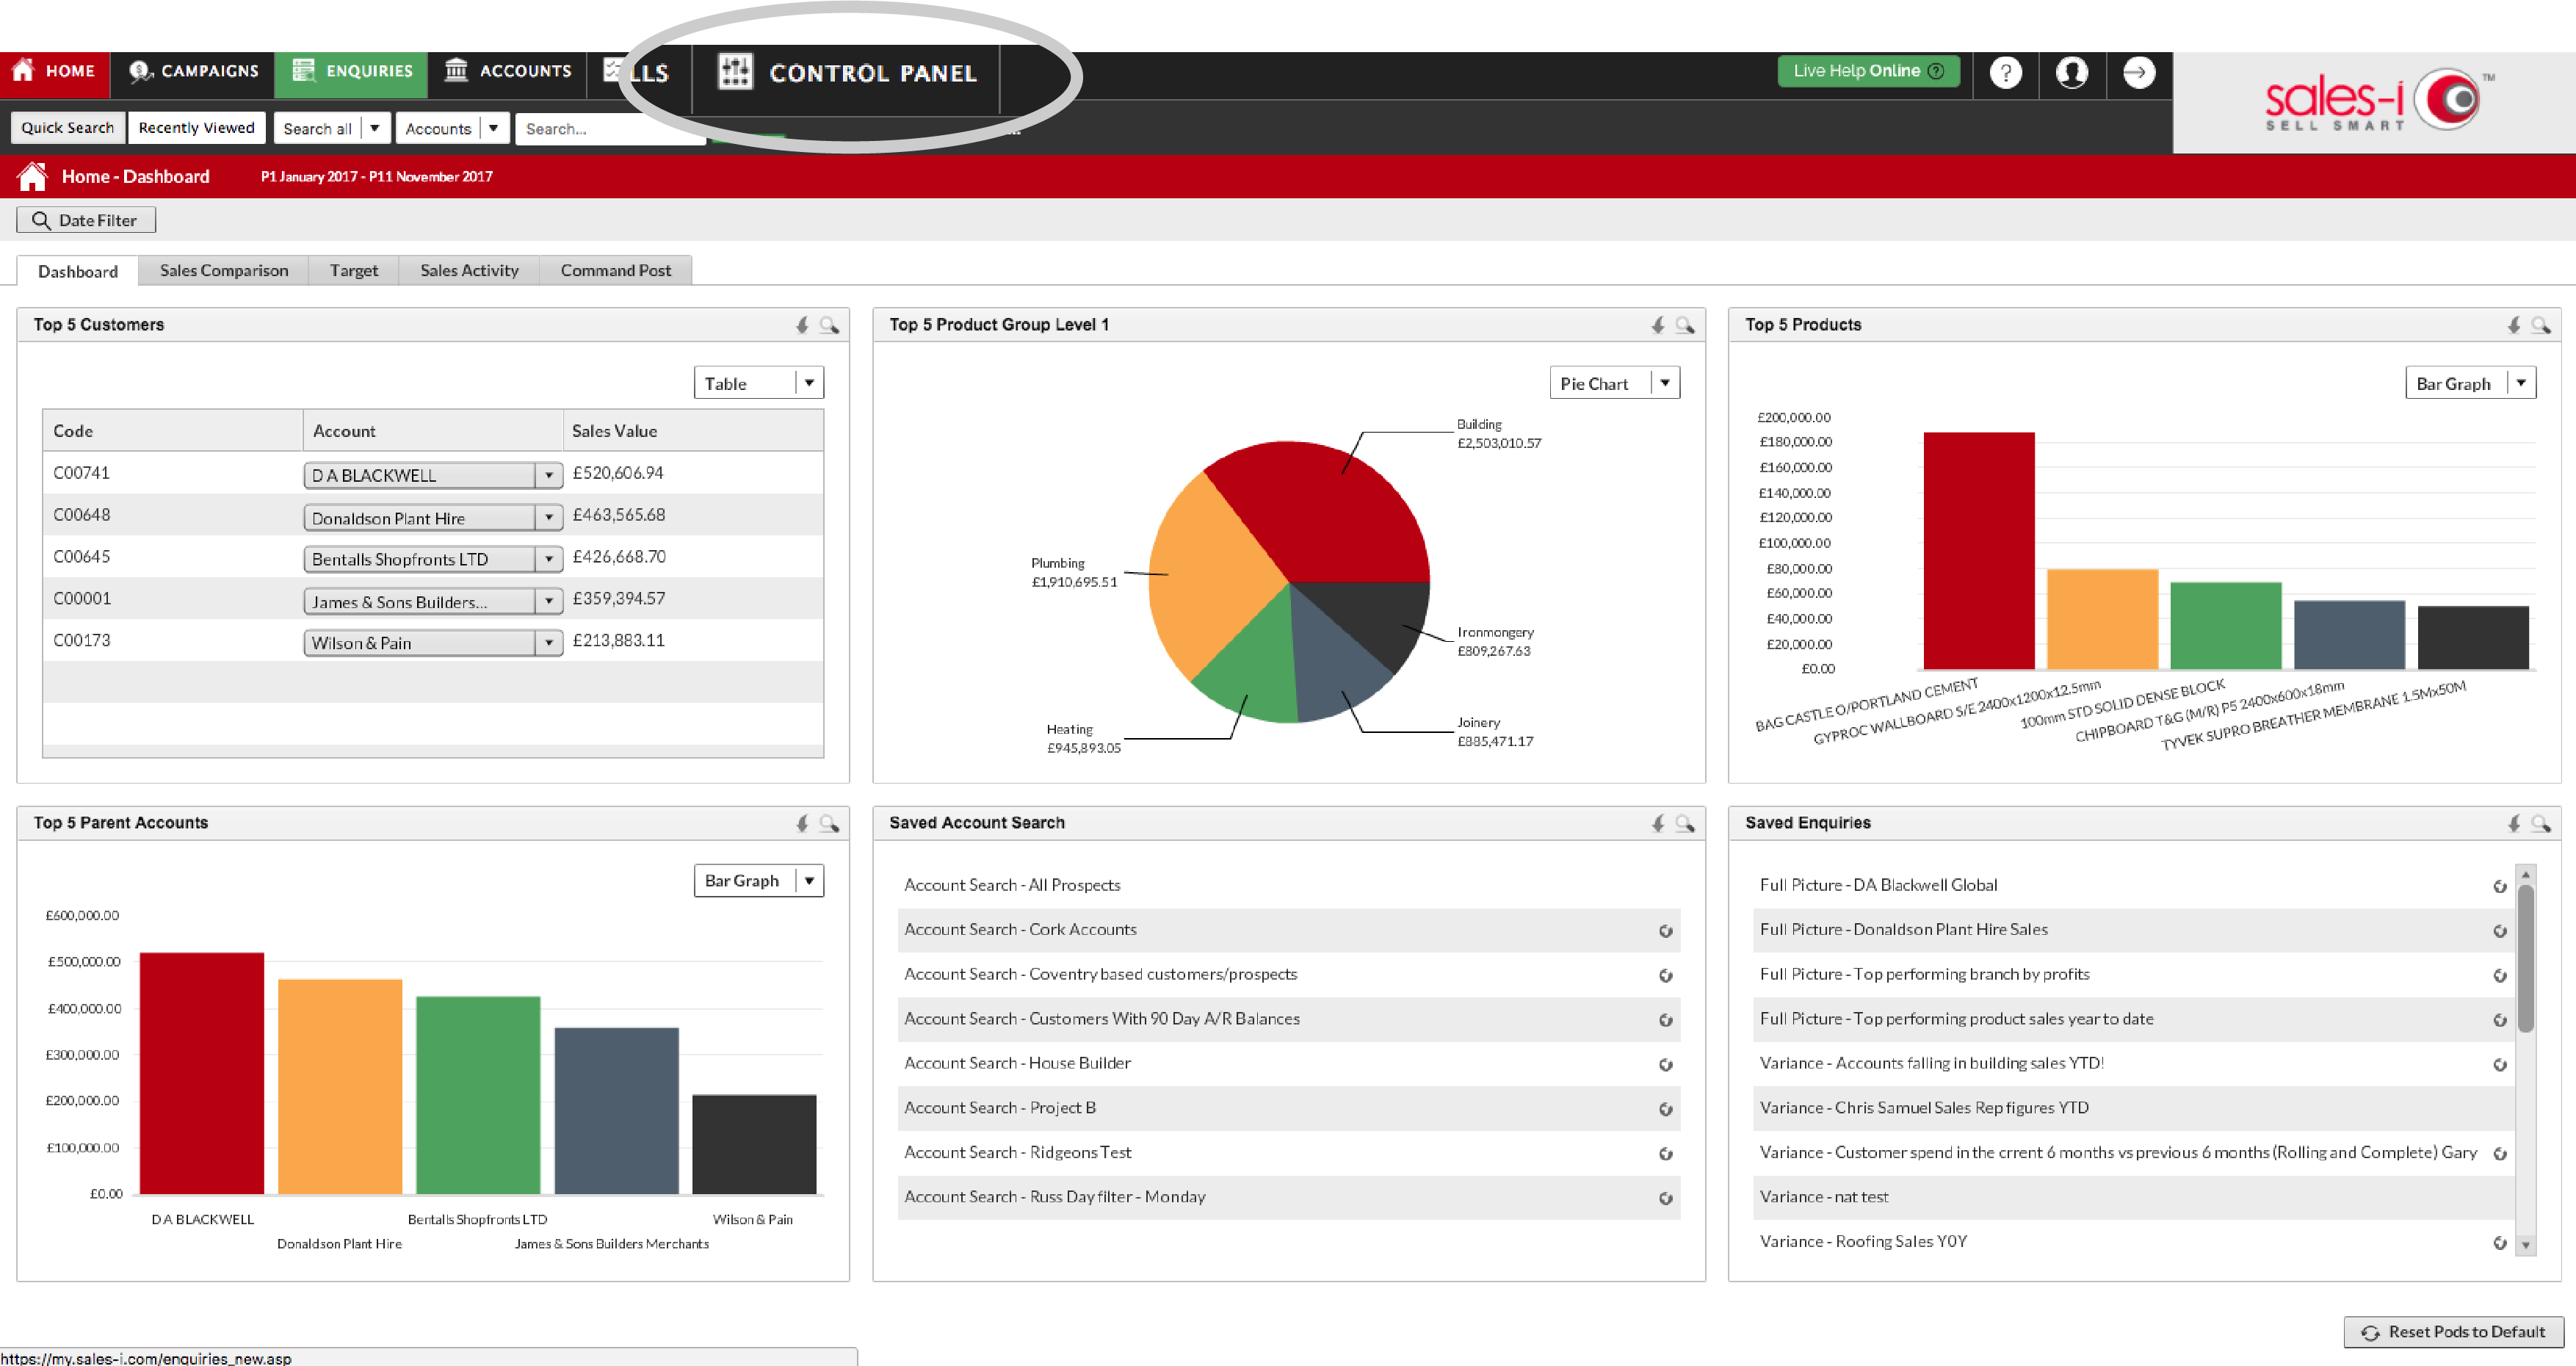
Step 1: Control Panel
Click Control Panel.
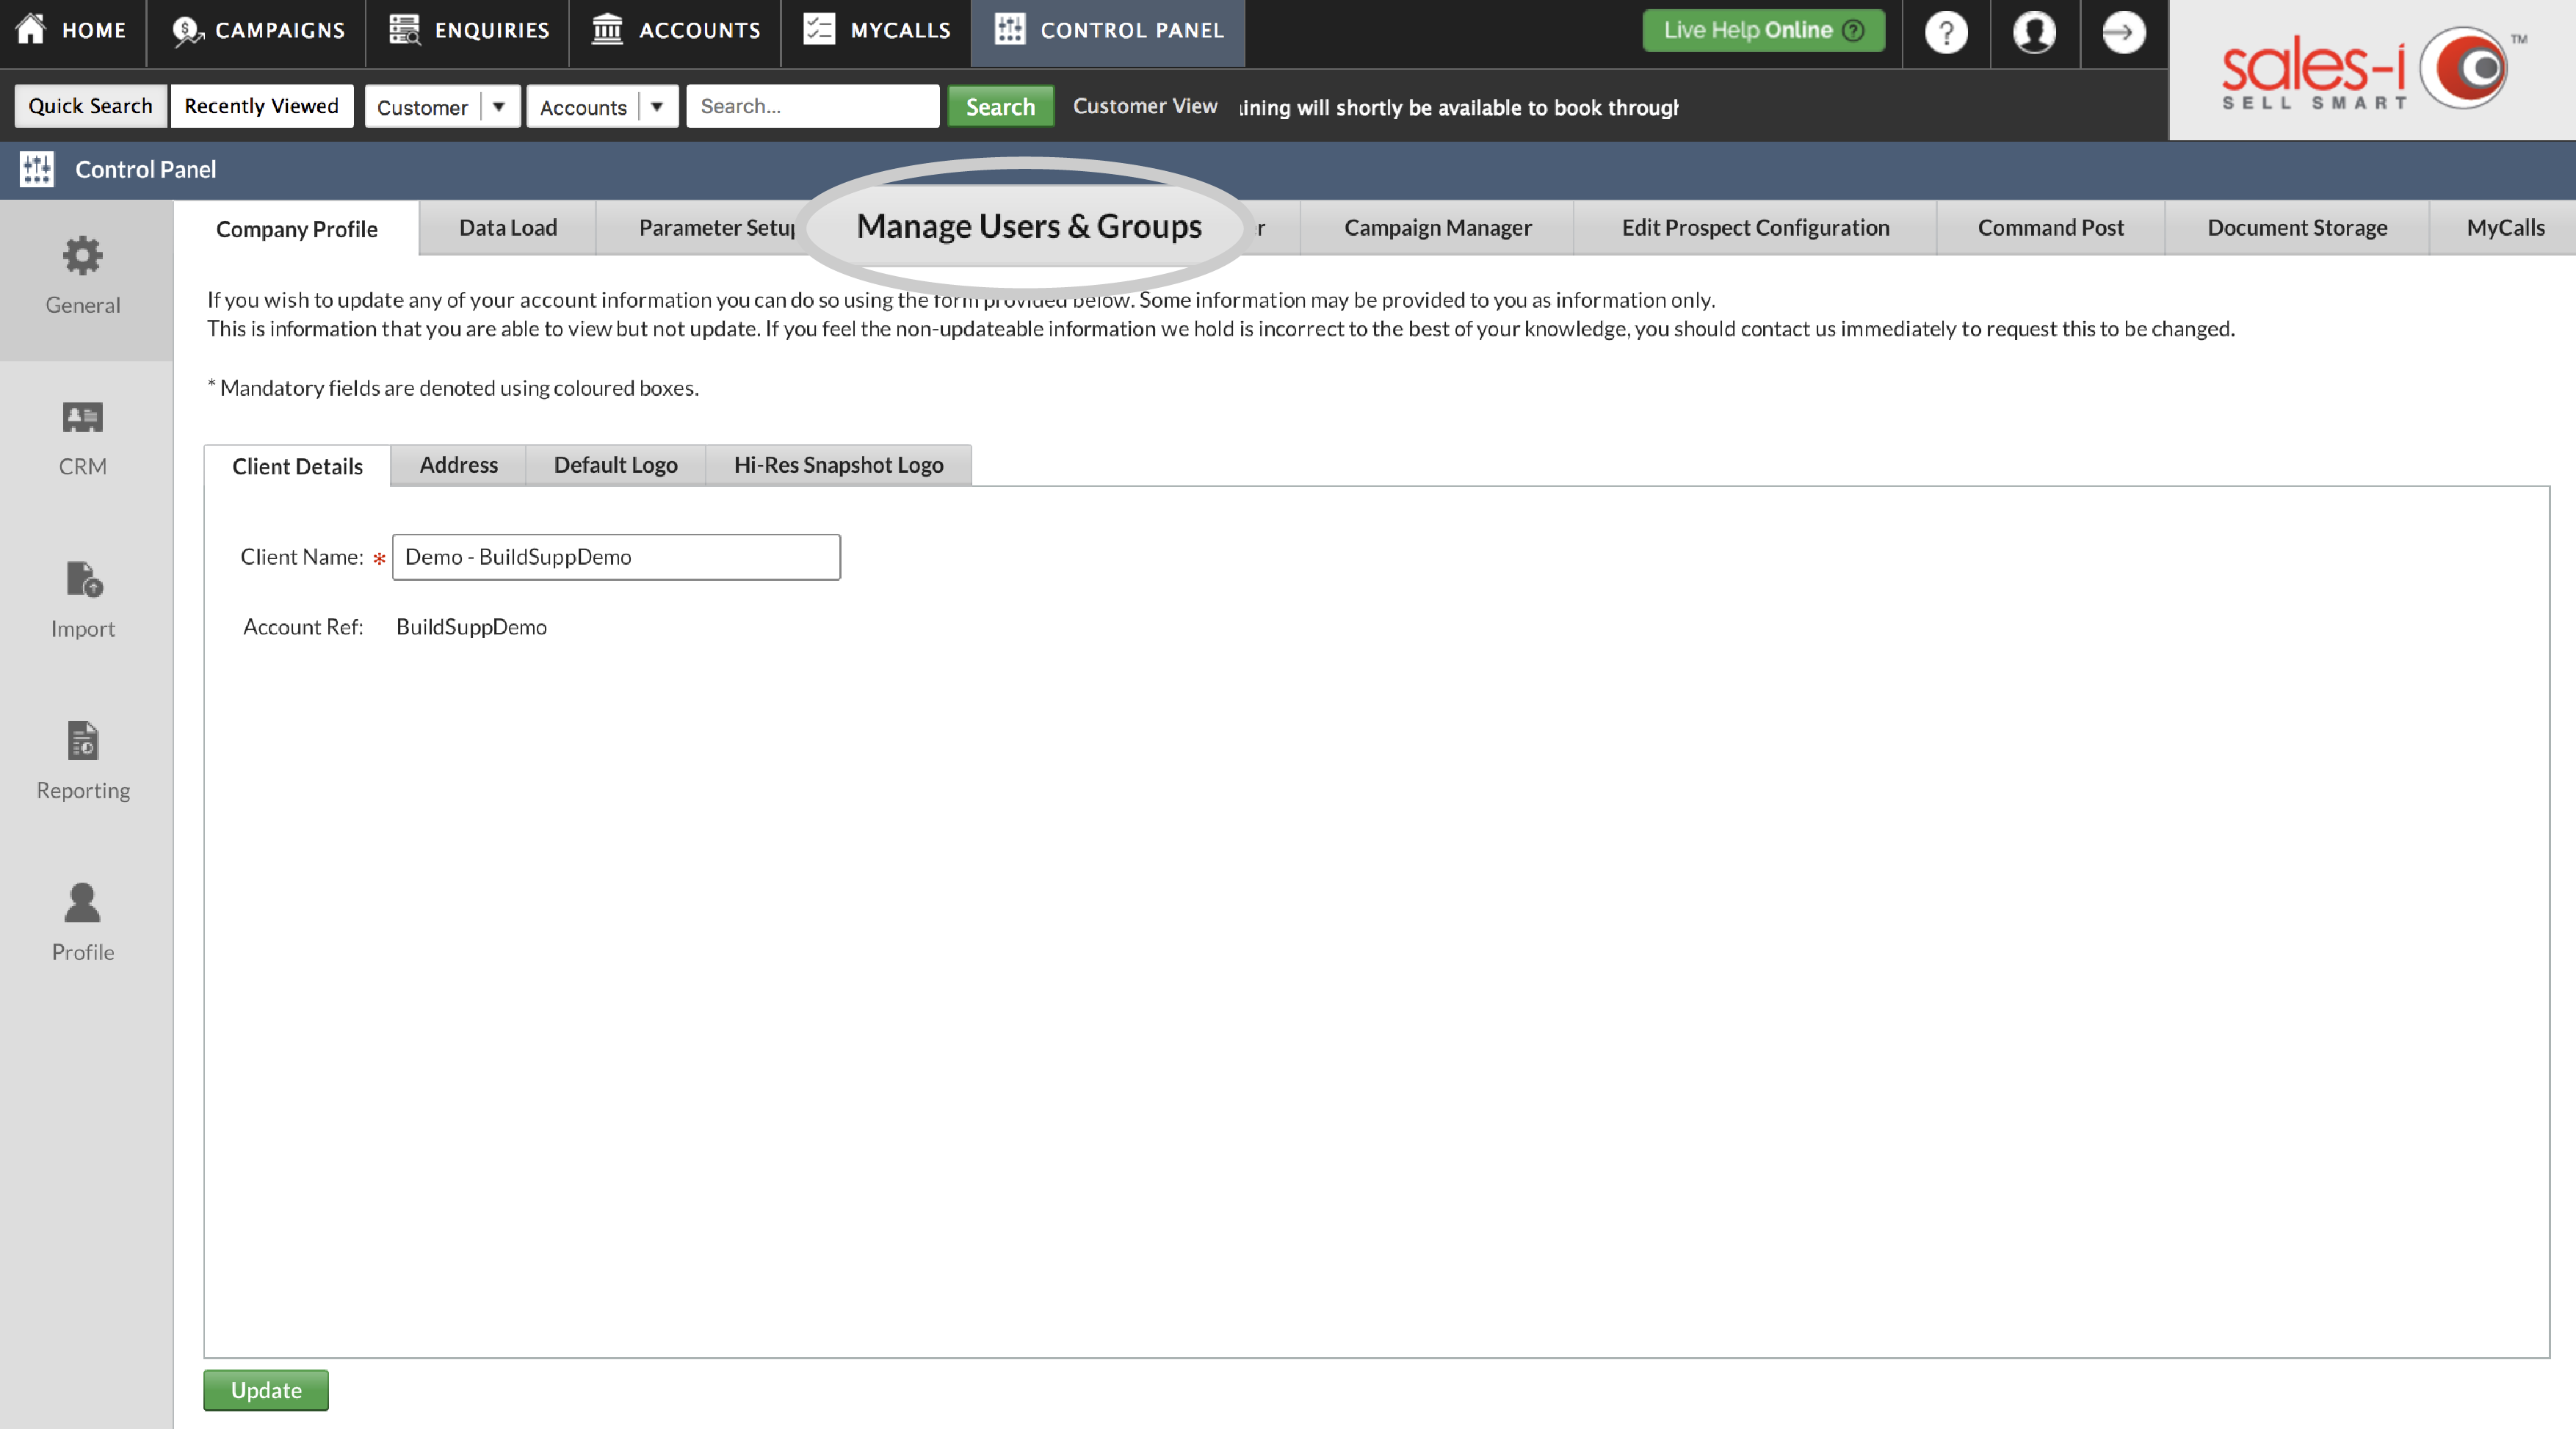
Step 2: Manage Users and Groups
Click the Manage Users and Groups/ tab.
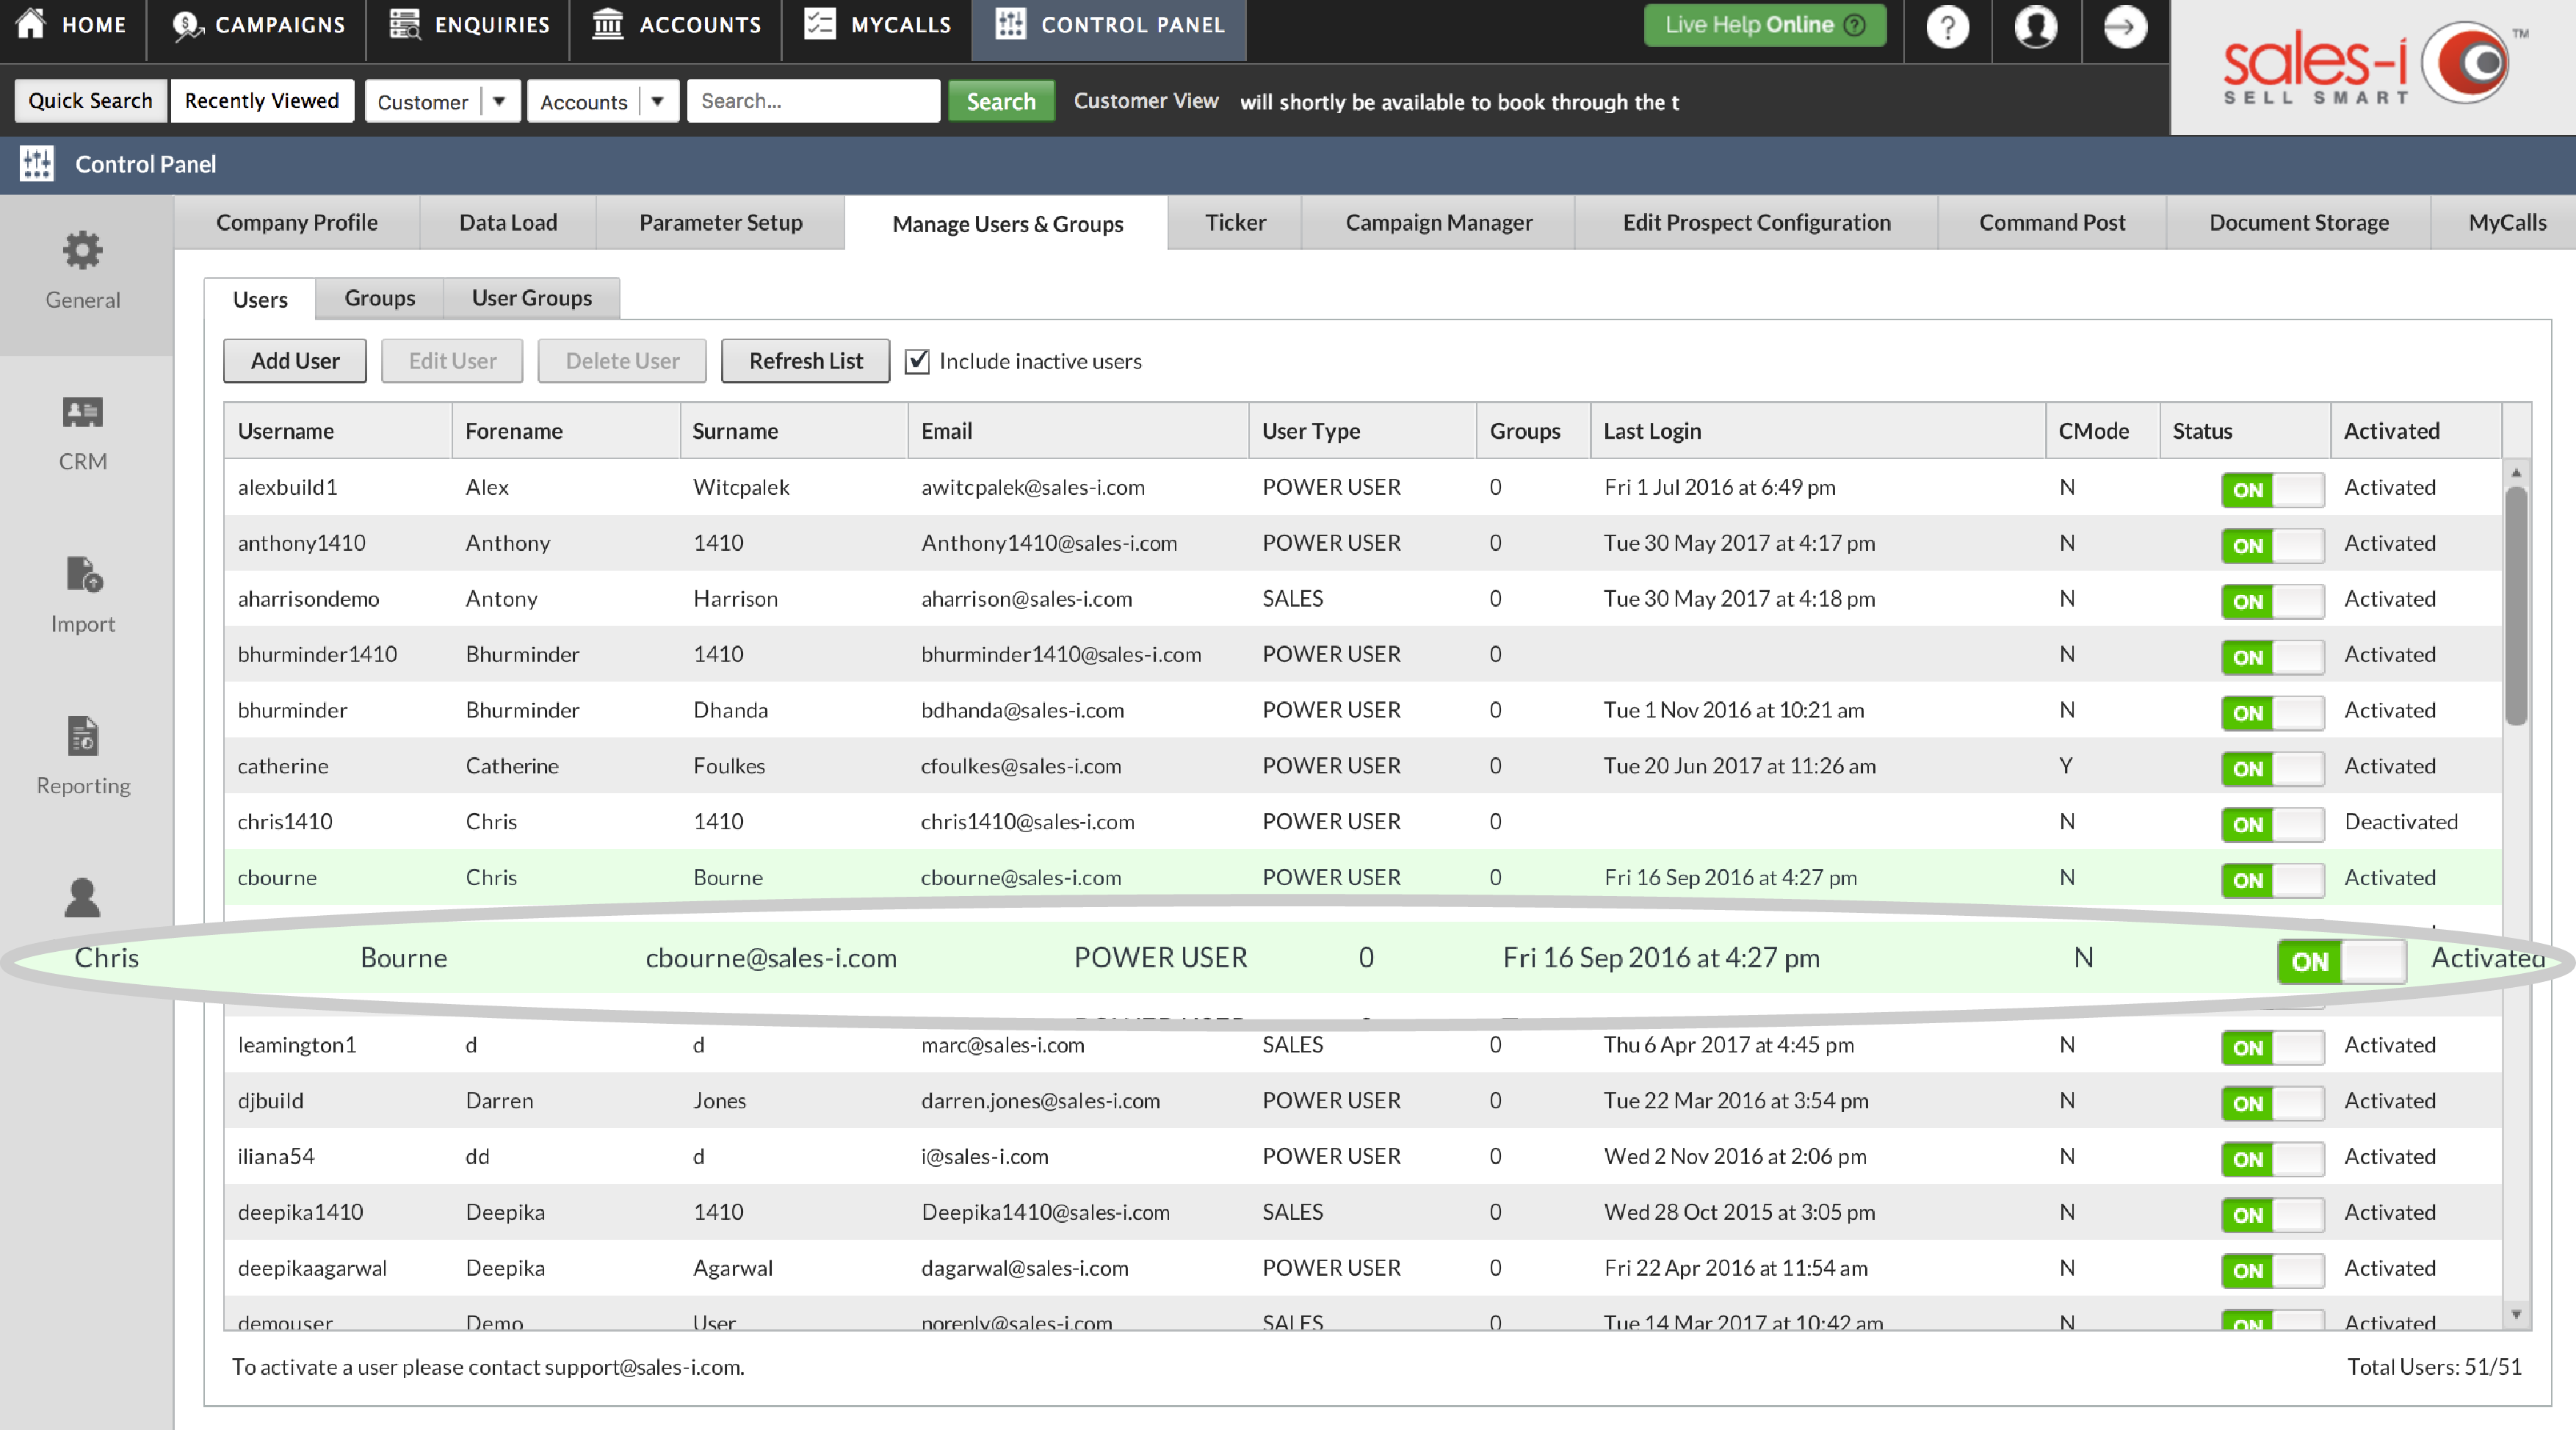
Step 3: Select Customer
From the list of your users, scroll down and find the one you want to turn Autopilot on for. Once you’ve found them, double-click on them to open their settings.
Note: you can also use the Parent Account bubble to see overall spend for that customer, as opposed to spend for each delivery address separately.
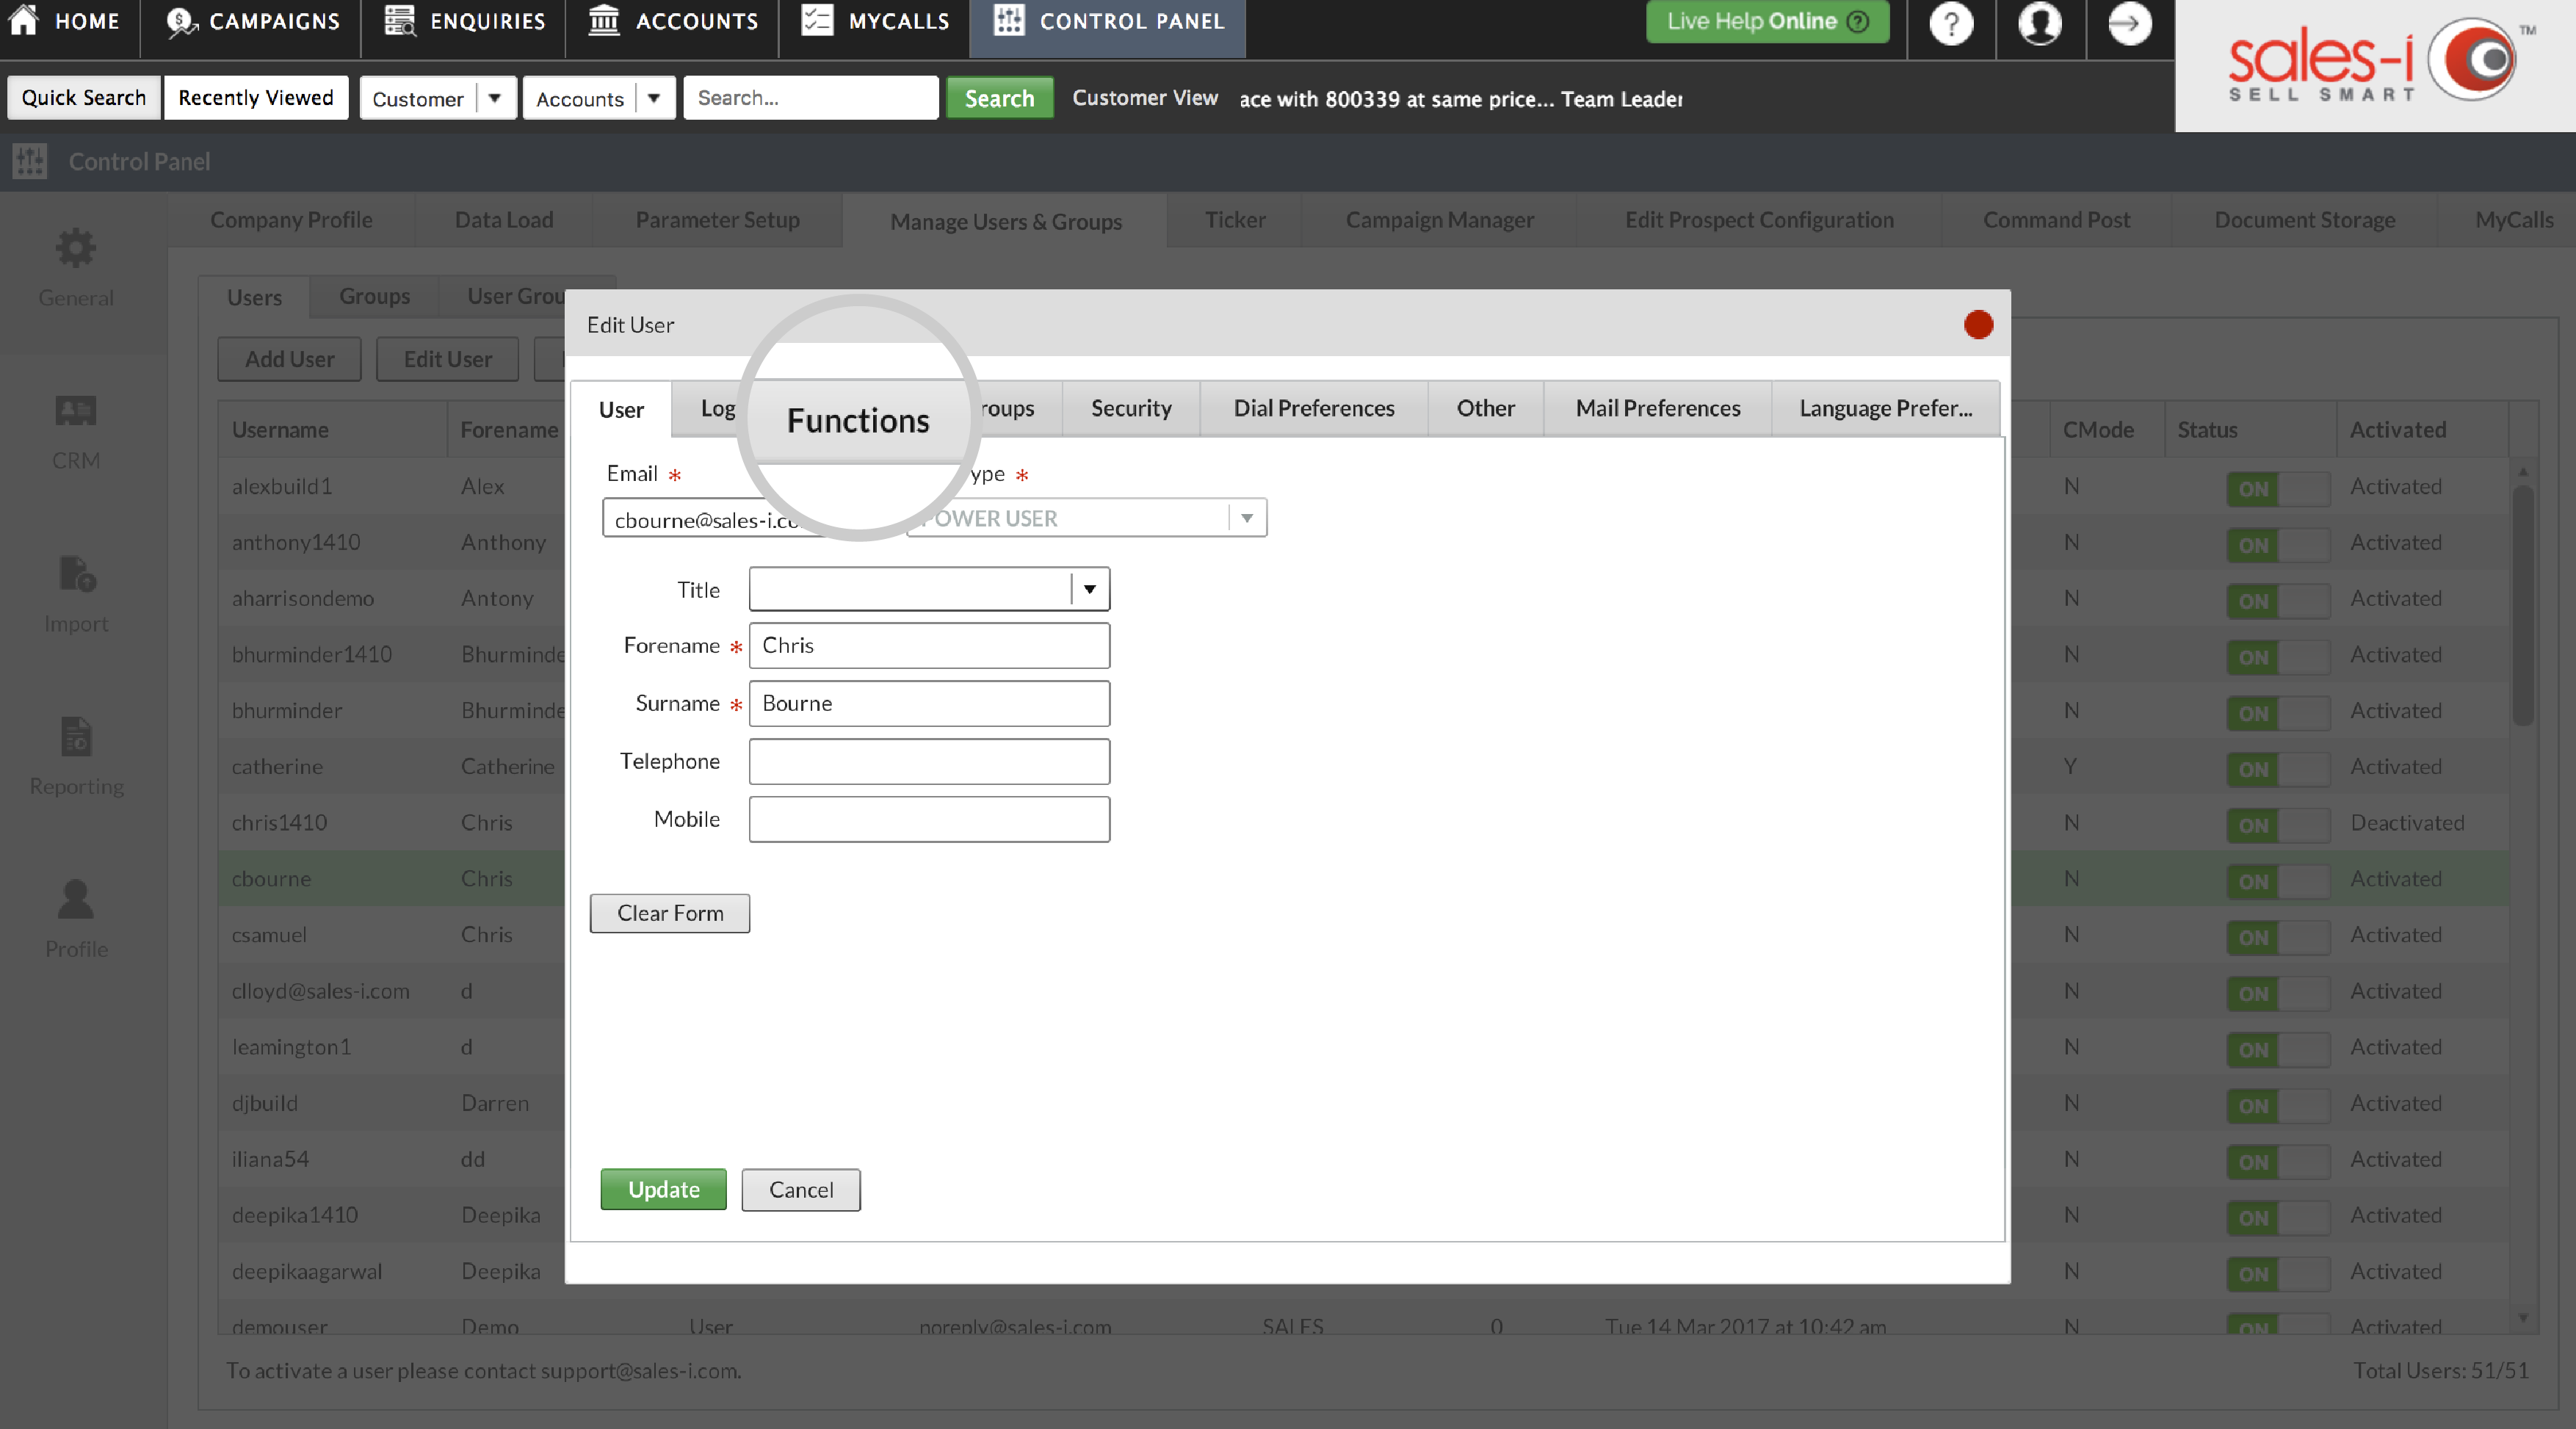
Step 4: Functions Tab
From here, click on the Functions tab.
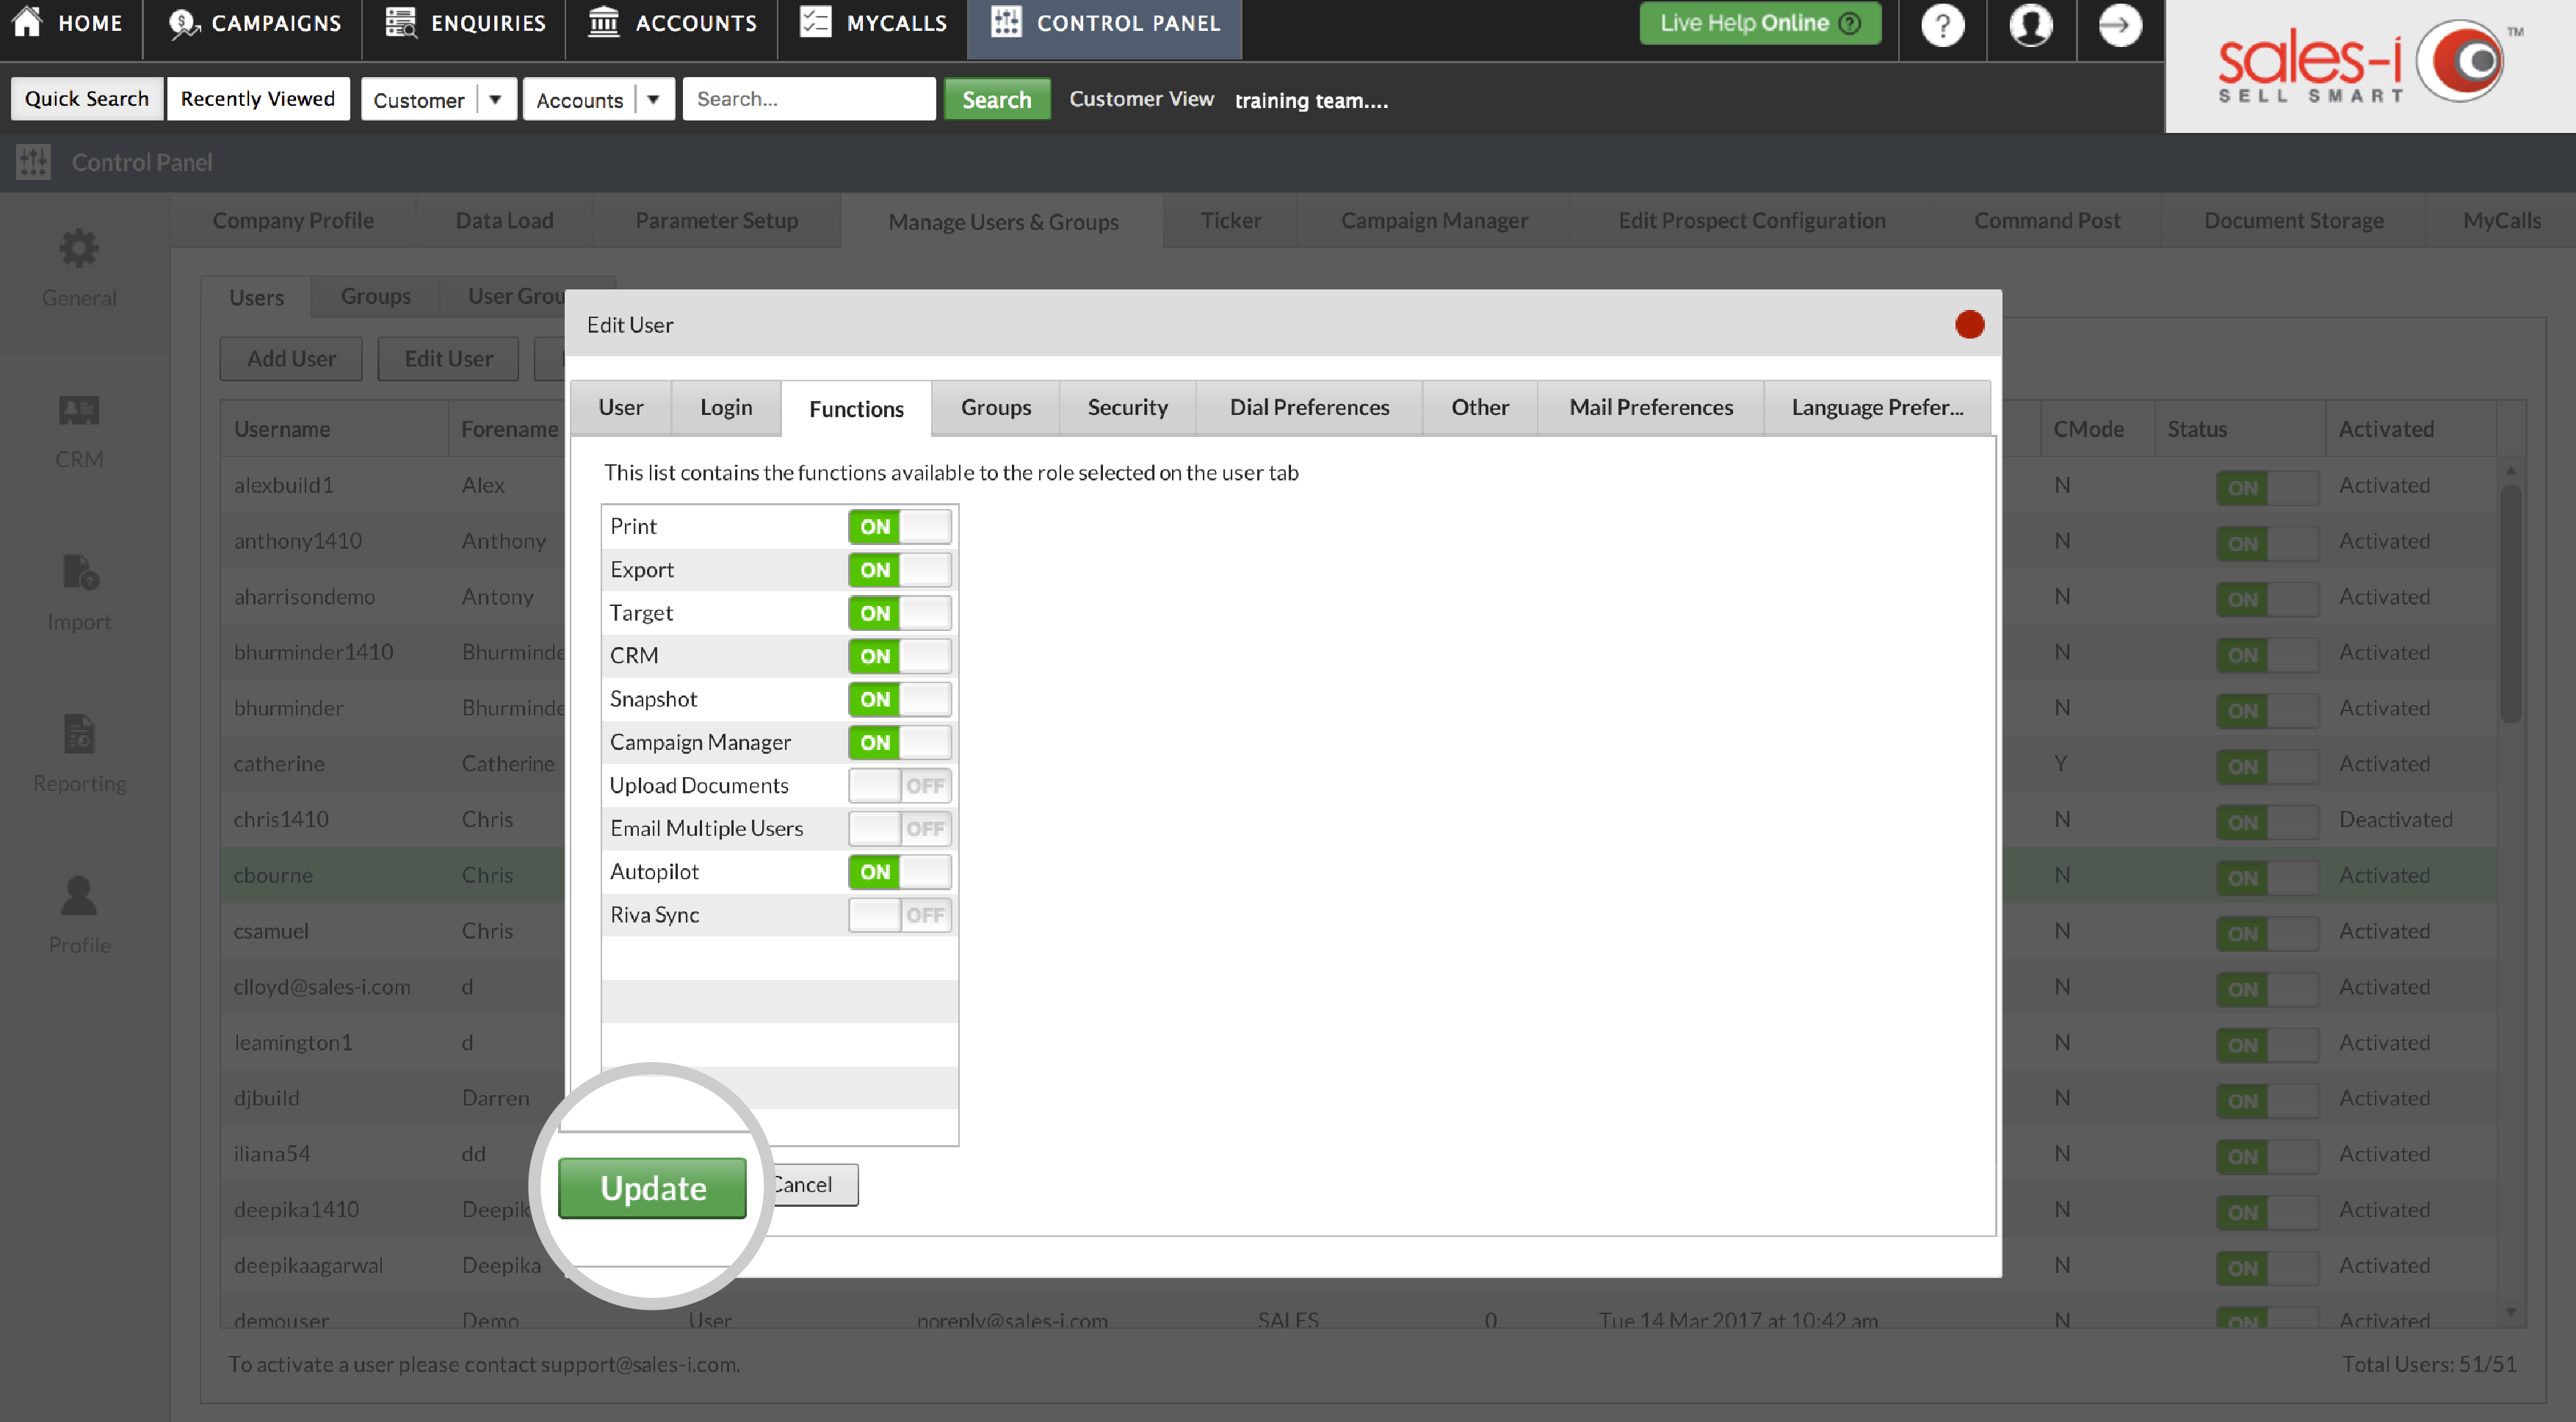
Step 5: Activate Autopilot
Now, make sure that Autopilot is turned on and, when it is, click the green Update button.
Please Note: if there’s no Autopilot tab , please get in touch with the support team and someone will be happy to turn Autopilot on for your company.
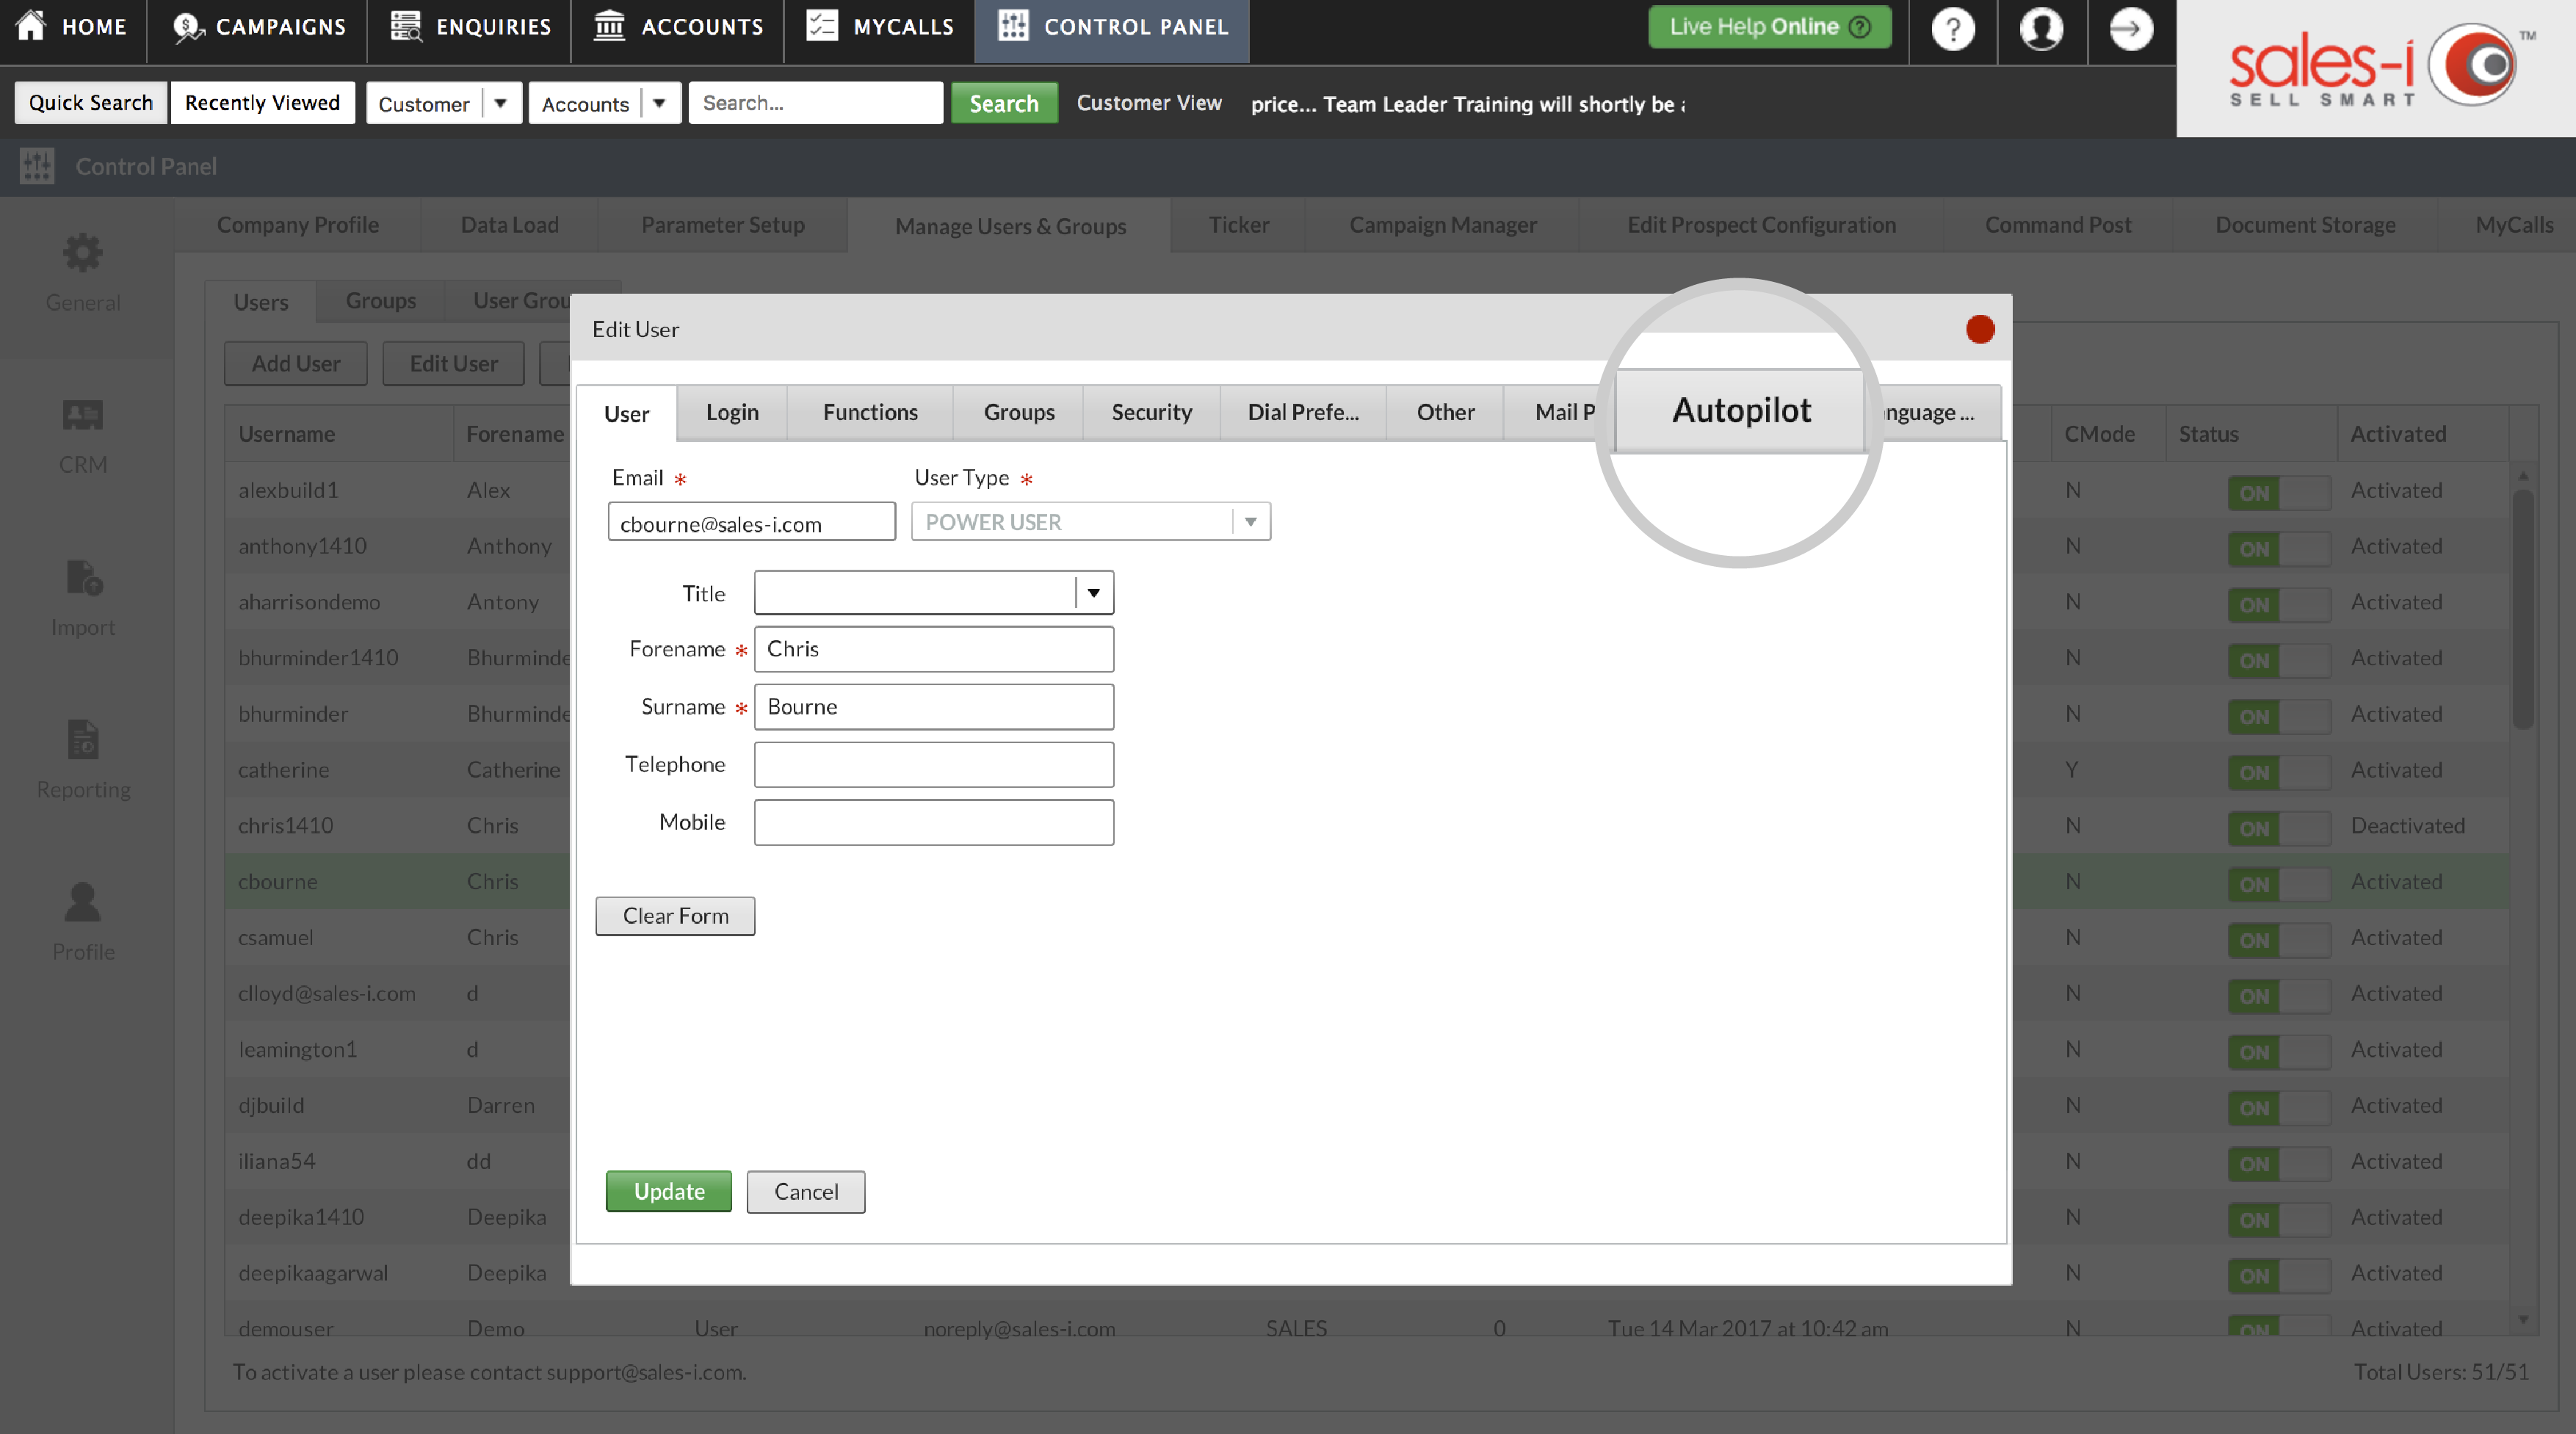
Step 6: Access Autopilot
Now that you’ve updated the user’s settings, Autopilot will be turned on. Double-click the user again and you should now have an additional tab available called Autopilot; click it.
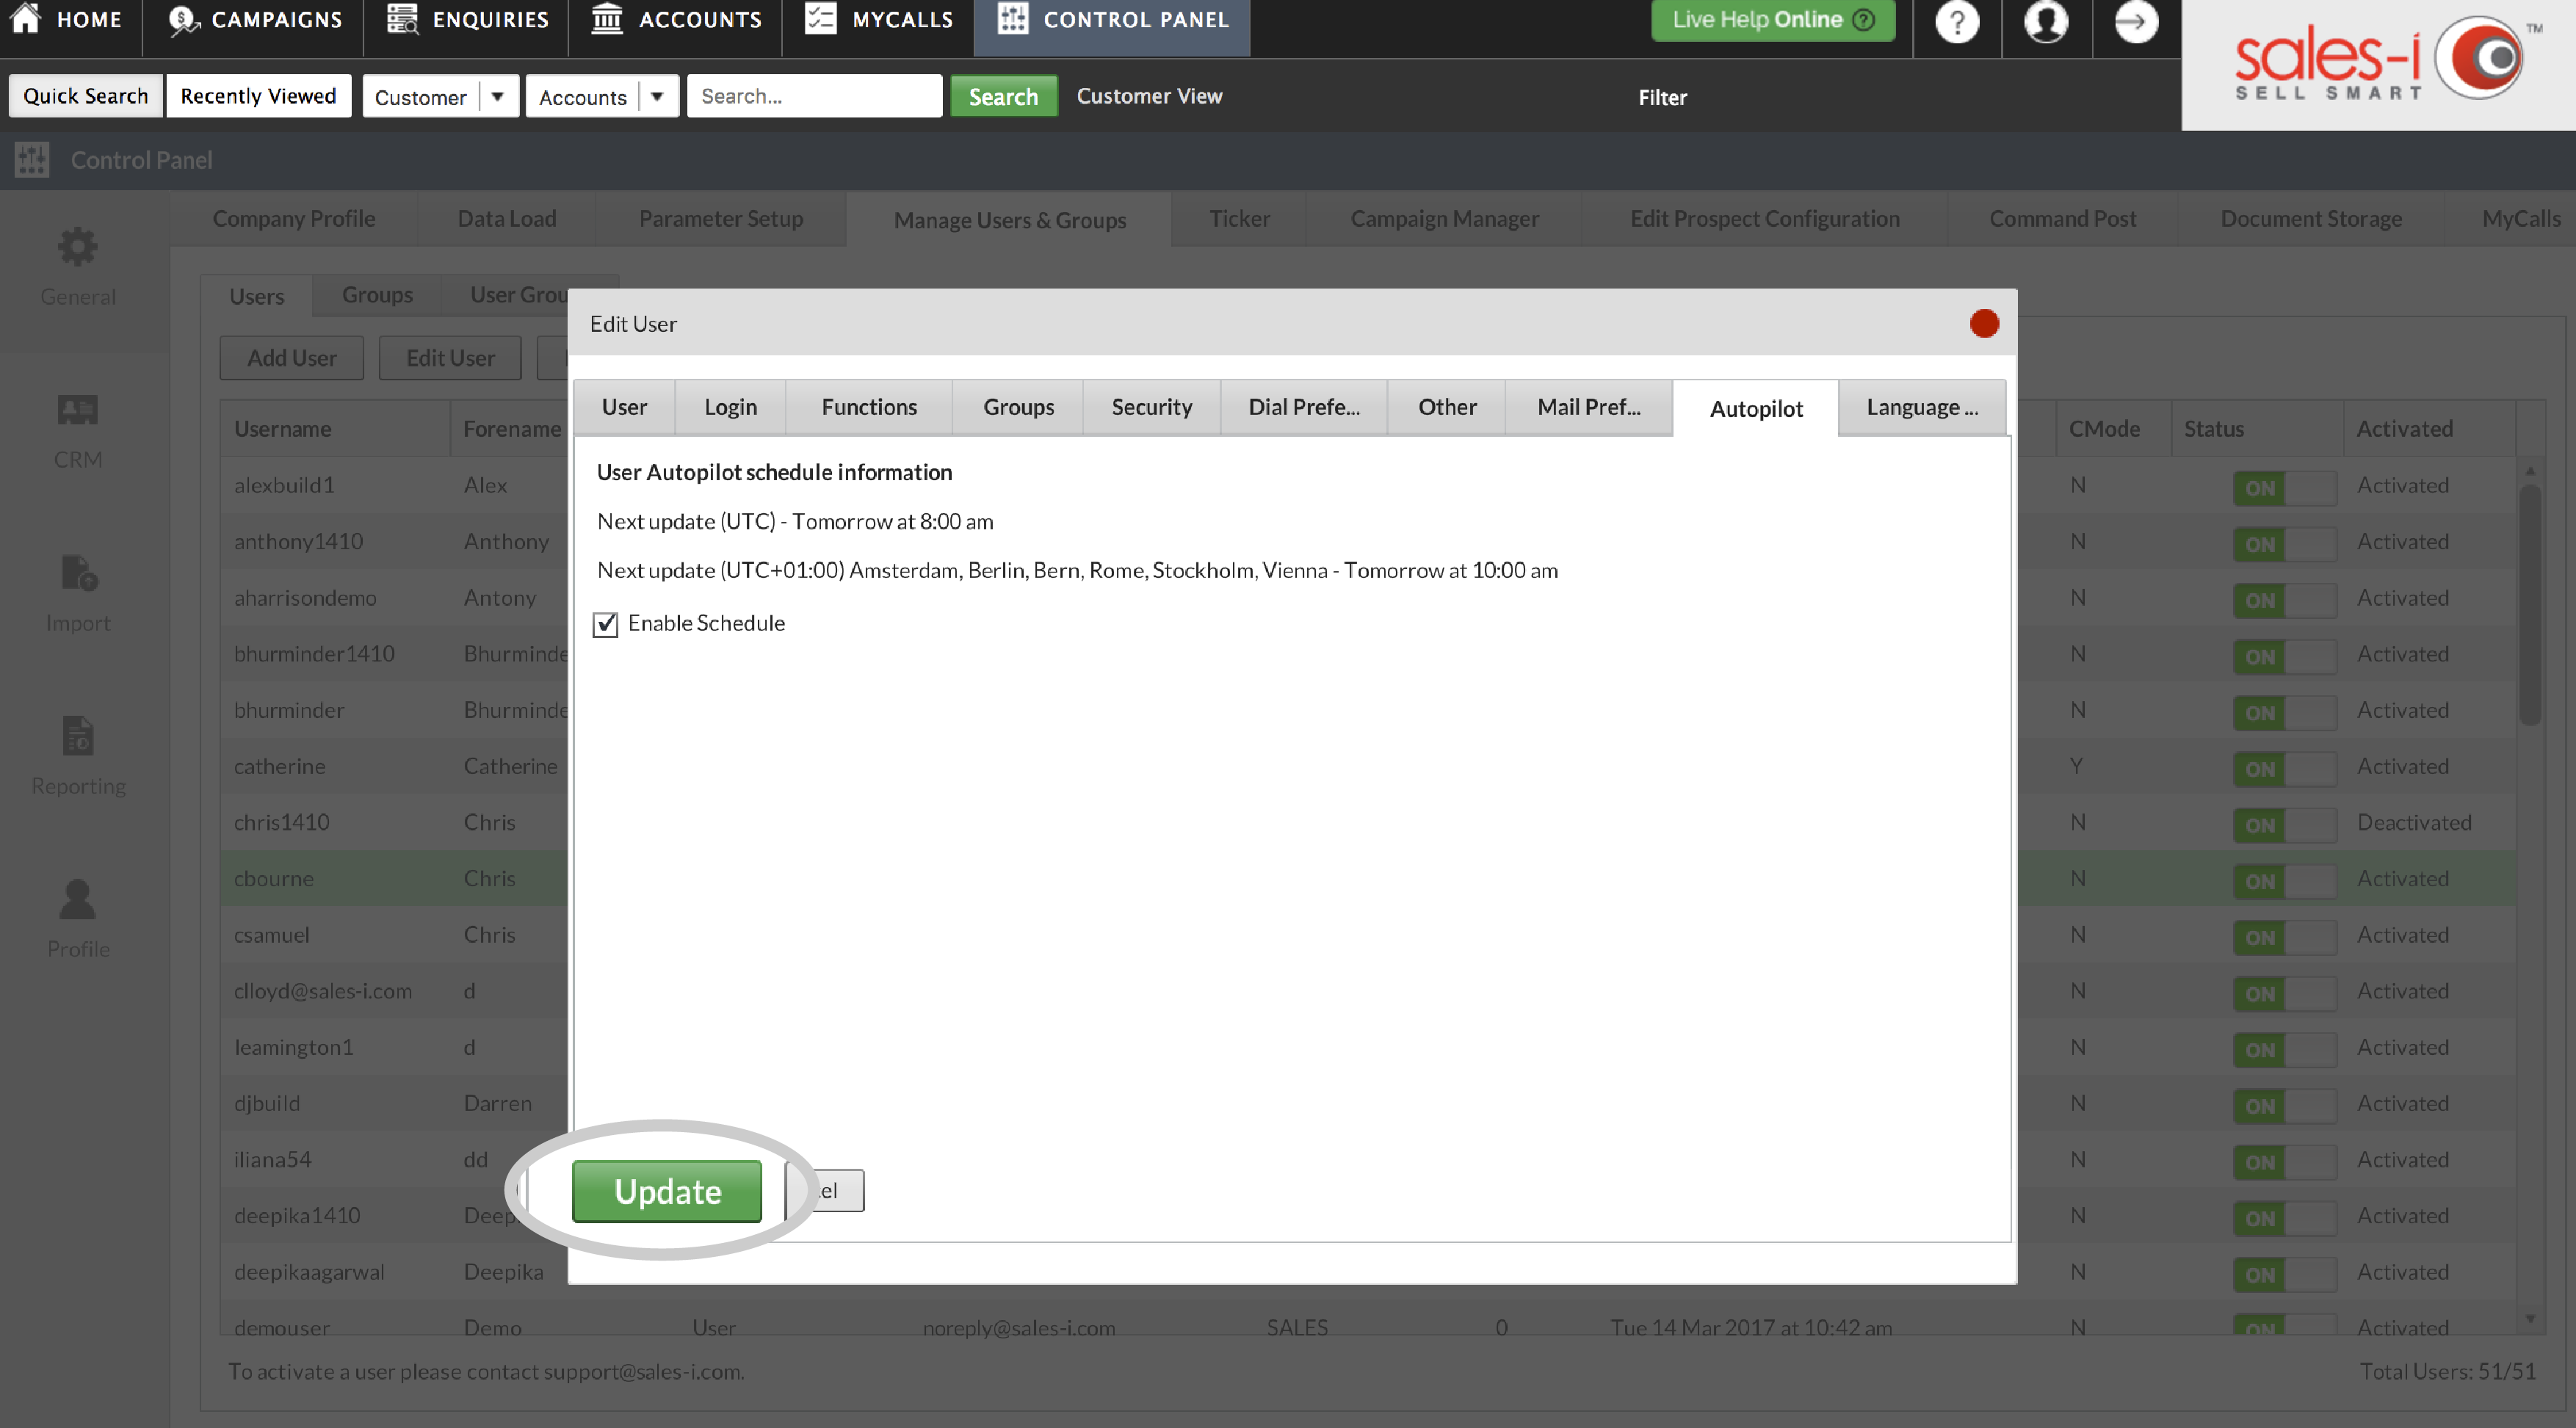
Step 7: Save Filter
There’s only one option in this screen: Enable Schedule. Make sure that this button is ticked to ensure that your users will receive updates based on their call notes.
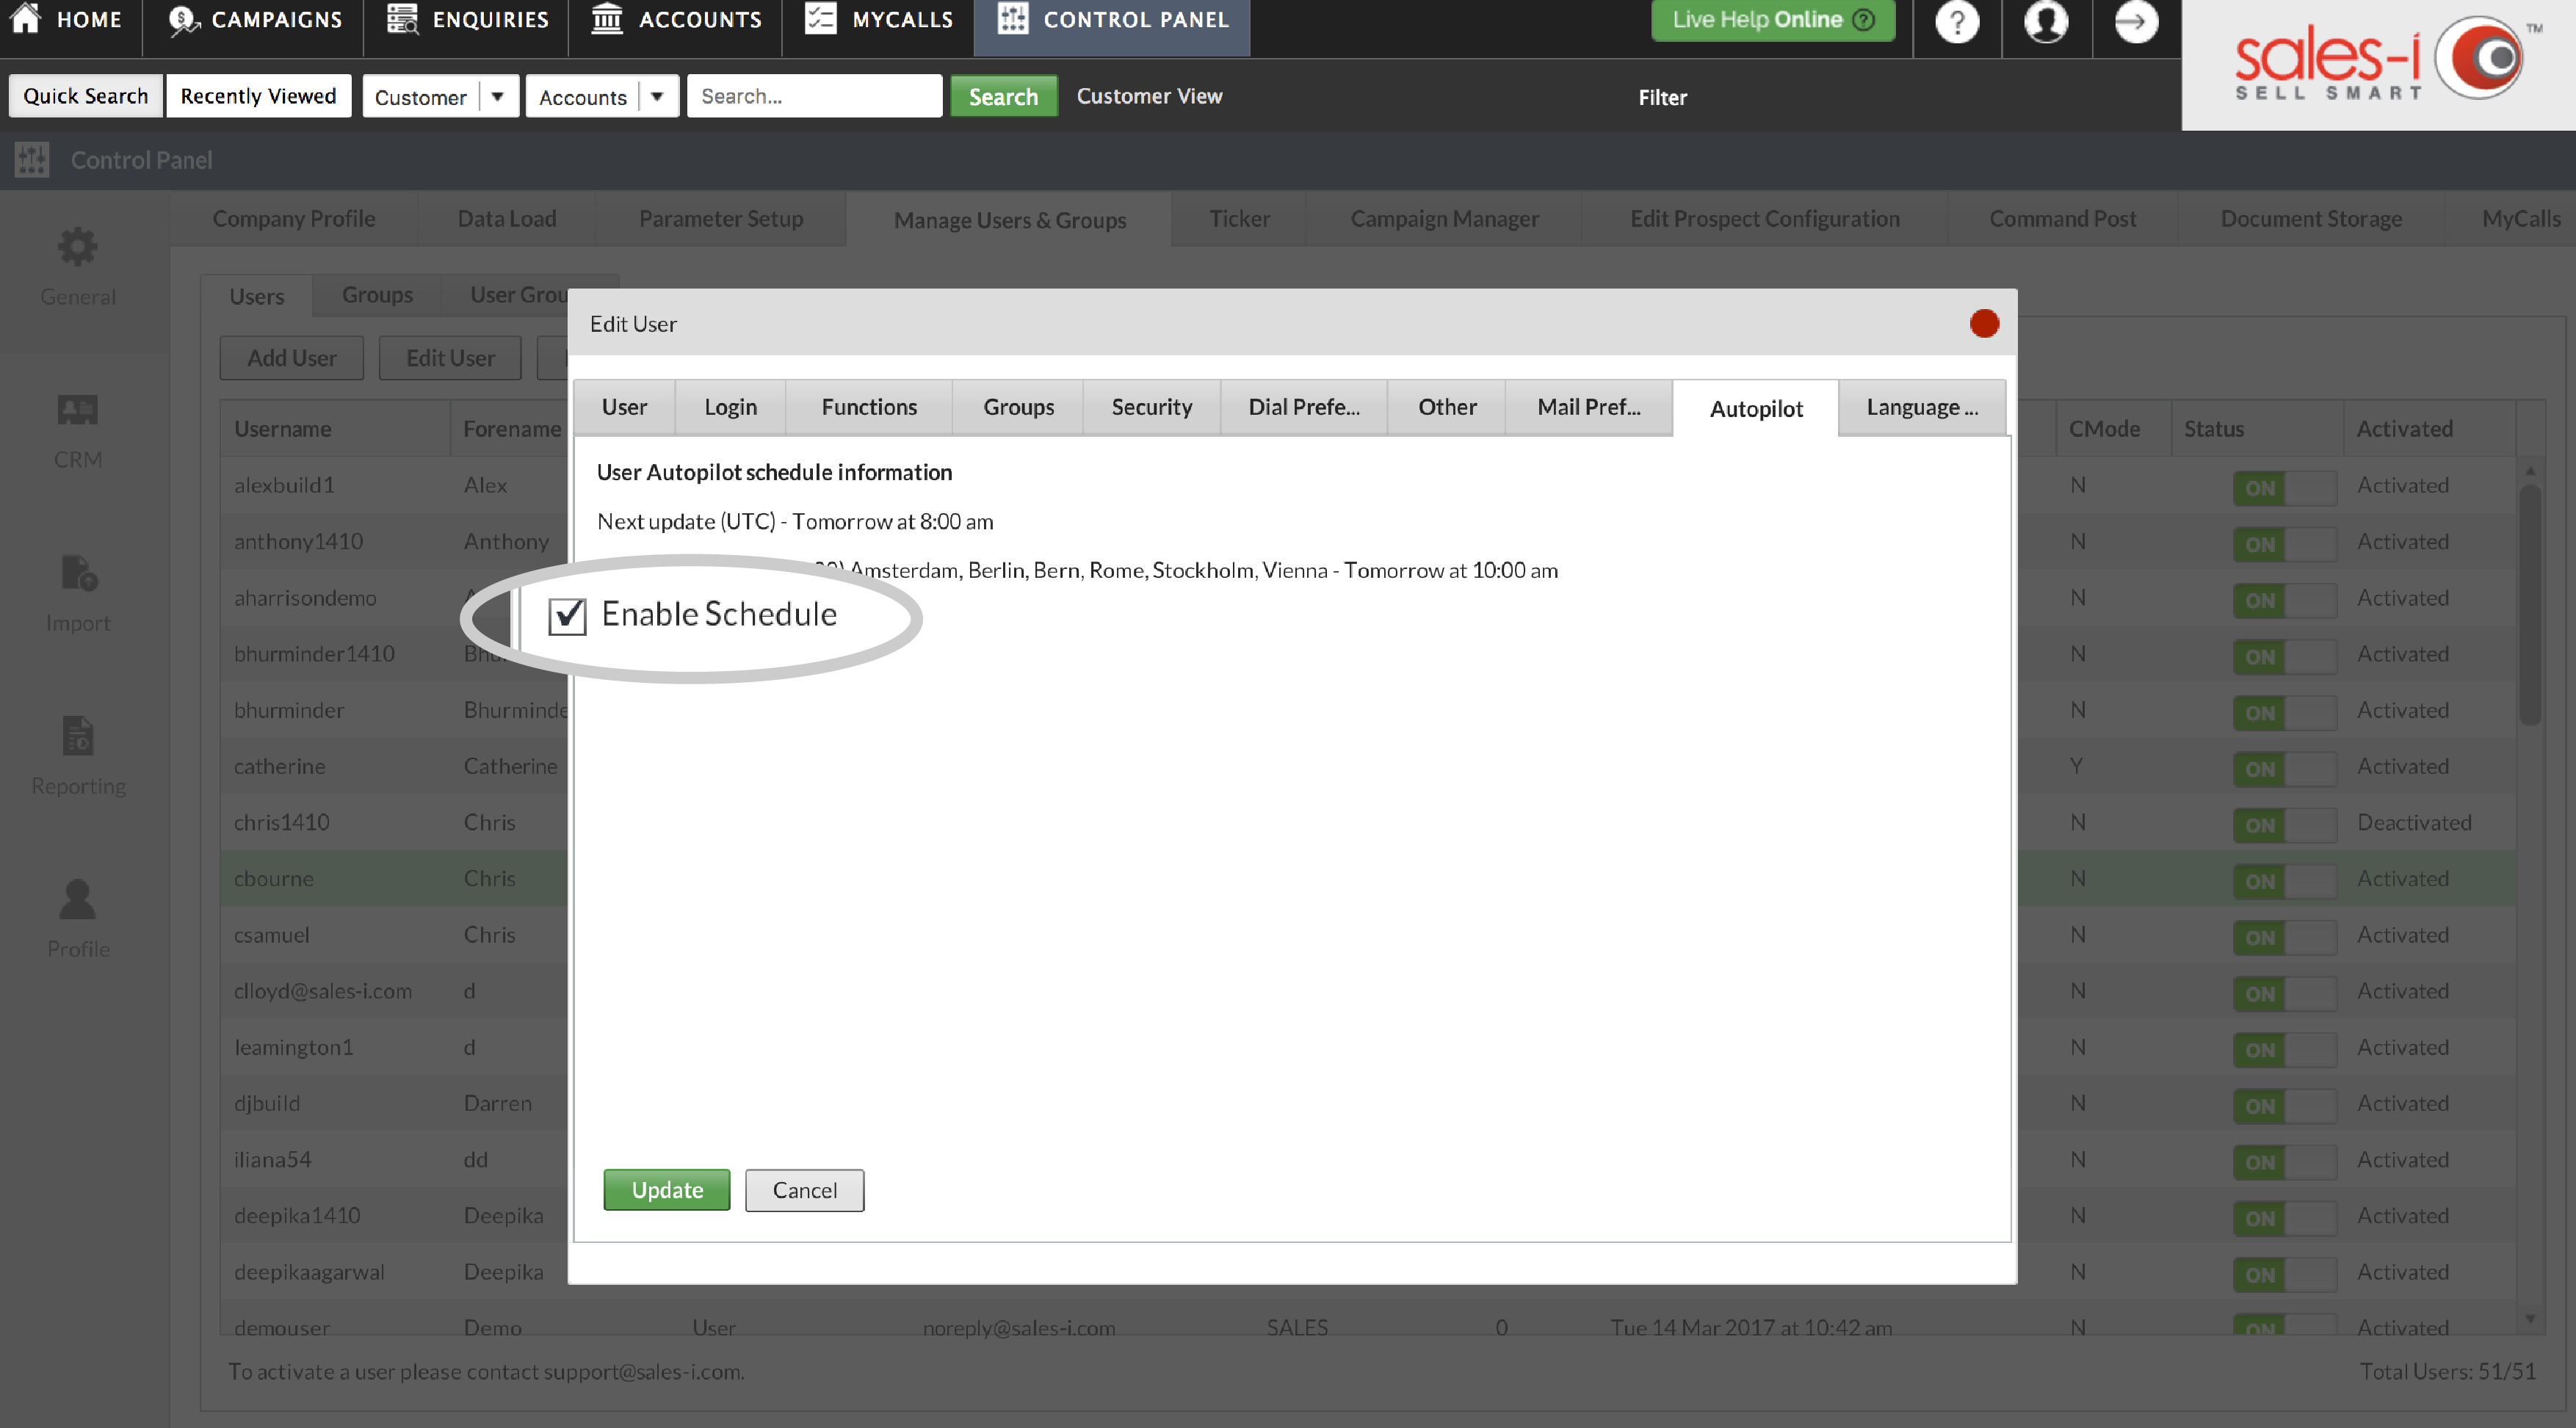
Step 8: Save Filter
Finally, click the green Update button to complete Autopilot set up for your sales user.