This guide will show you how to record notes to a customer record after a customer call/visit and e-mail these through to a customer or colleague, letting you share important messages instantly.
Desktop
Download a PDF version
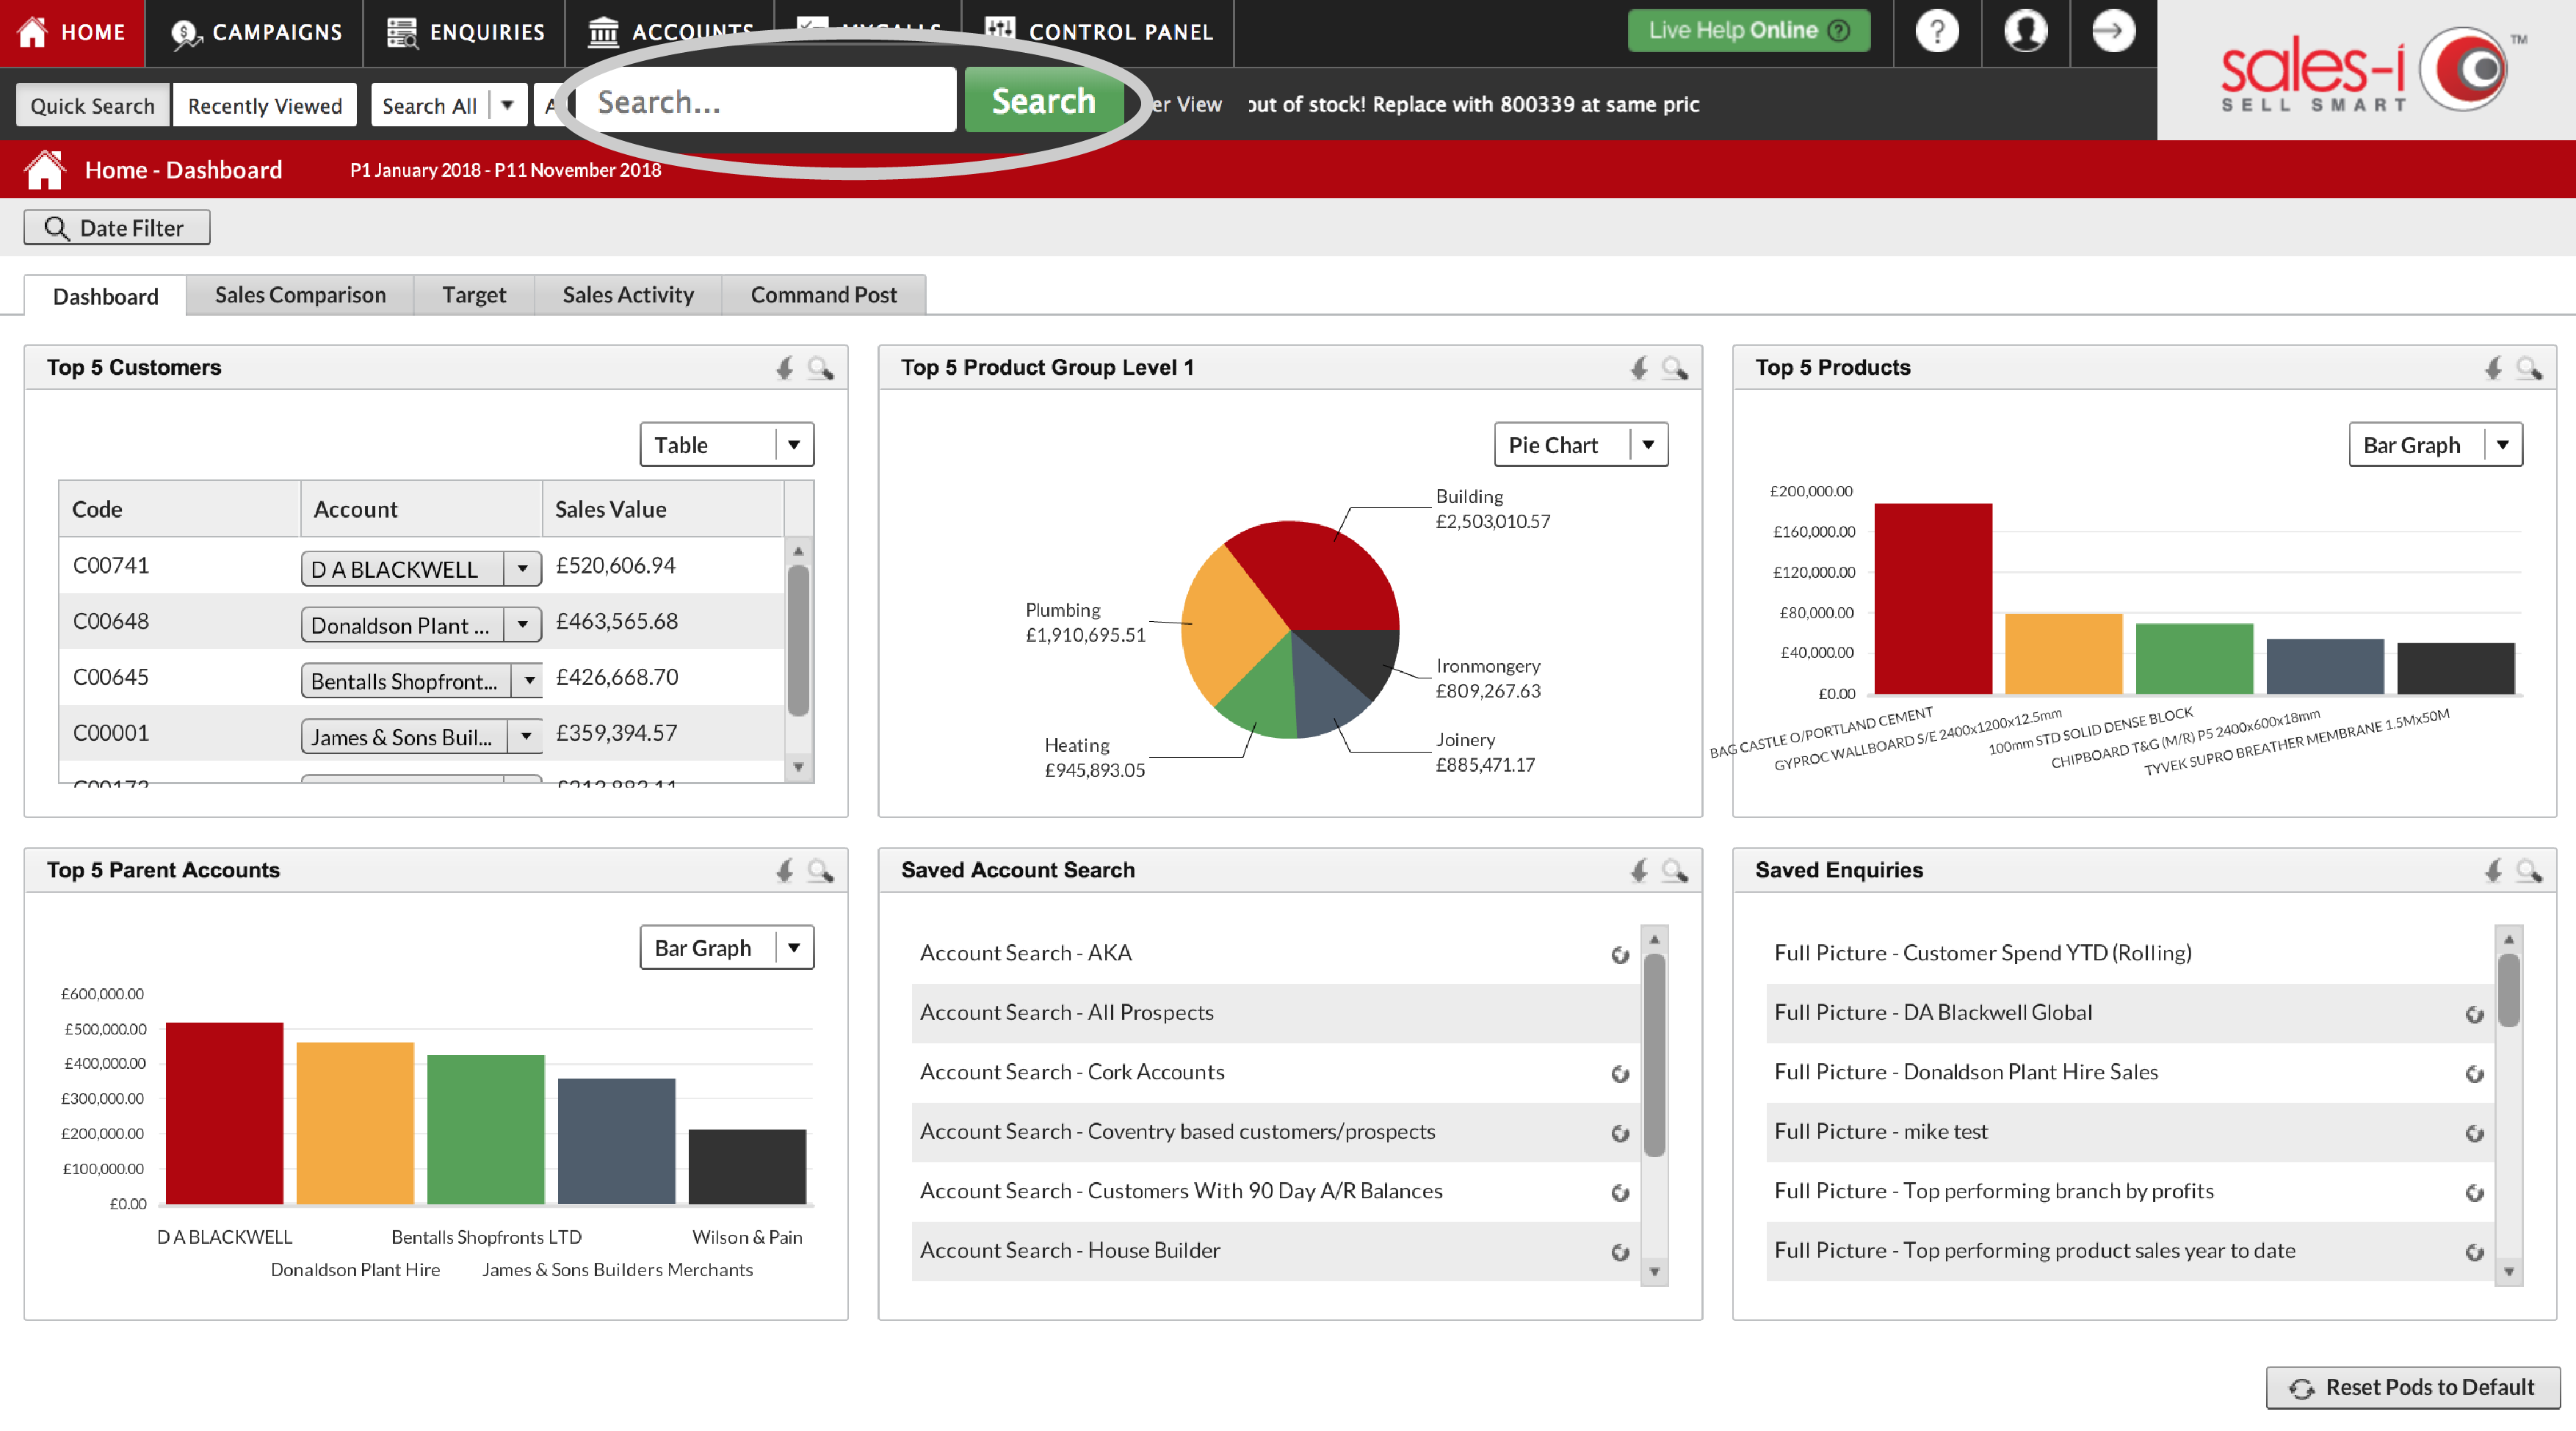
Step 1: Go to Quick Search
Search for the account you want to add a note to by using the Quick Search bar.
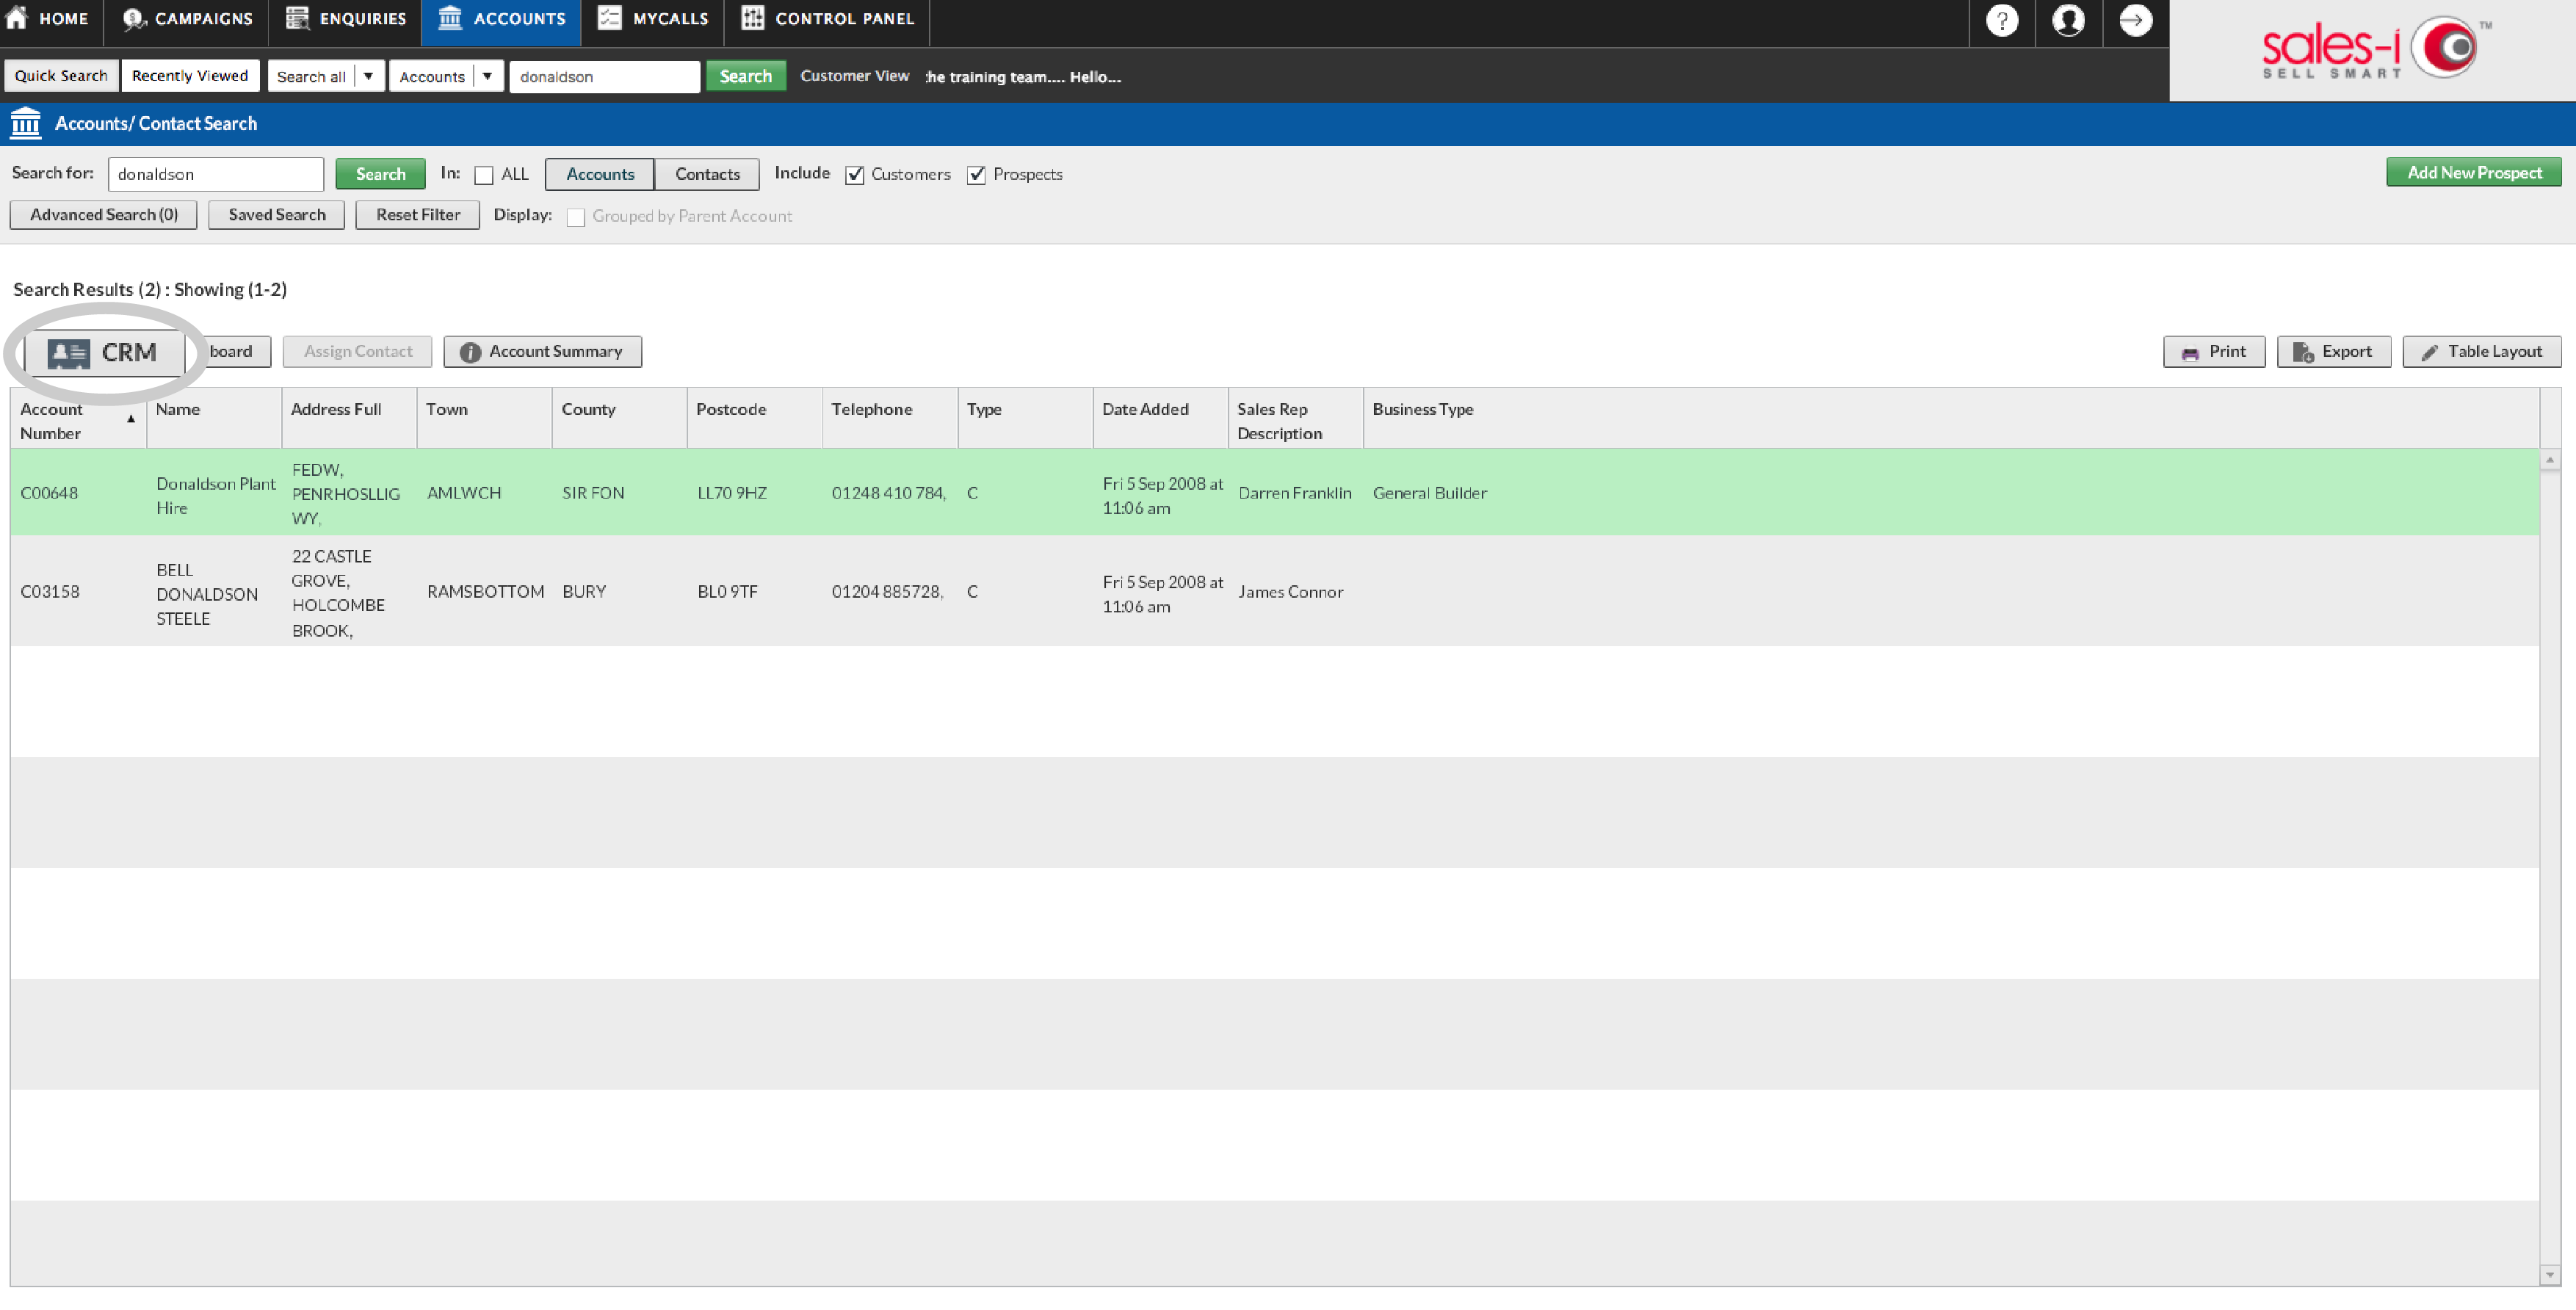
Step 2: Choose Account CRM
Select the account so that it highlights green and then click CRM.
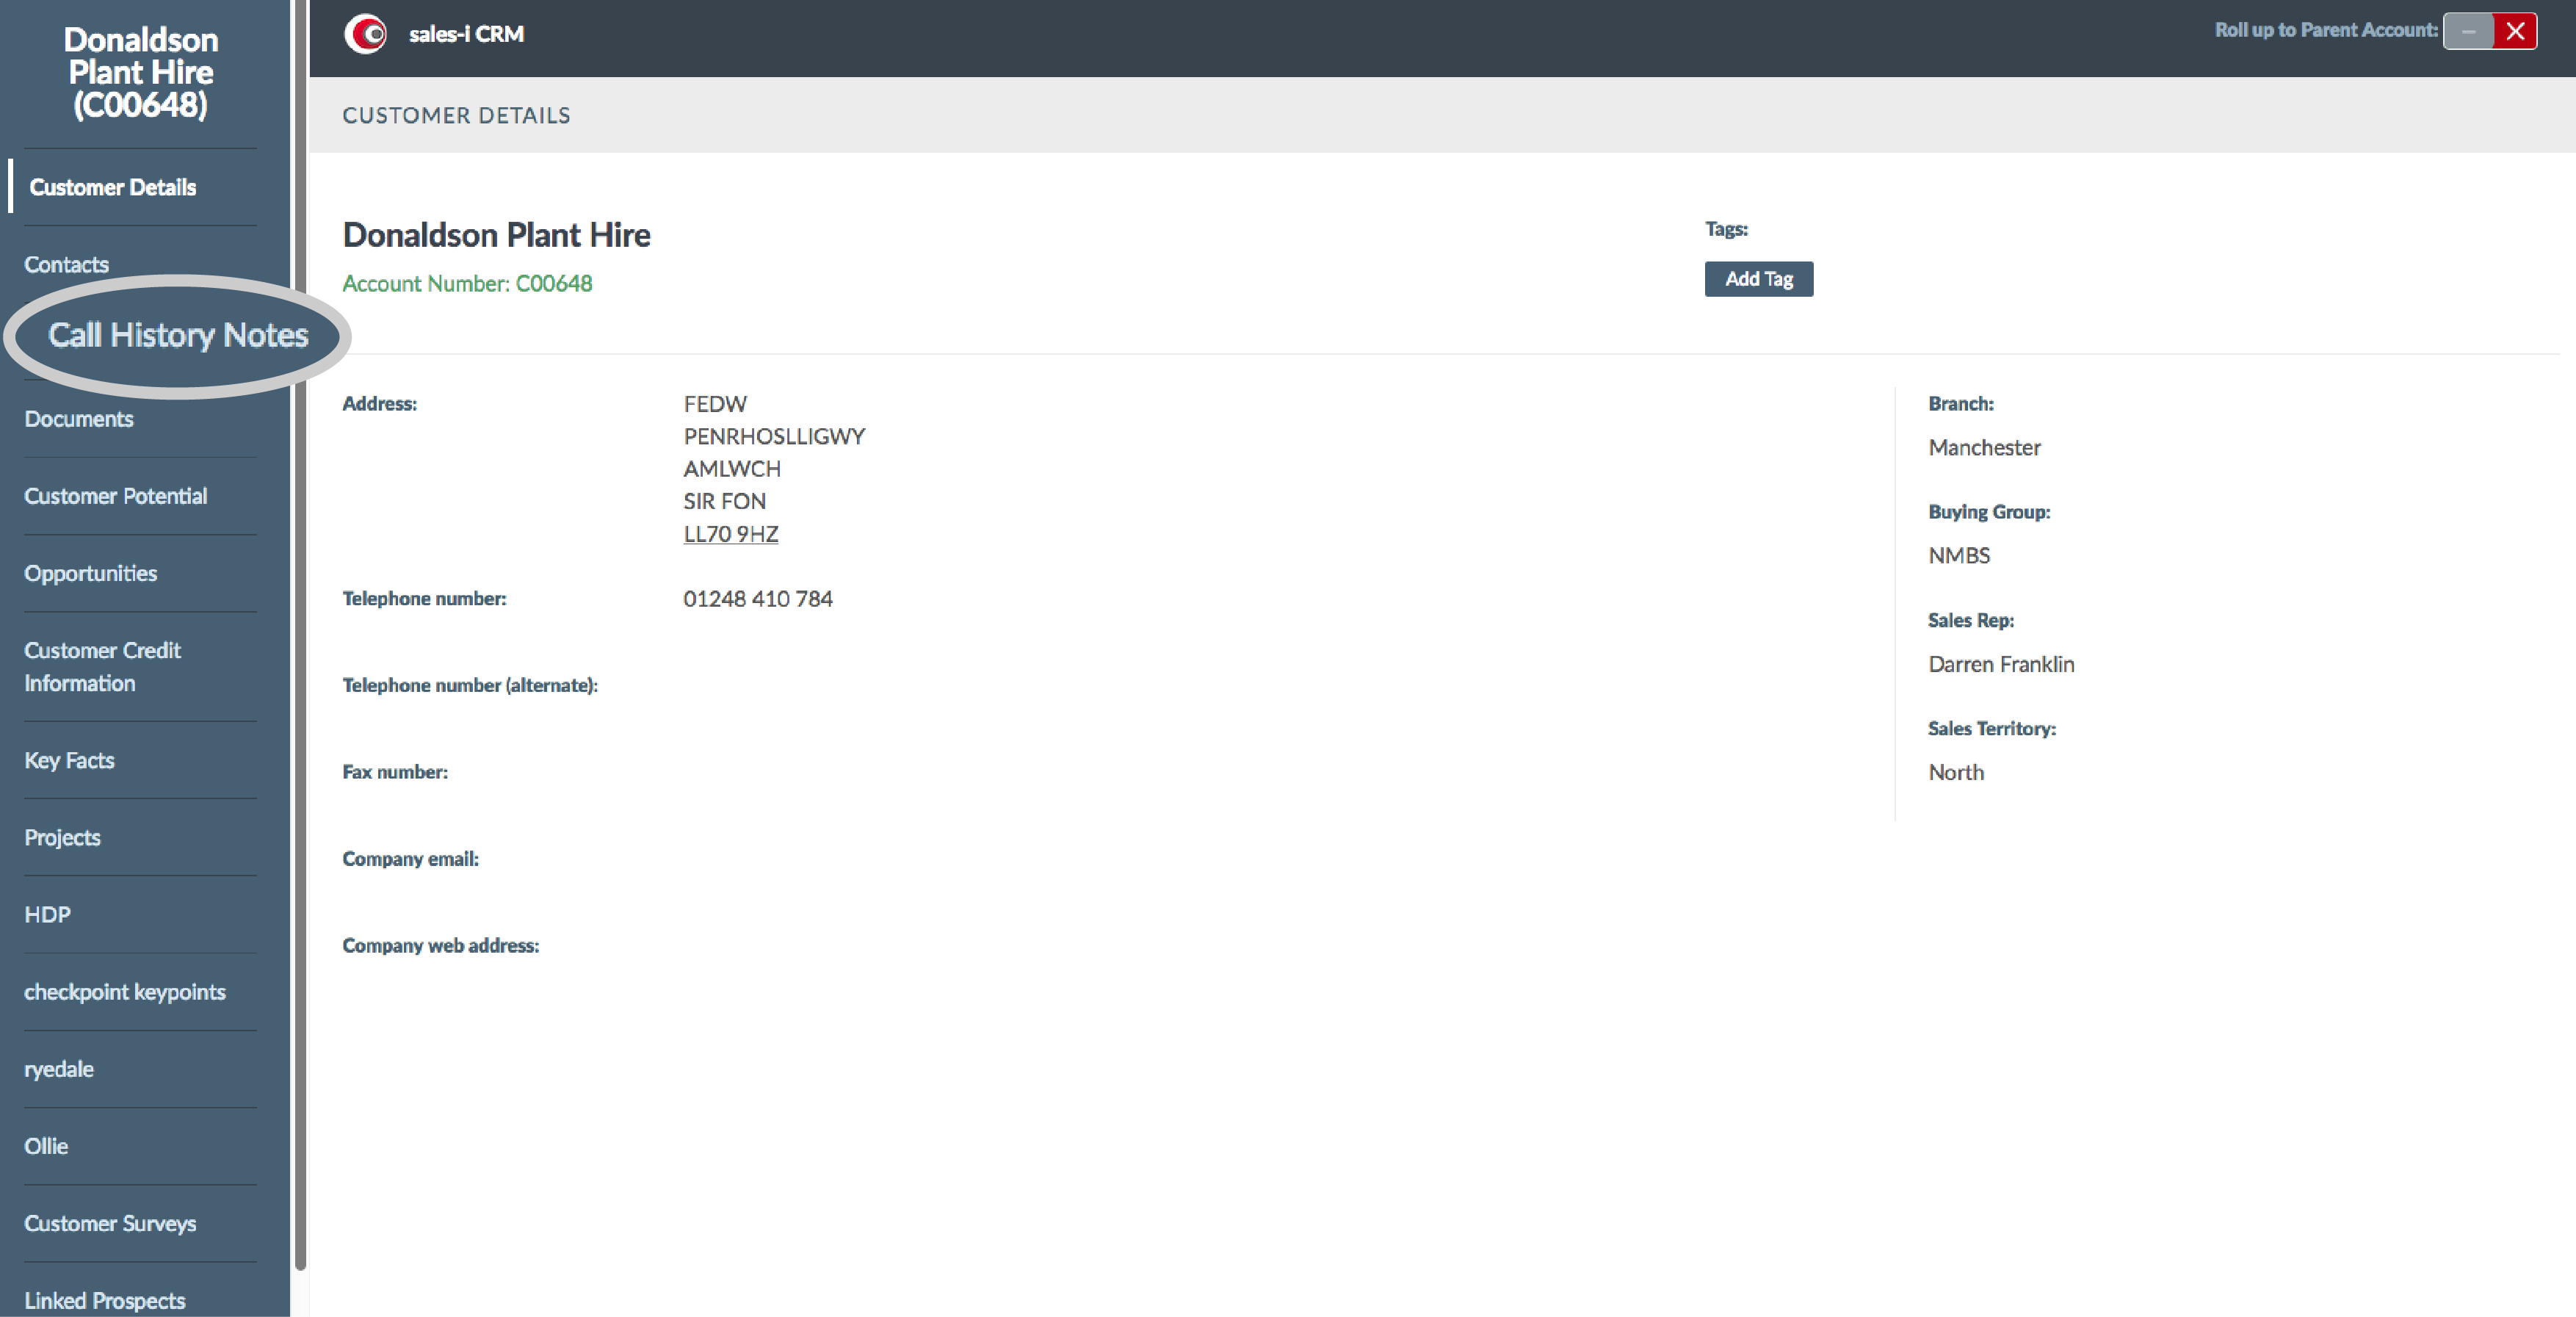
Step 3: Call History Notes
From the list of areas on the left-hand side of the screen, select Call History Notes.
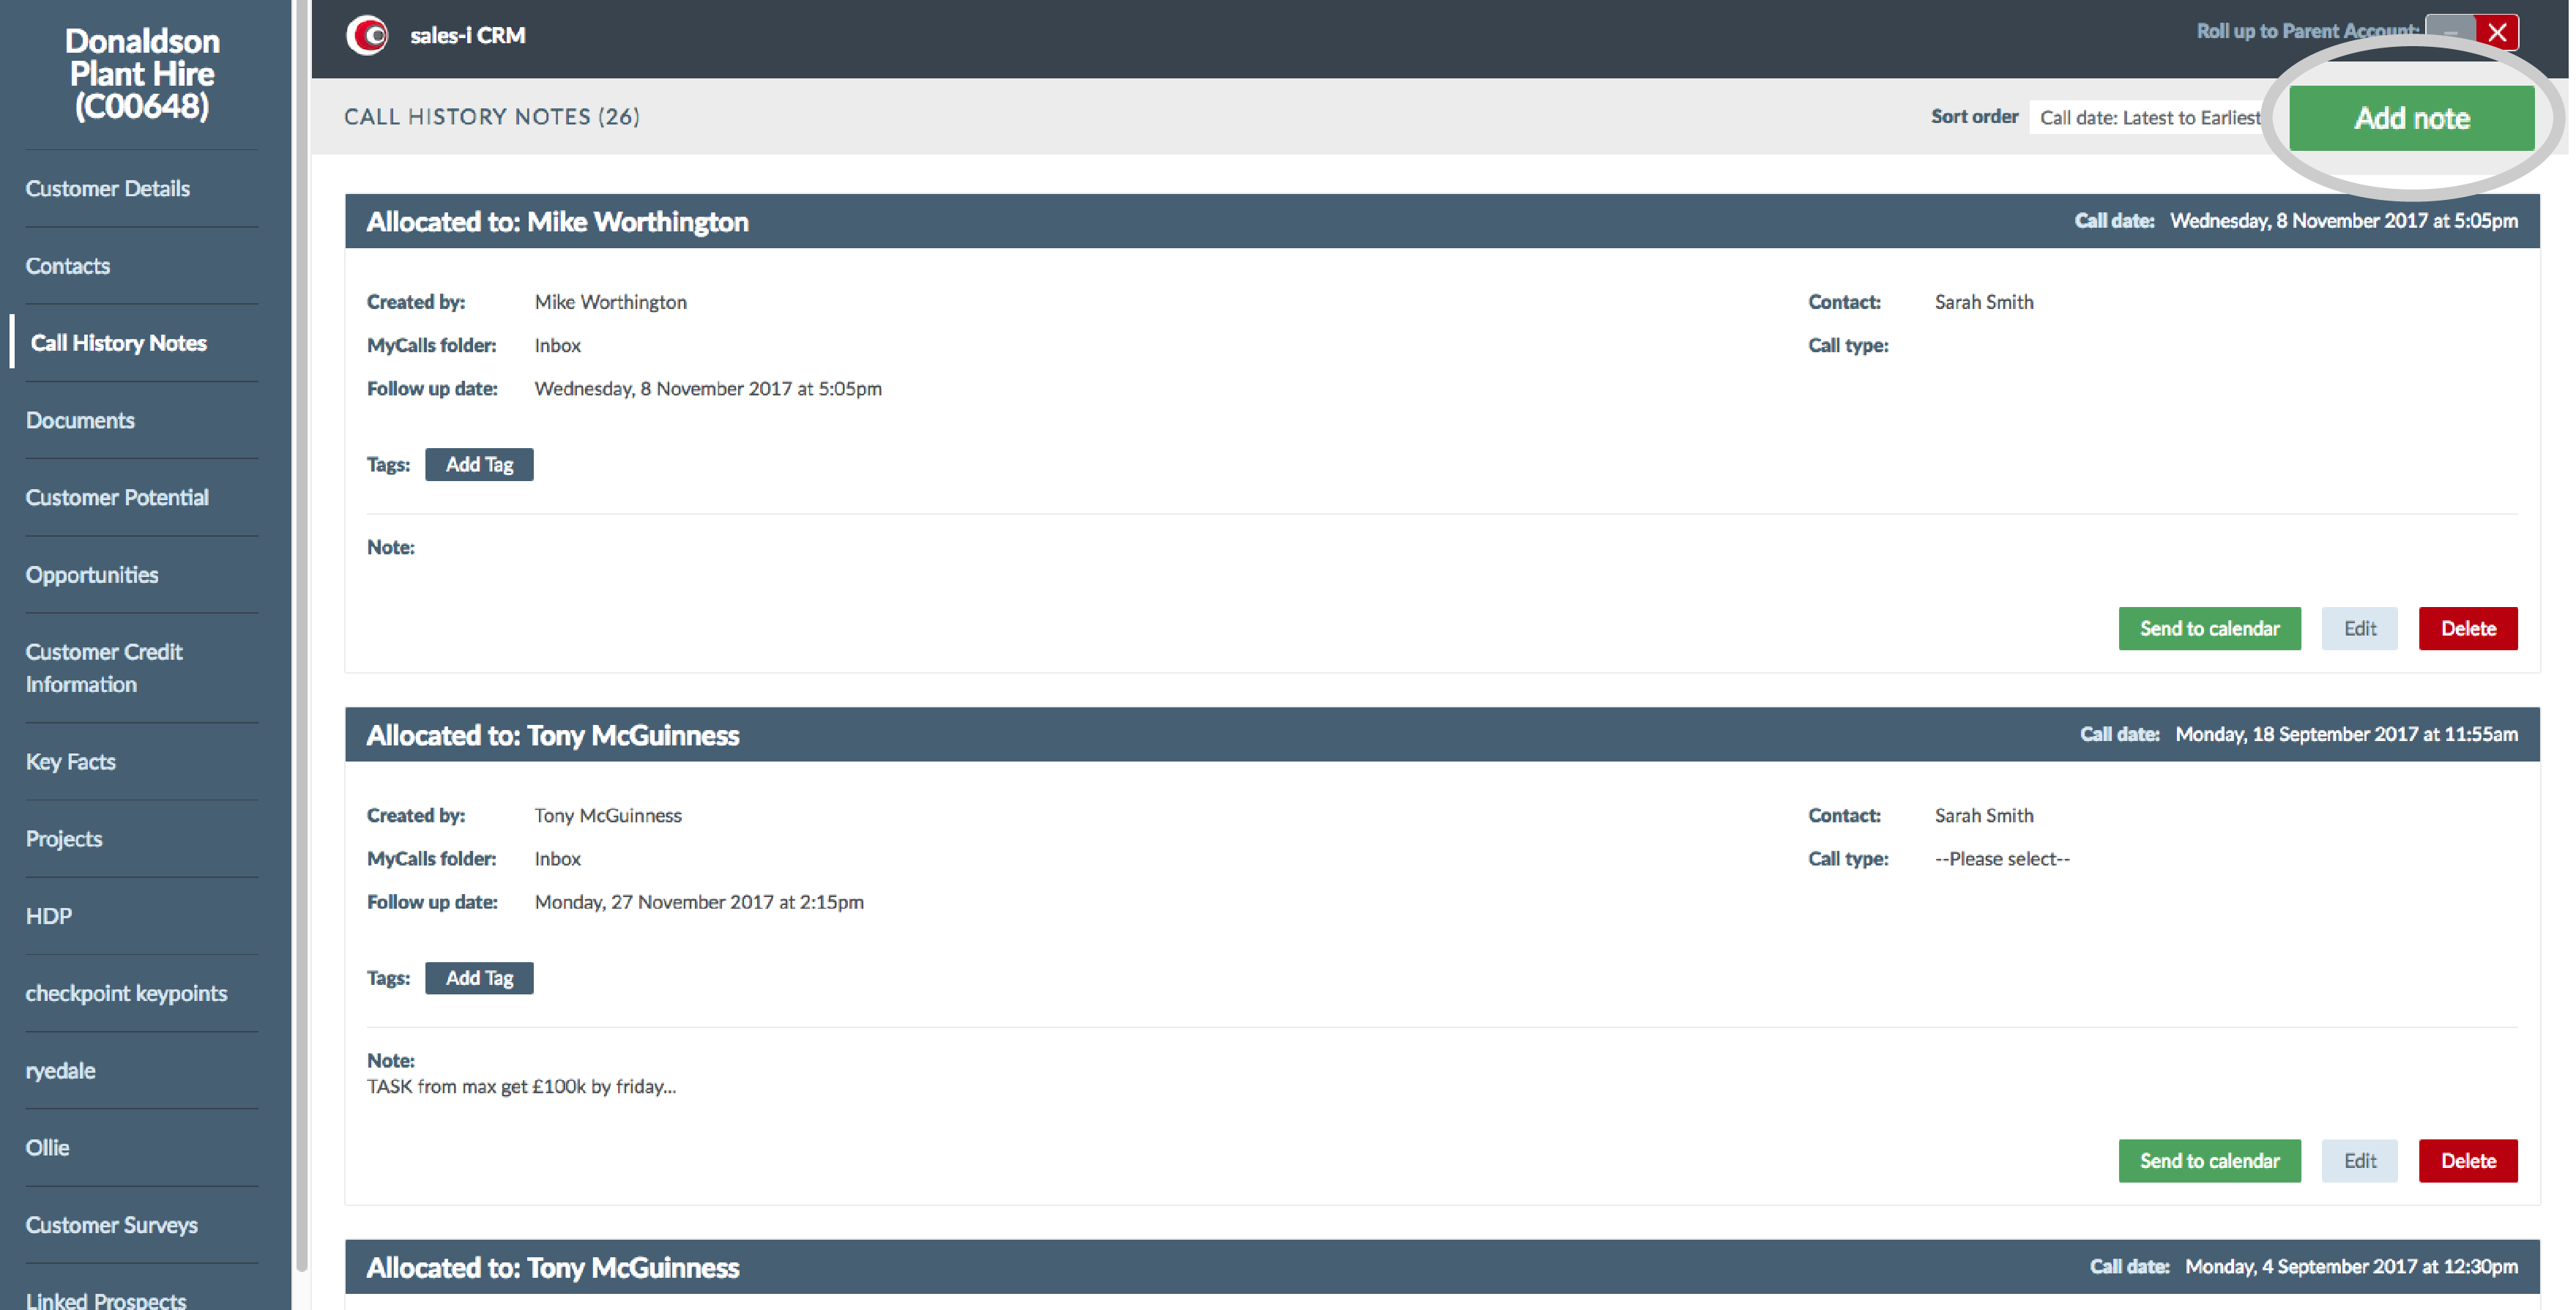
Step 4: Add Note
This area of sales-i displays all of the notes already made for this account. To add a new note, click Add Note in the top right-hand corner of the screen.
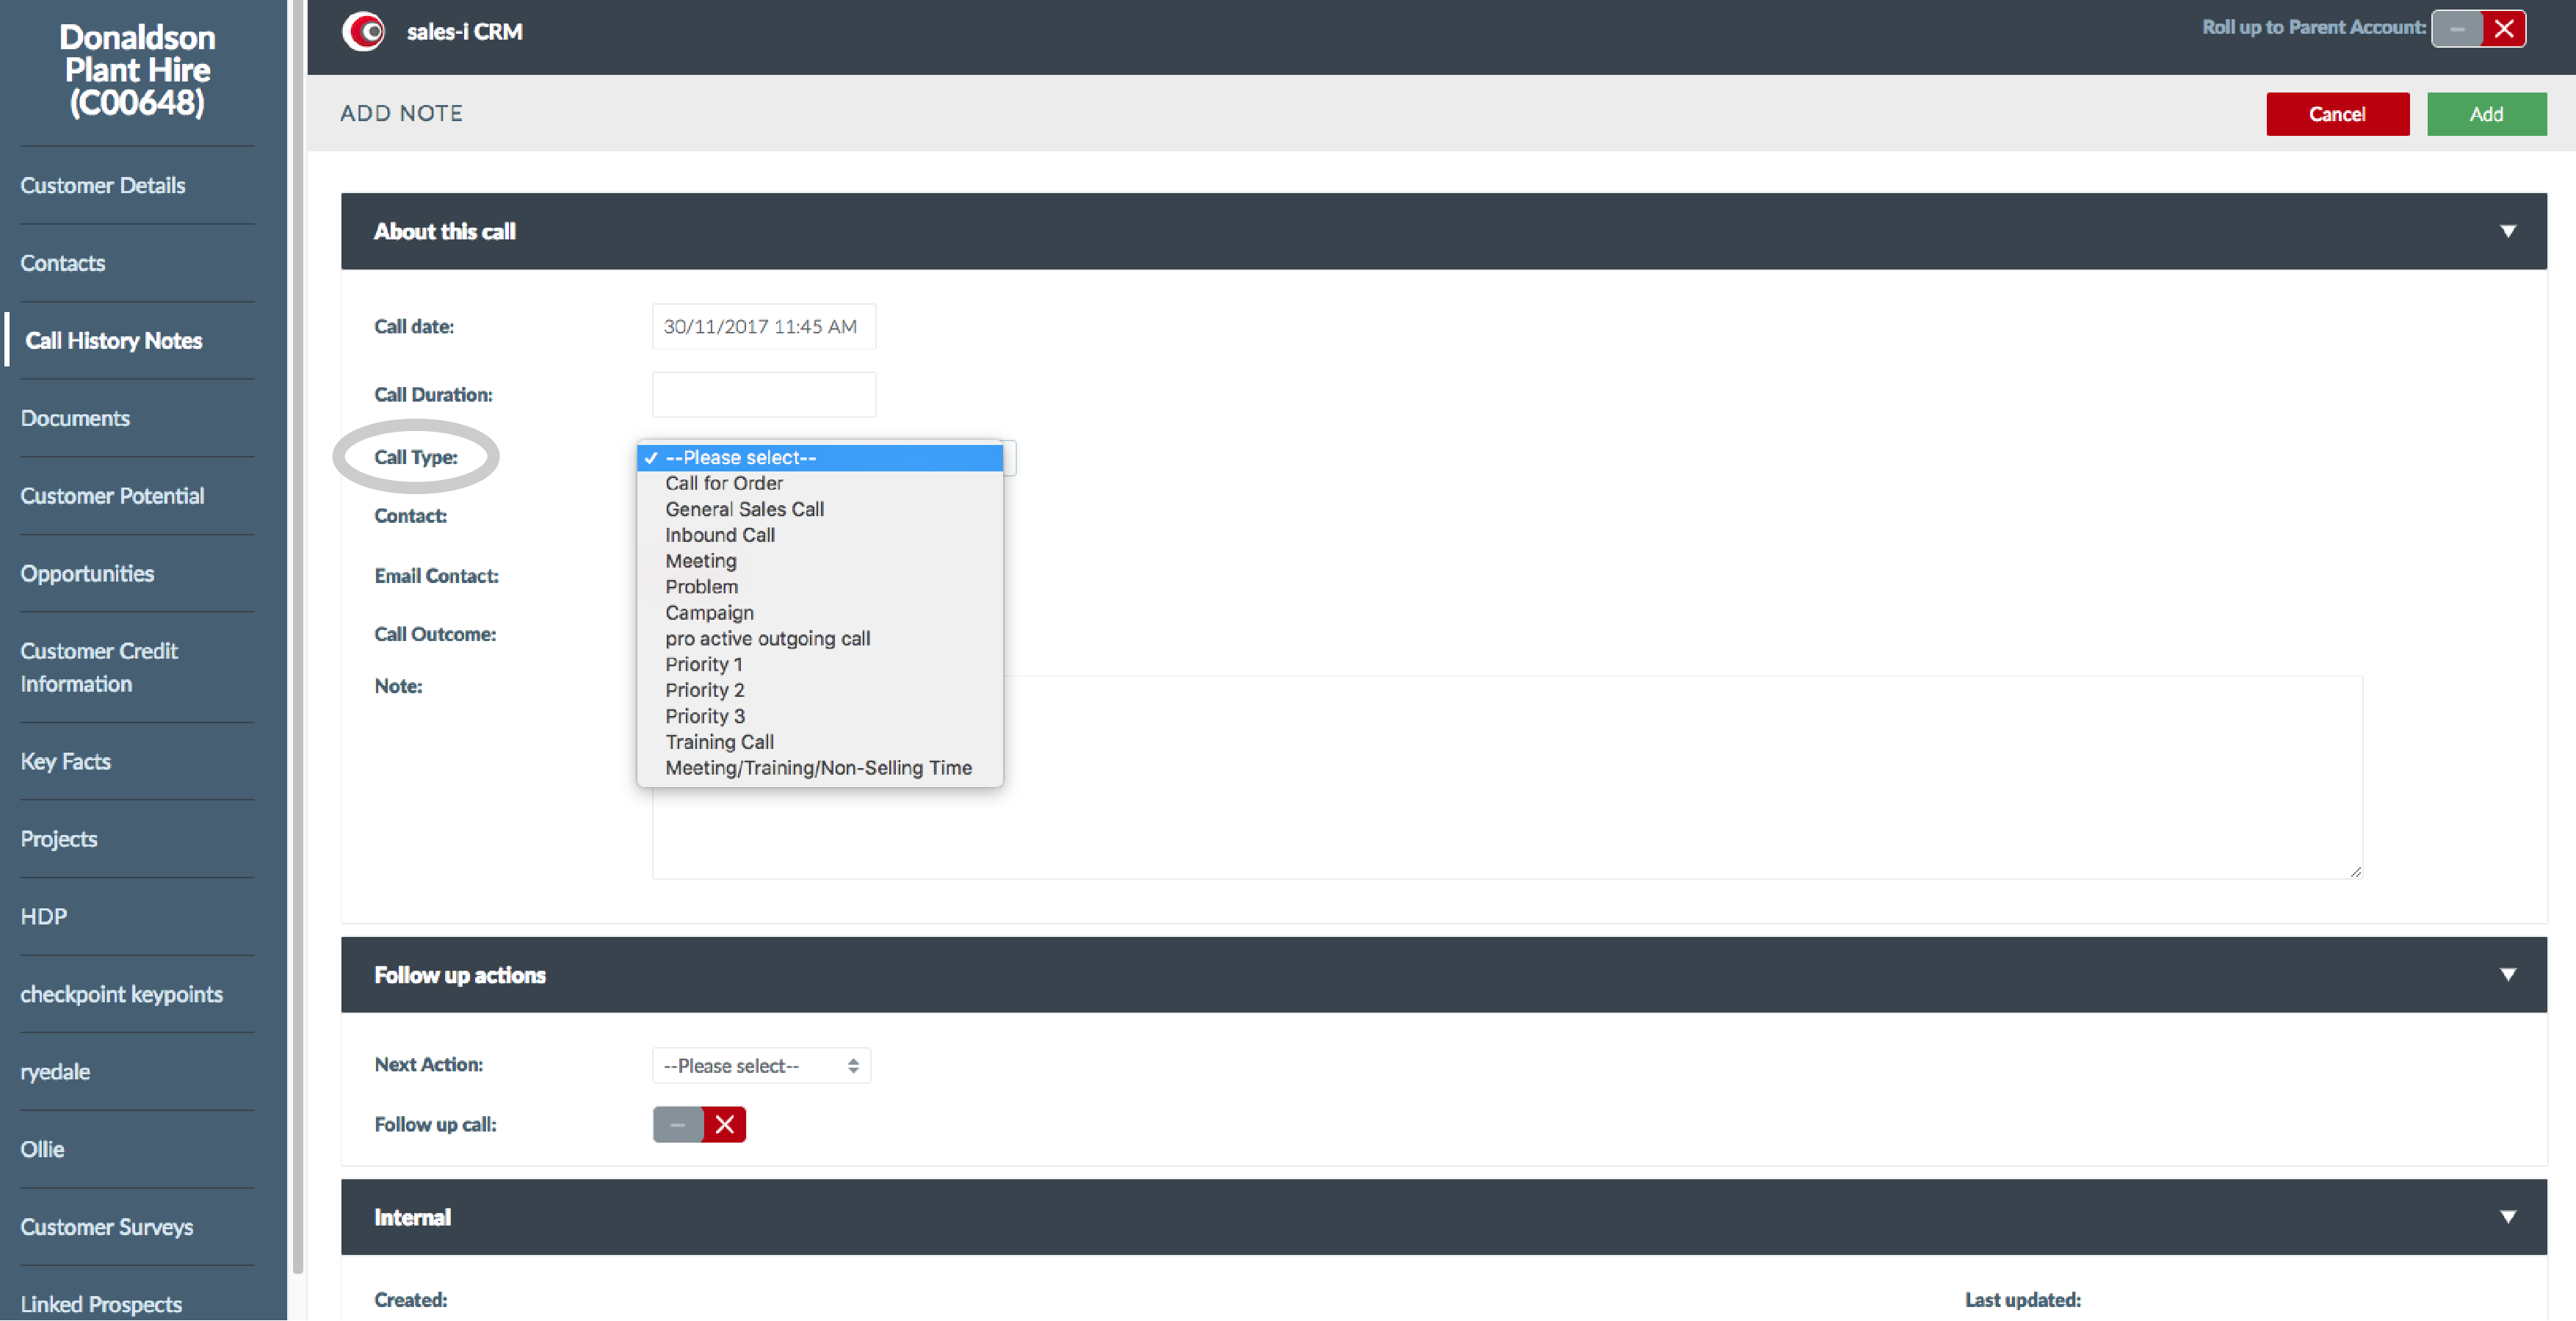
Step 5: Select Call Type
Use the Call Type drop down list to select the overview of the meeting you are going to have with this account, i.e. Account Visit, Sales Call, Meeting.
*Please note these can be customised to suit your needs by the Power User of your system.
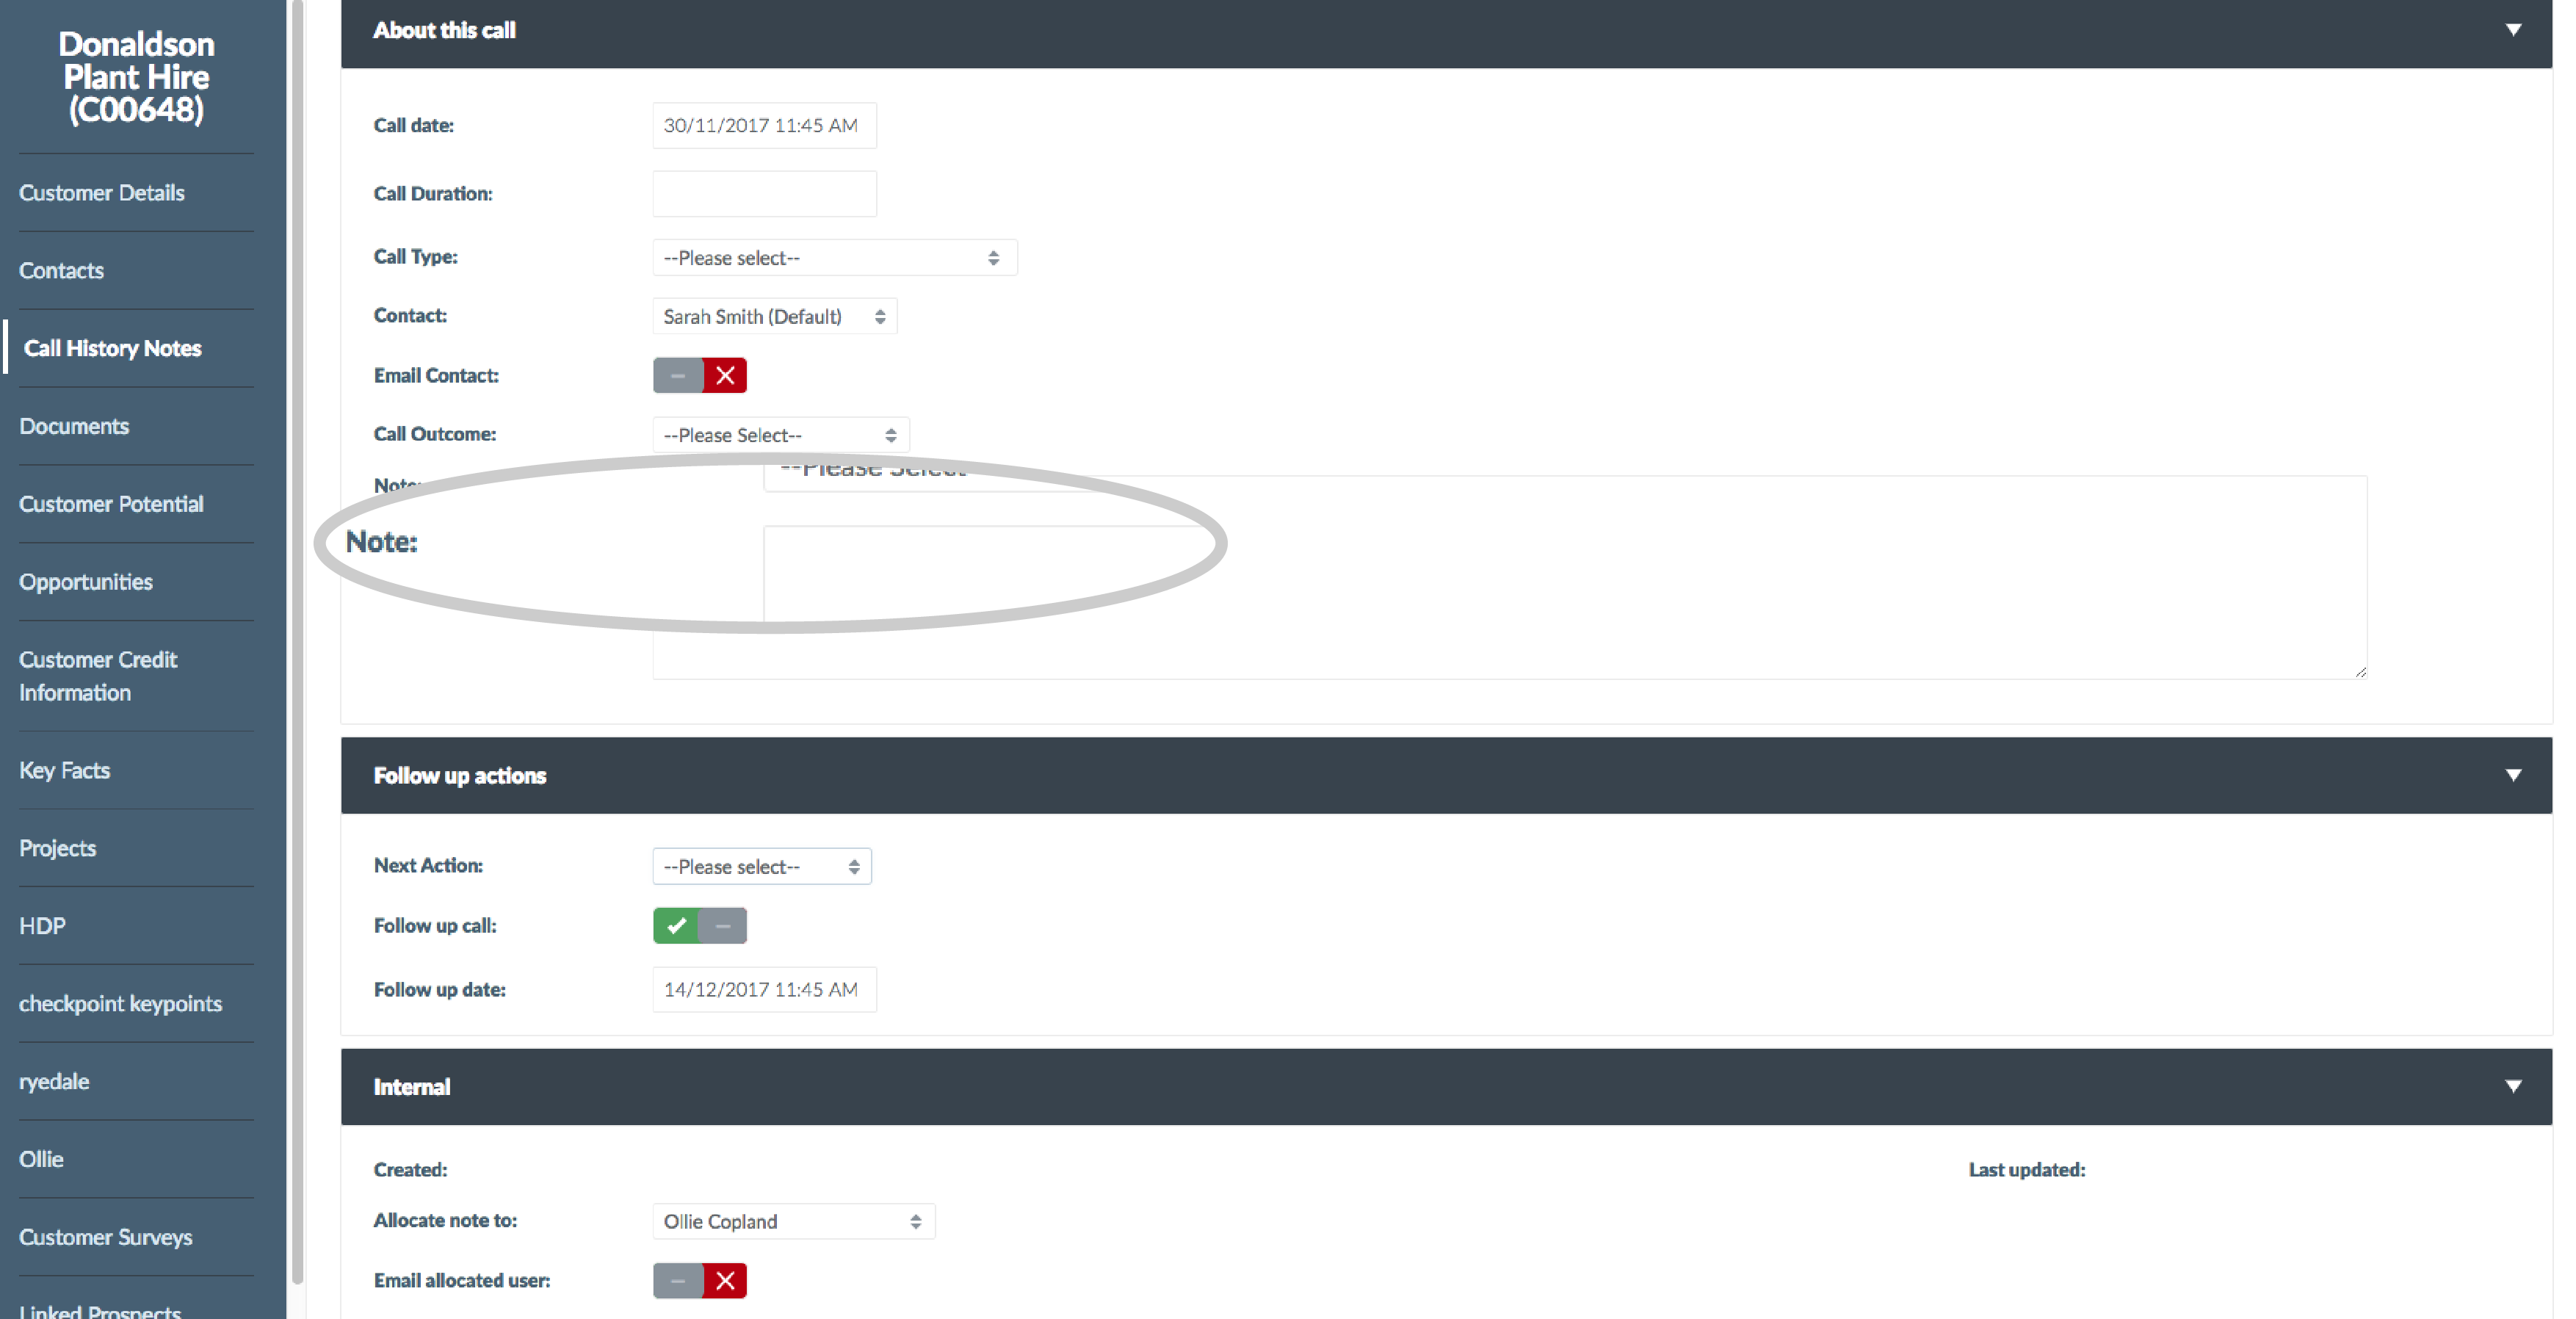
Step 6: Add Notes
Add a Note into the mandatory Note field to outline the objectives and discussion points of this interaction.
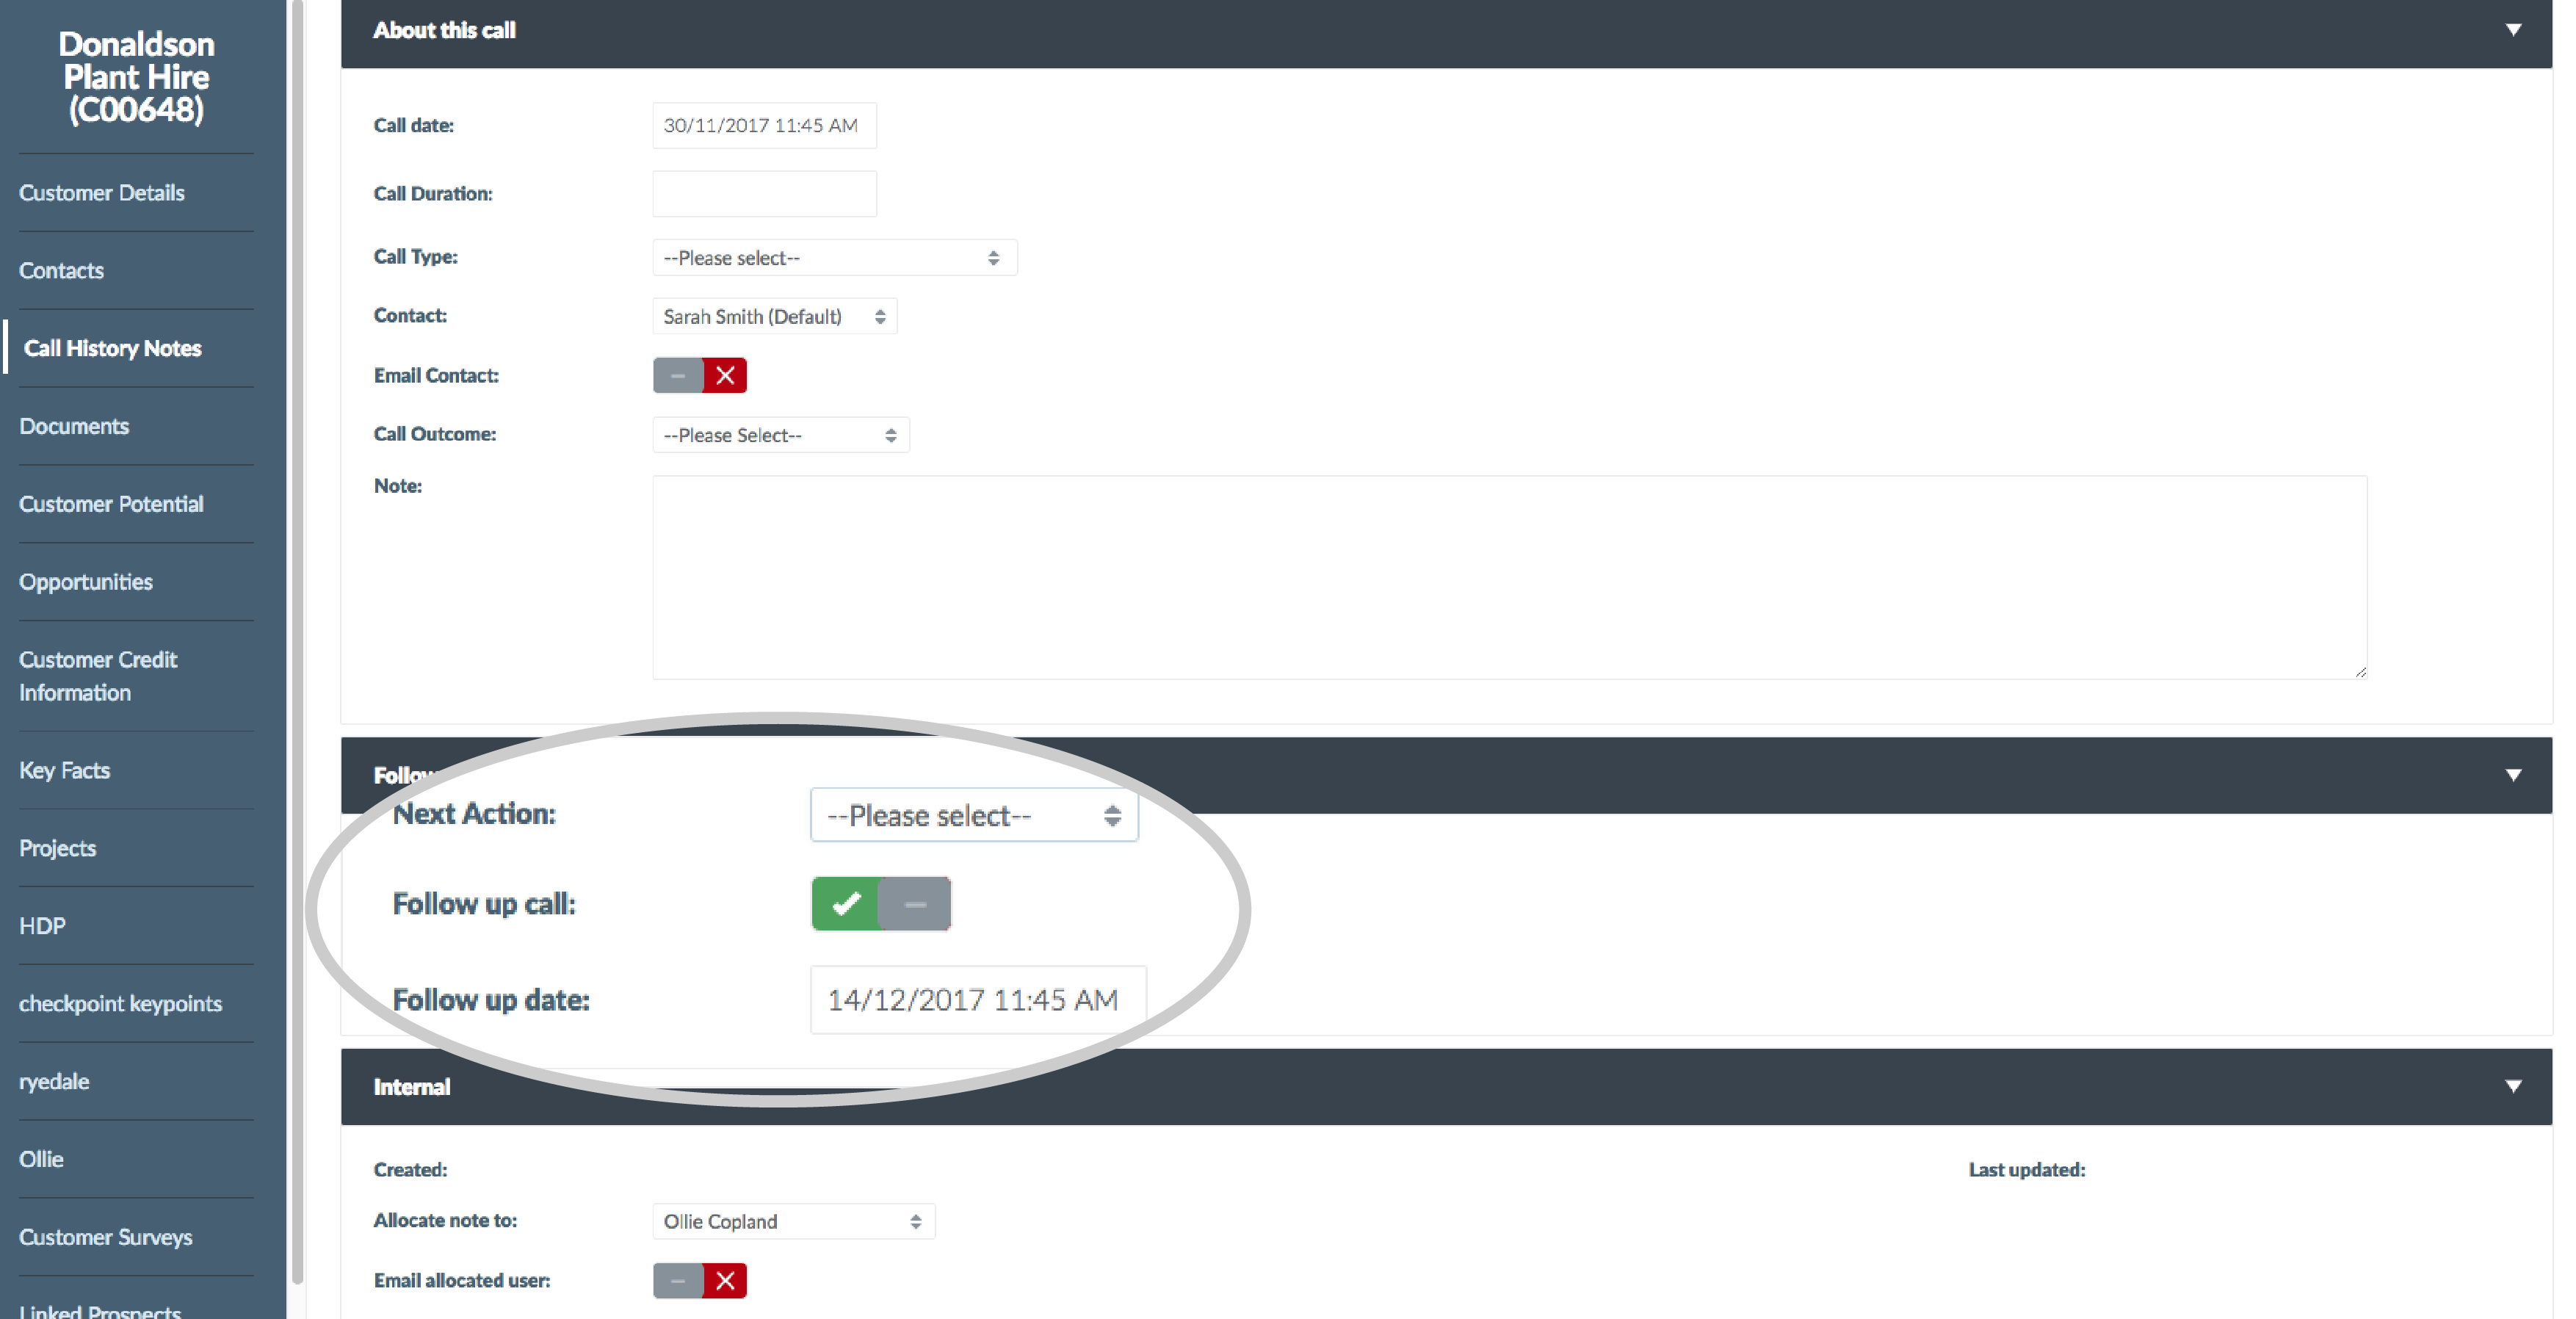
Step 7: Follow-up call
Use the Follow-up call time & date selector* to drive your diary and schedule future interactions with the account.
*You may need to tick the box next to Follow-up call to enable this selector.
OPTIONAL STEPS
You may need to email the contents of this note to your customer contact, or internally to a colleague.
The following optional steps will show you how. If you don’t need to do this, skip to Step 10.
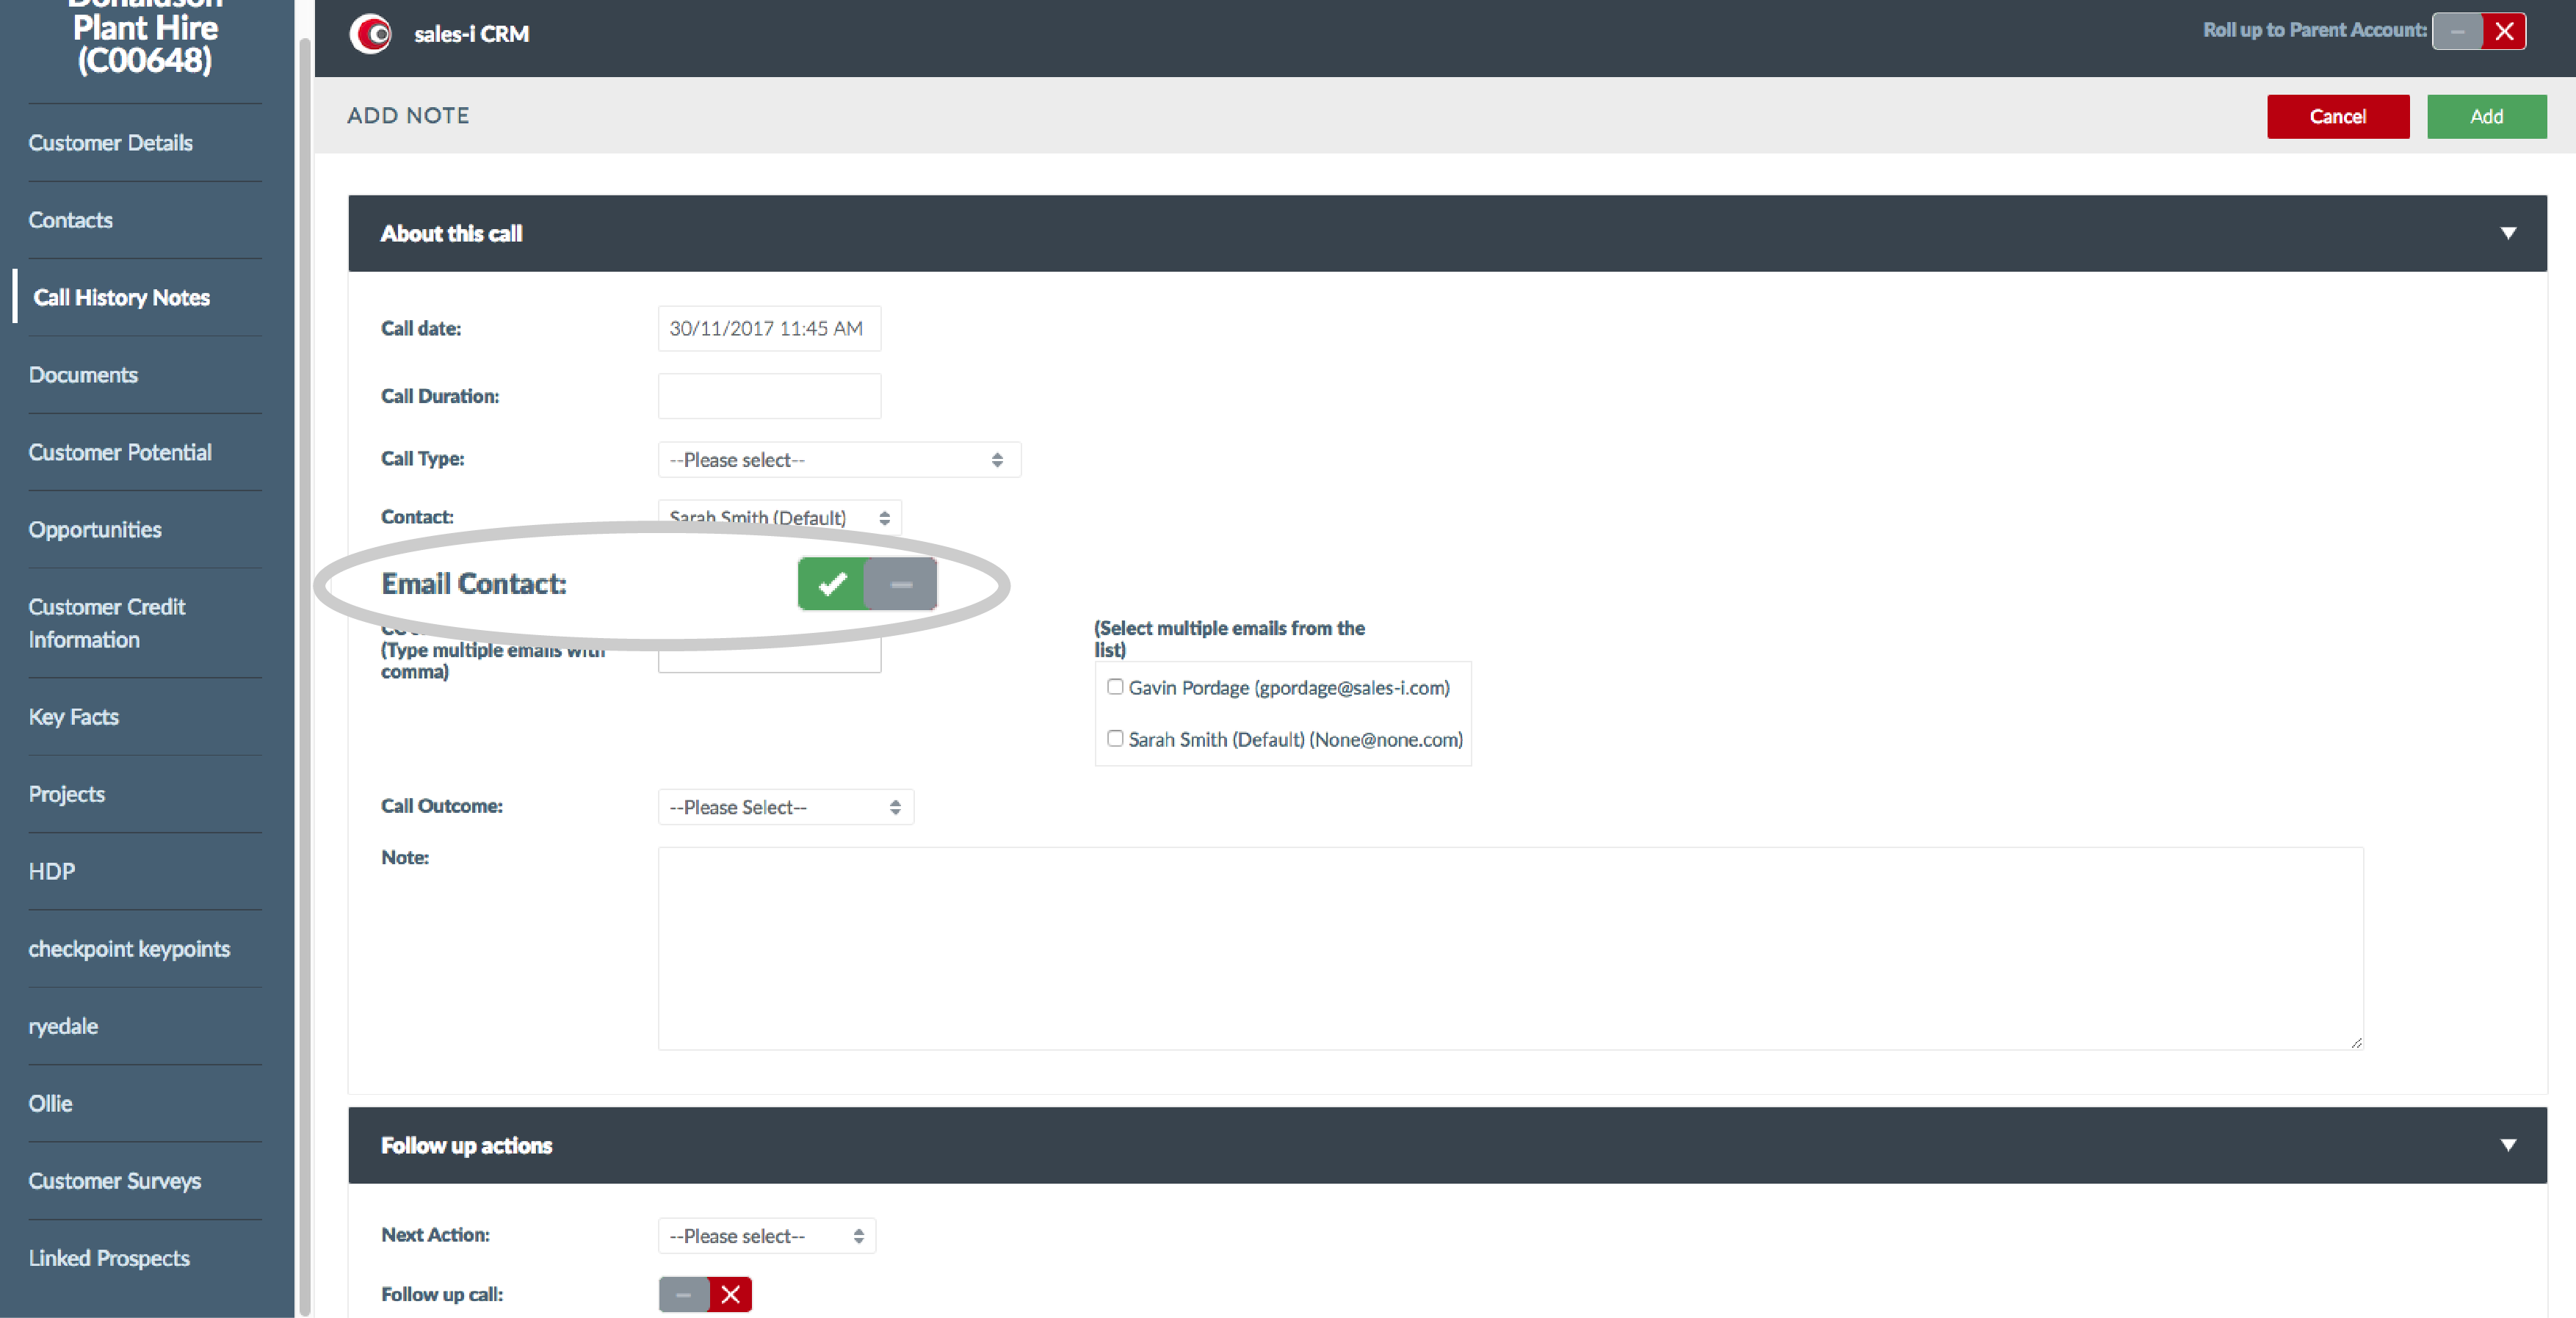
Step 8: Share Note Content with Customer
If you want to share the note with the contact you just met with (for example, as a reminder of your agreed points of action) toggle the Email Contact switch to green.
You can cc additional contacts by selecting multiple emails from the list on the right.
PLEASE NOTE: By opting to email the contact, they will receive the contents of this Call Note as an email.
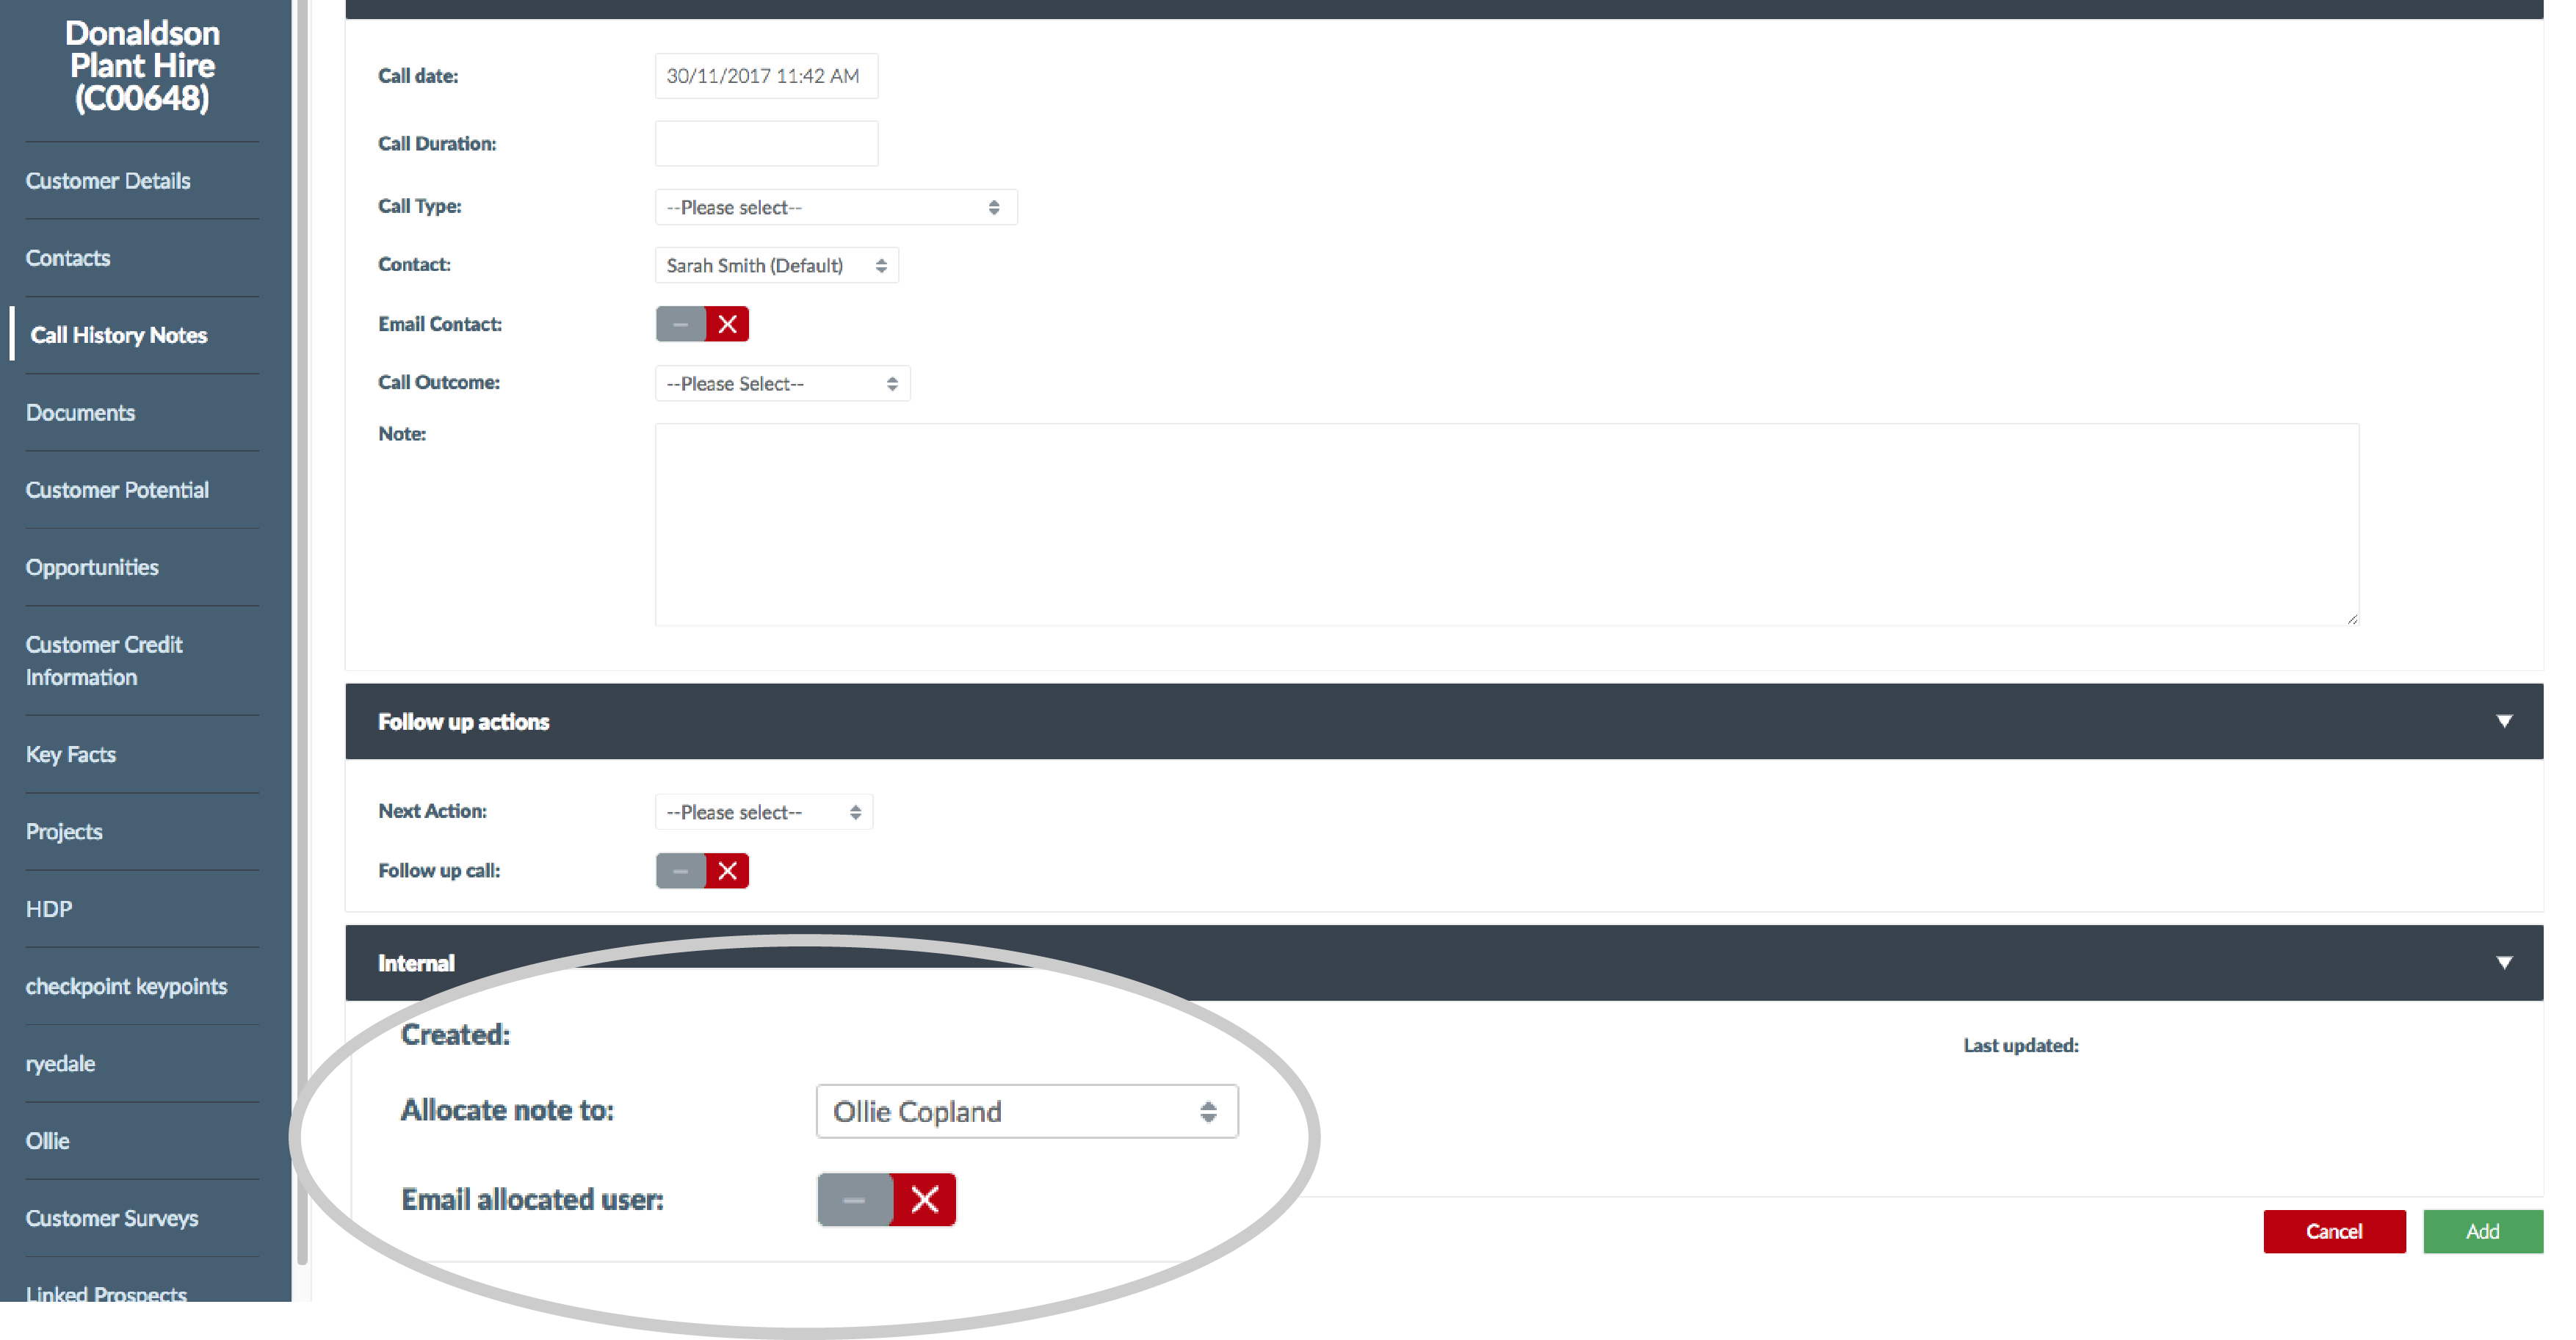
Step 9: Share Note Content Internally
You may need to share the contents of this Call Note with a colleague internally. To do this, toggle the Email allocated user switch to green and select the desired email addresses from the list on the right.
The selected email addresses will receive the contents of this Call Note as an email.
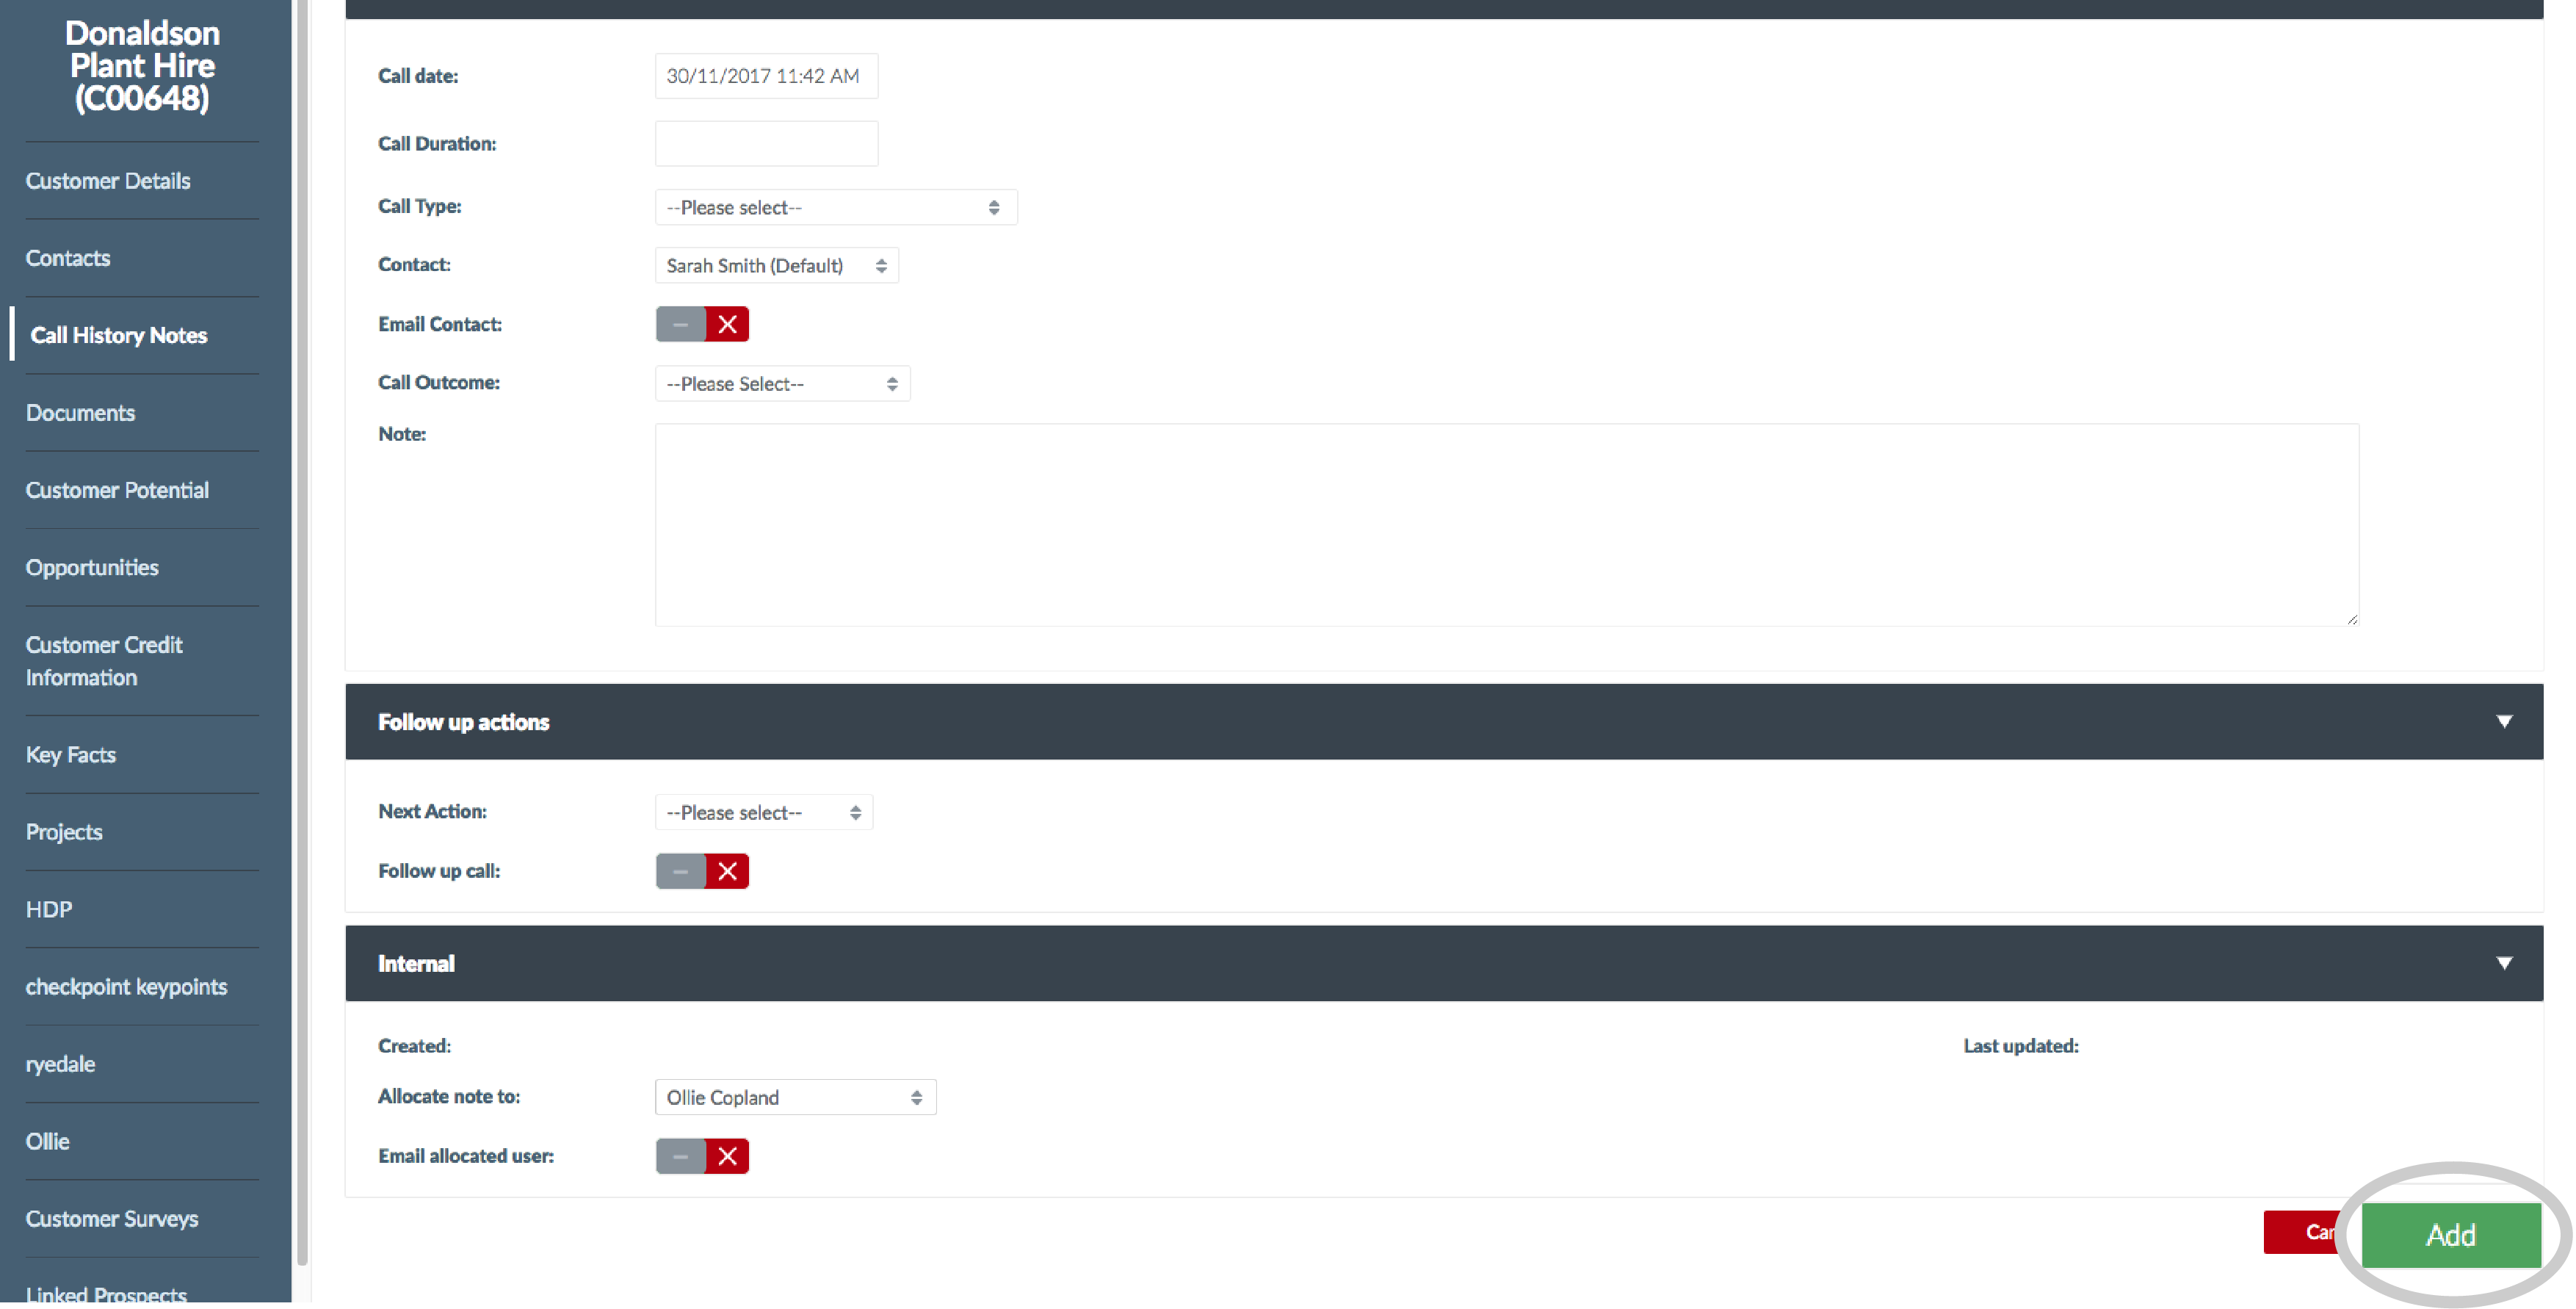
Step 10: Select Call Type
When you’re done, just click Add in the bottom right.
You can view this note at any time in the Call History Notes section.
Apple and Android
To discover how to add a note using your mobile device, click here and follow the Apple and Android steps.