This guide will teach you how to tailor your Snapshot report so that you only see the things you need to see, learn how to change labels, add transaction analysis and save configurations for the future.
Desktop
Download a PDF version
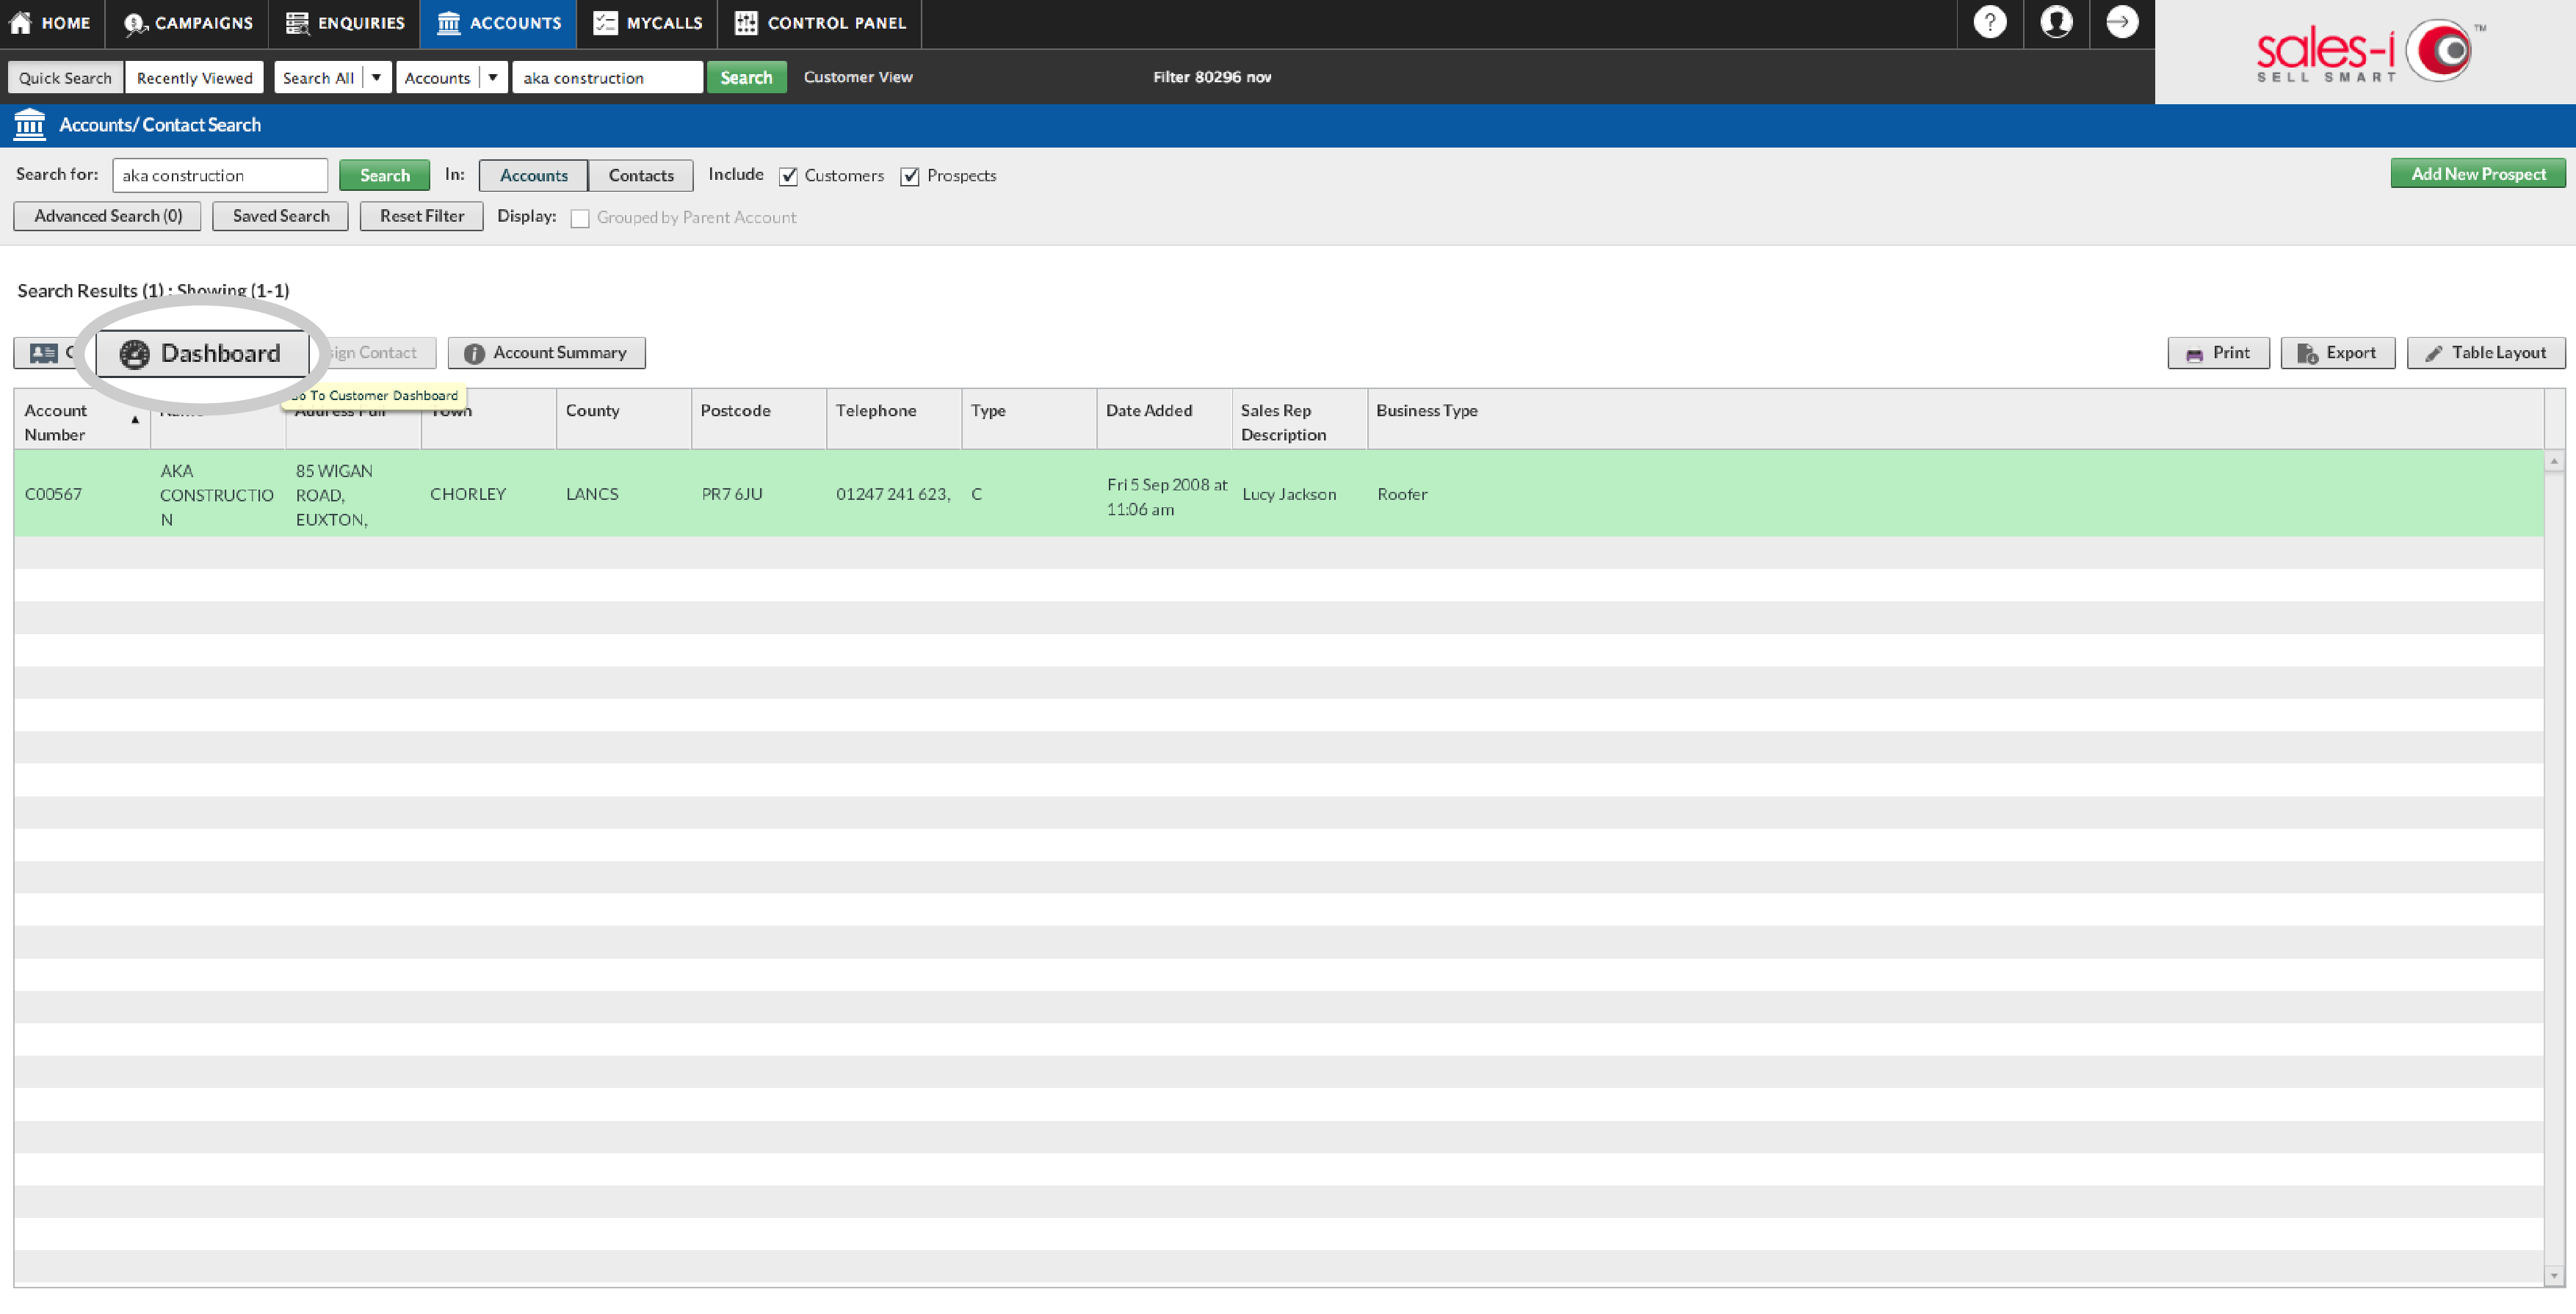
Step 1: Search
In the Search bar at the top of the home screen, enter the name of the account that you wish to alter a snapshot report for and click Search.

Step 2: Select Account
Select the correct account so that it turns green and then click Dashboard.
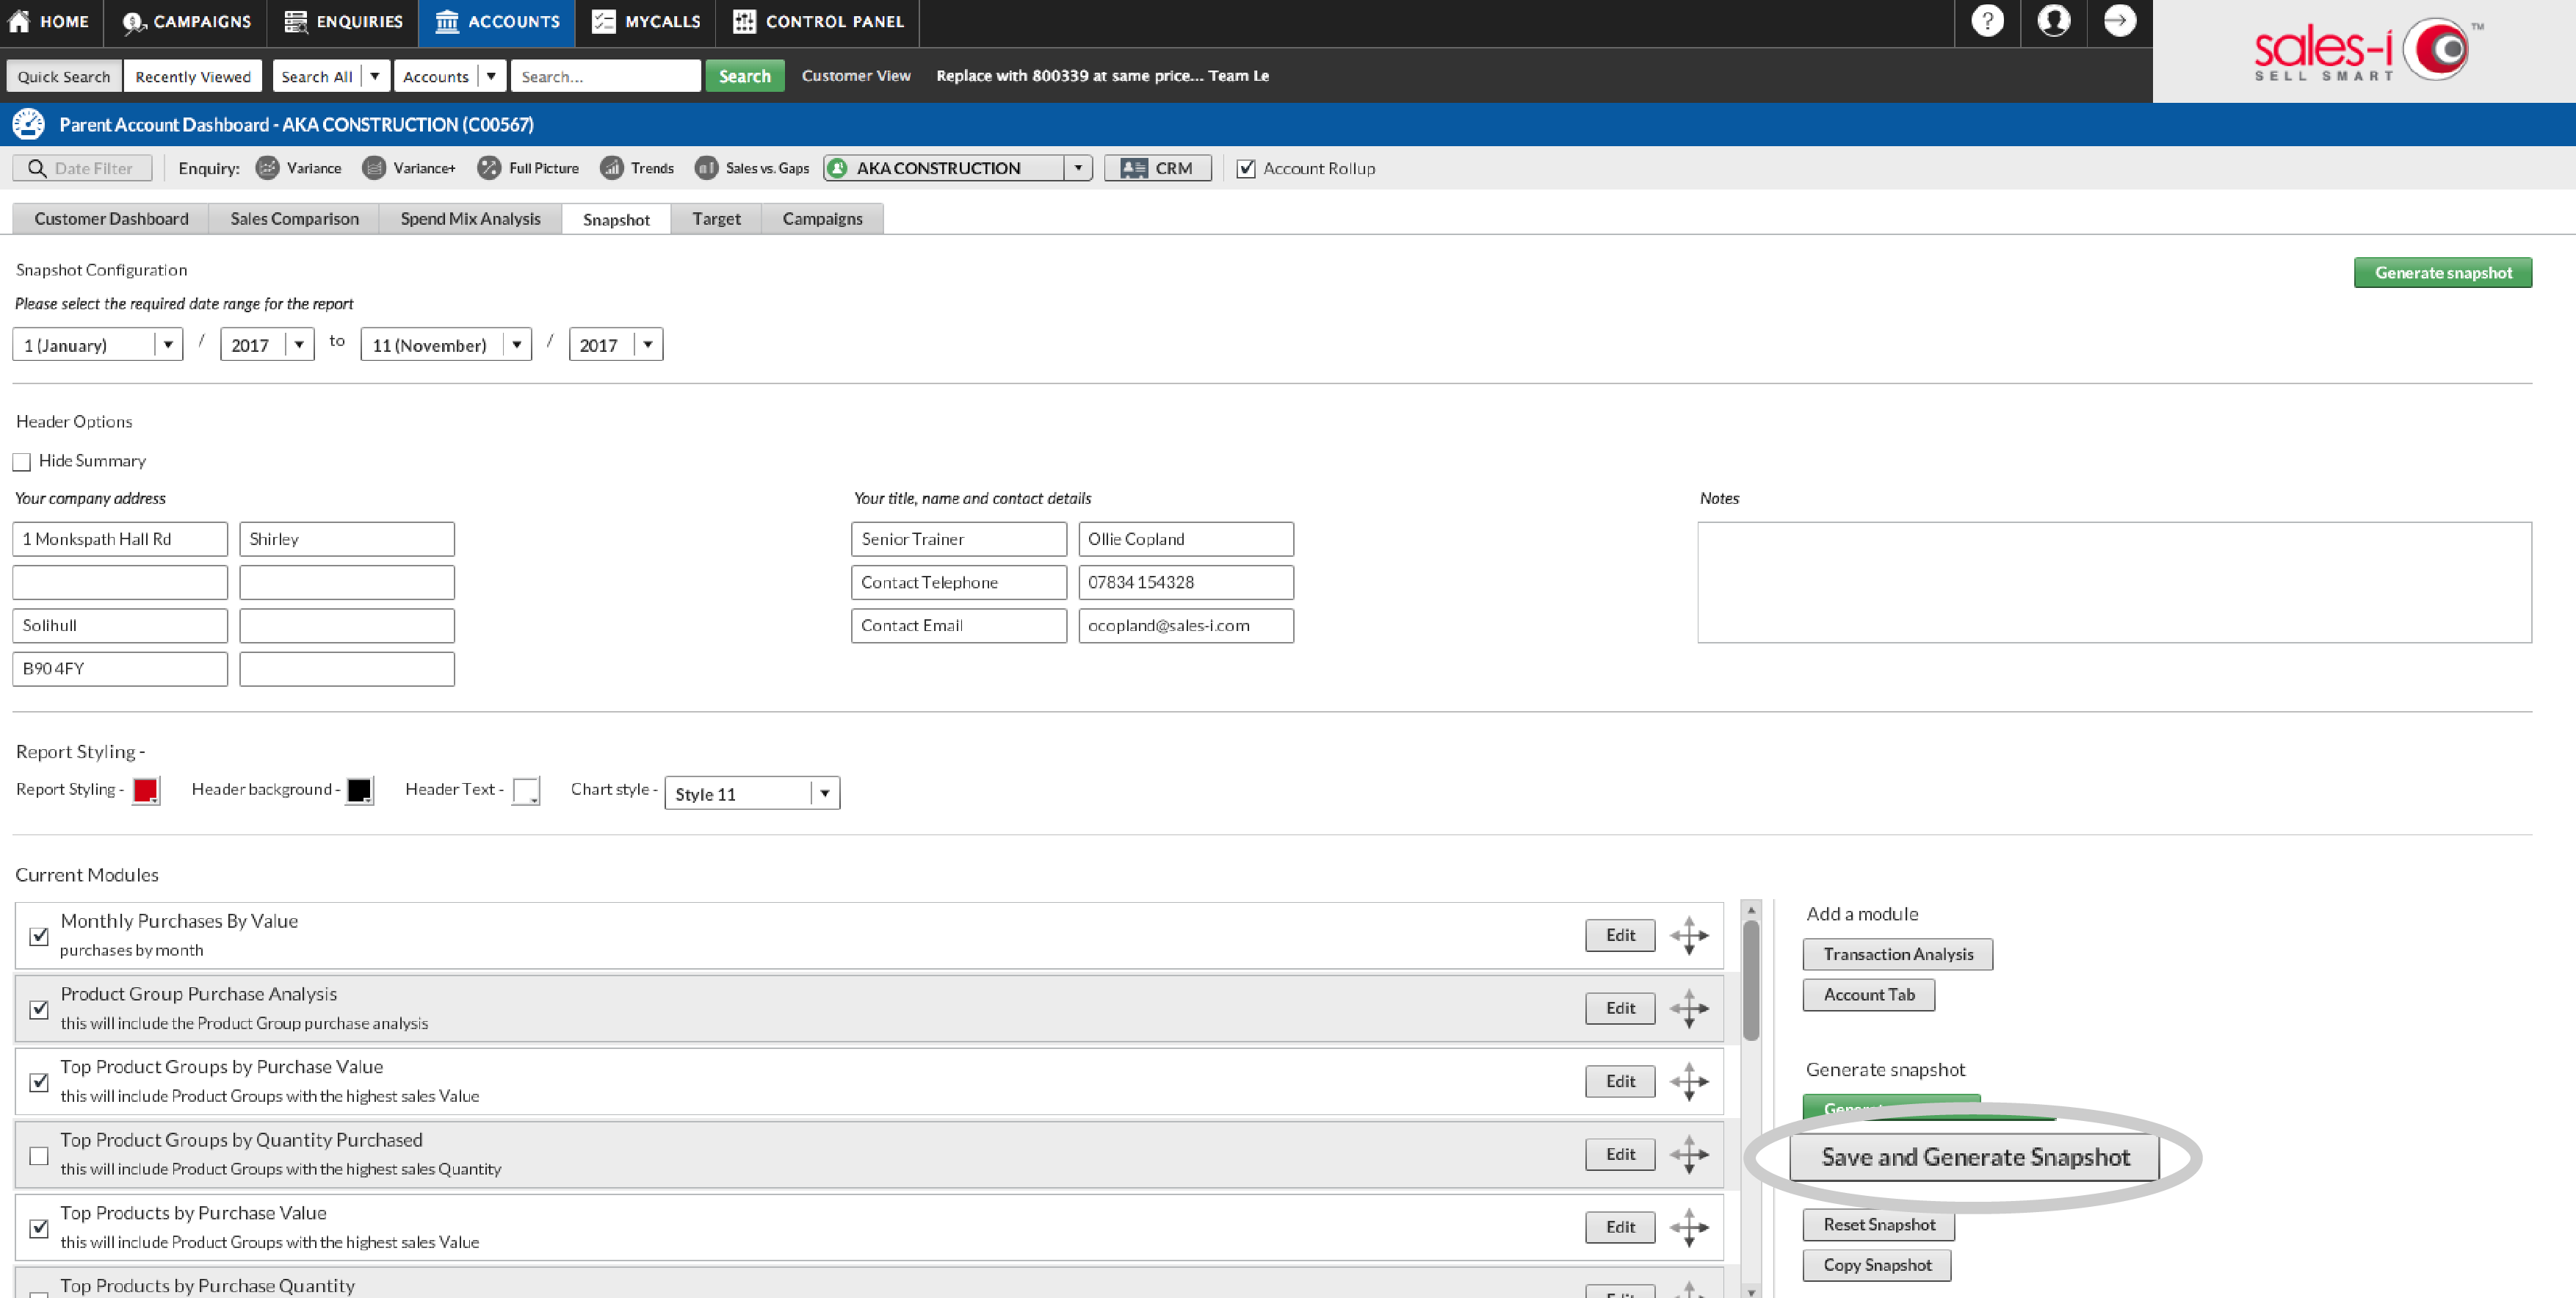
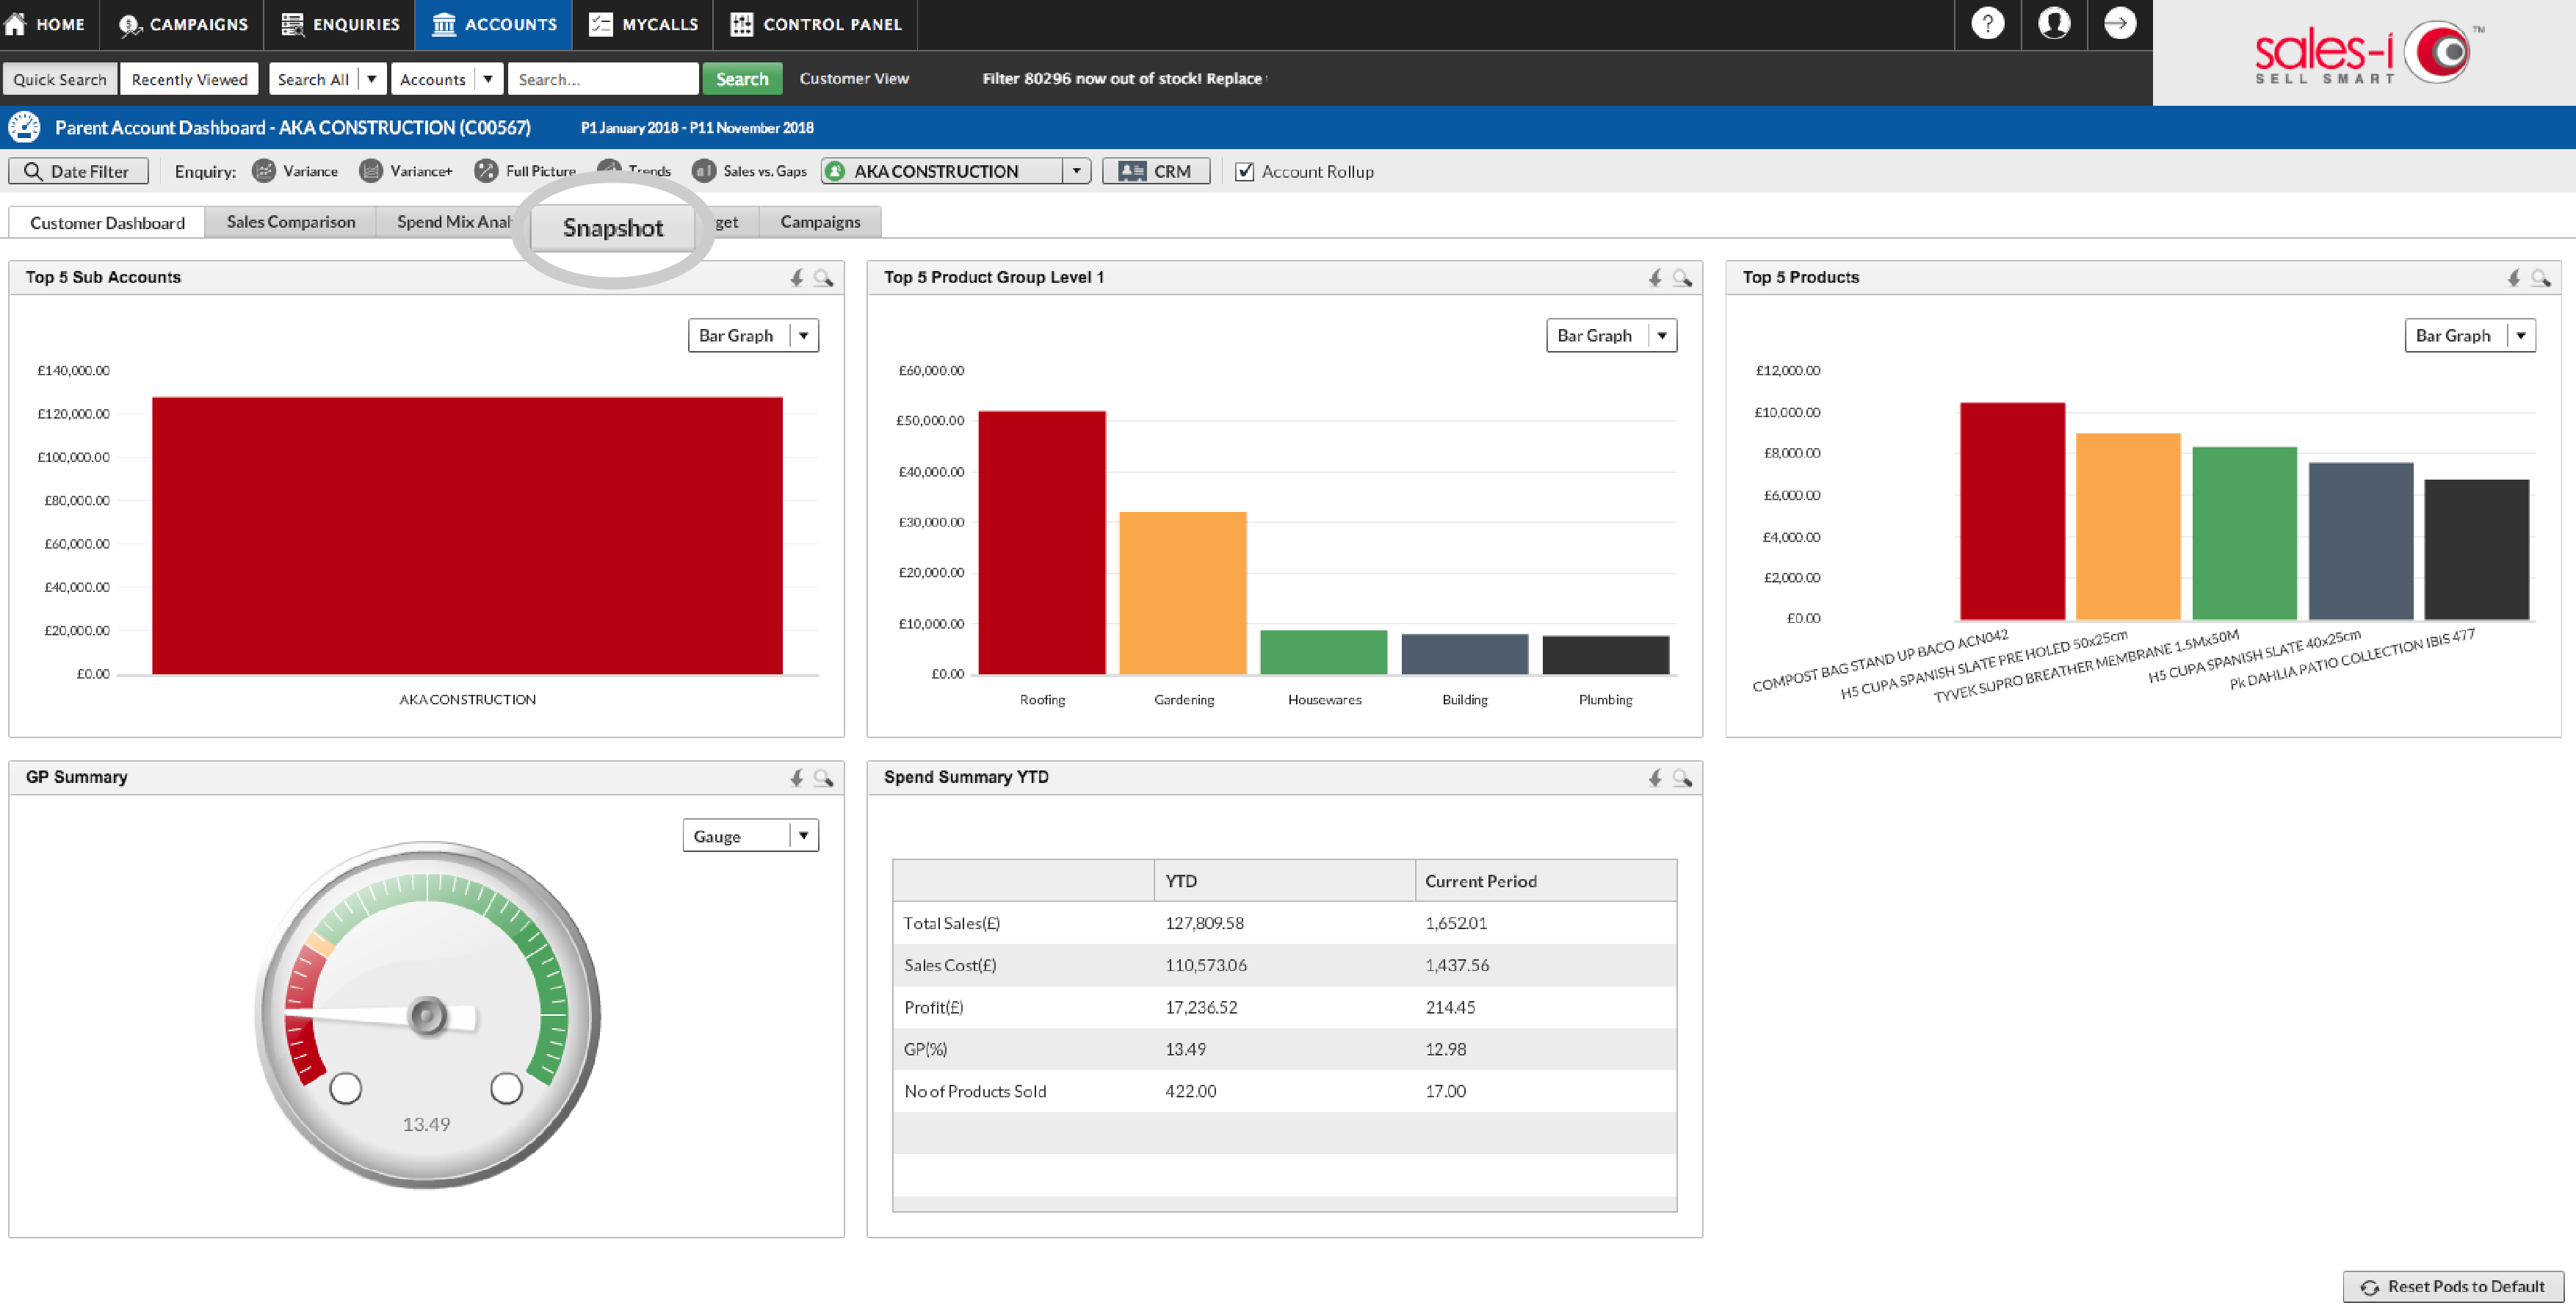
Step 3: Snapshot
Click on the Snapshot tab.
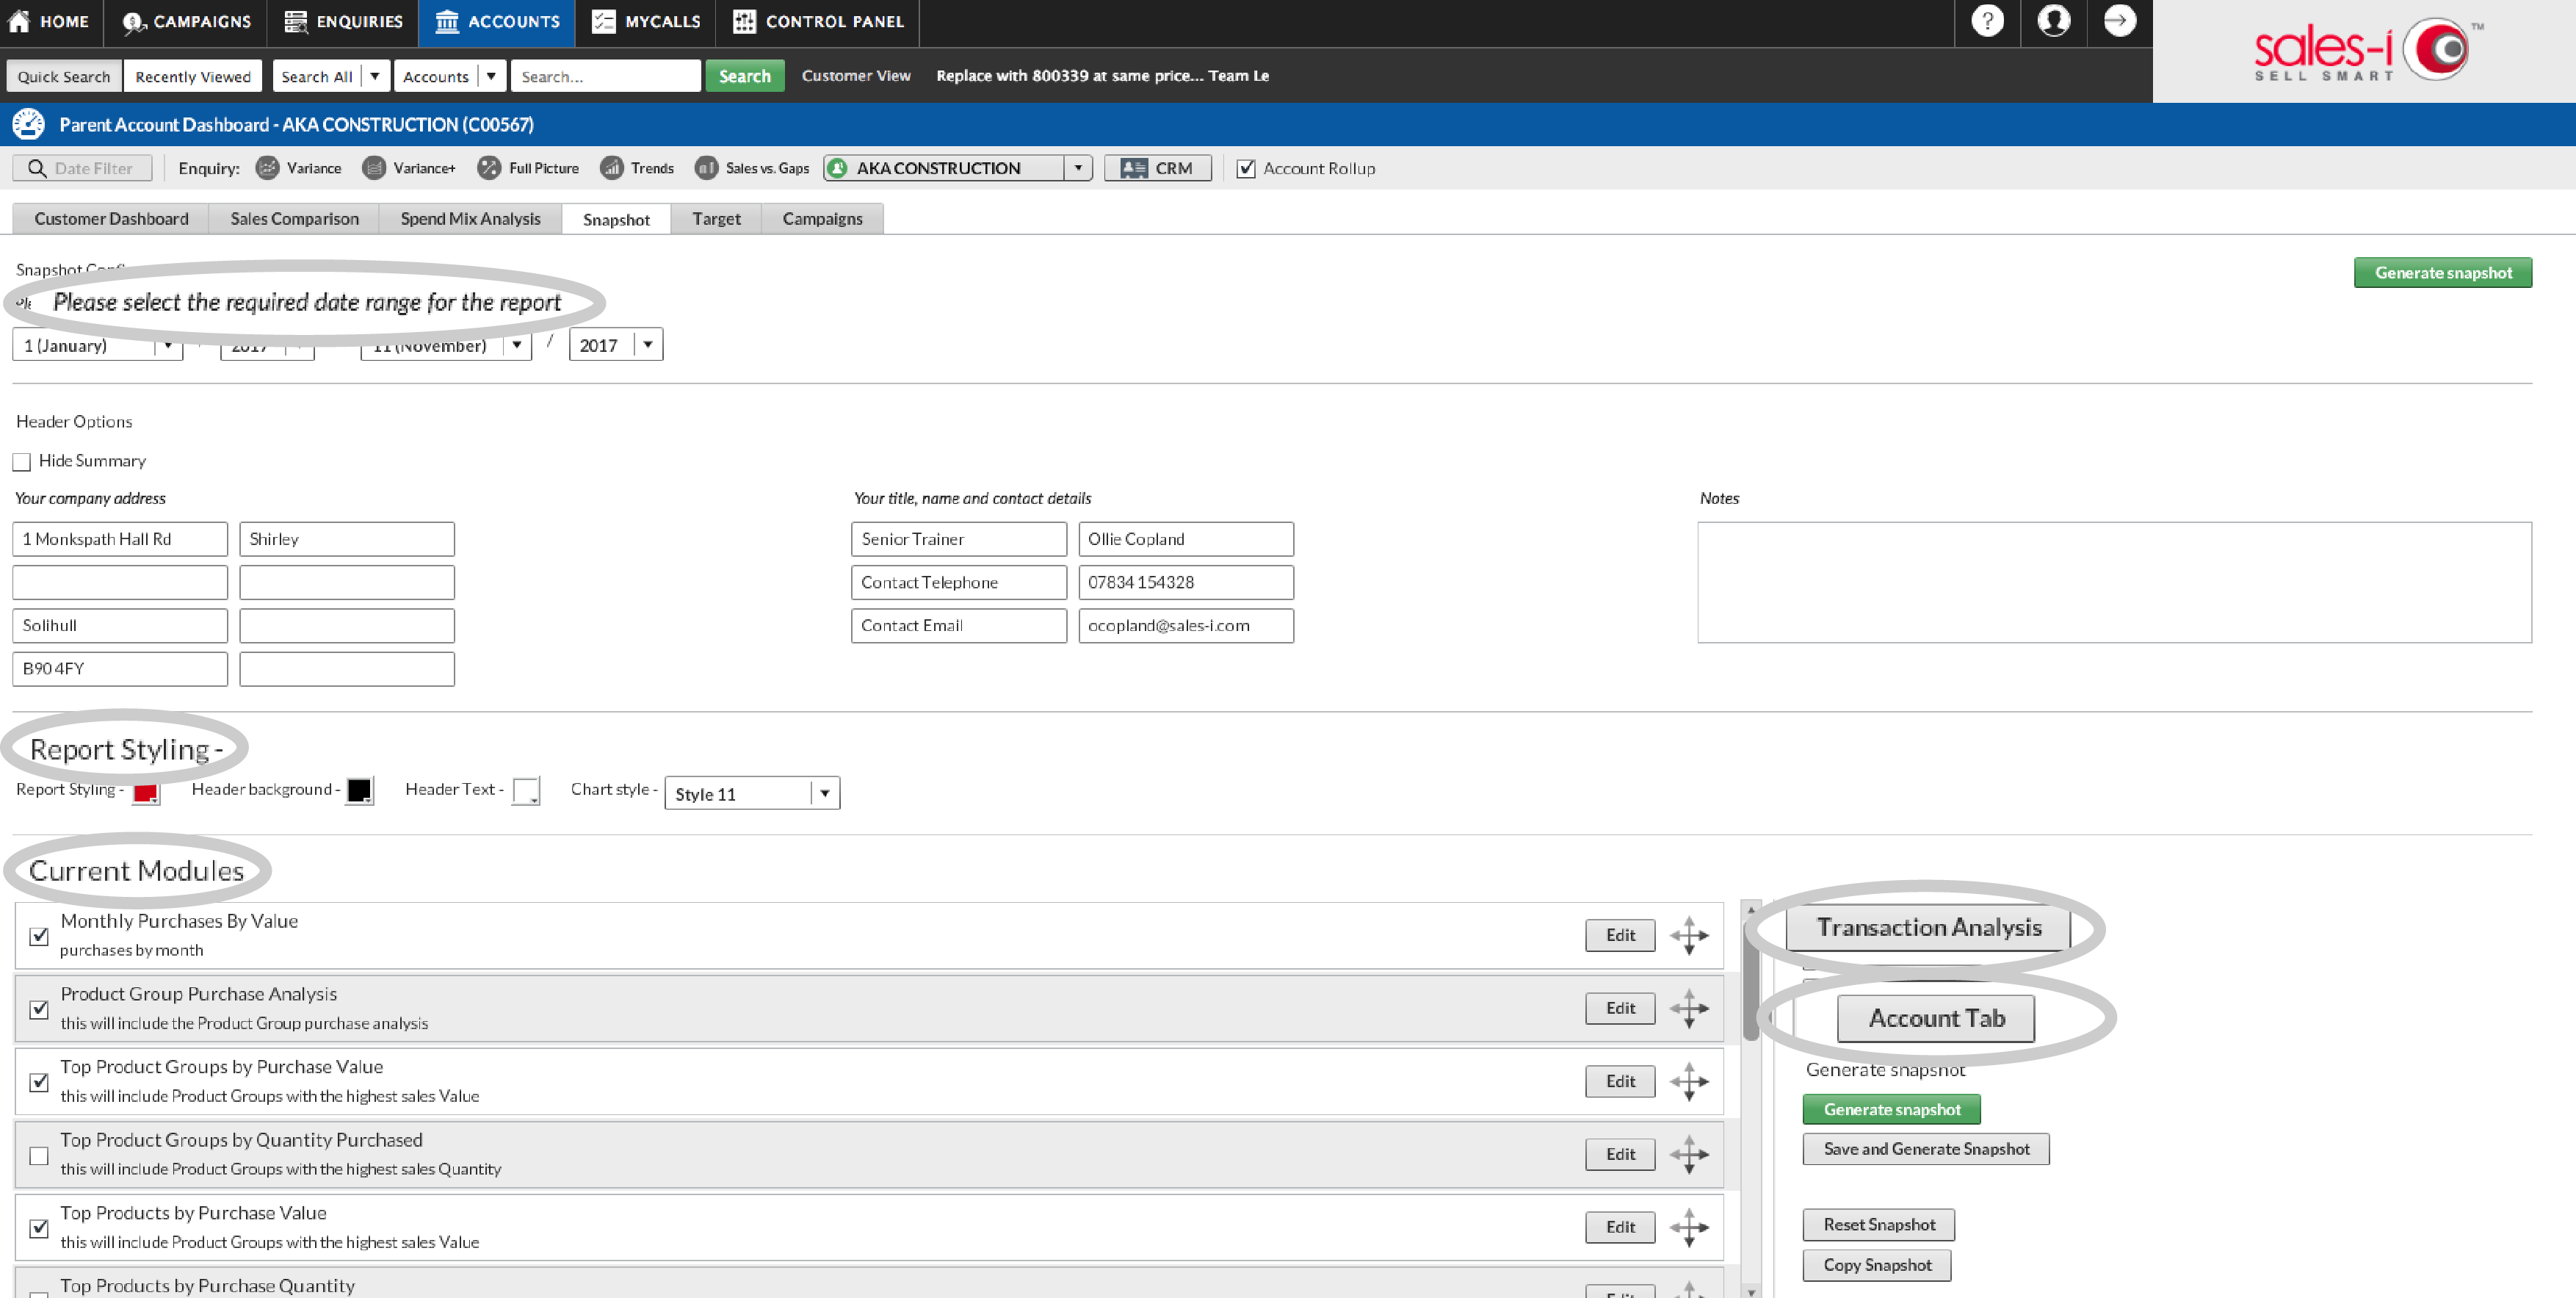
Step 4: Adjust Report
Adjust the report using the following
options:
1. The required date range
2. Report Styling
3. Current Modules – information that’s included
4. Transaction Analysis – module for a financial breakdown report
5. Account Tab – module for account information.
Step 5: Generate Report
You can then choose to either, generate the report as a one off using Generate Snapshot or…

Step 6: Save Settings
Alternatively, you can choose Save and Generate Snapshot, which will save these settings for all of your reports.