This guide will show you how to create restrictive groups and add users to them so you can specify what data they can and can't see. so they can focus on and only see the accounts, fields and areas specific to them.
Please Note: If you’re looking to see how to add users to a group, you’ll need to read How to Add a User.
Desktop
Download a PDF version
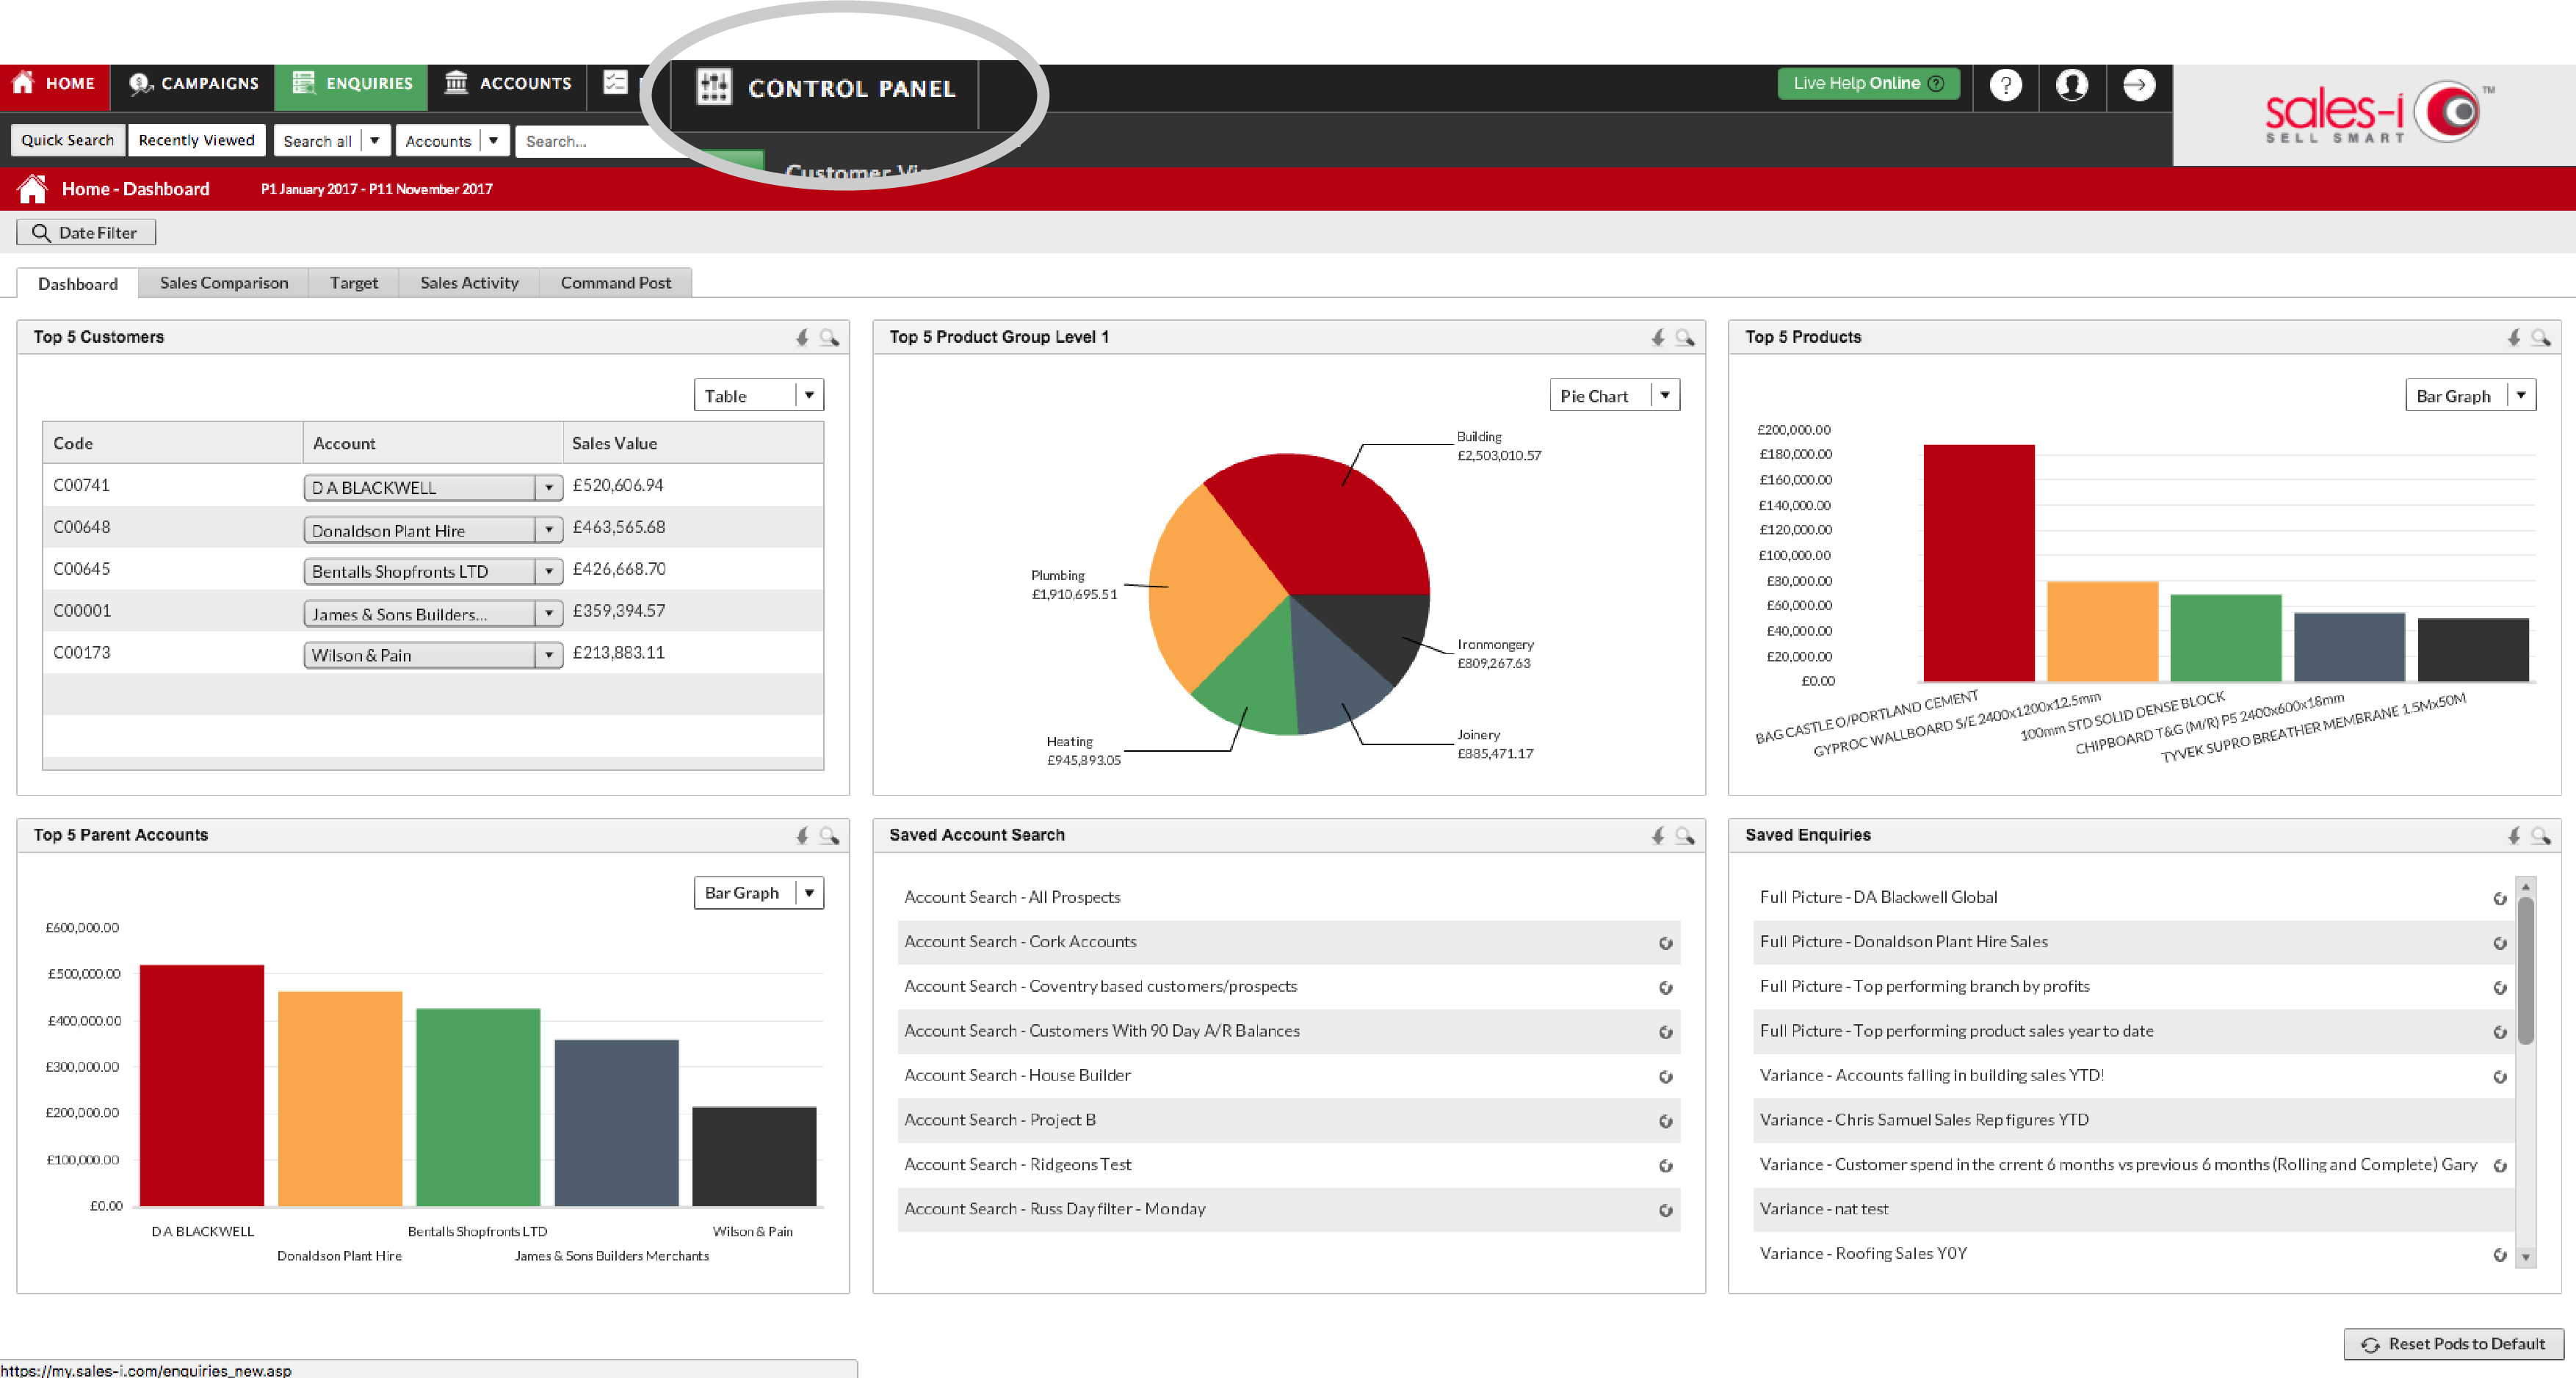
Step 1: Go to Control Panel
From the black navigation bar at the top of the screen, click Control Panel.
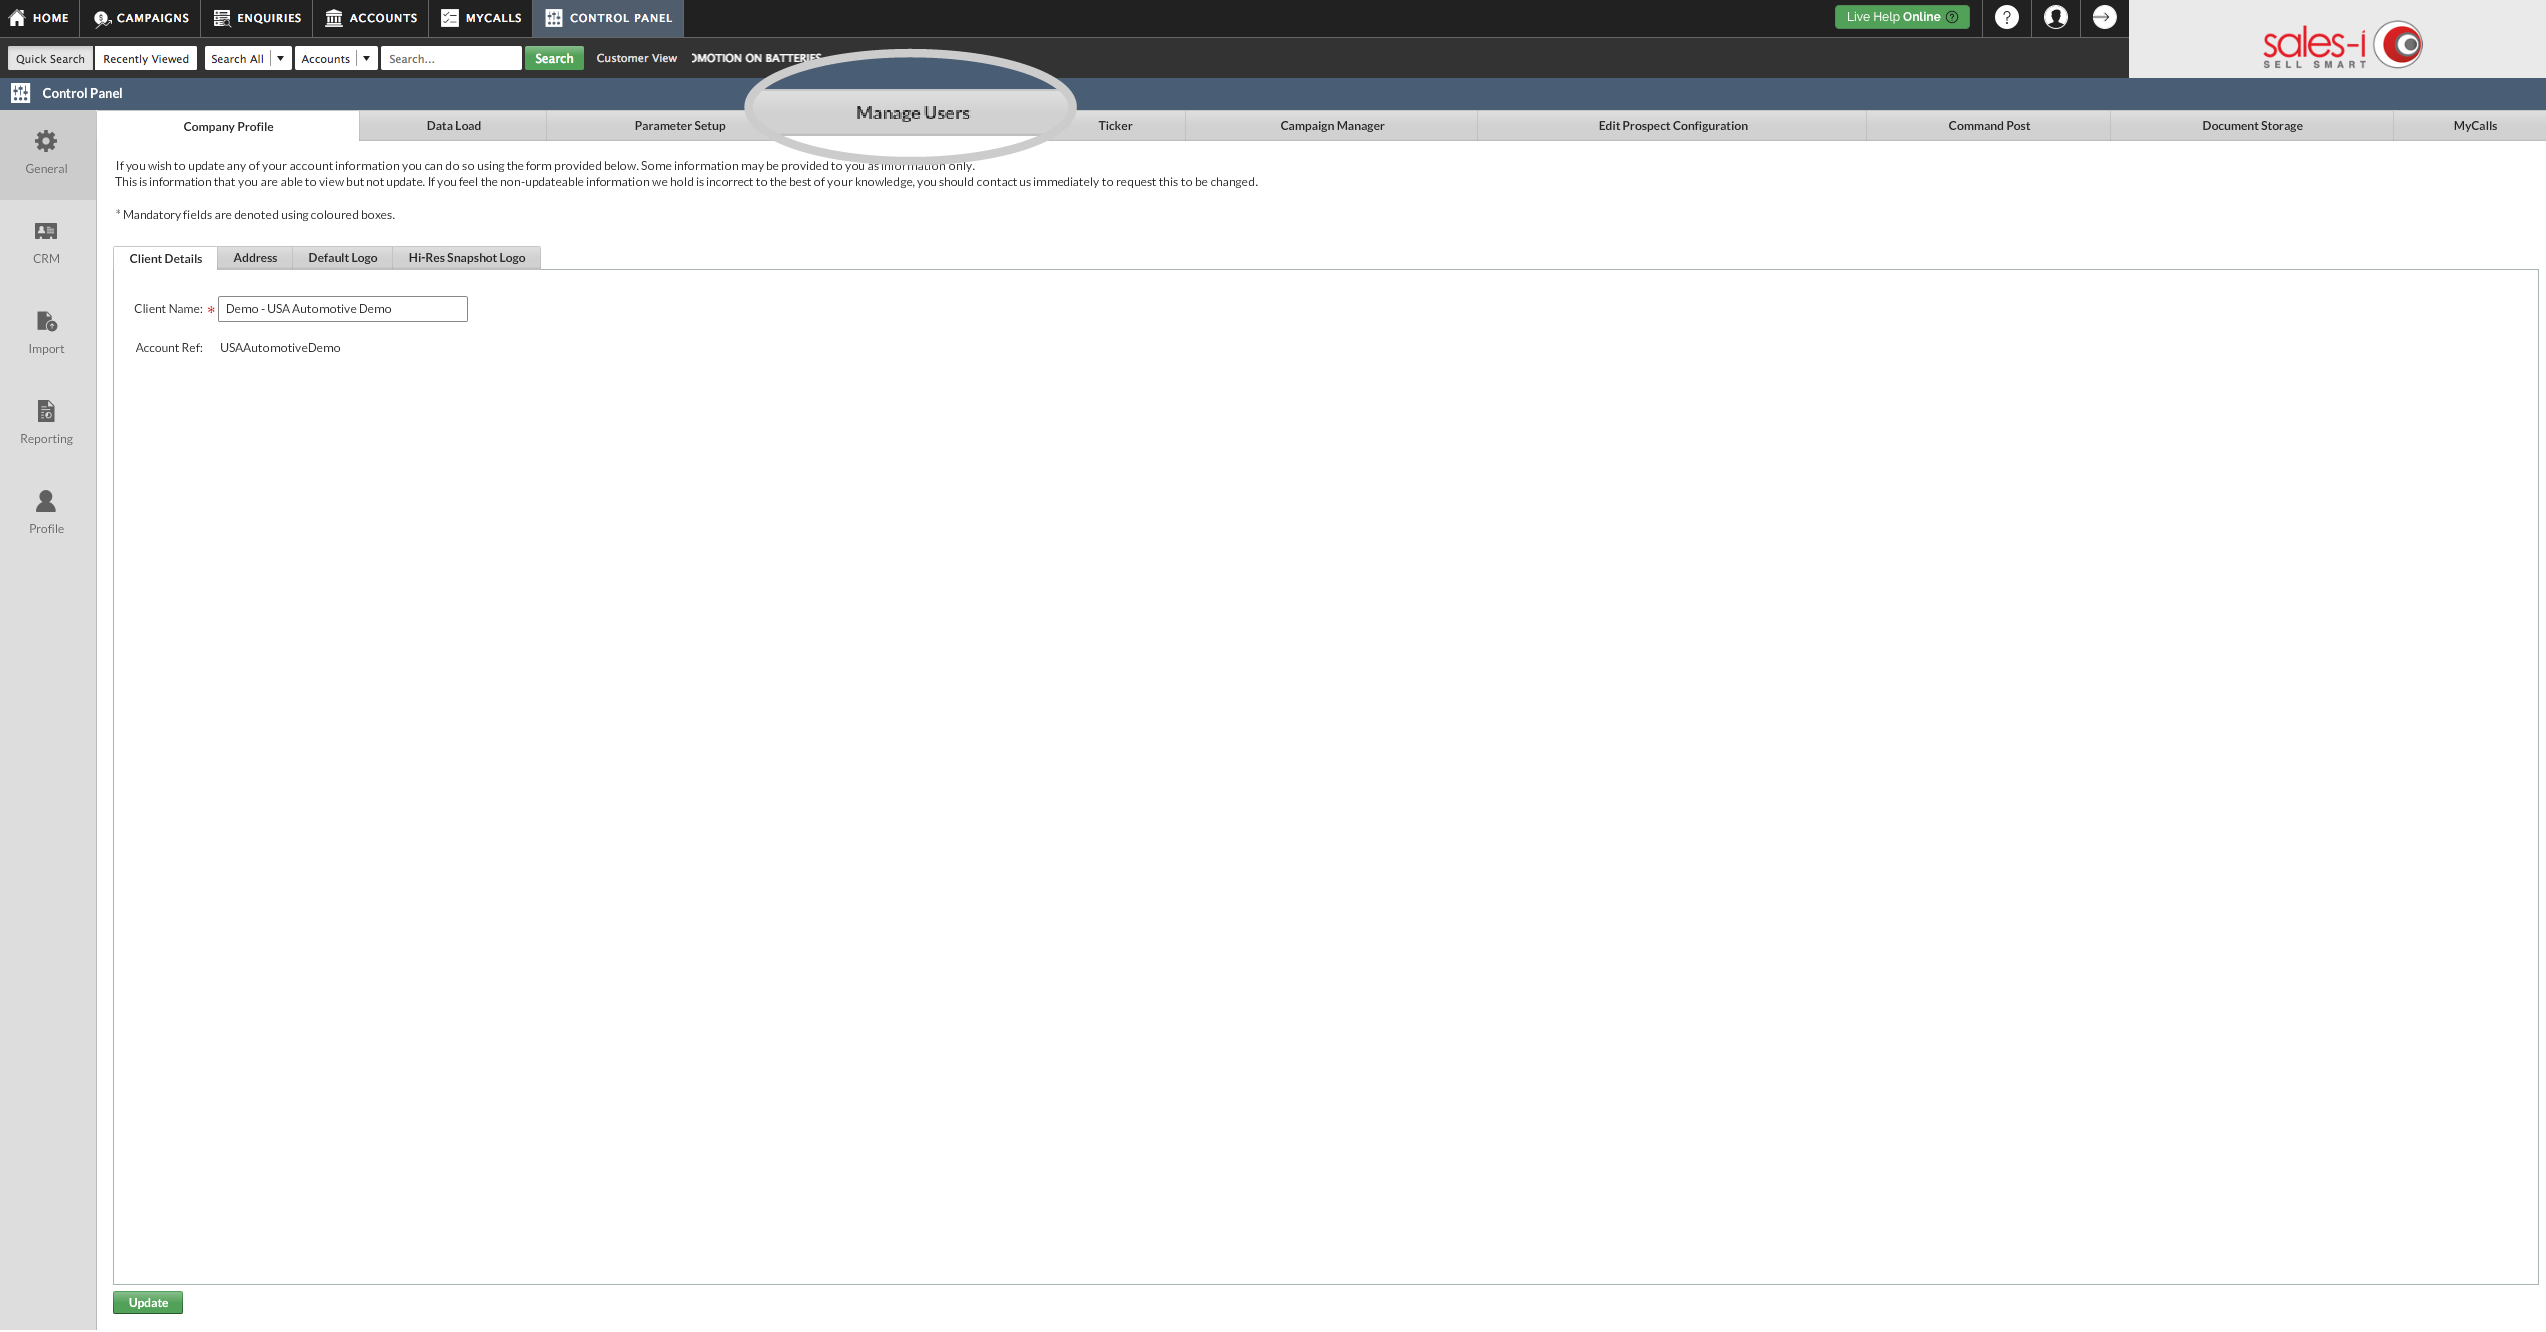
Step 2: Go To Manage Users
Now click on Manage Users.
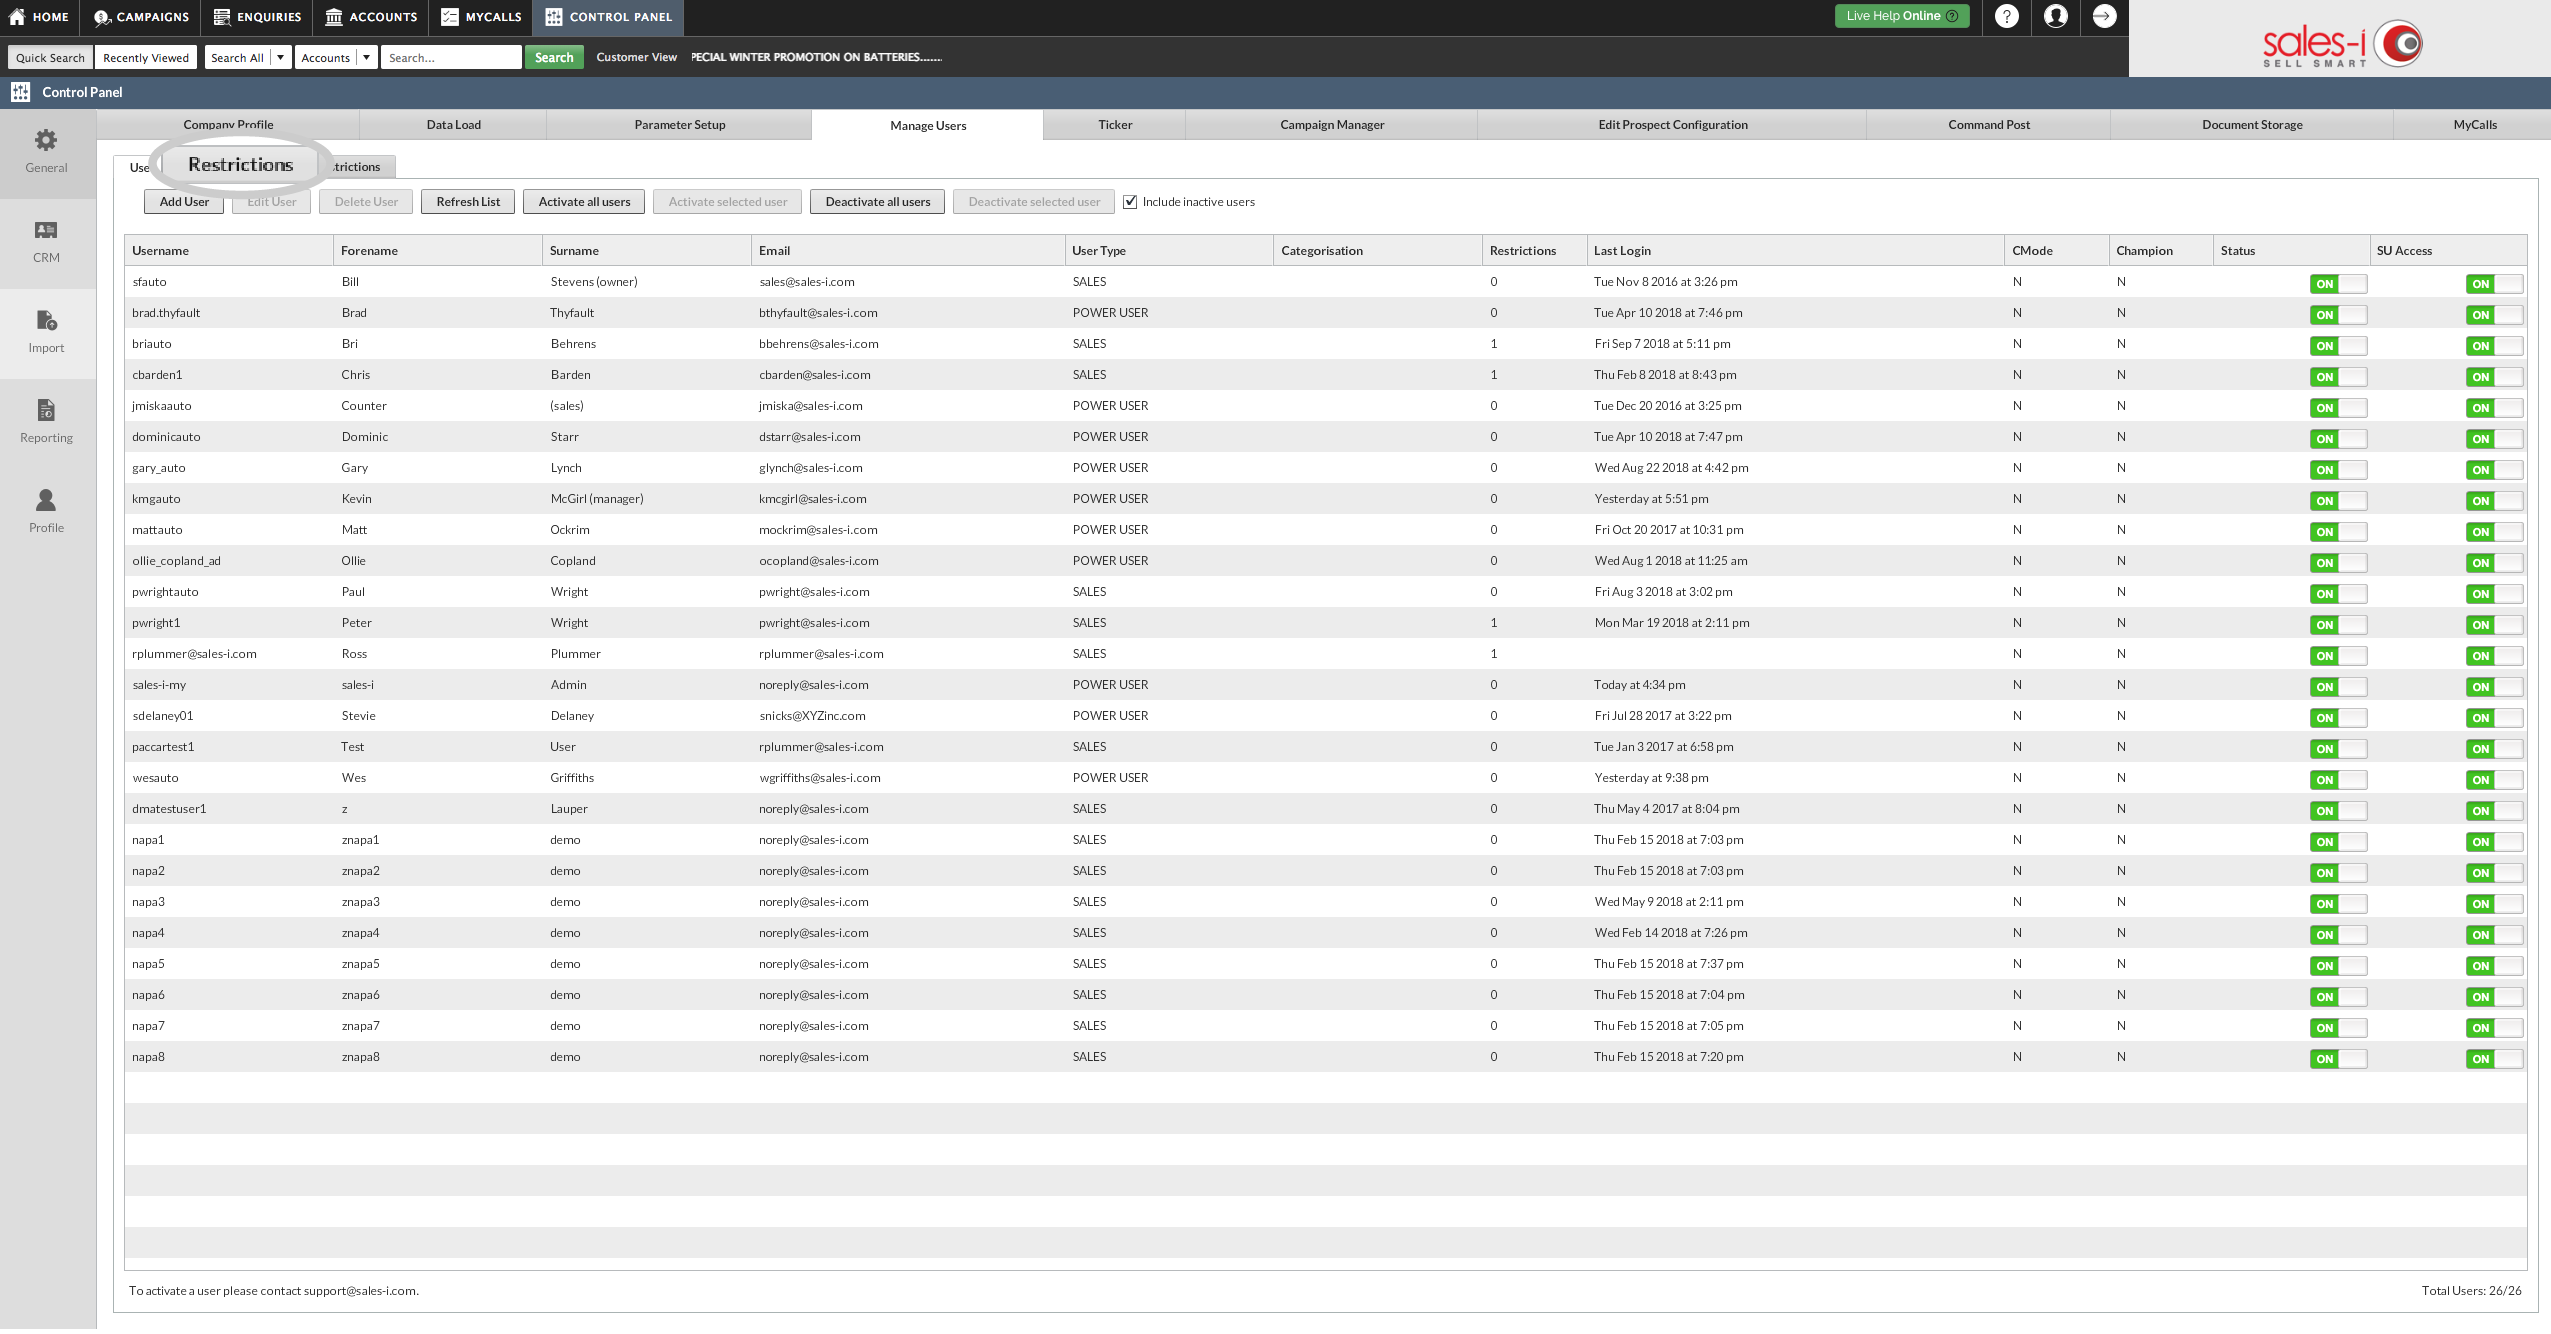
Step 3: Go To Restrictions
Click the Restrictions sub-tab at the top left of the screen.
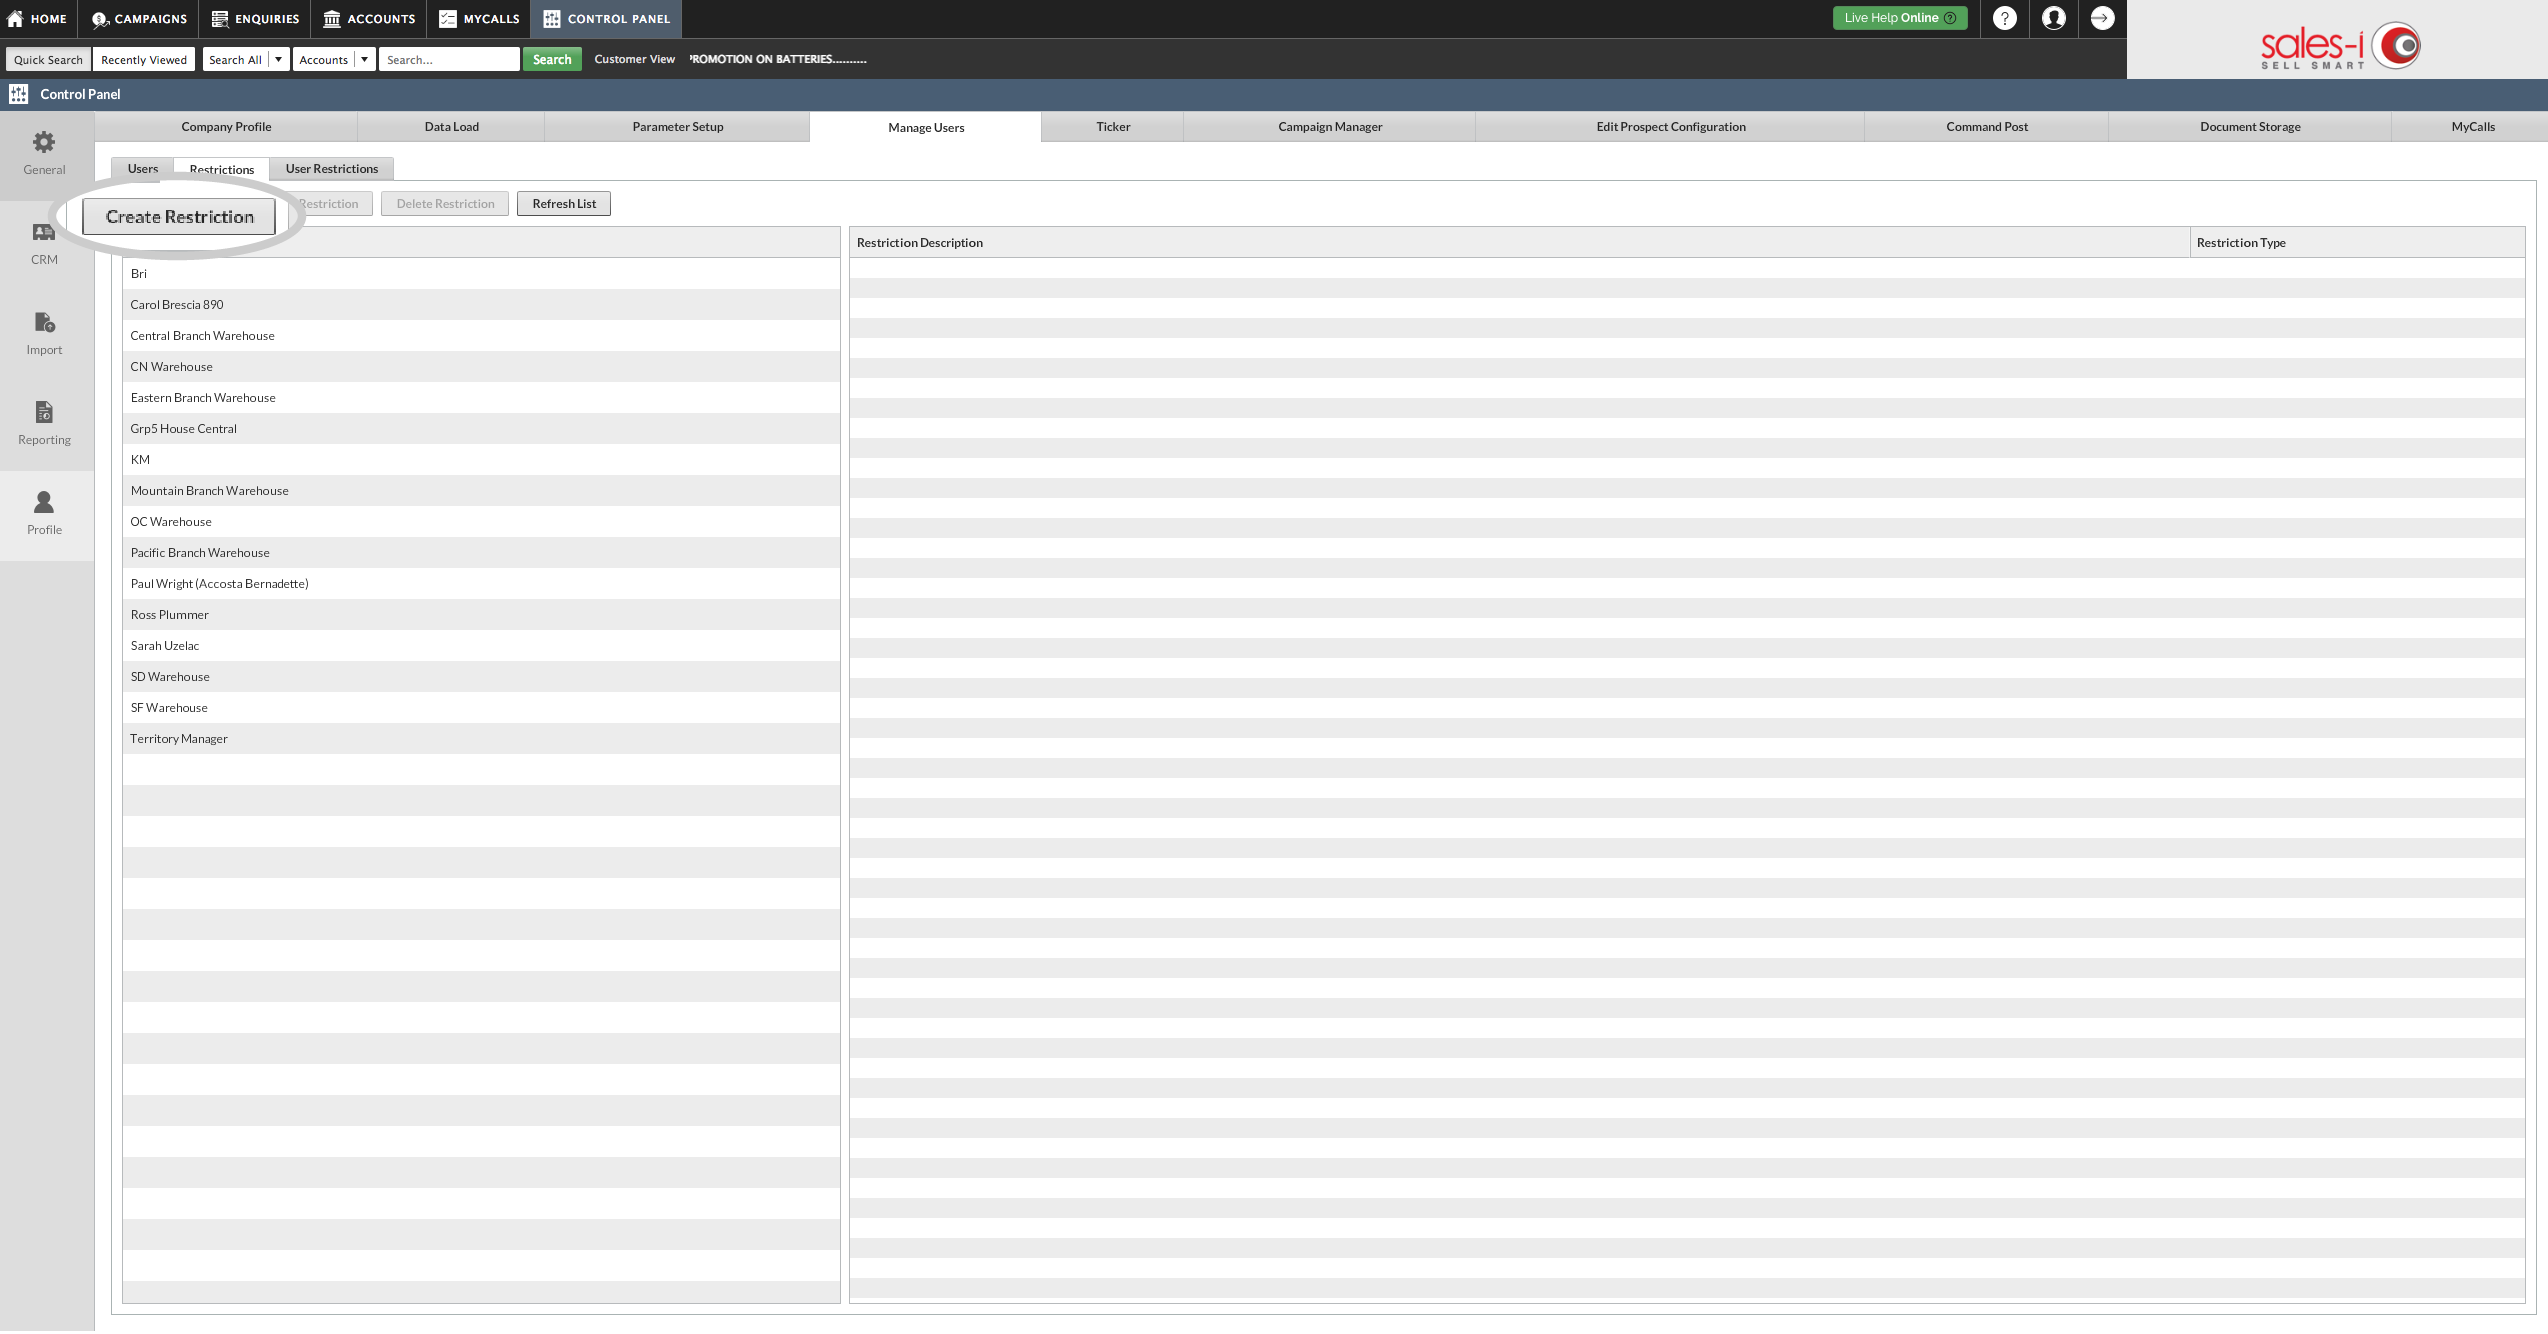
Step 4: Create Restriction
Click Create Restriction.
Step 5: Name Group
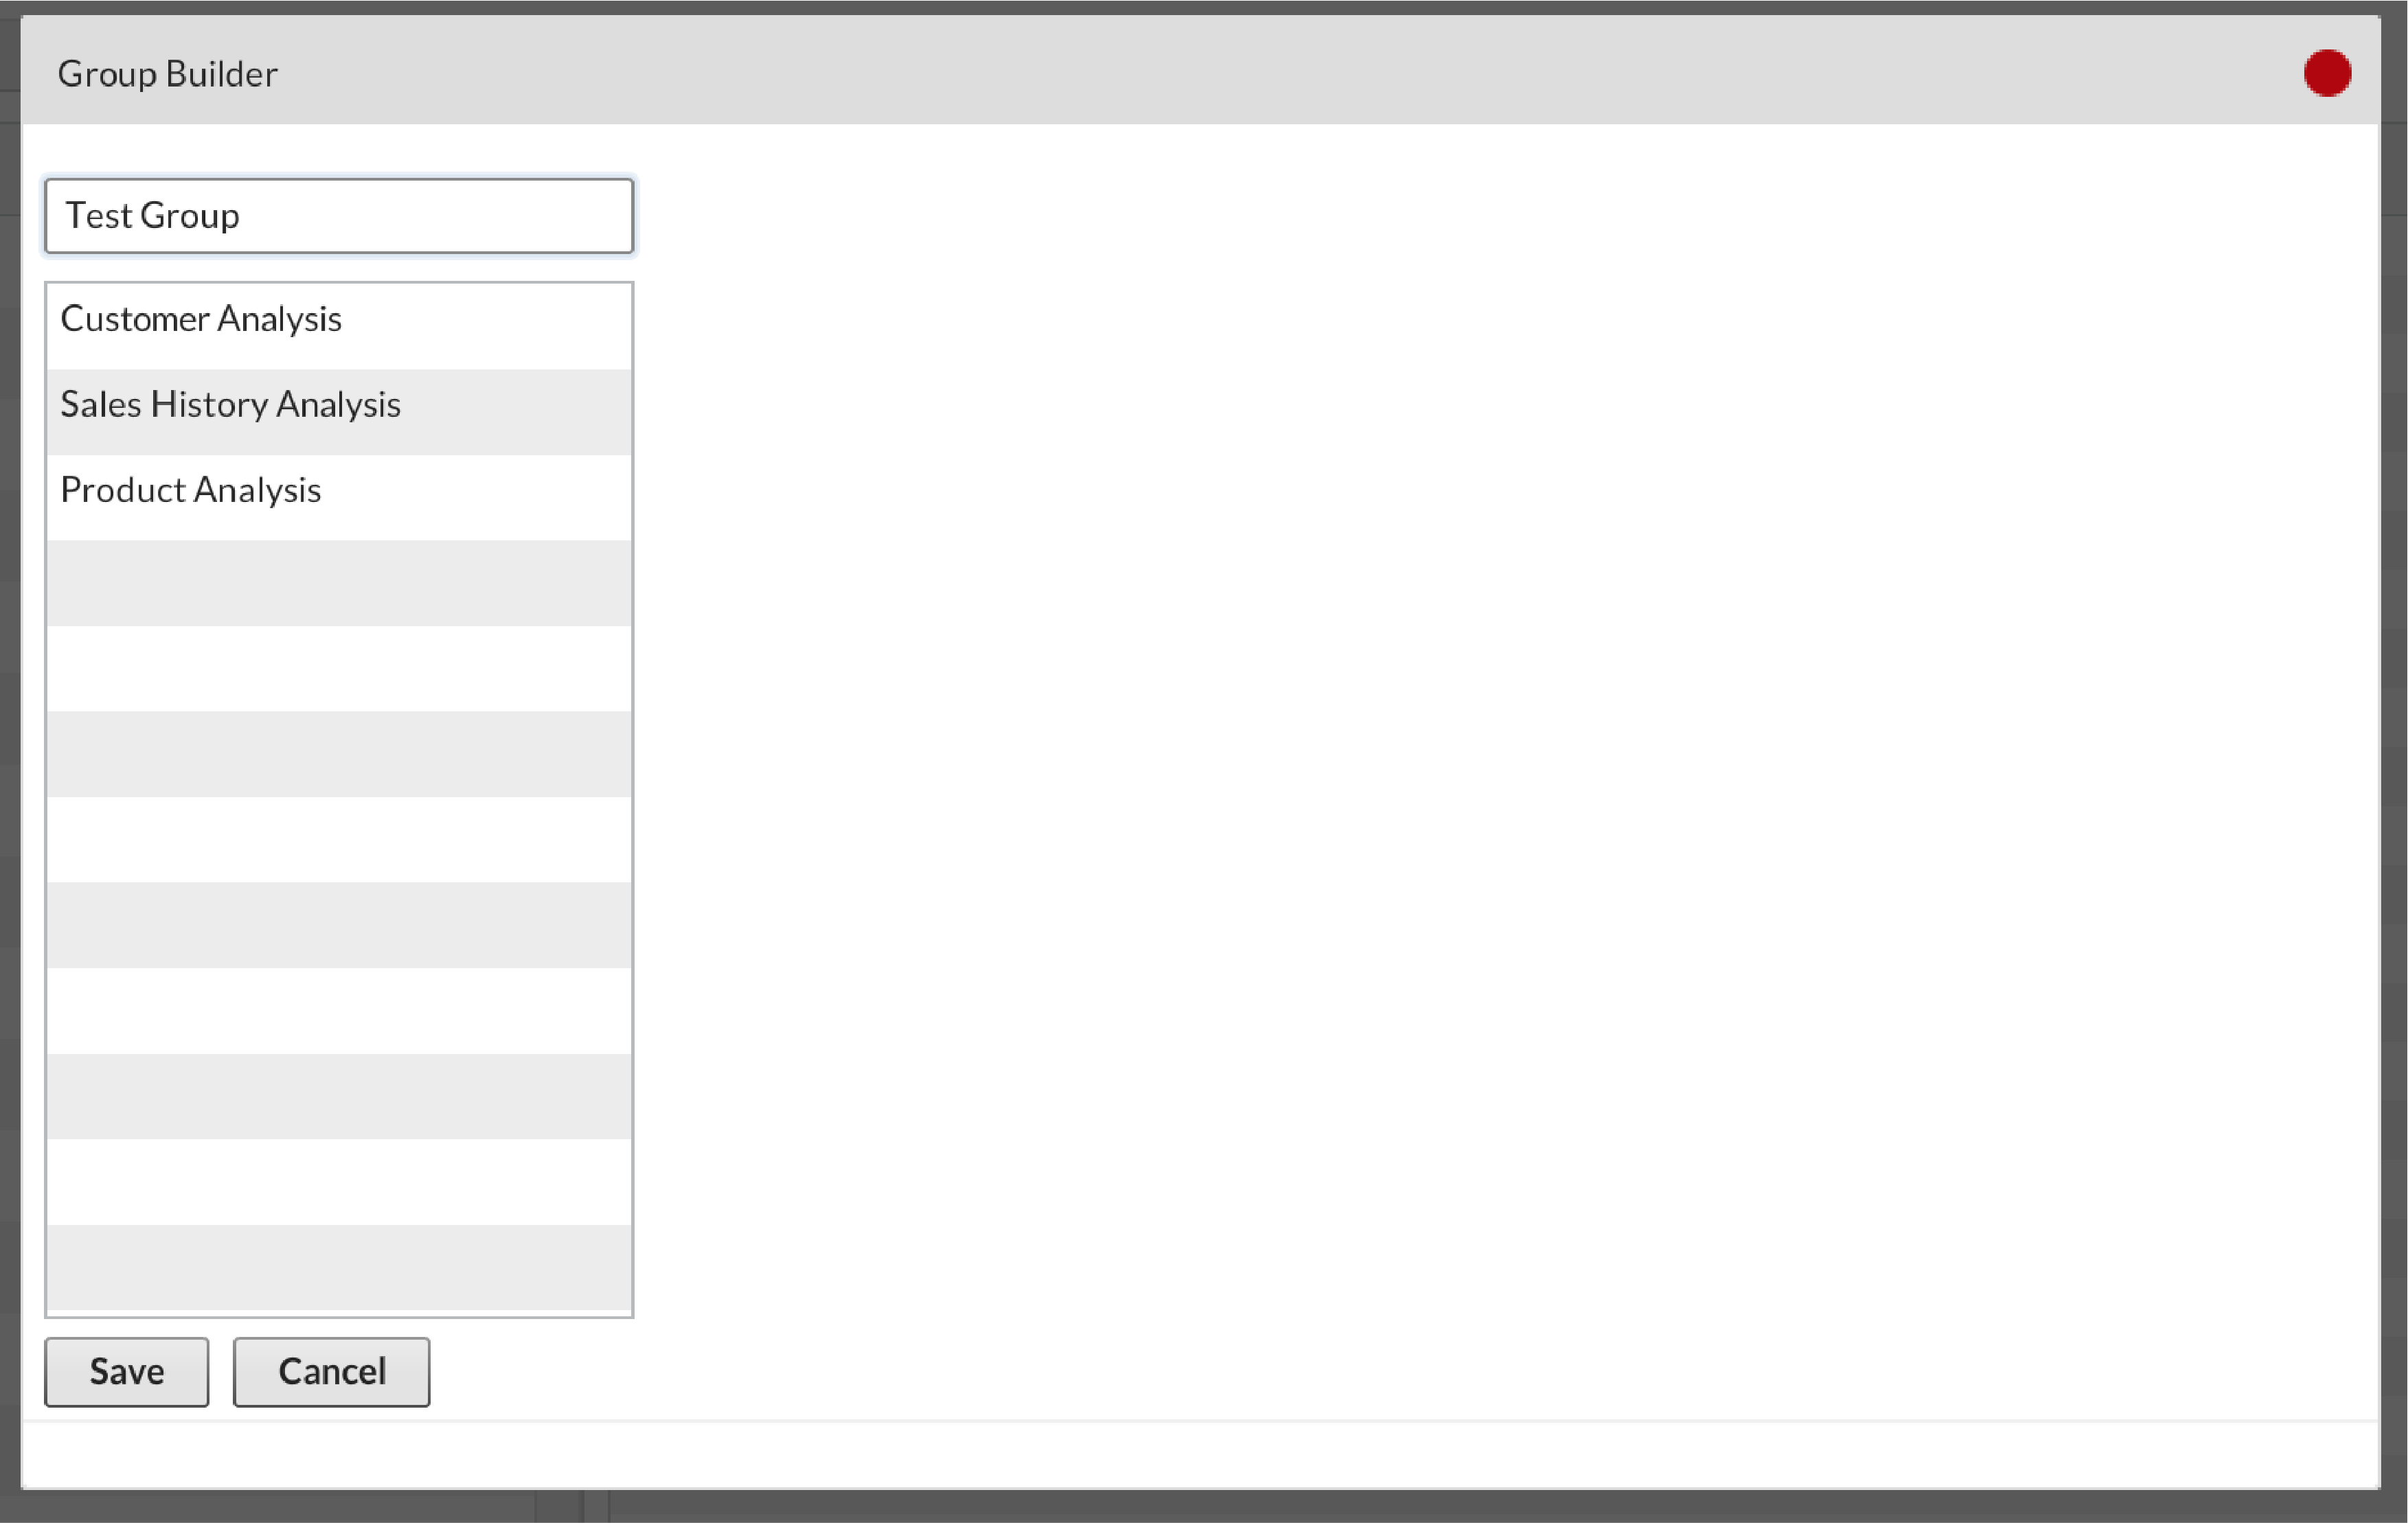
The Restriction Builder Box will now appear. Enter the name of your restriction and click on the required analysis type.
Step 6: Add Group Focus
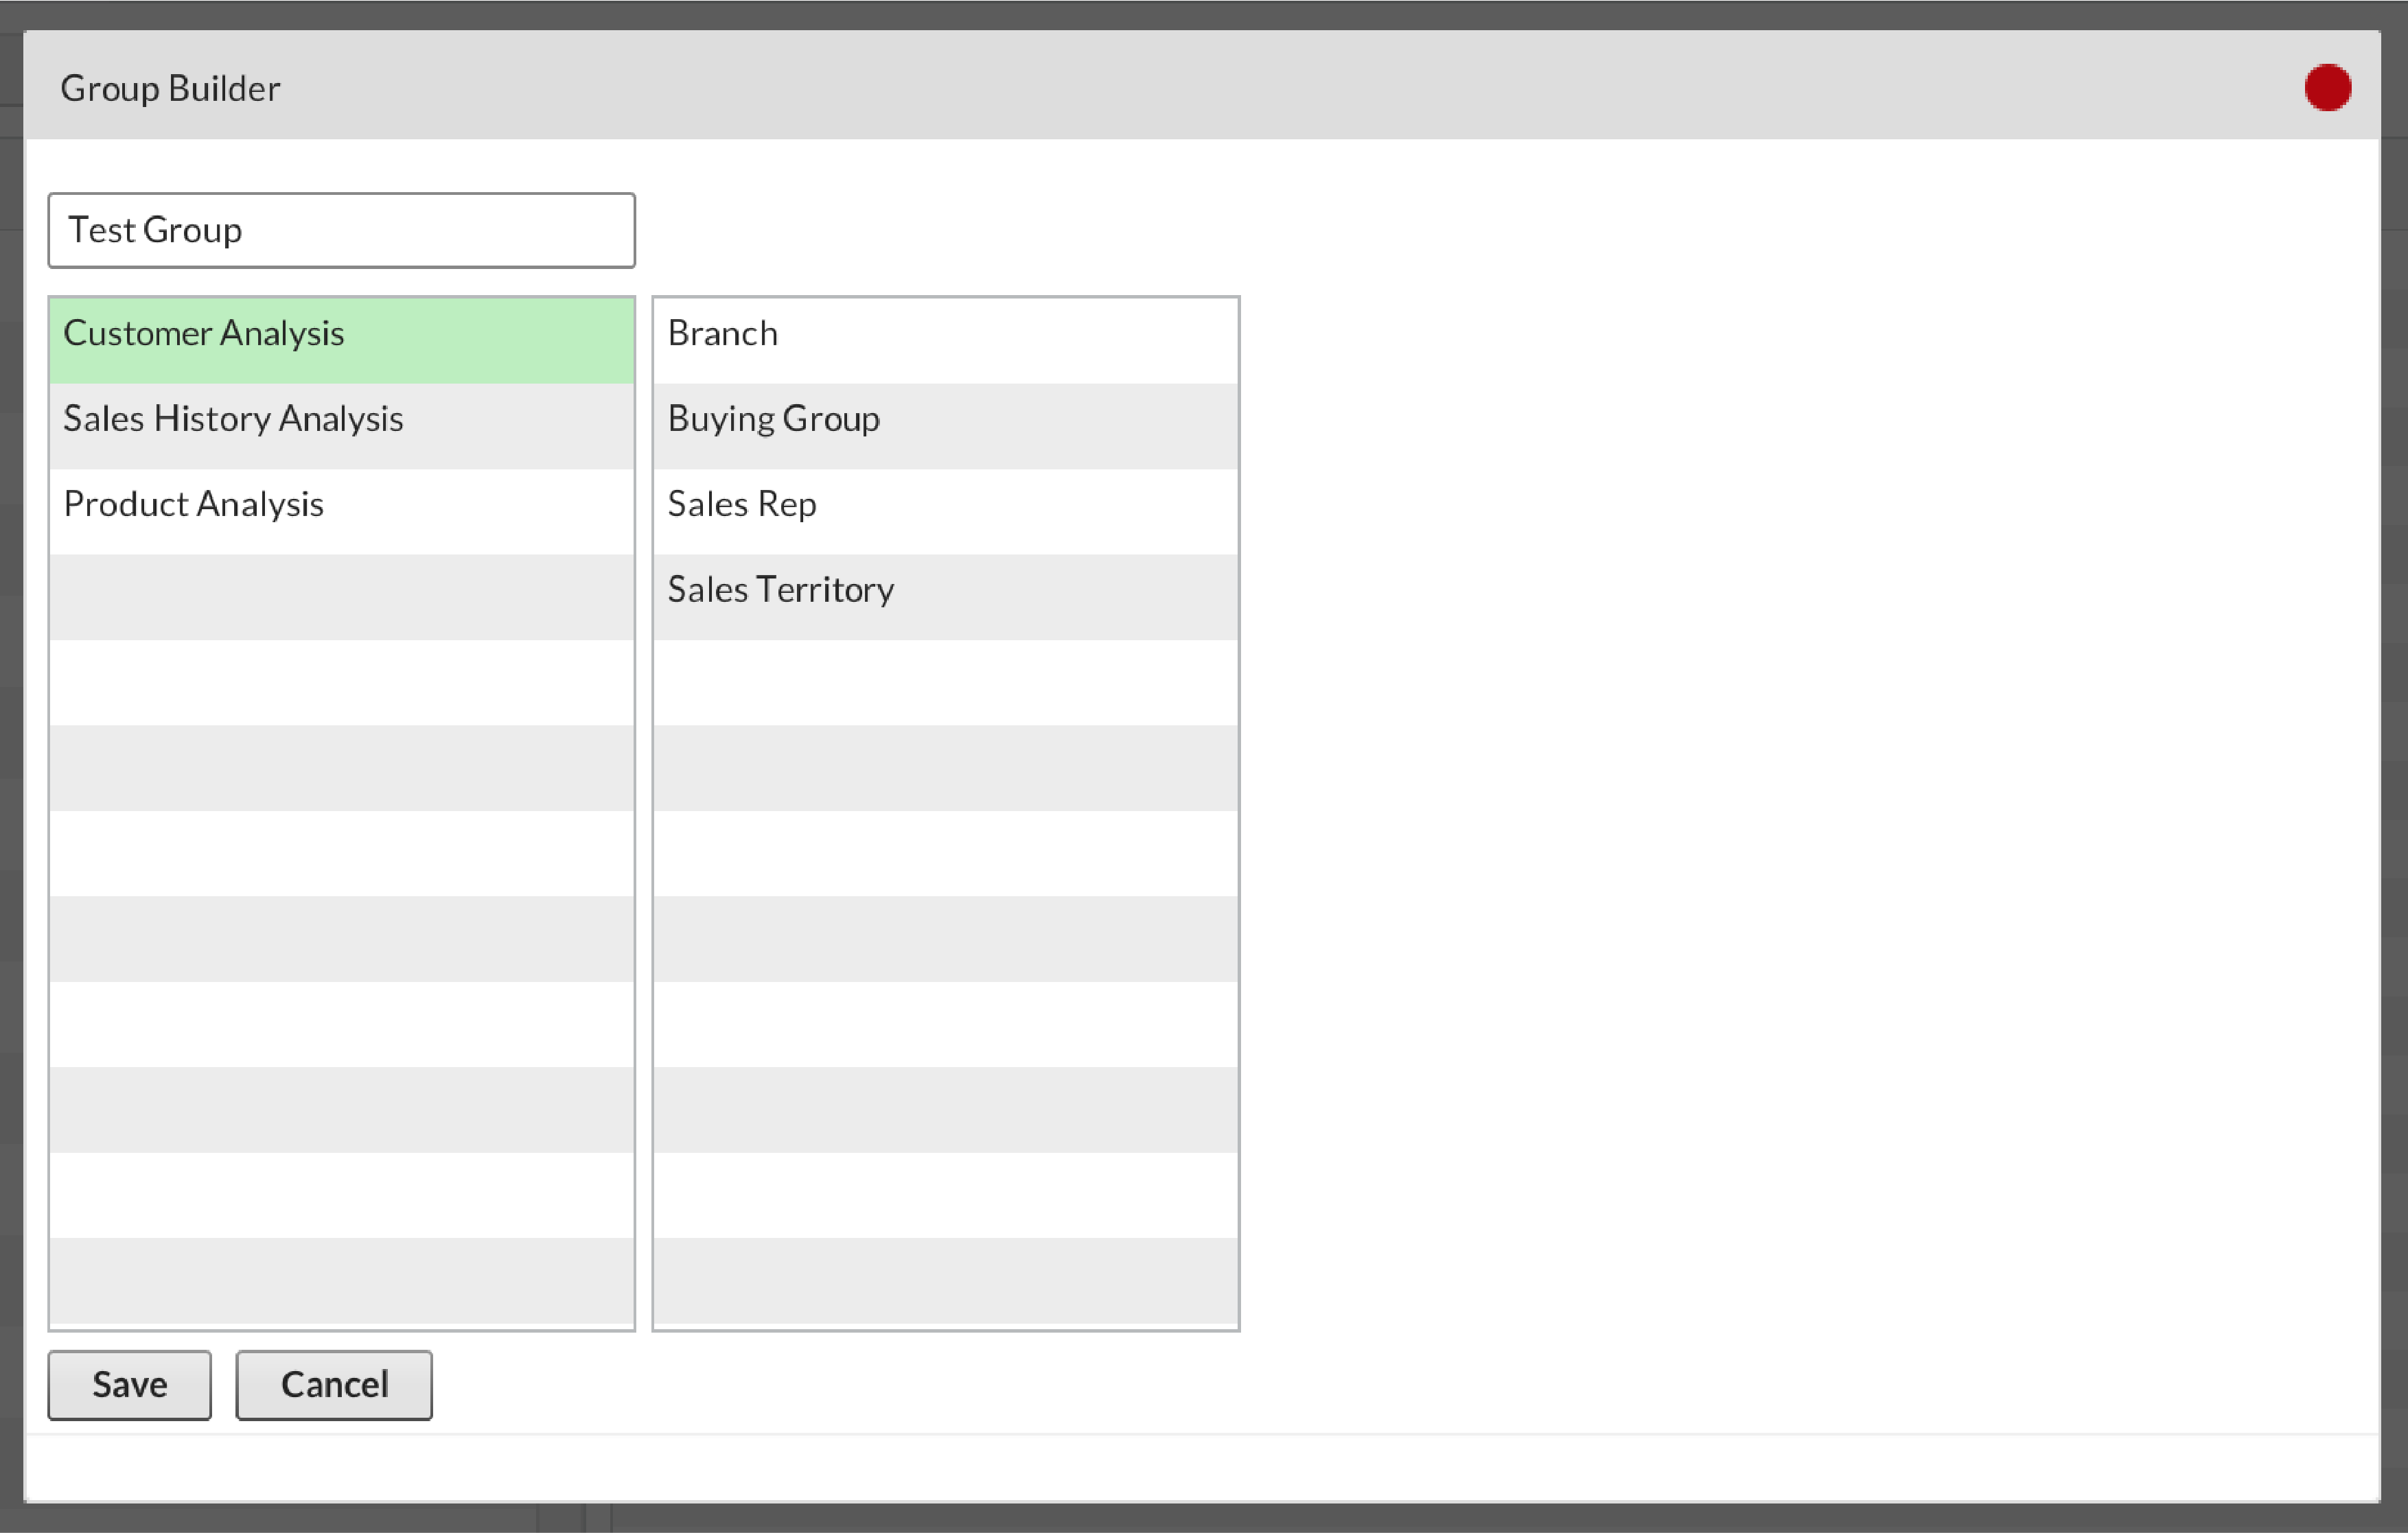
Now, select a field from the central menu, depending on what you want the restrictions focus to be.
Step 7: Set Permissions
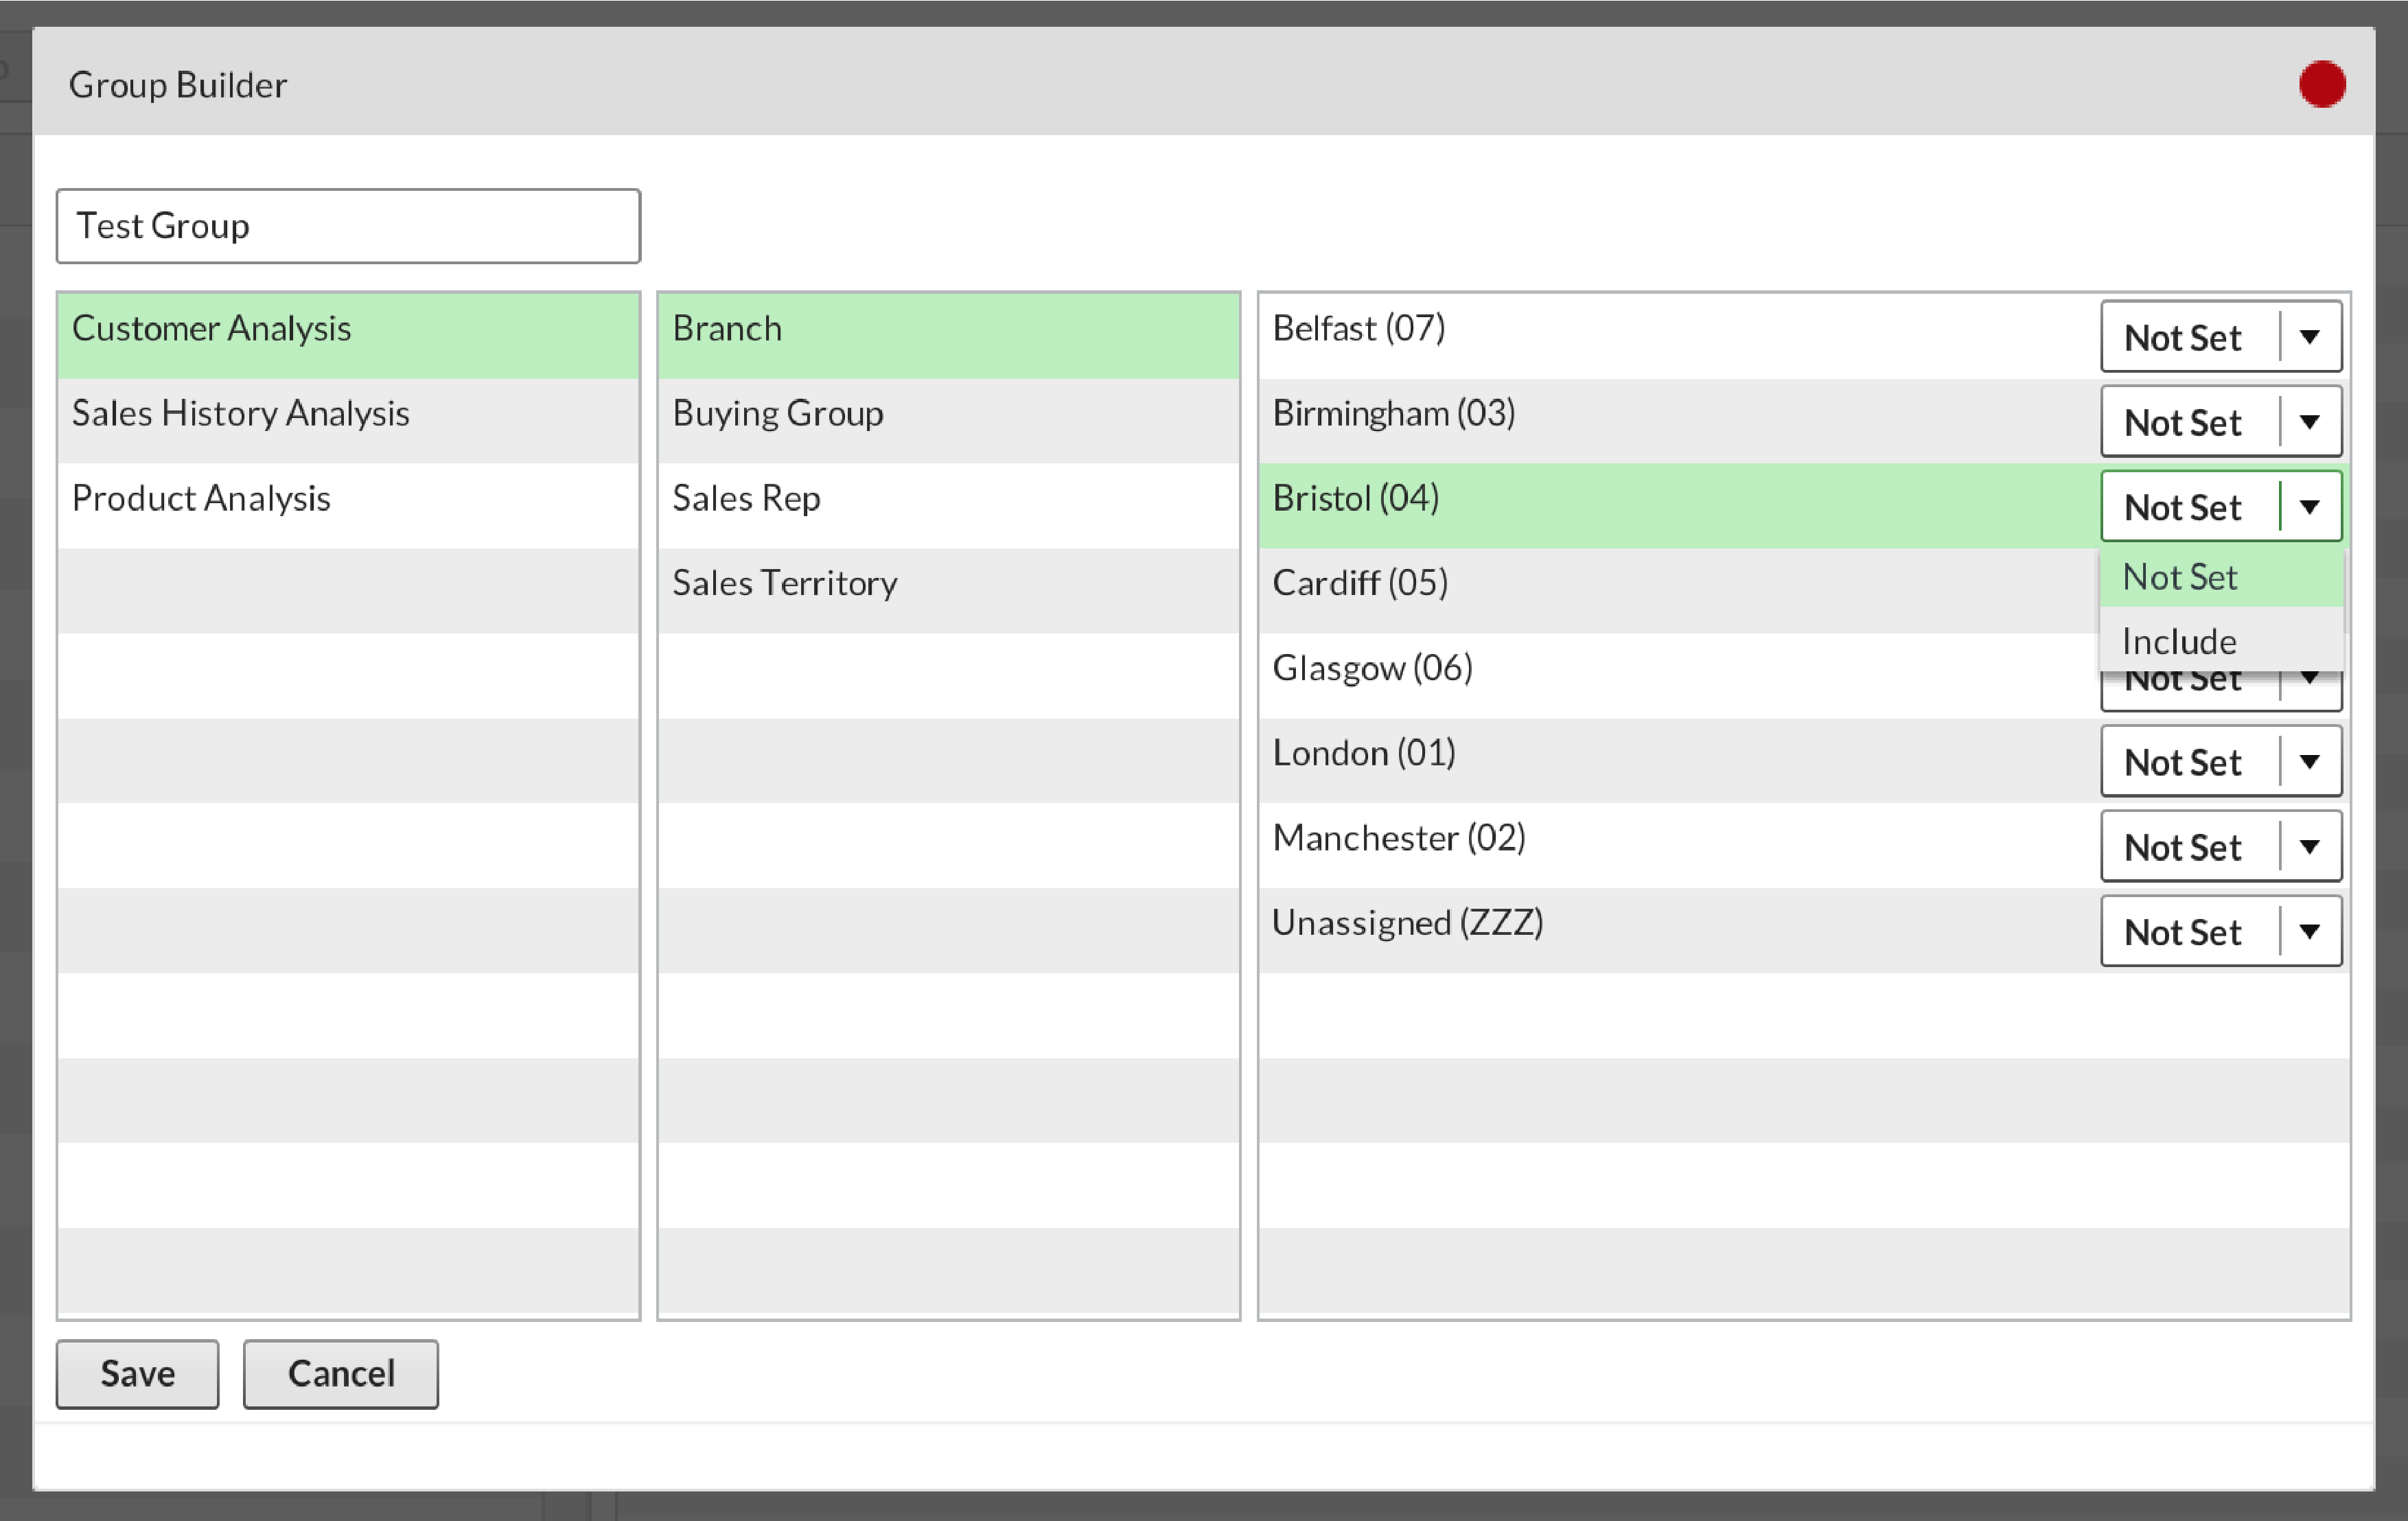
Now use the drop down menus titled Not Set to choose which areas members can and cannot see, selecting the Include option if you want them to see it. When you’re finished, click Save.
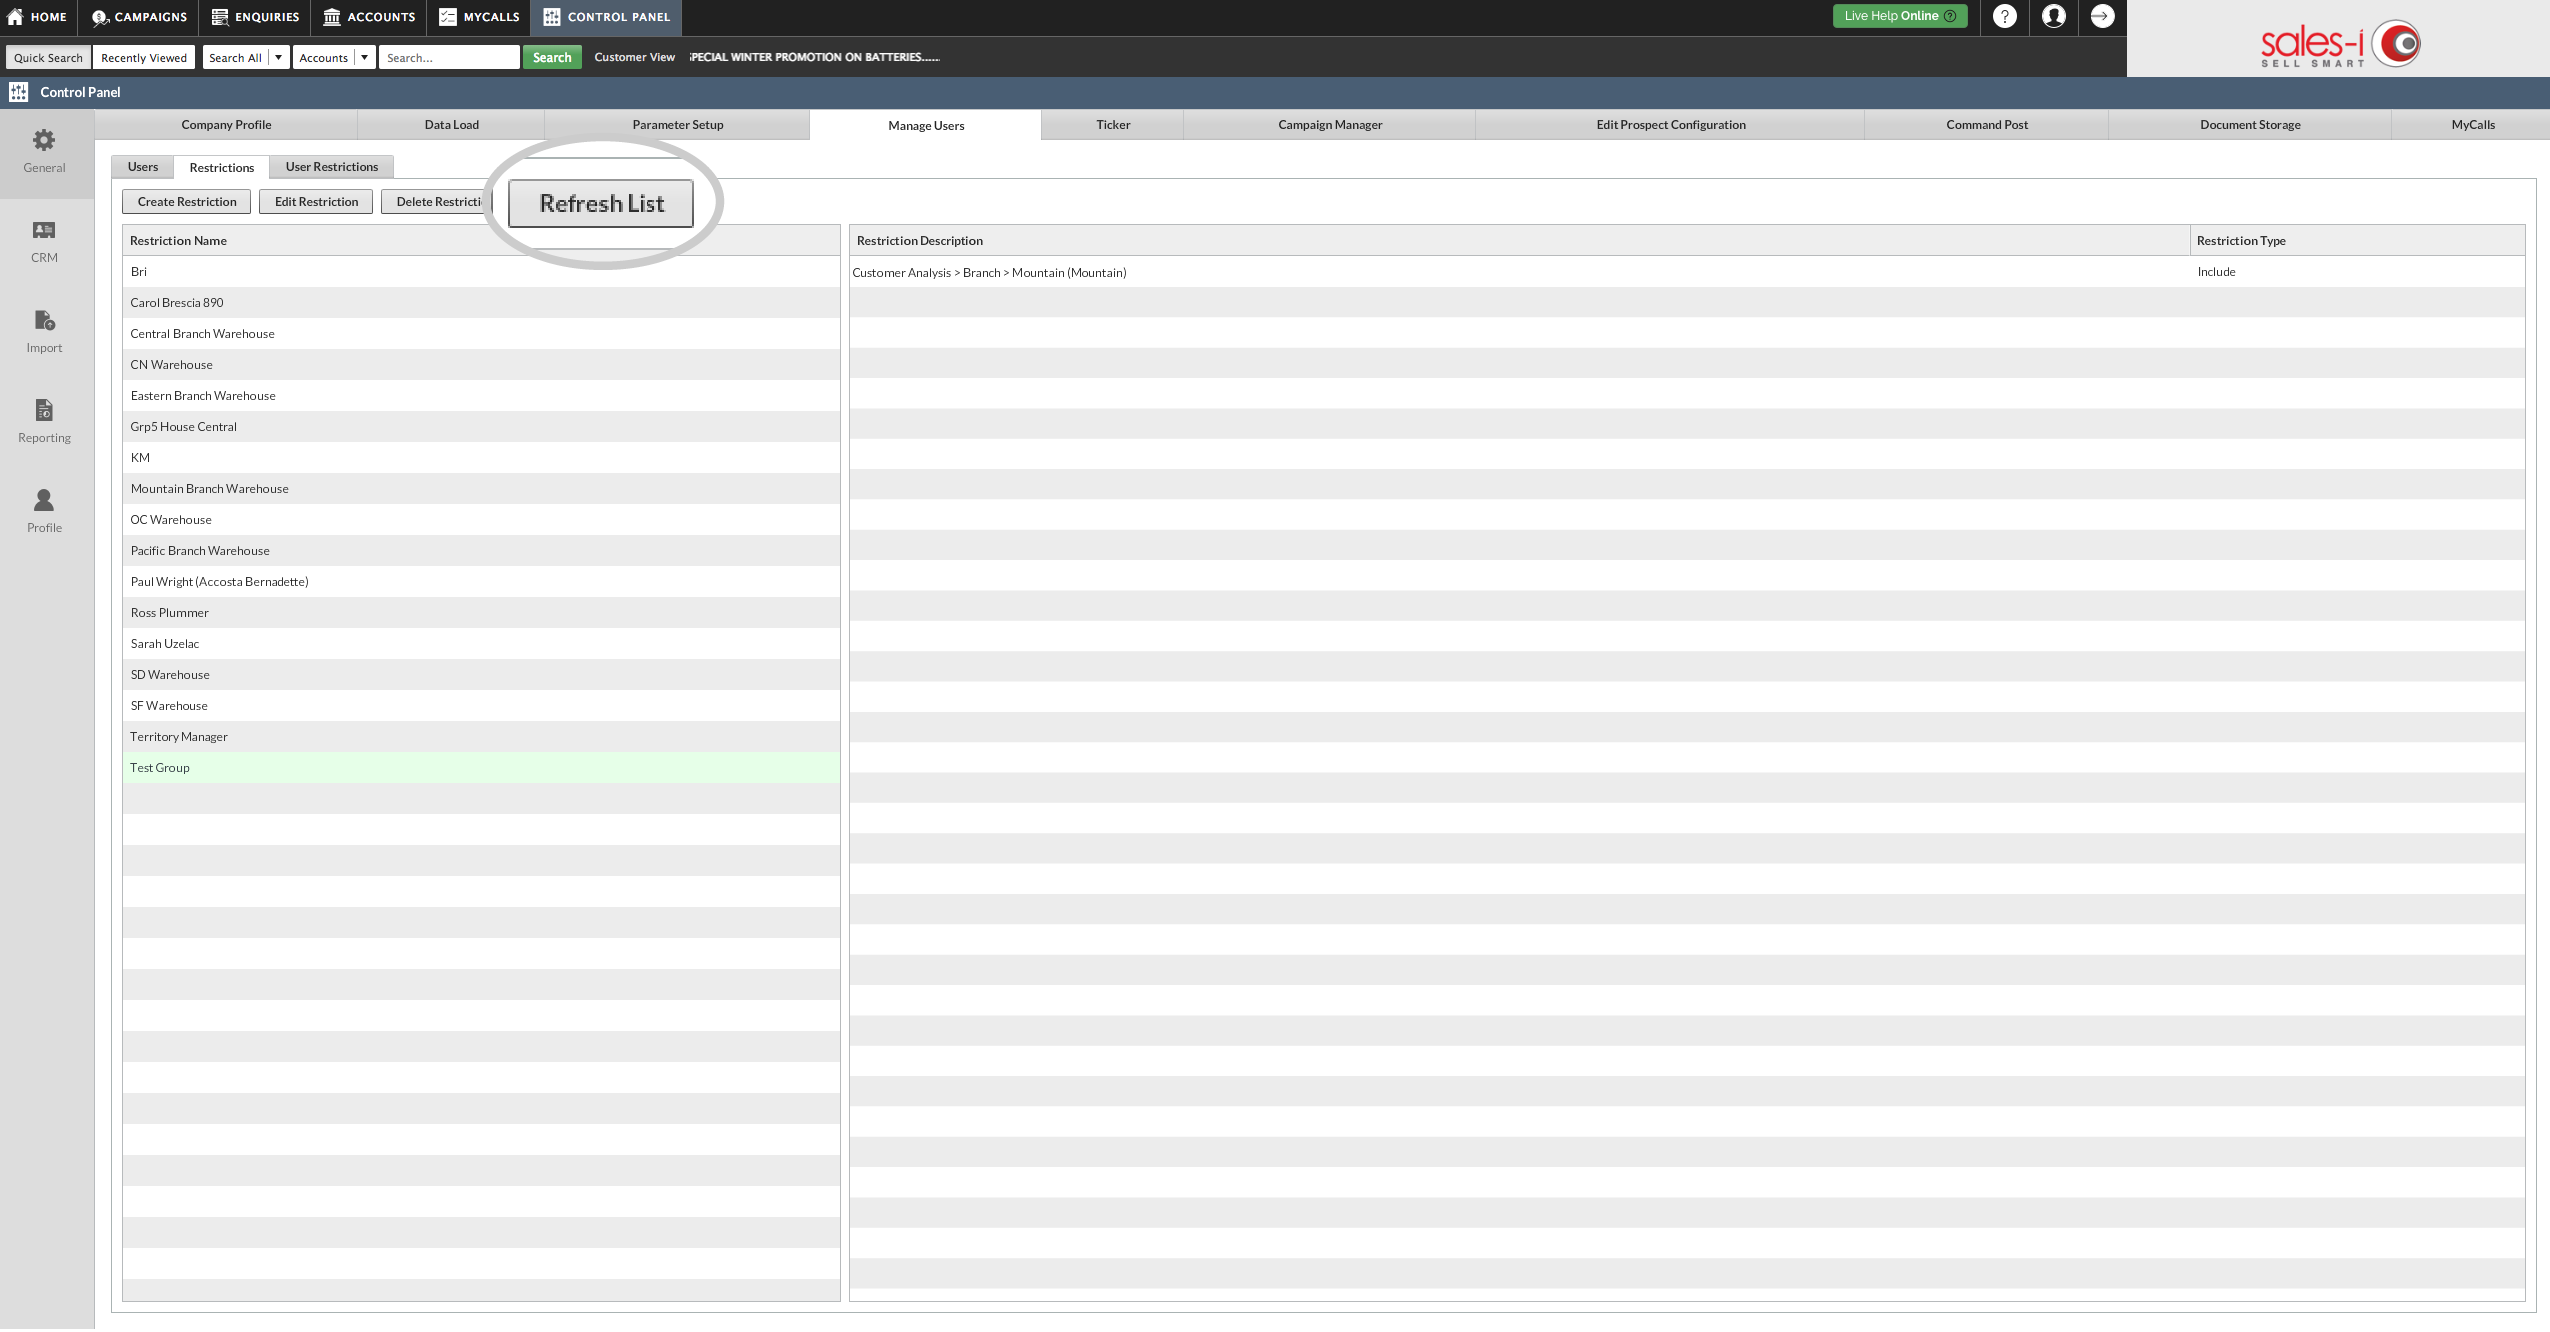
Step 8: Refresh List
Click on Refresh List to ensure any recent changes have been applied.
Step 9: How to restrict a user
Next we will add an existing sales-i user to the restrictive group you have set up.
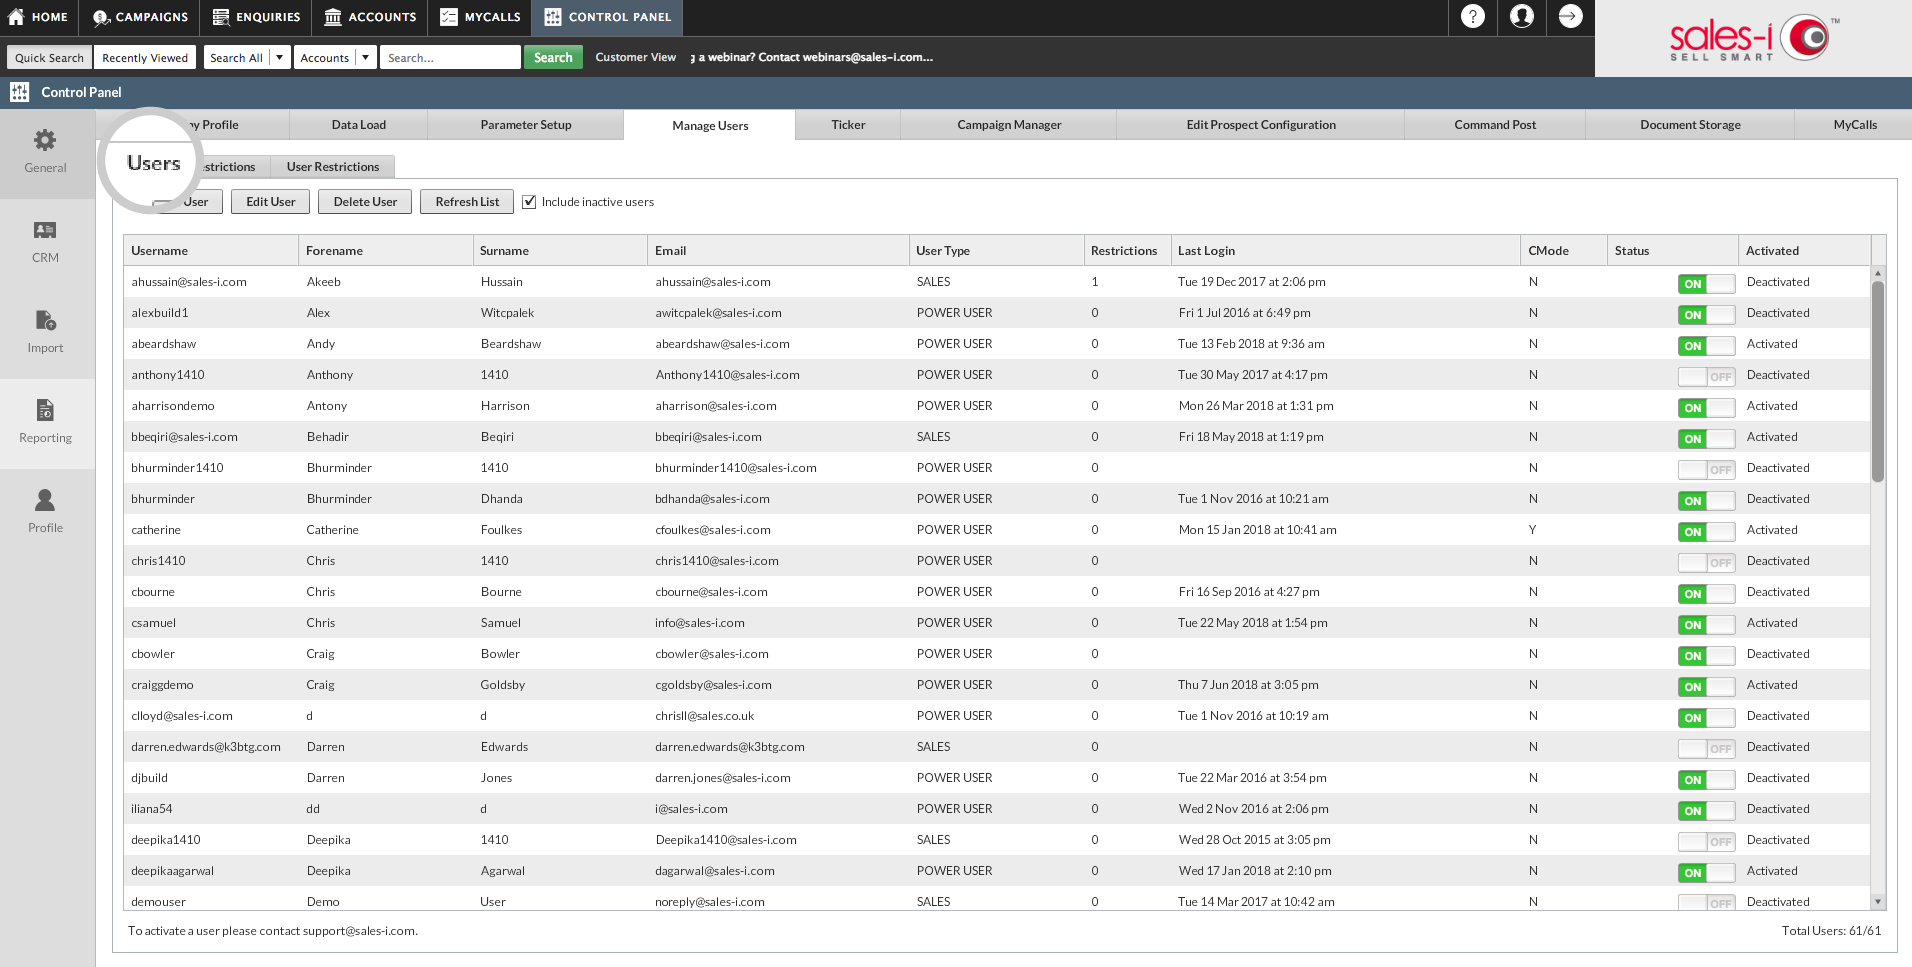
Select Users.
Step 10: Select User
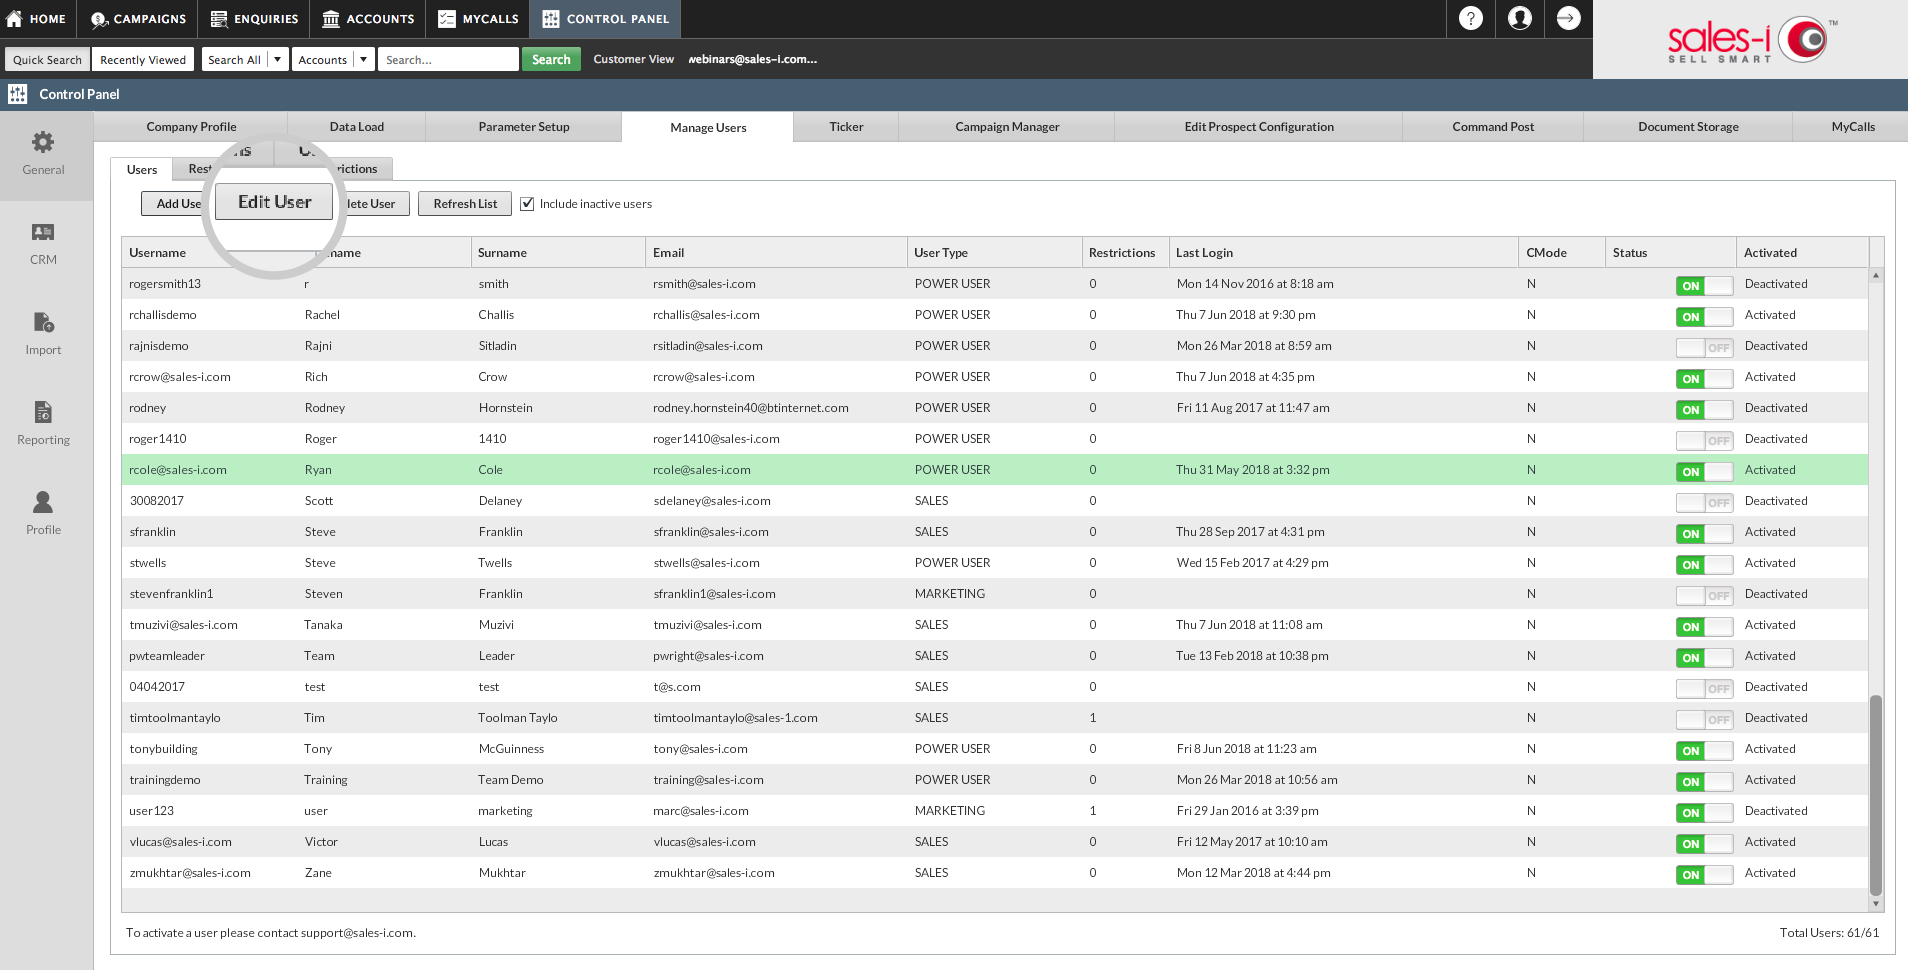
Now select the user whos access you would like to restrict so they highlight green and then select Edit User.
Step 11: Select restrictions
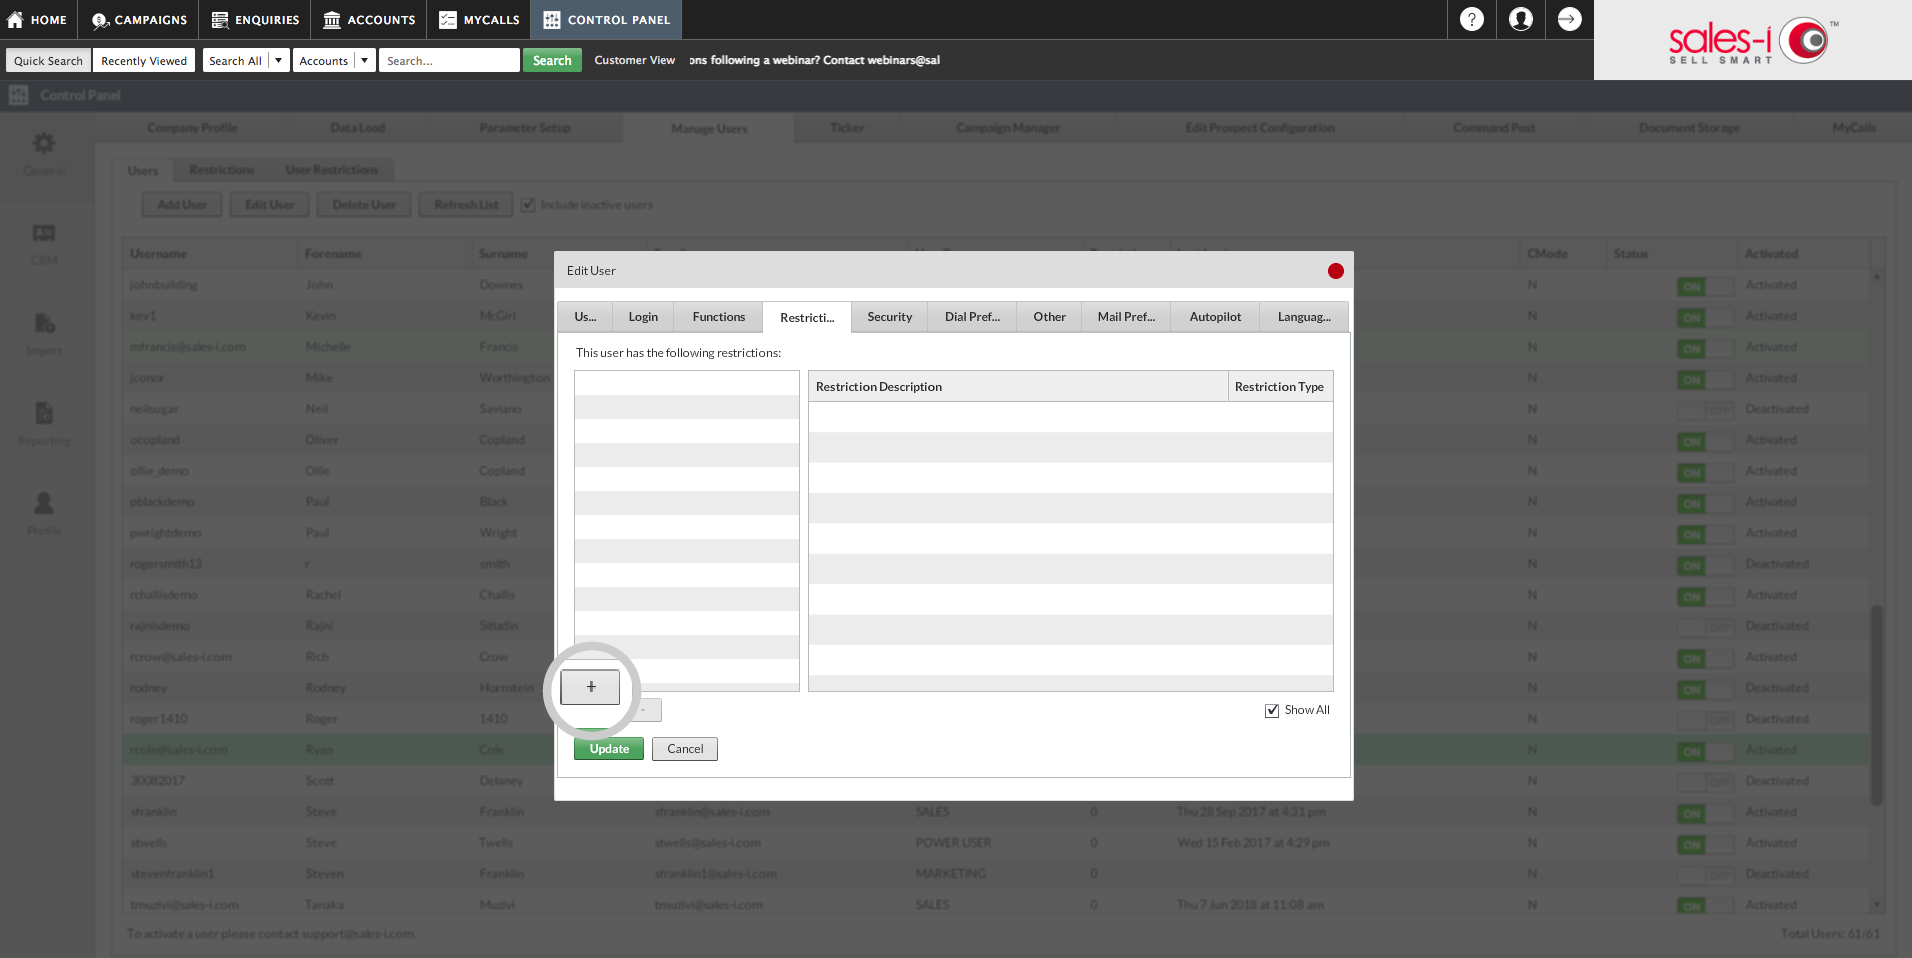
Now select the Restrictions tab (4th tab from the left).
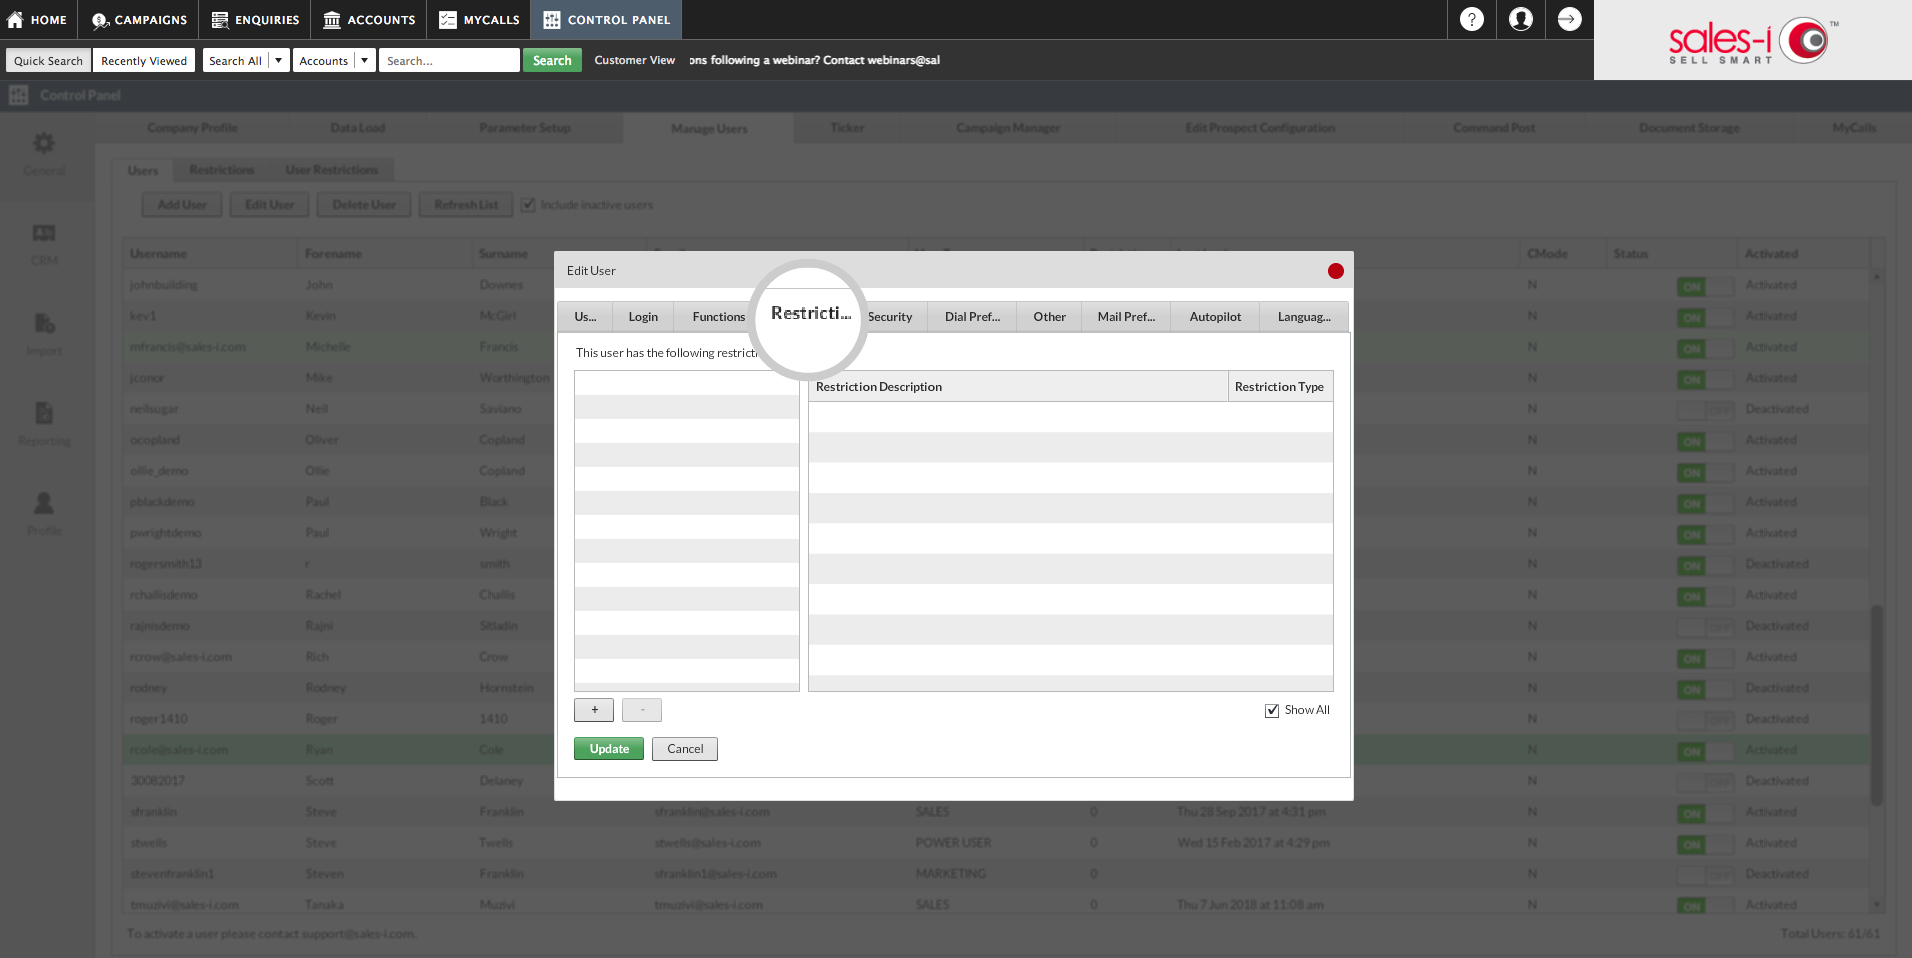
Step 12: Click +
Click the + button in the bottom left-hand corner of the window.
Step 13: Select Restrictions
Now, select the restriction(s) you would like to set up against the user and click Add Restriction.

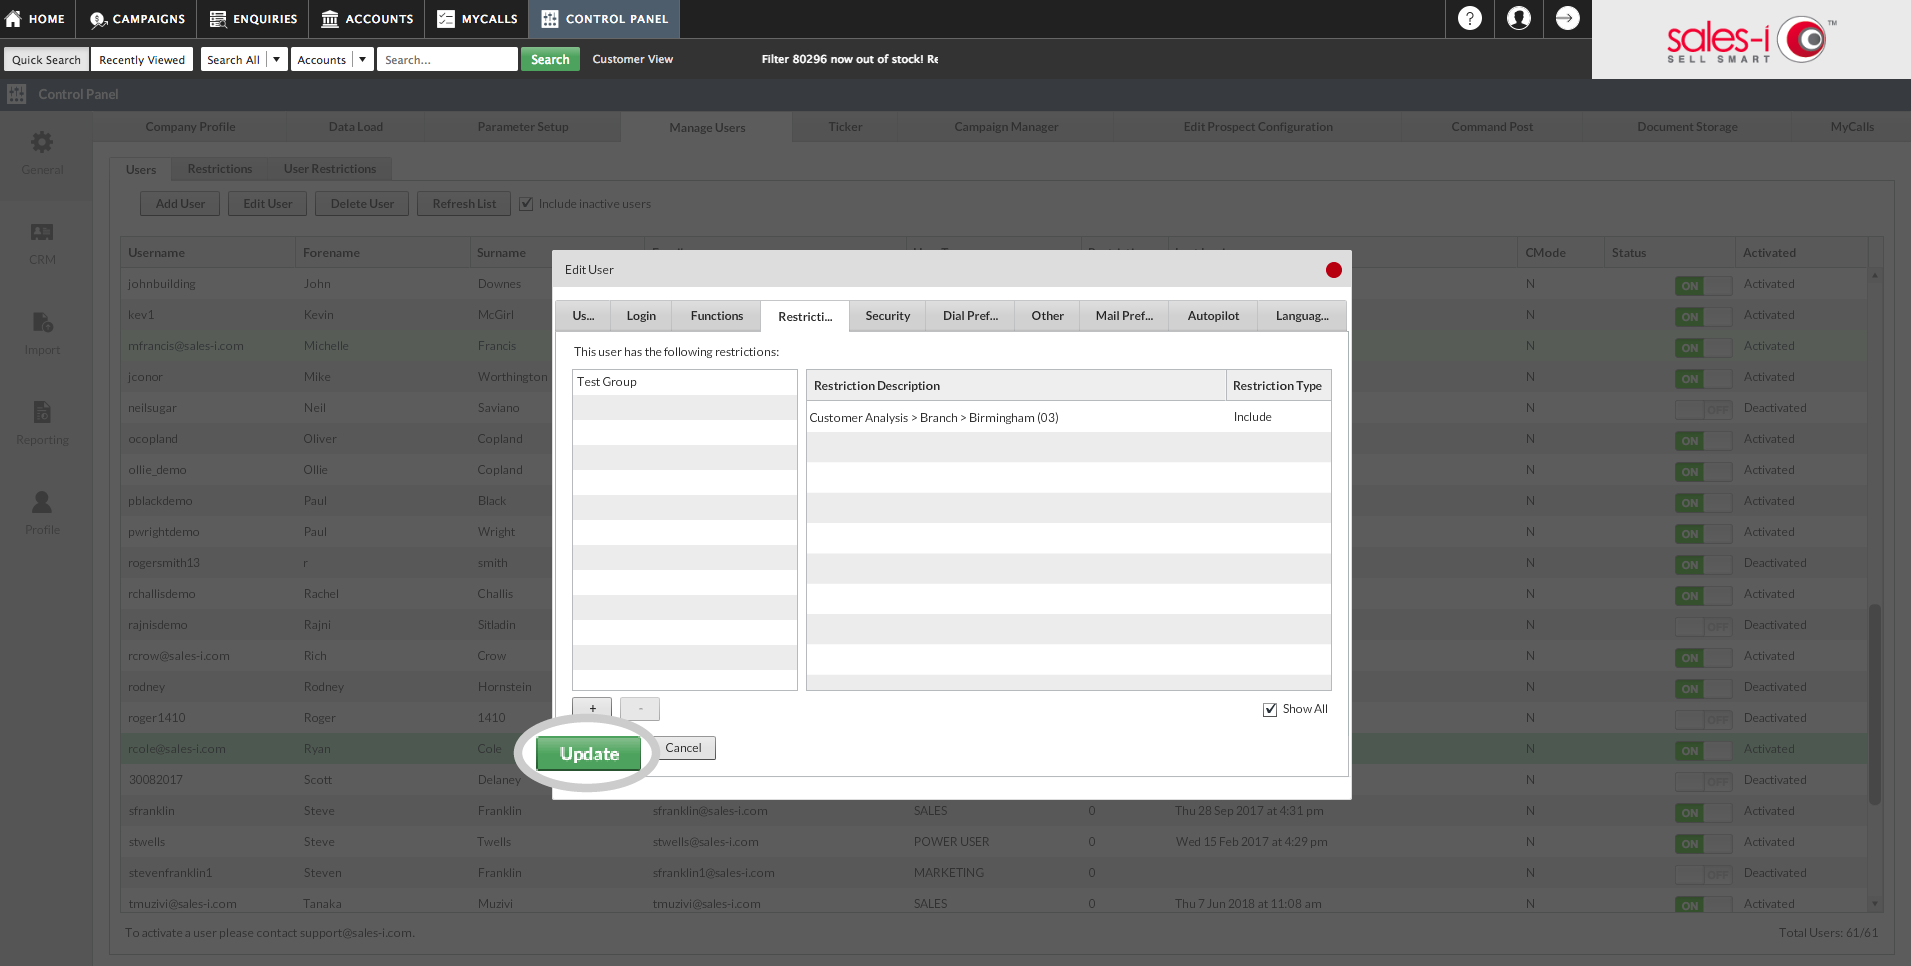
Step 14: Click Update
Once you've added the user to all the restriction groups that you wish to, click Update.
Please note: To discover how to add a new user and then restrict their access rights visit https://support.sales-i.com/how-to-add-a-user/
