
Autopilot is an offline feature for your sales-i app, designed to help simplify your daily call preparation and notes. It reads from your MyCalls diary, and, using this information generates reports and key sales information overnight.
Autopilot updates overnight and is ready for when you log into sales-i the next day. It couldn’t be any easier.
This how to guide will show you how to use Autopilot.
Select a guide:
Apple
Download a PDF version
Apple
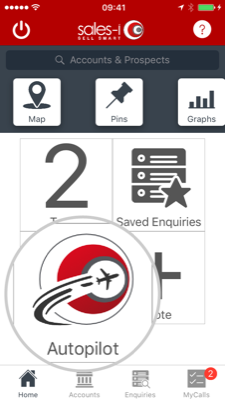
Step 1: Select Autopilot in your sales-i iOS app
You can access Autopilot from your sales-i app Home Page on iOS.
Alternatively, access Autopilot at the login screen of your sales-i app.
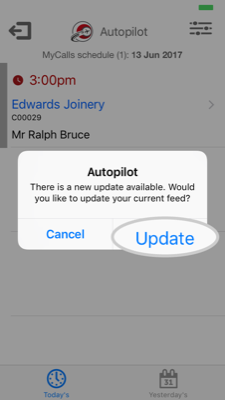
Step 2: Tap Update
A pop-up will appear prompting you to update your Autopilot feed.
Tap Update to download your calls for the day*.
(*Requires 3G/Wi-Fi connection)
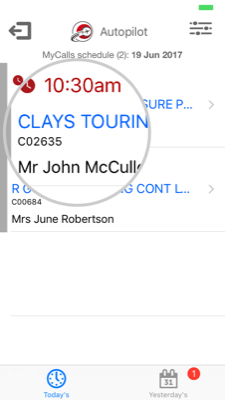
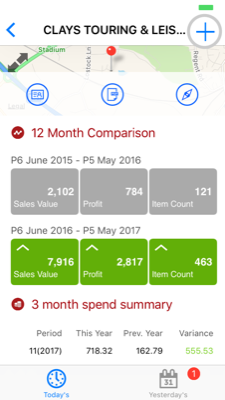
Step 3: Select a call
Tap on a call to view more details. From here you can access information about the customer, this call and an overview of the customer’s spend.
You will need to allow the sales-i app to use your location and to have internet connection in order to use the map and navigation features.
Step 4: CRM
The three icons at the top of the page allow you to access the CRM* (icon on the left), and Directions (icon on the right)* to the customer via navigation in your devices dedicated map app.
*Requires 3G/WiFi connection.
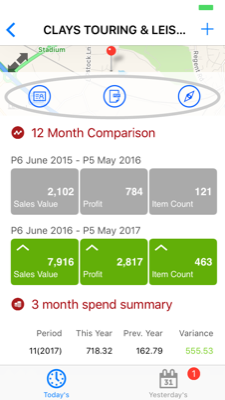
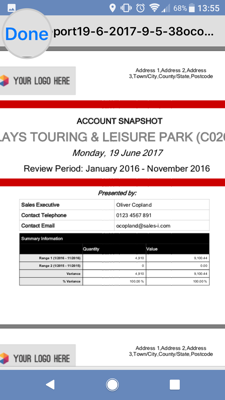
Step 5: Snapshot
The icon in the center (from step 4) will load the Snapshot* report for the customer.
This is a customer facing document that clearly and cleanly presents customer spend data in an easy-to-read document.
Once finished viewing, tap Done to return to previous screen.
*Customizable via the desktop.
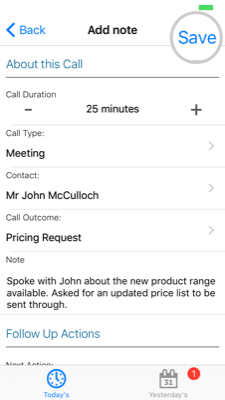
Step 6: How to add a note
To add a note; tap the + icon in the top right of your iOS screen.
Step 7: Tap Save
Fill in the relevant information, including Call Type, Call Outcome, any Notes, as well as any Follow-Up Actions.*
Tap Save to add the note to sales-i.
*Please note: How to add a note guide for MyCalls is available here
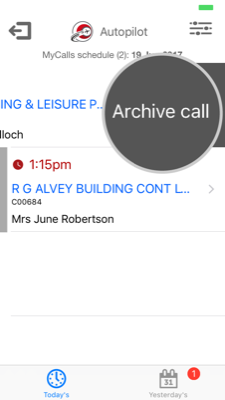
Step 8: Archive call
To Archive the call, from the Autopilot home screen, swipe right-to-left on the required call and tap Archive Call.
Step 9: Synchronize
To Synchronize, connect to the internet and stay in the app for 10 minutes. Autopilot will automatically update your notes to sales-i.
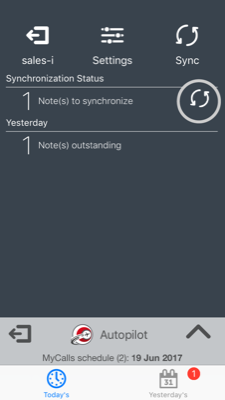
To manually sync, tap the Settings icon from the Autopilot home screen in the top right, then tap the Sync icon next to the Note(s) to Synchronize.
Android
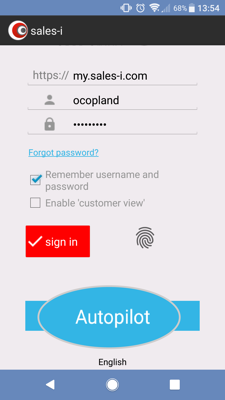
Step 1: Select Autopilot in your sales-i Android app
You can access Autopilot from the login screen of your sales-i Android app.
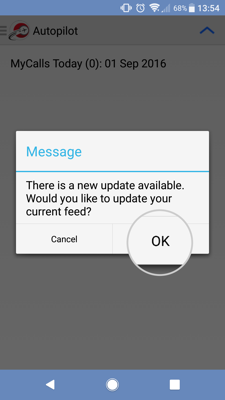
Step 2: Tap OK
A pop-up will appear prompting you to update your Autopilot feed.
Tap OK to download your calls for the day*.
(*Requires 3G/Wi-Fi connection).
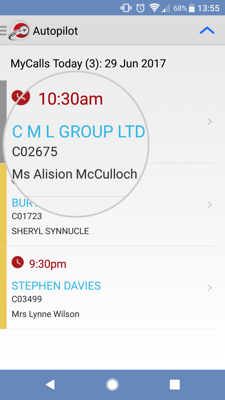
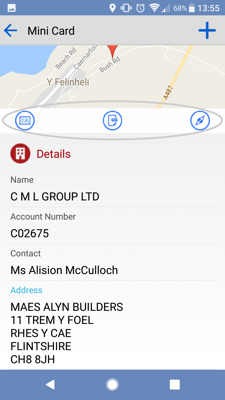
Step 3: Select a call
Tap on a call to view more details. From here you can access information about the customer, this call and an overview of the customer’s spend.
You will need to allow the sales-i app to use your location and to have internet connection in order to use the map and navigation features.
Step 4: CRM
The three icons at the top of the page allow you to access the CRM* (icon on the left), and Directions (icon on the right)* to the customer via navigation in your devices dedicated map app.
*Requires 3G/WiFi connection.
Step 5: Snapshot
The icon in the center (from step 4) will load the Snapshot* report for the customer.**
This is a customer facing document that clearly and cleanly presents customer spend data in an easy-to-read document.
Once finished viewing, tap Done to return to previous screen.
*Customizable via the desktop.
**PDF viewer must be set up on your Android device to enable viewing of this report.
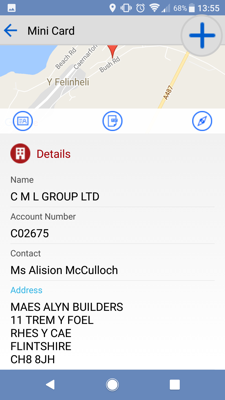
Step 6: How to add a note
To add a note; tap the + icon in the top right of your Android screen.
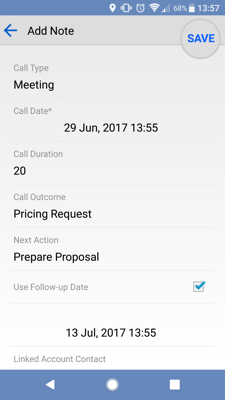
Step 7: Tap Save
Fill in the relevant information, including Call Type, Call Outcome, any Notes, as well as any Follow-Up Actions.*
Tap Save to add the note to sales-i.
*Please note: How to add a note guide for MyCalls is available here
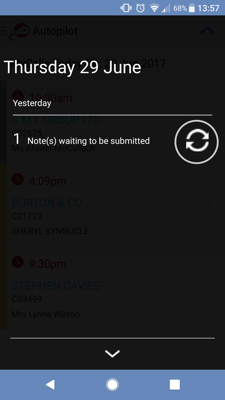
Step 8: How to sync
To Synchronize, connect to the internet and stay in the app for 10 minutes. Autopilot will automatically update your notes to sales-i.
To manually sync, tap the blue arrow icon from the Autopilot home screen in the top right, then tap the Sync icon next to the Note(s) waiting to be submitted.
Want to learn how to turn Autopilot on for your sales users? CLICK HERE